Constructing A New (transplant) Bed With Rock And Mulch

I recently finished constructing a new landscape bed that I started over a year ago, mostly because I needed the space to transplant many perennials and shrubs, which are now getting too crowded in their current locations.
How this got started:
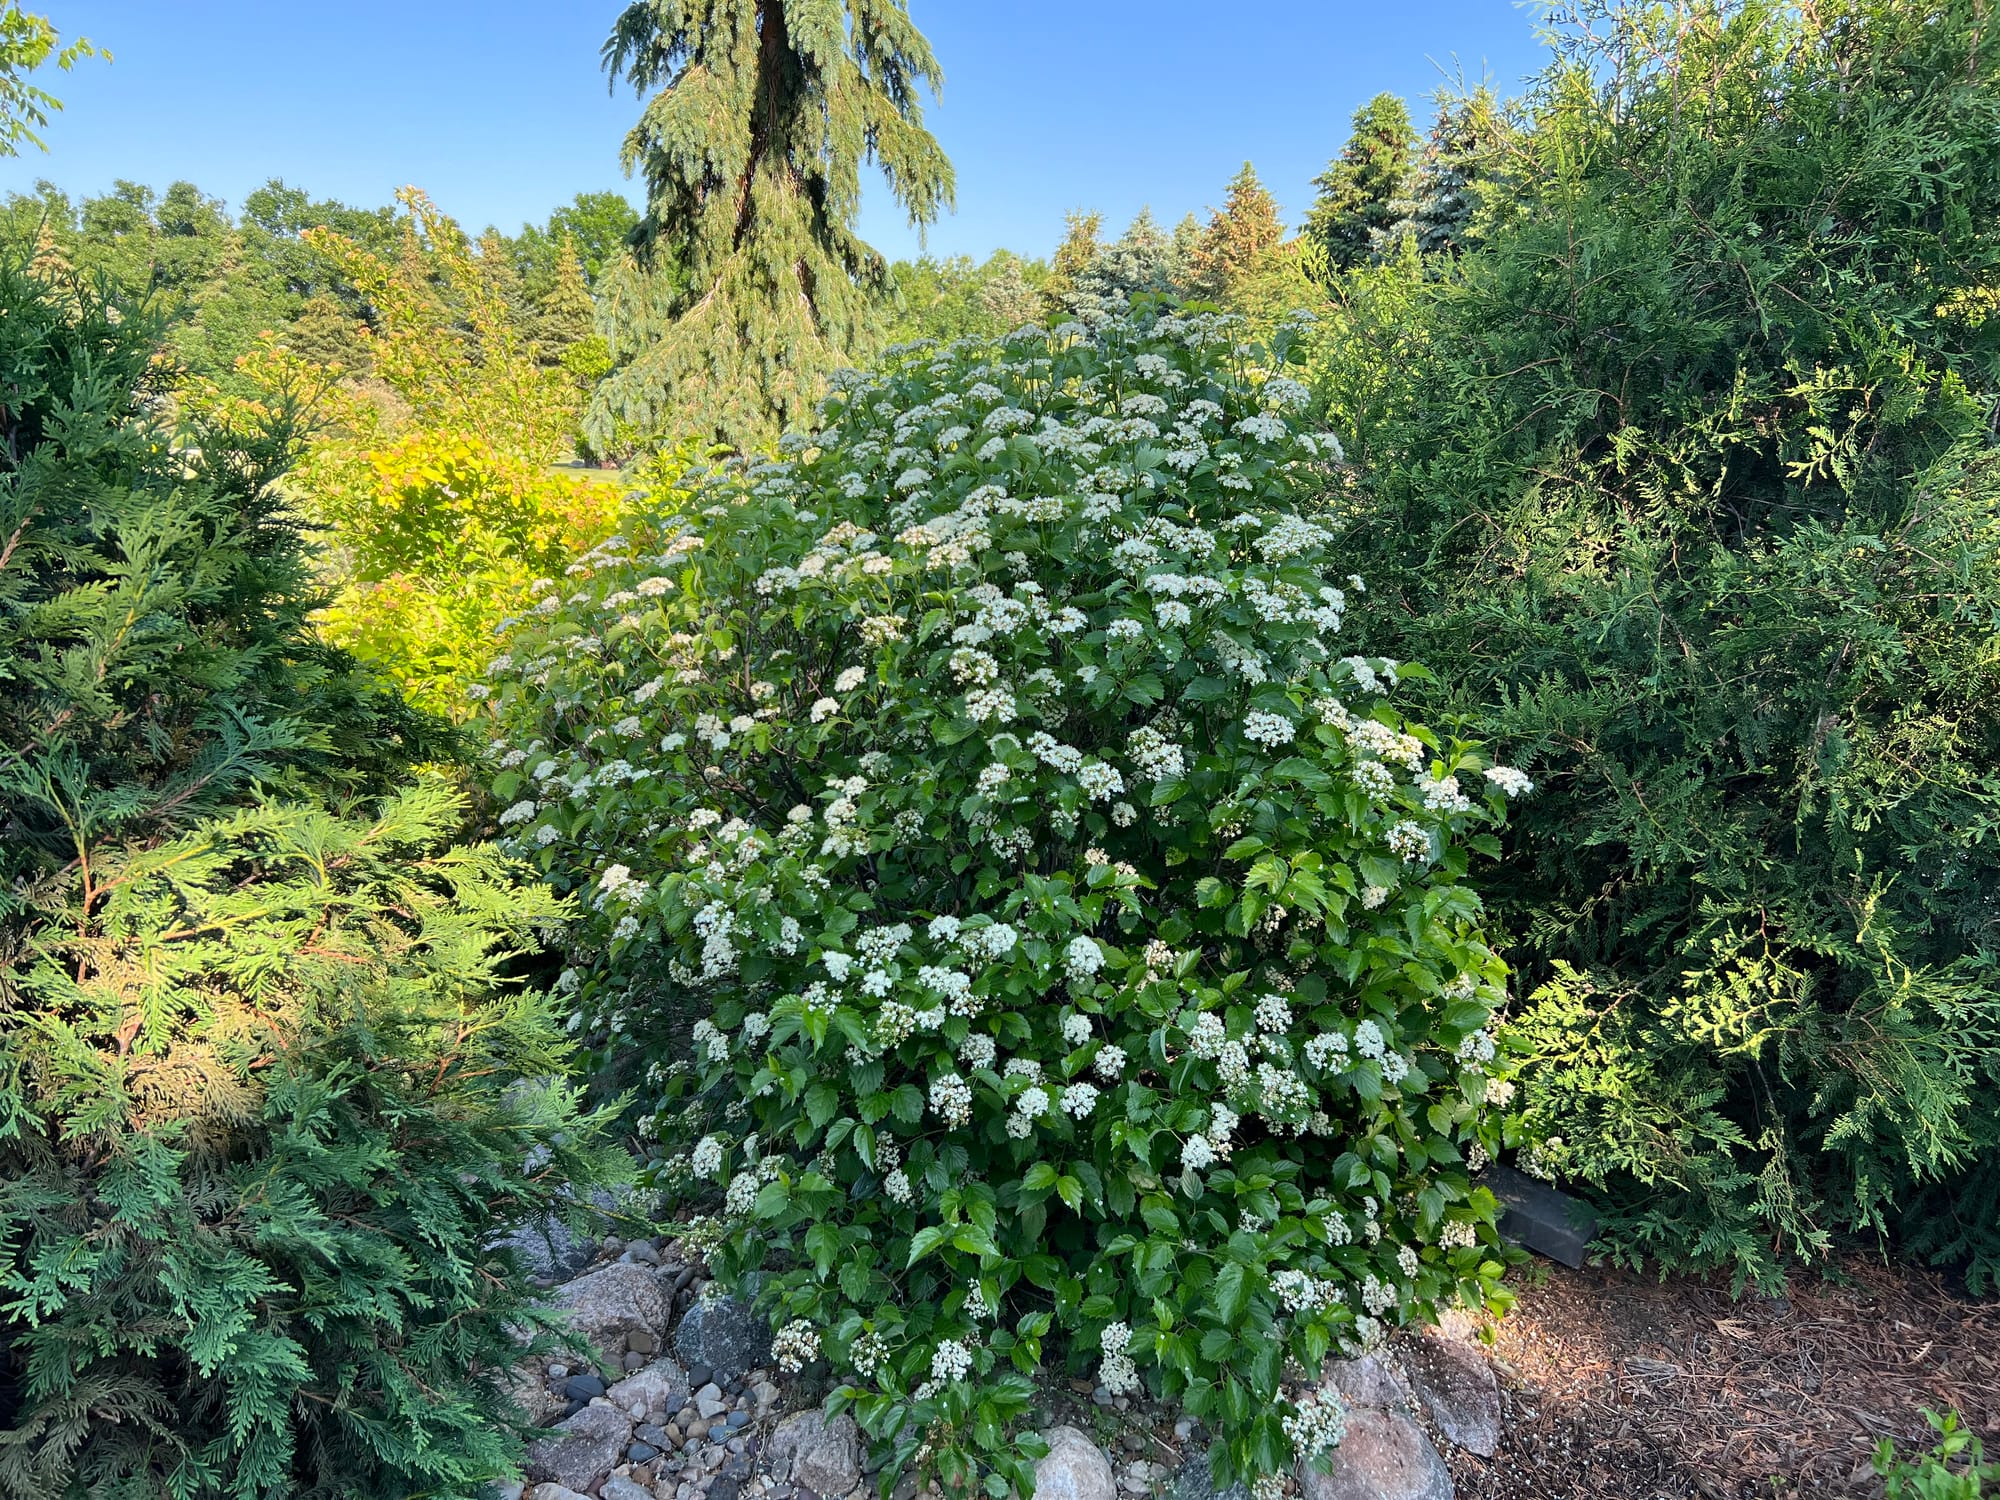
I’m guilty of over-planting, but this older bed shown above really pushed the limits on that (over-planting) problem. I recently did some major pruning here, and got it back in shape. I don’t mind pruning, but mostly I like to enjoy plants in their natural size and shape, which is always my main goal as I develop and plant out our landscape beds. But a Blue Muffin Viburnum was never going to realize its full potential as it was planted too close to two Techny Arborvitaes. And one Arborvitae was also starting to show injury from the shade of what wants to be, a large shrub.
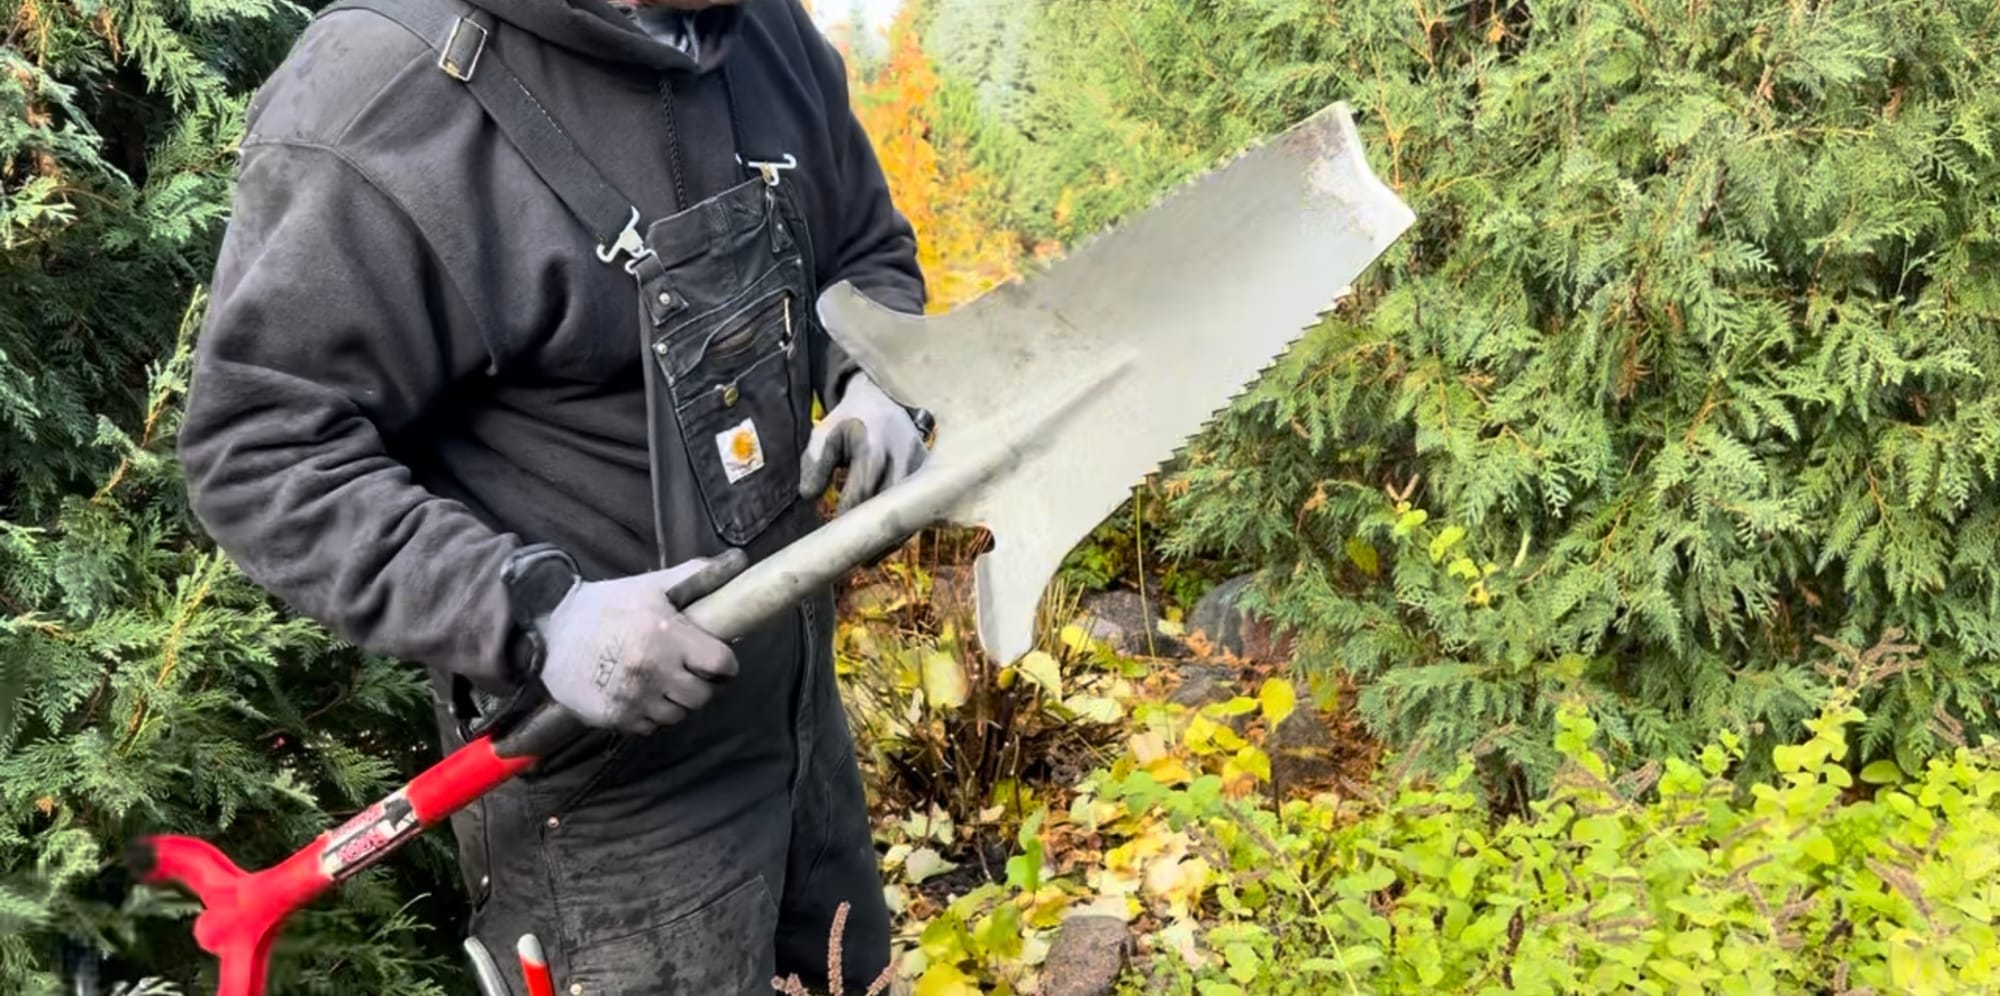
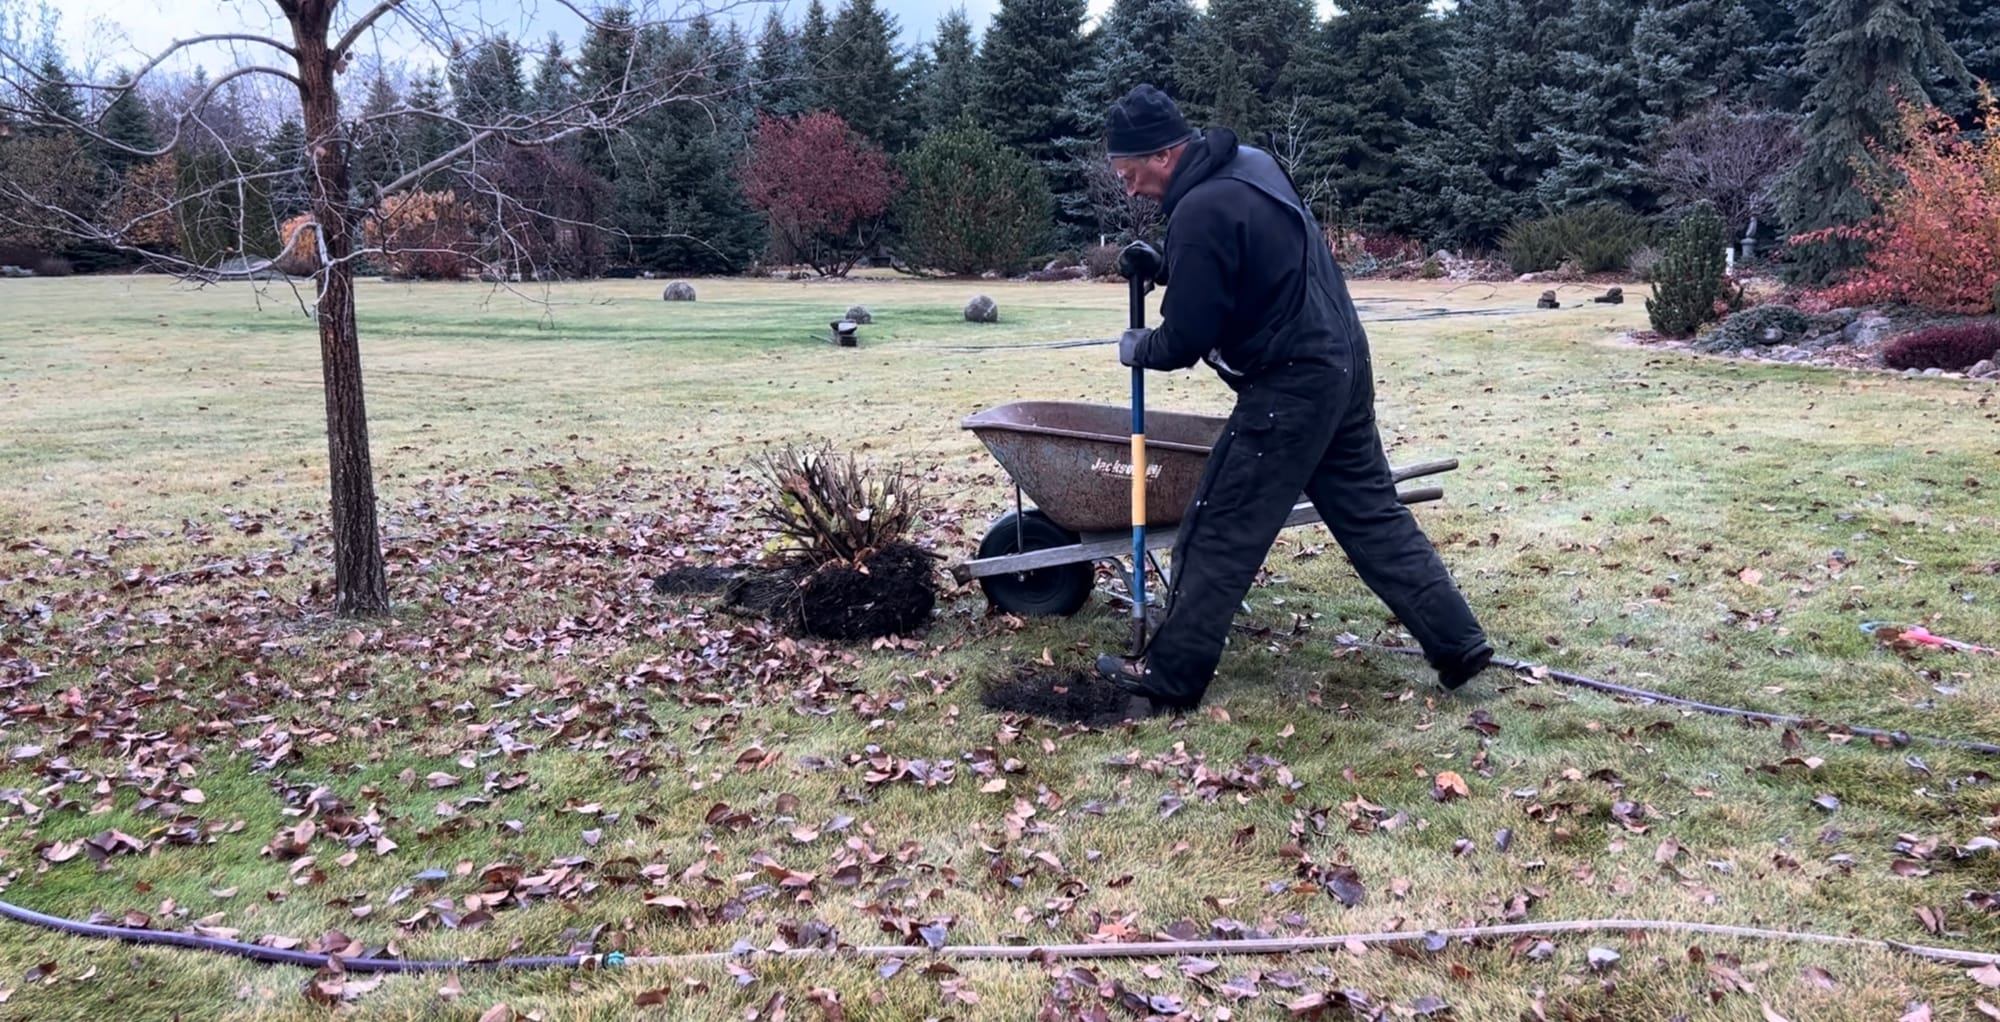
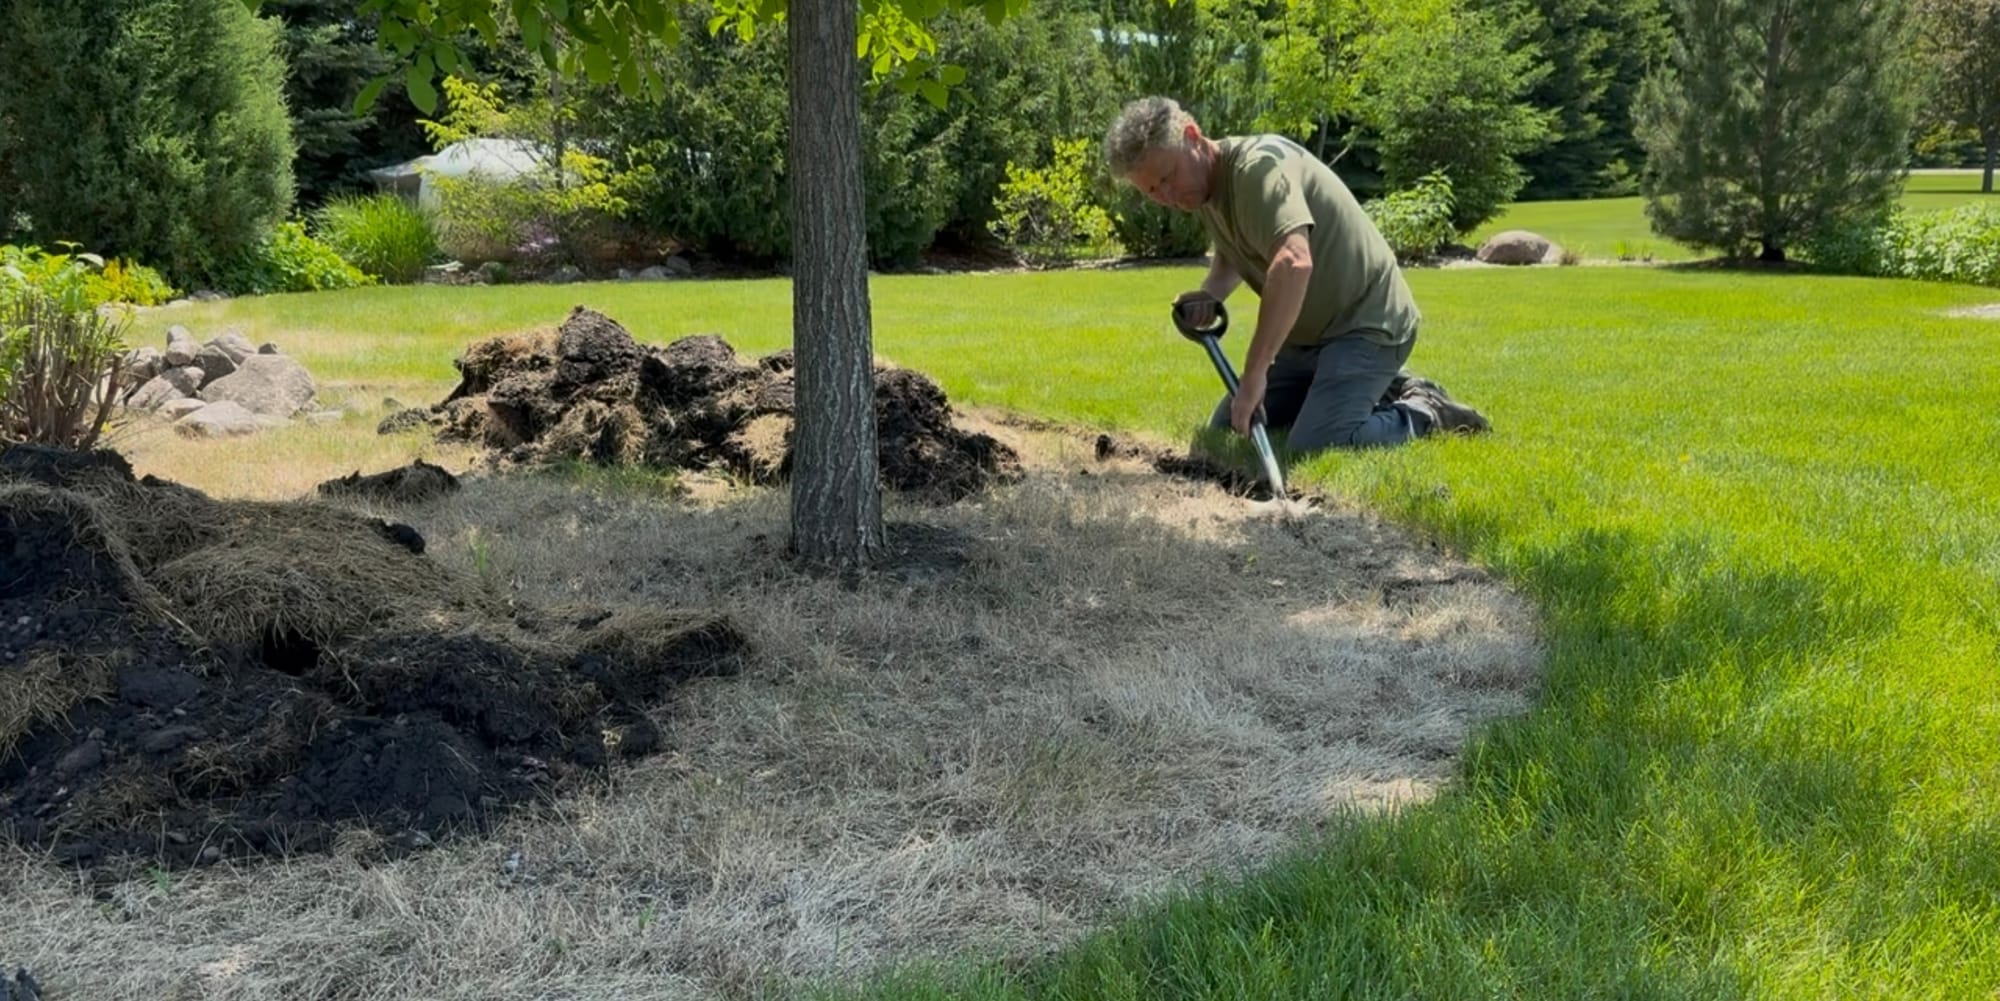
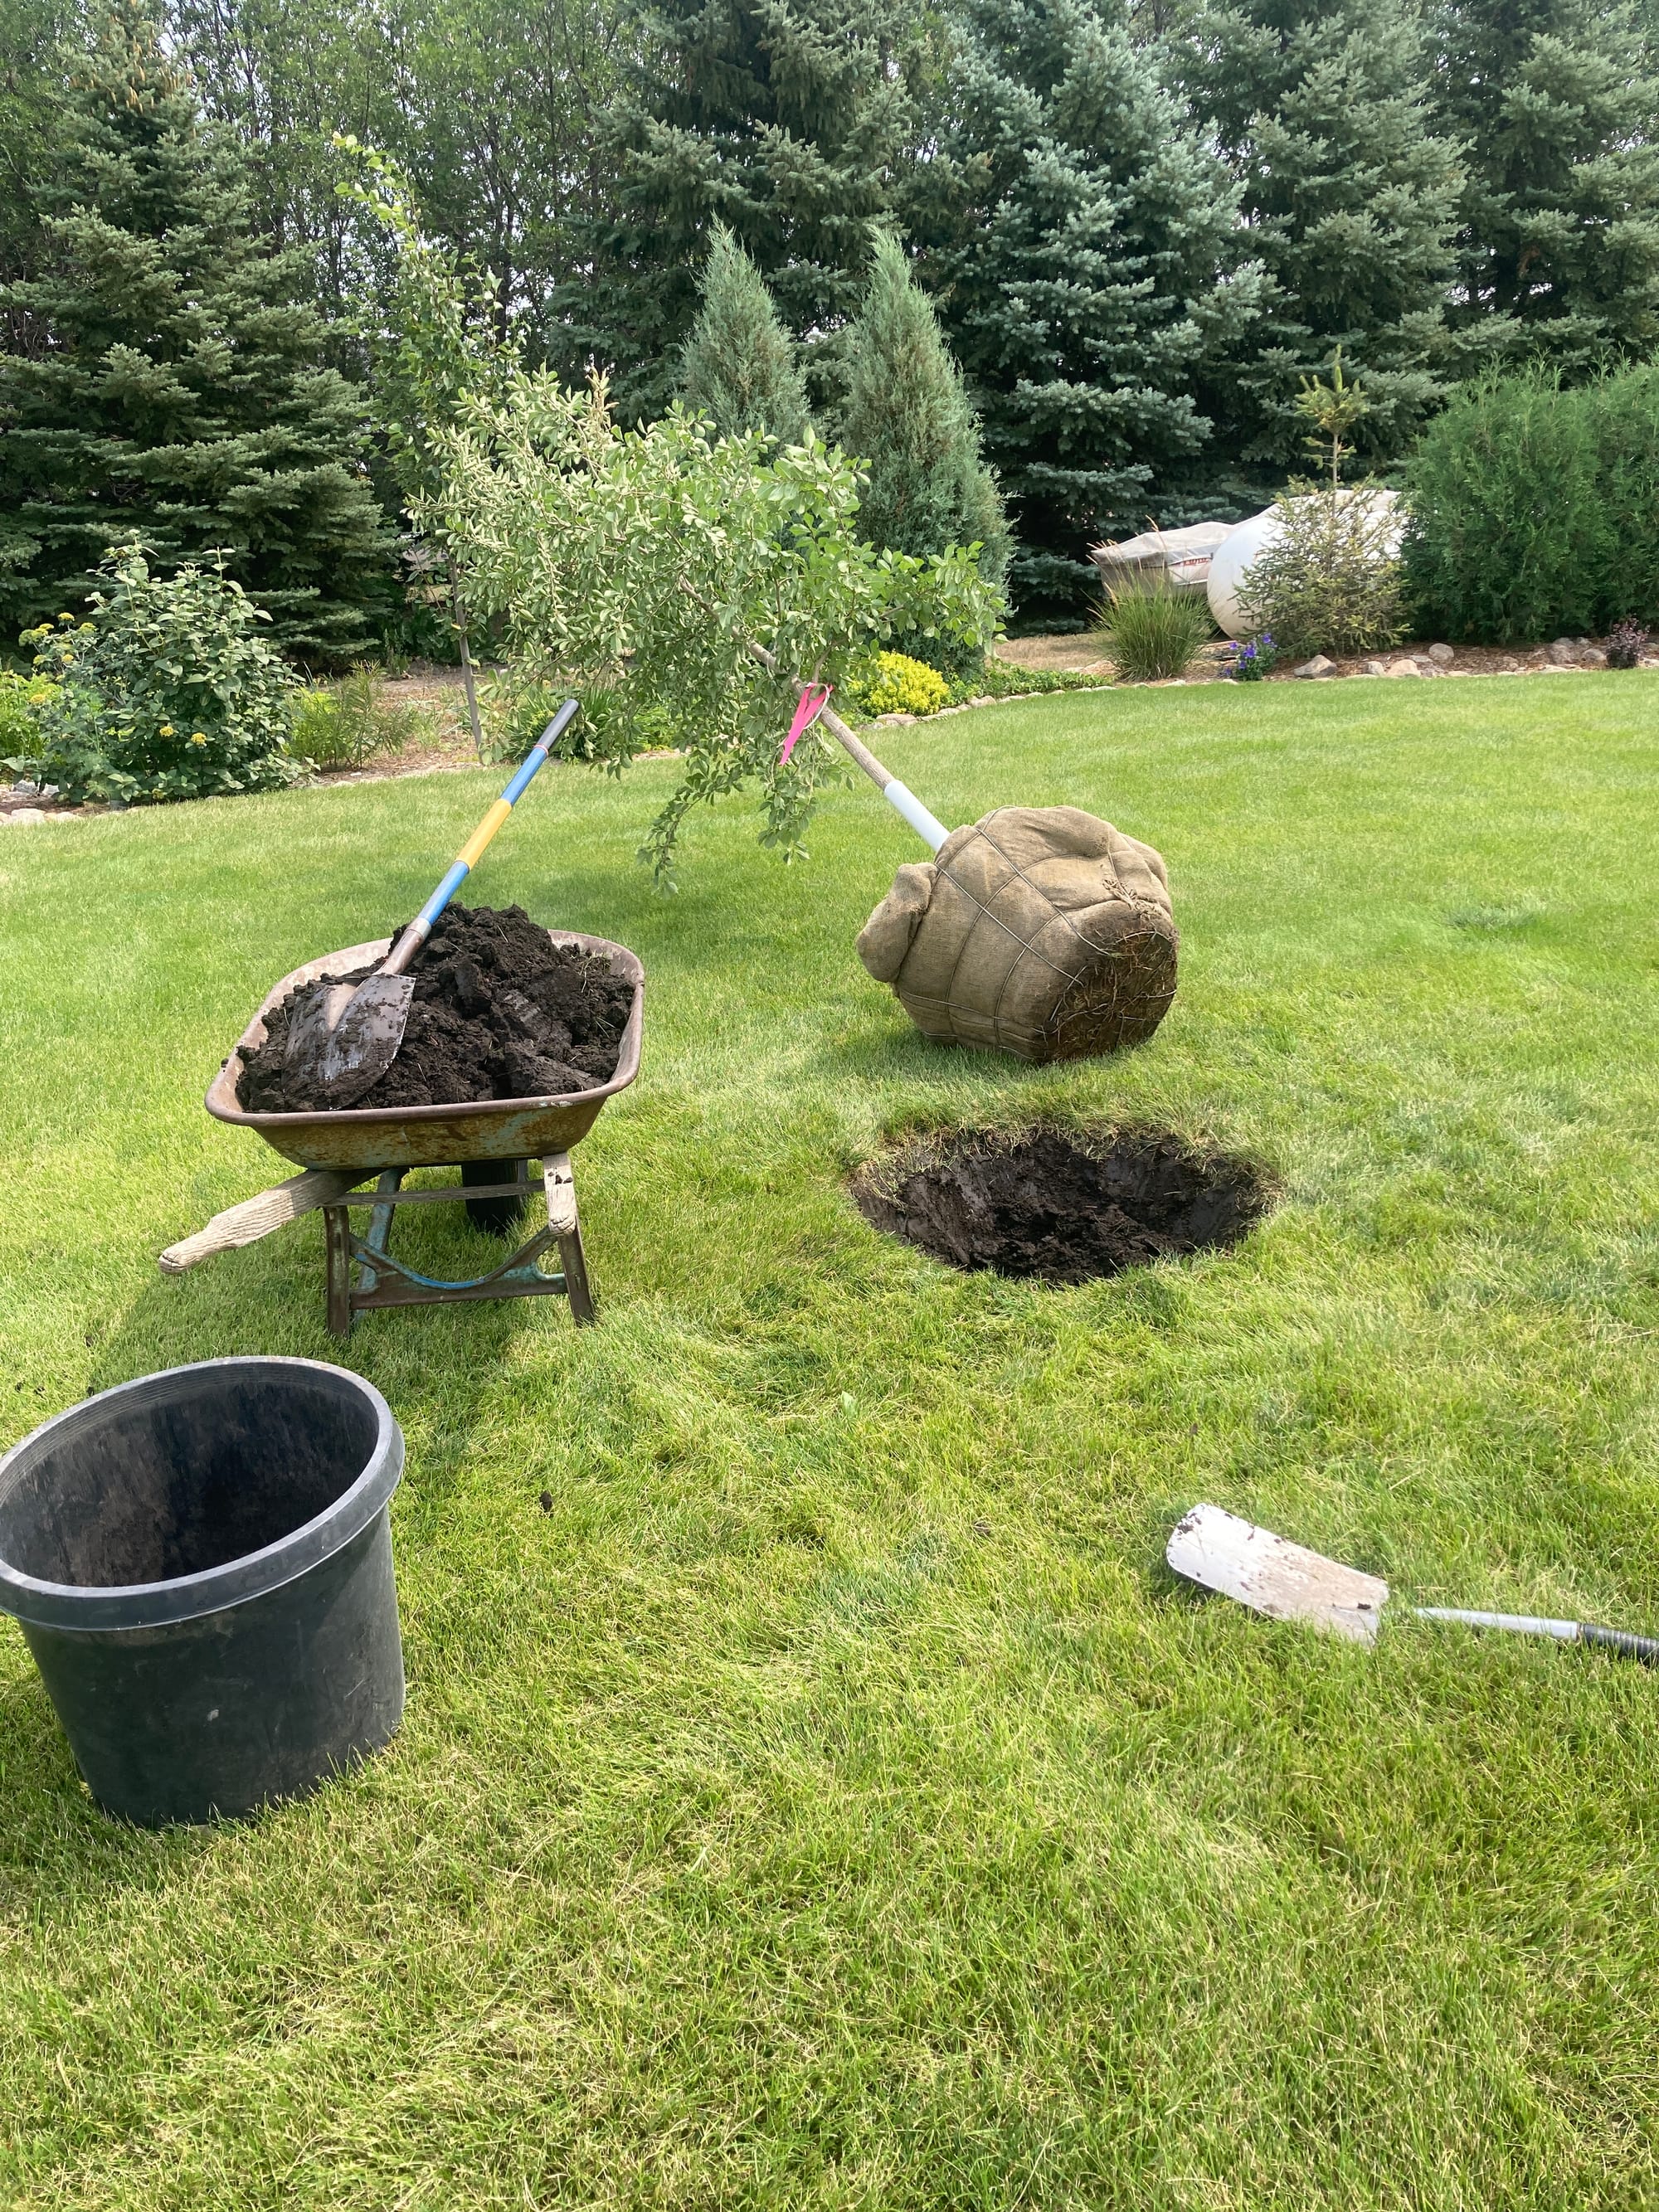
So when late fall came around, I cut it back and transplanted it into its new bed. For transplanting projects, I highly recommend a sawtooth shovel like the one shown below. This is the Radius brand and it is also great for breaking into hard compact soils.
When you purchase through links on this site, we may earn a small commission at no additional charge to you.


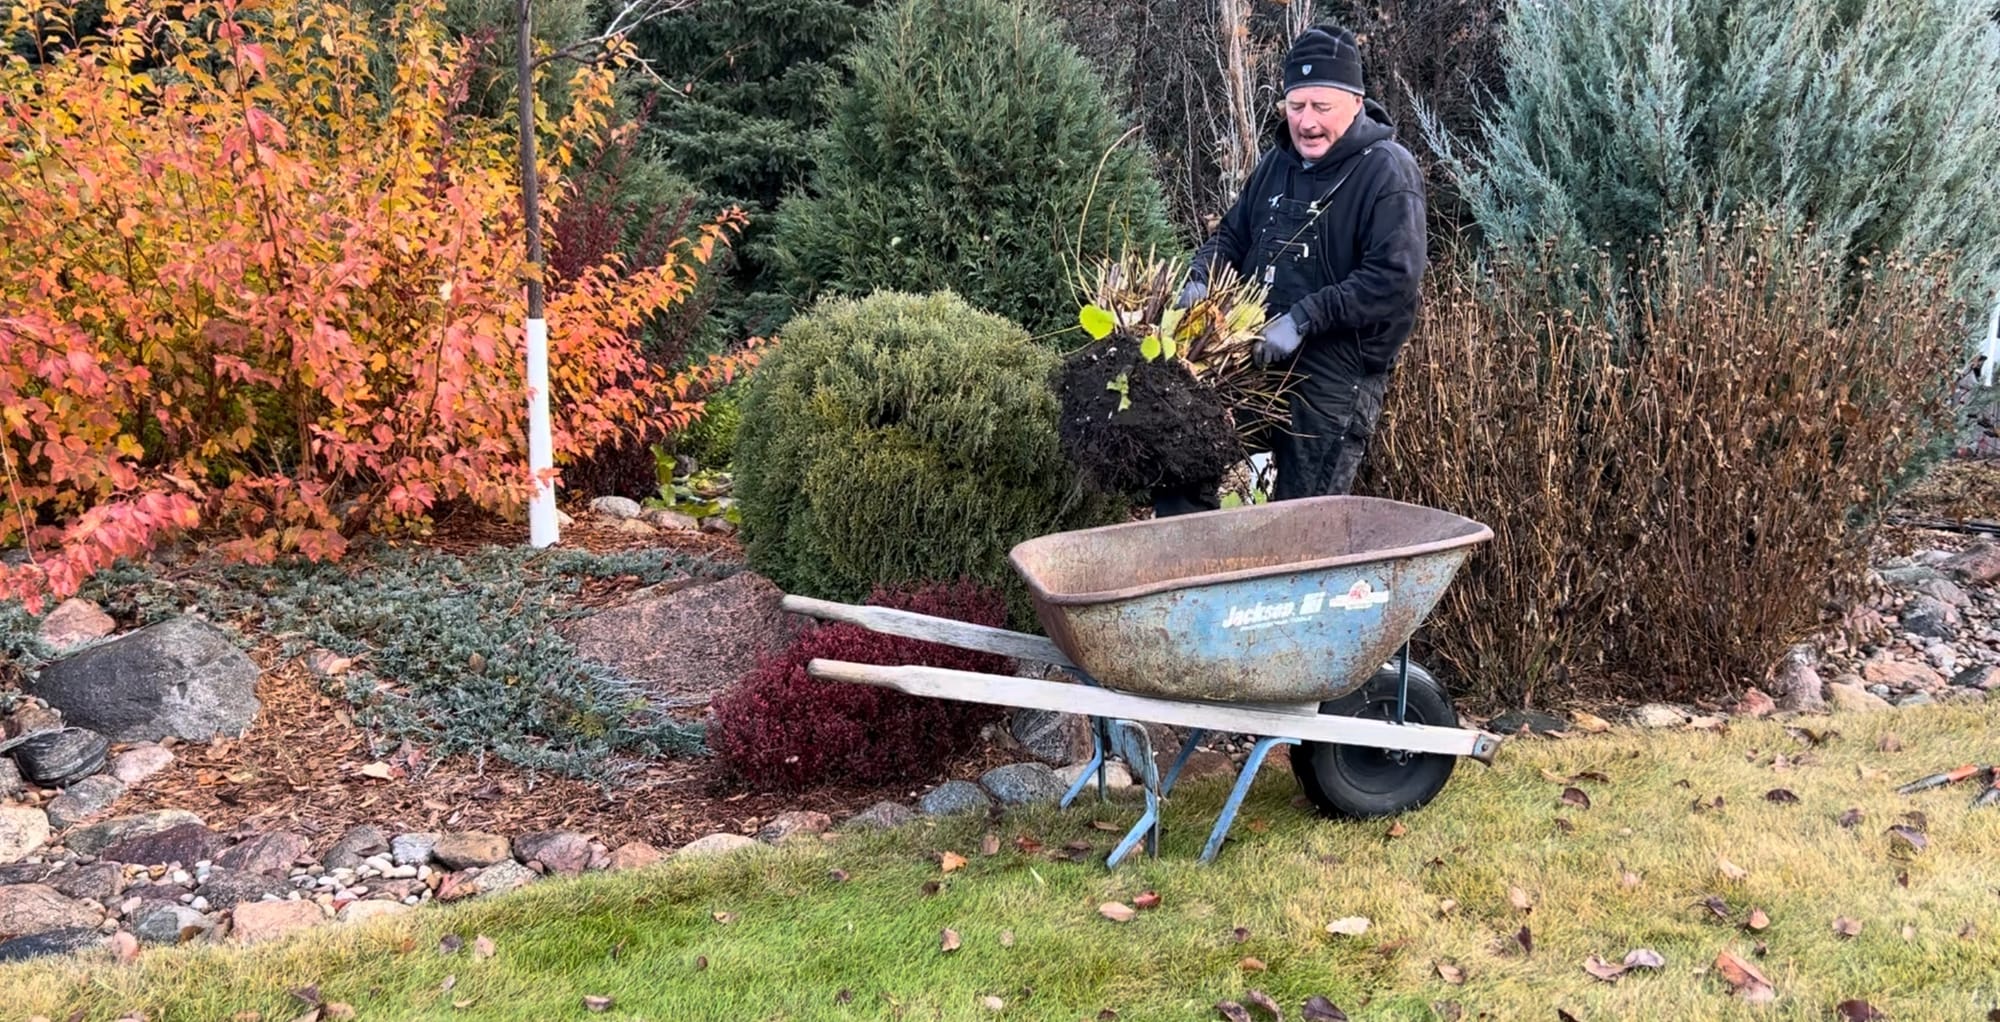
So that is how this new bed got its start. I needed a new home for our Viburnum and did not have any available space elsewhere for a shrub that can reach 6-8 feet tall and wide.
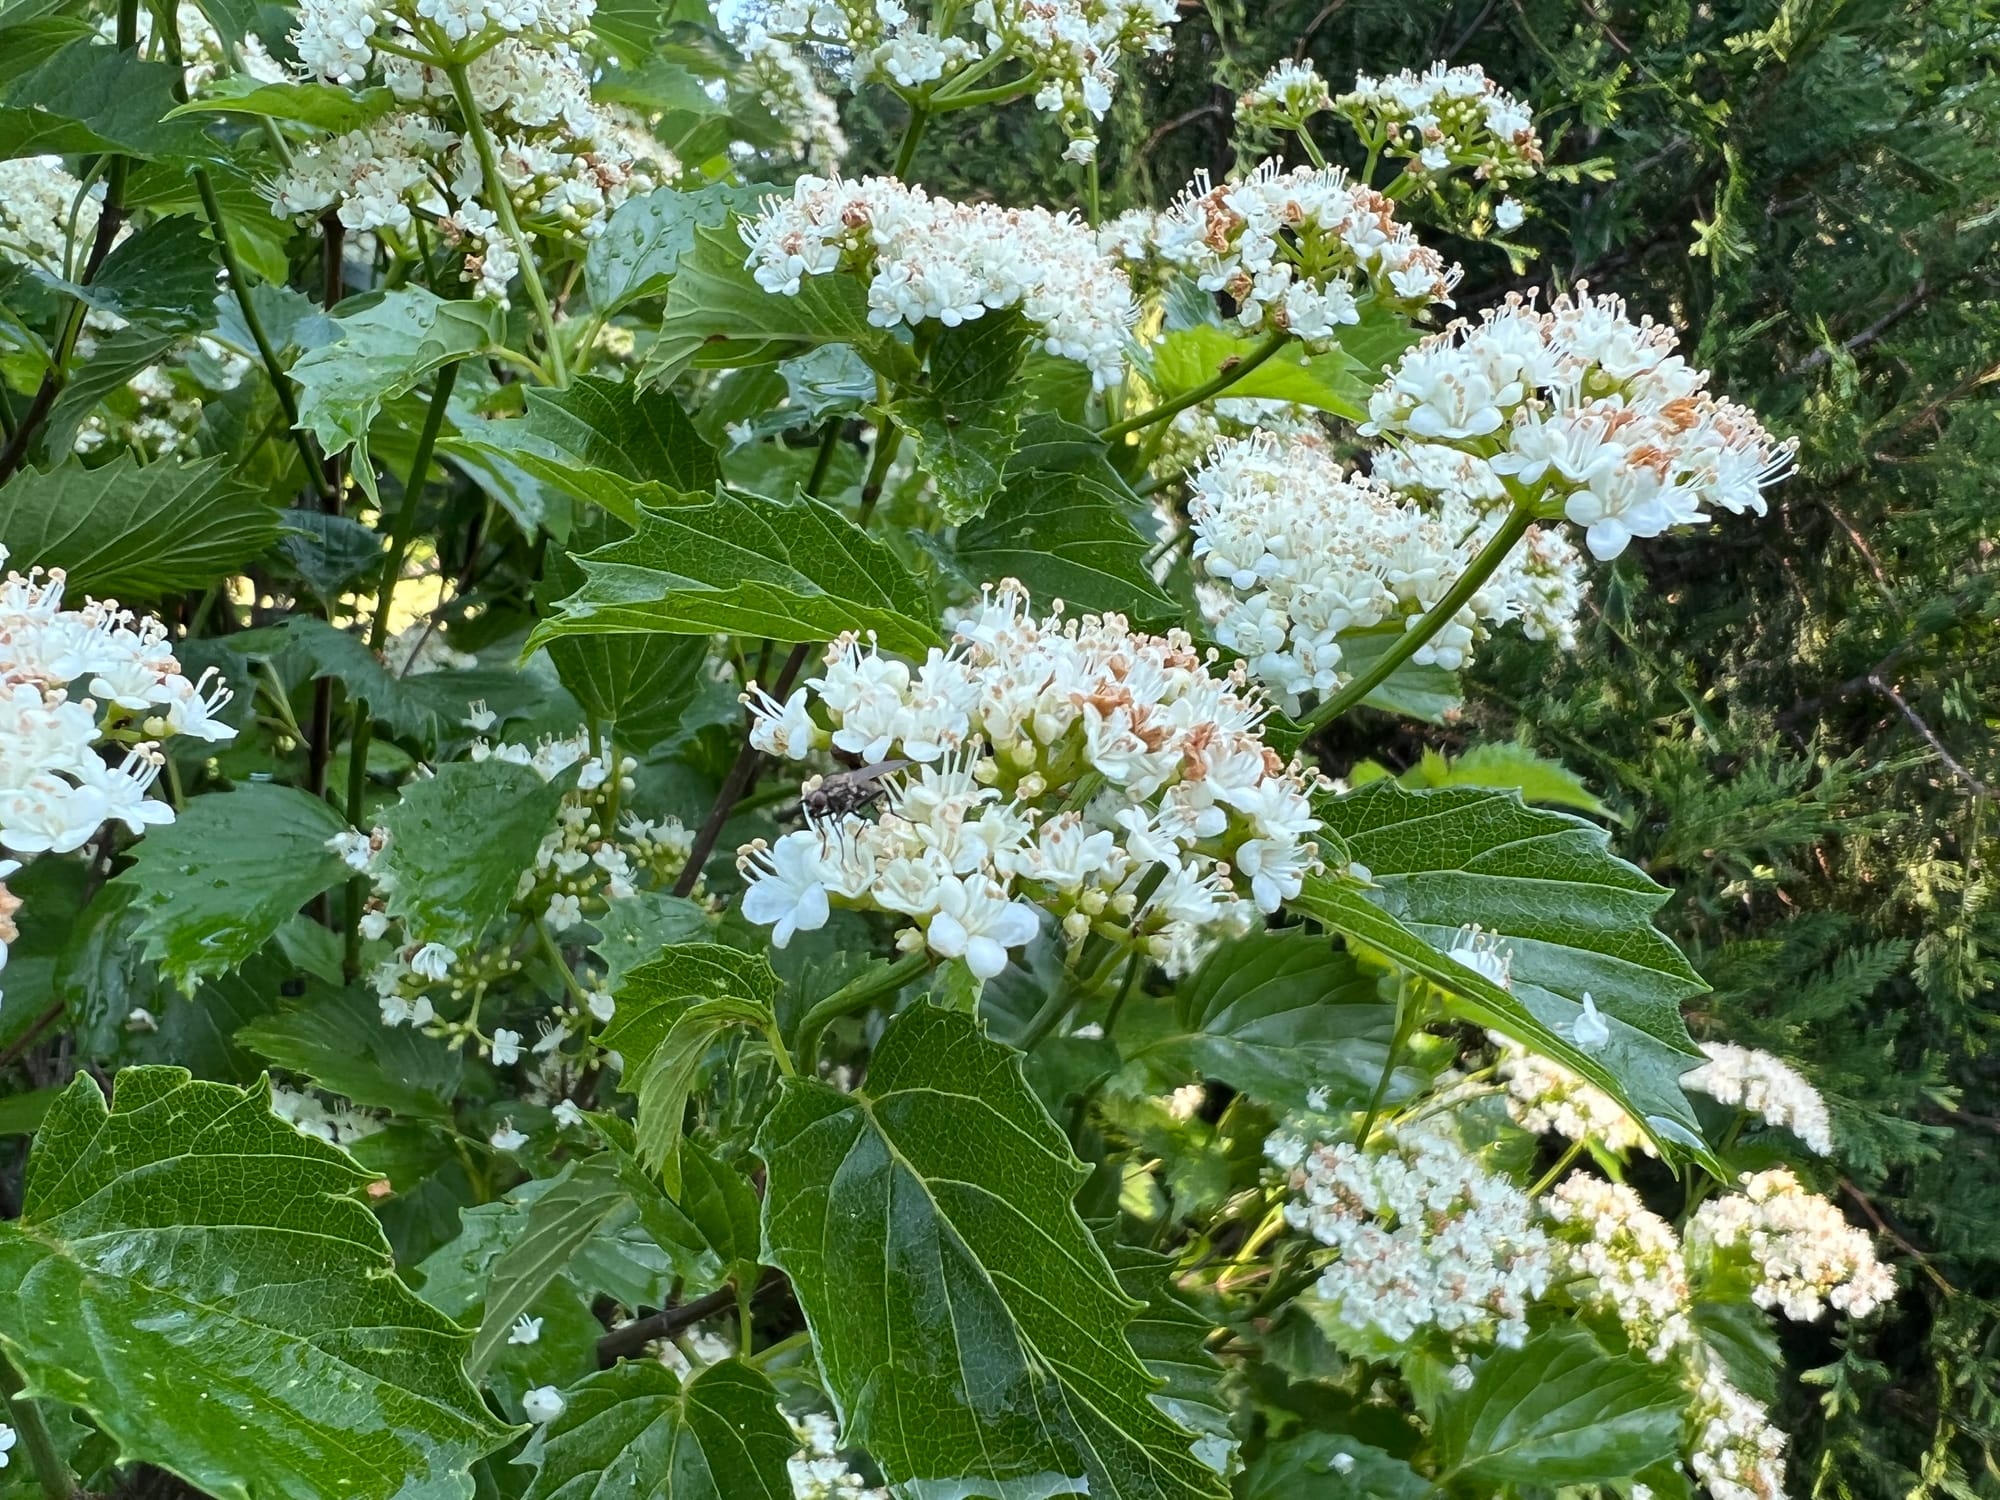
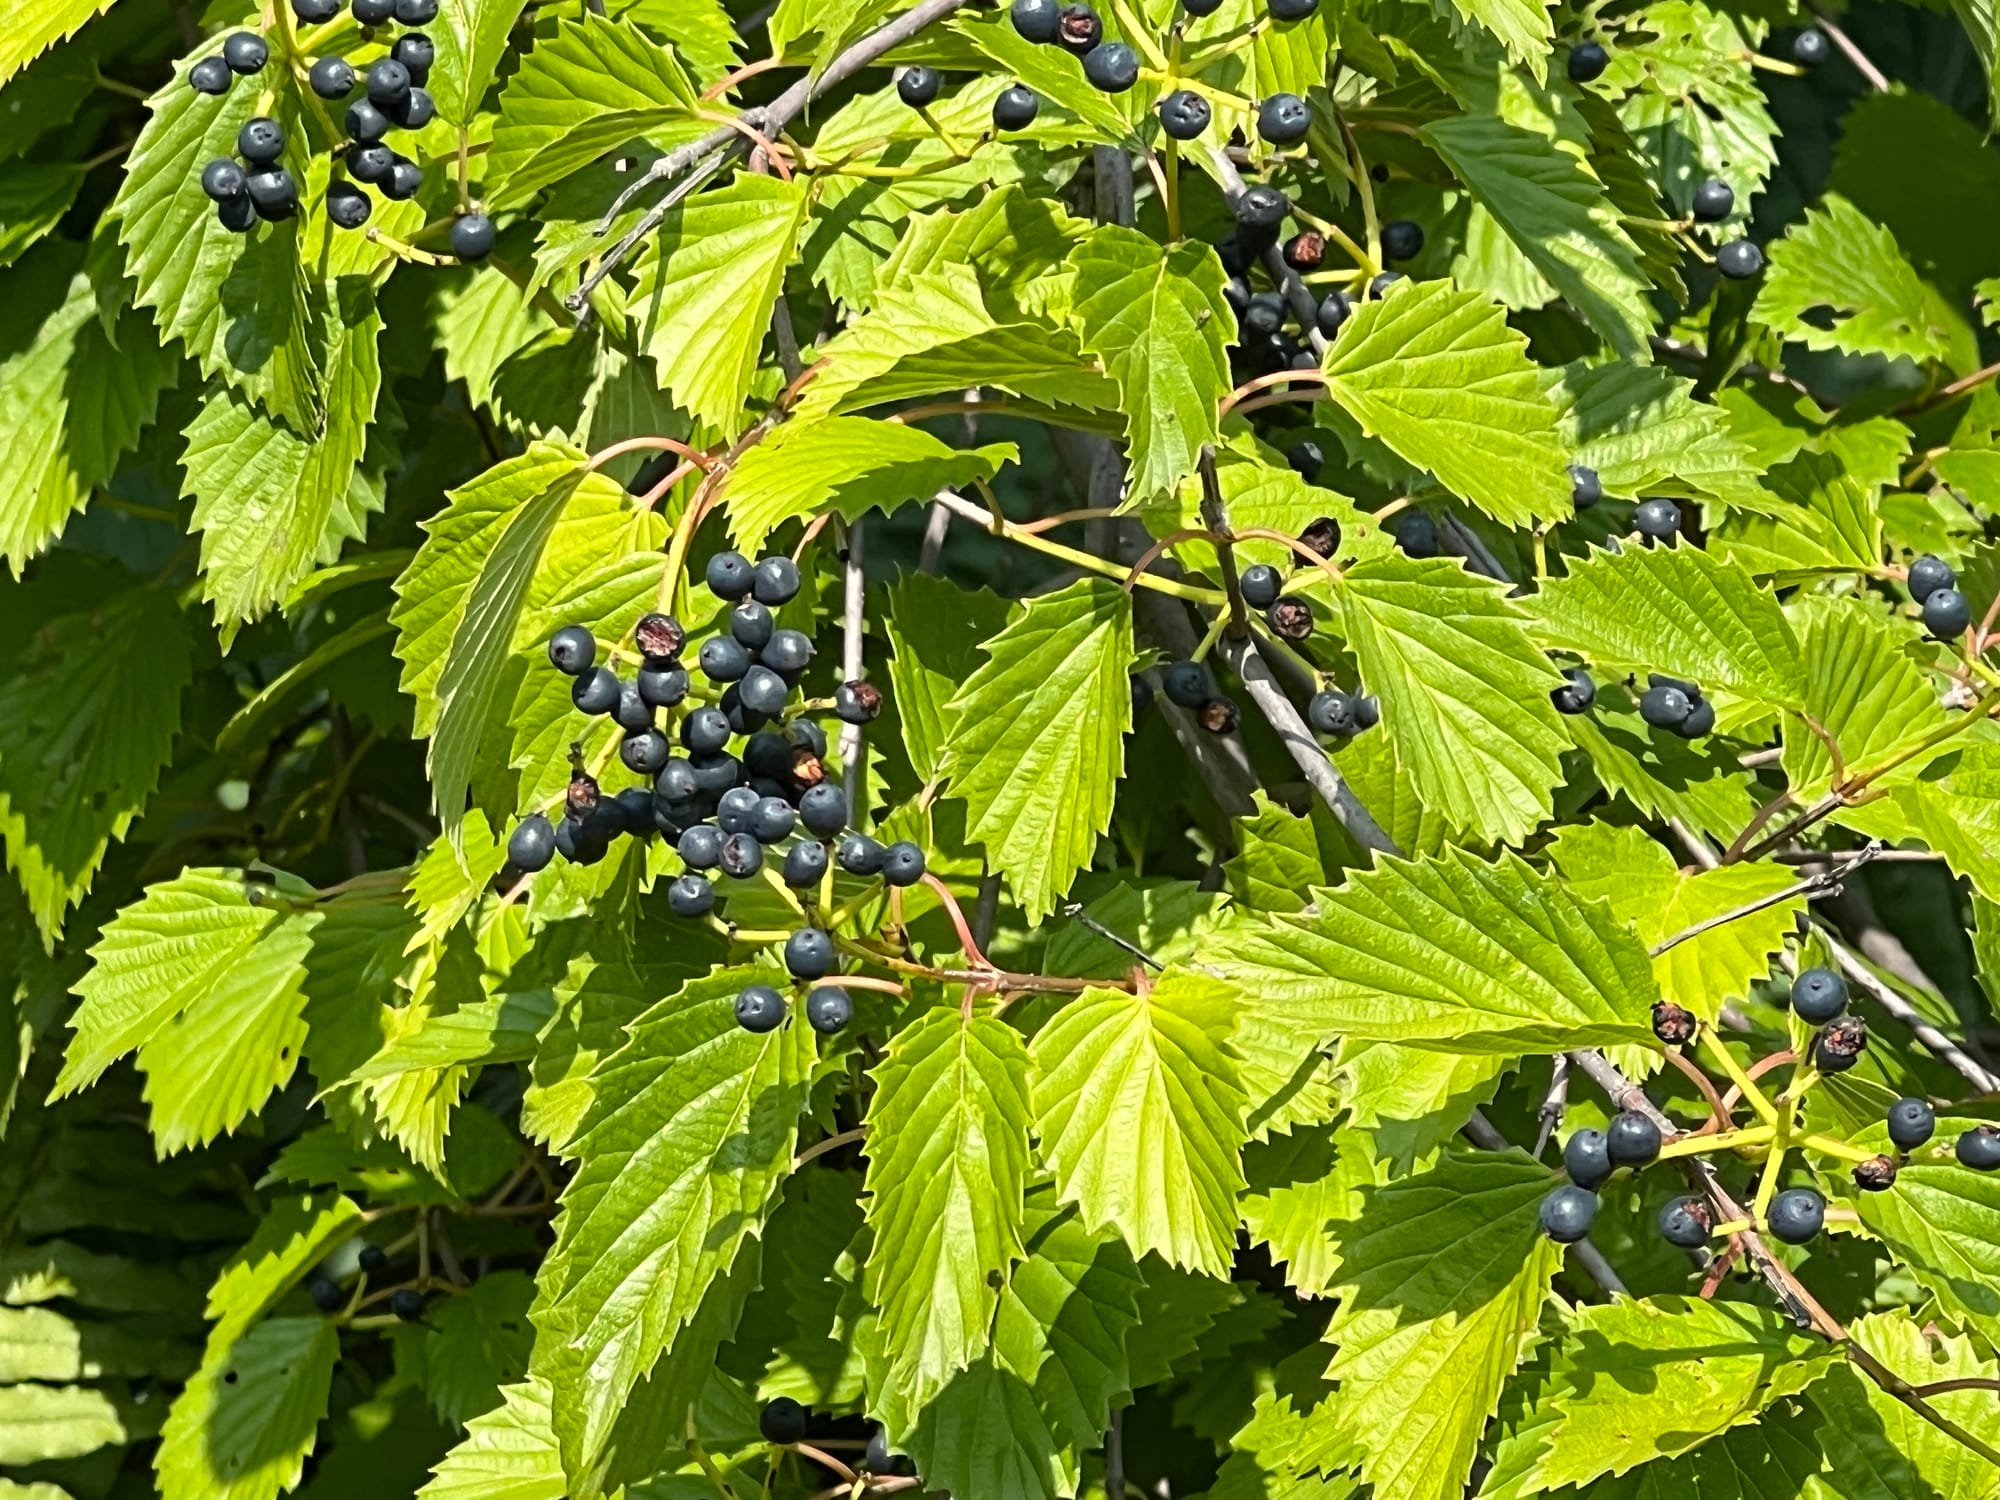
Blue Muffin Viburnum (Viburnum dentatum 'Christom') With Showy Flowers And Fall Fruit
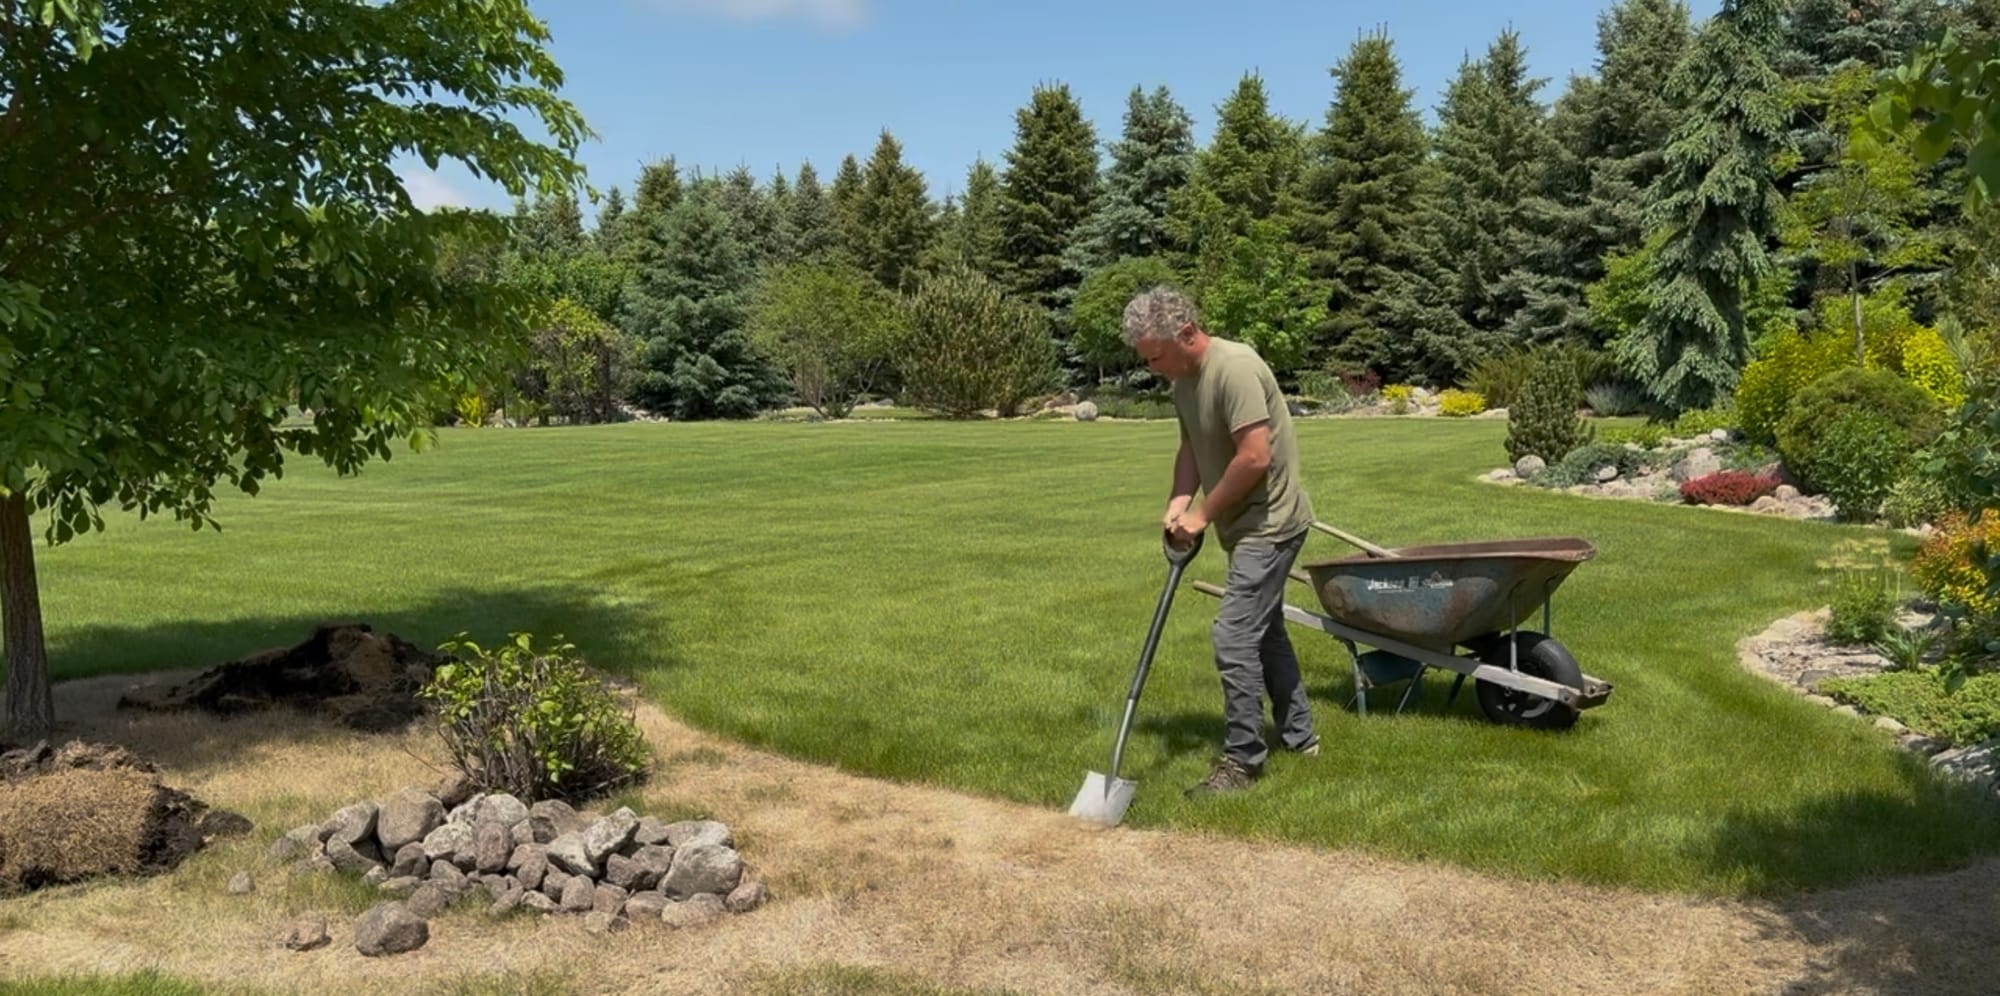
And that brings us to how I constructed our Viburnum's new home. The video here shows the entire process from start to finish. But I’ll also summarize with some photos and short descriptions below.
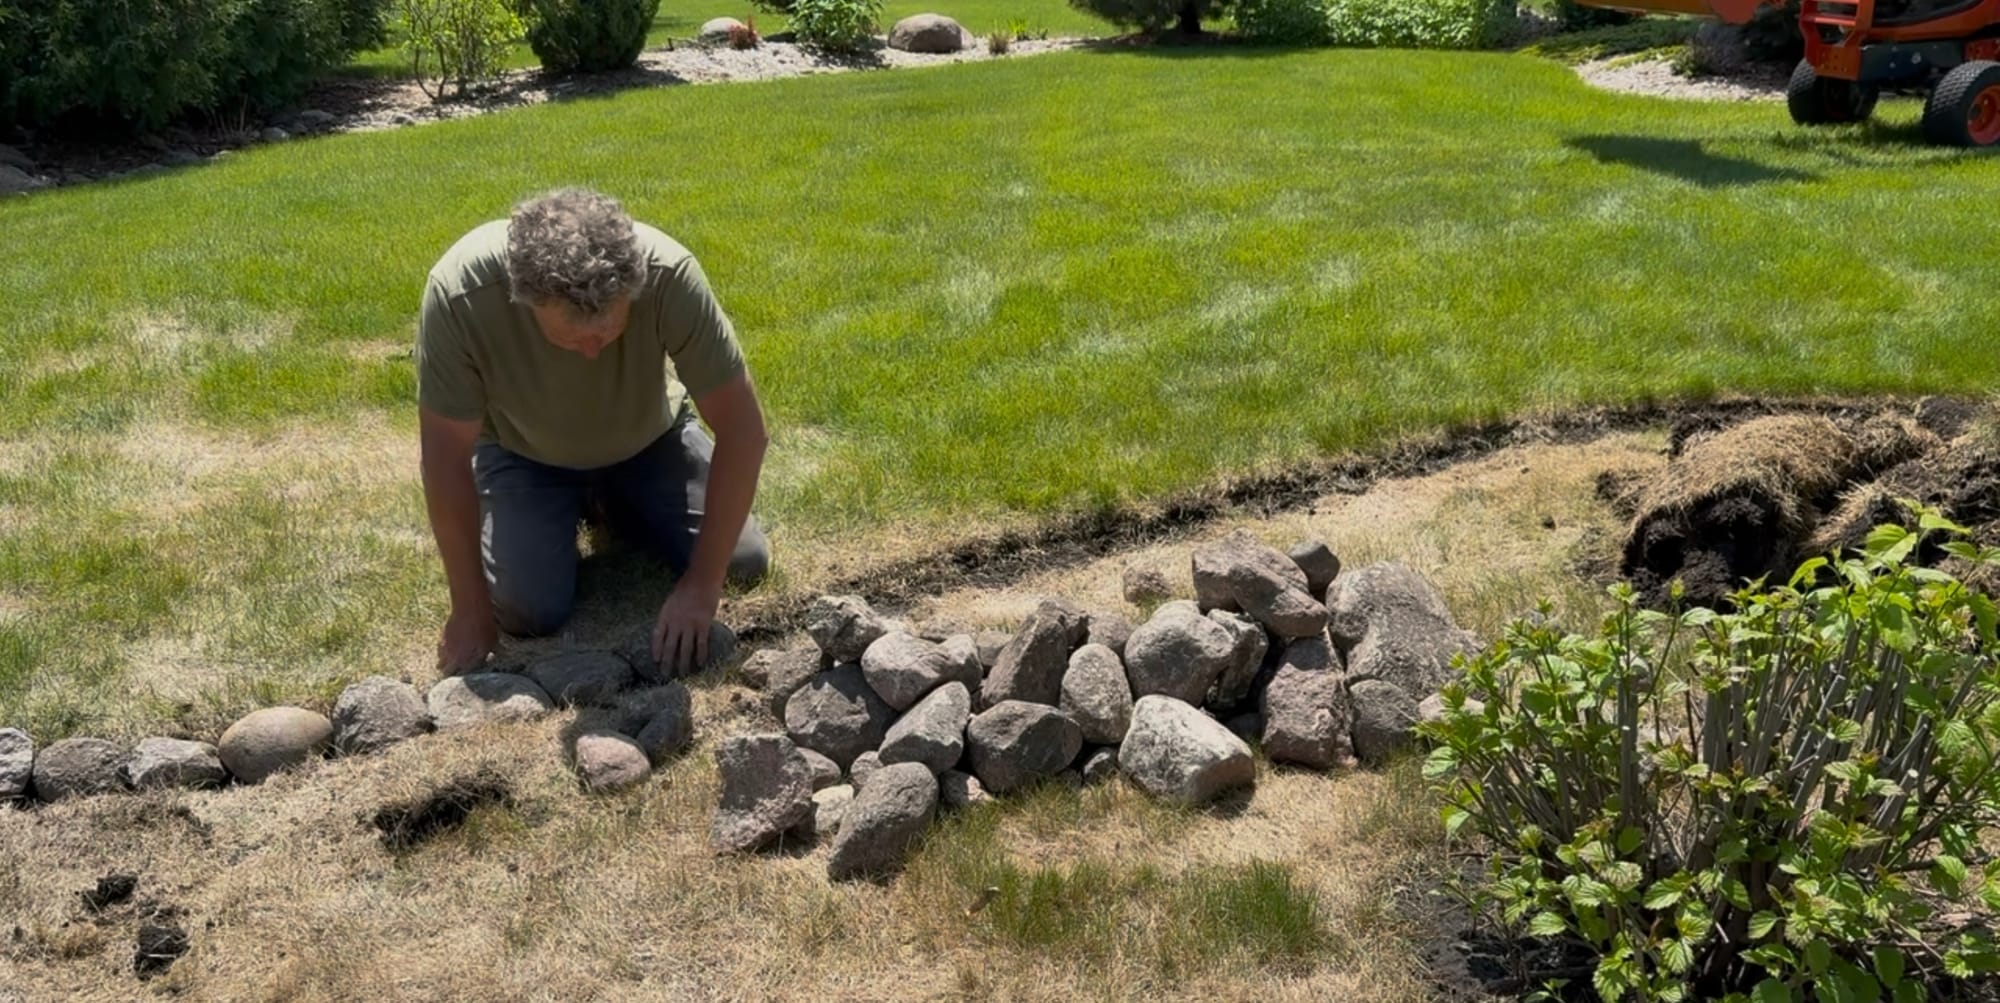
When creating new beds, I always like to lay out a garden hose to visualize how it will look before installing the edging. As you can tell by the leaves on the ground, this project started in the fall. When spring rolled around, I waited for the lawn to start growing, then sprayed an herbicide on the area to kill the grass. This is a lot easier than removing the sod and then filling the void with new soil.

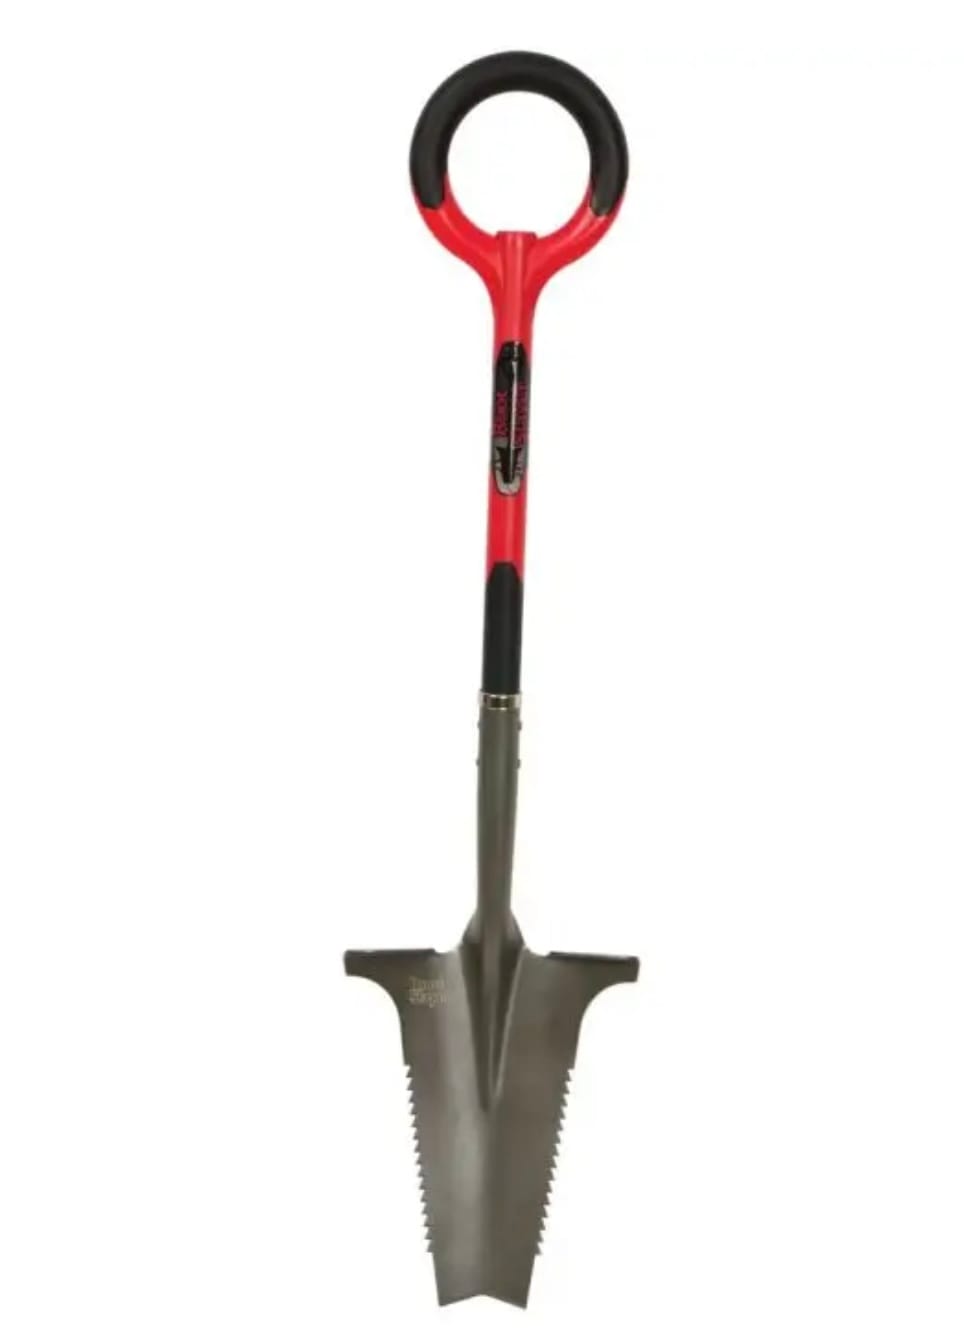
Radius Root Slayer
This will become your go-to-shovel. Excellent for cutting roots and penetrating hard compact soils.
When you purchase through links on this site, we may earn a small commission at no additional charge to you.
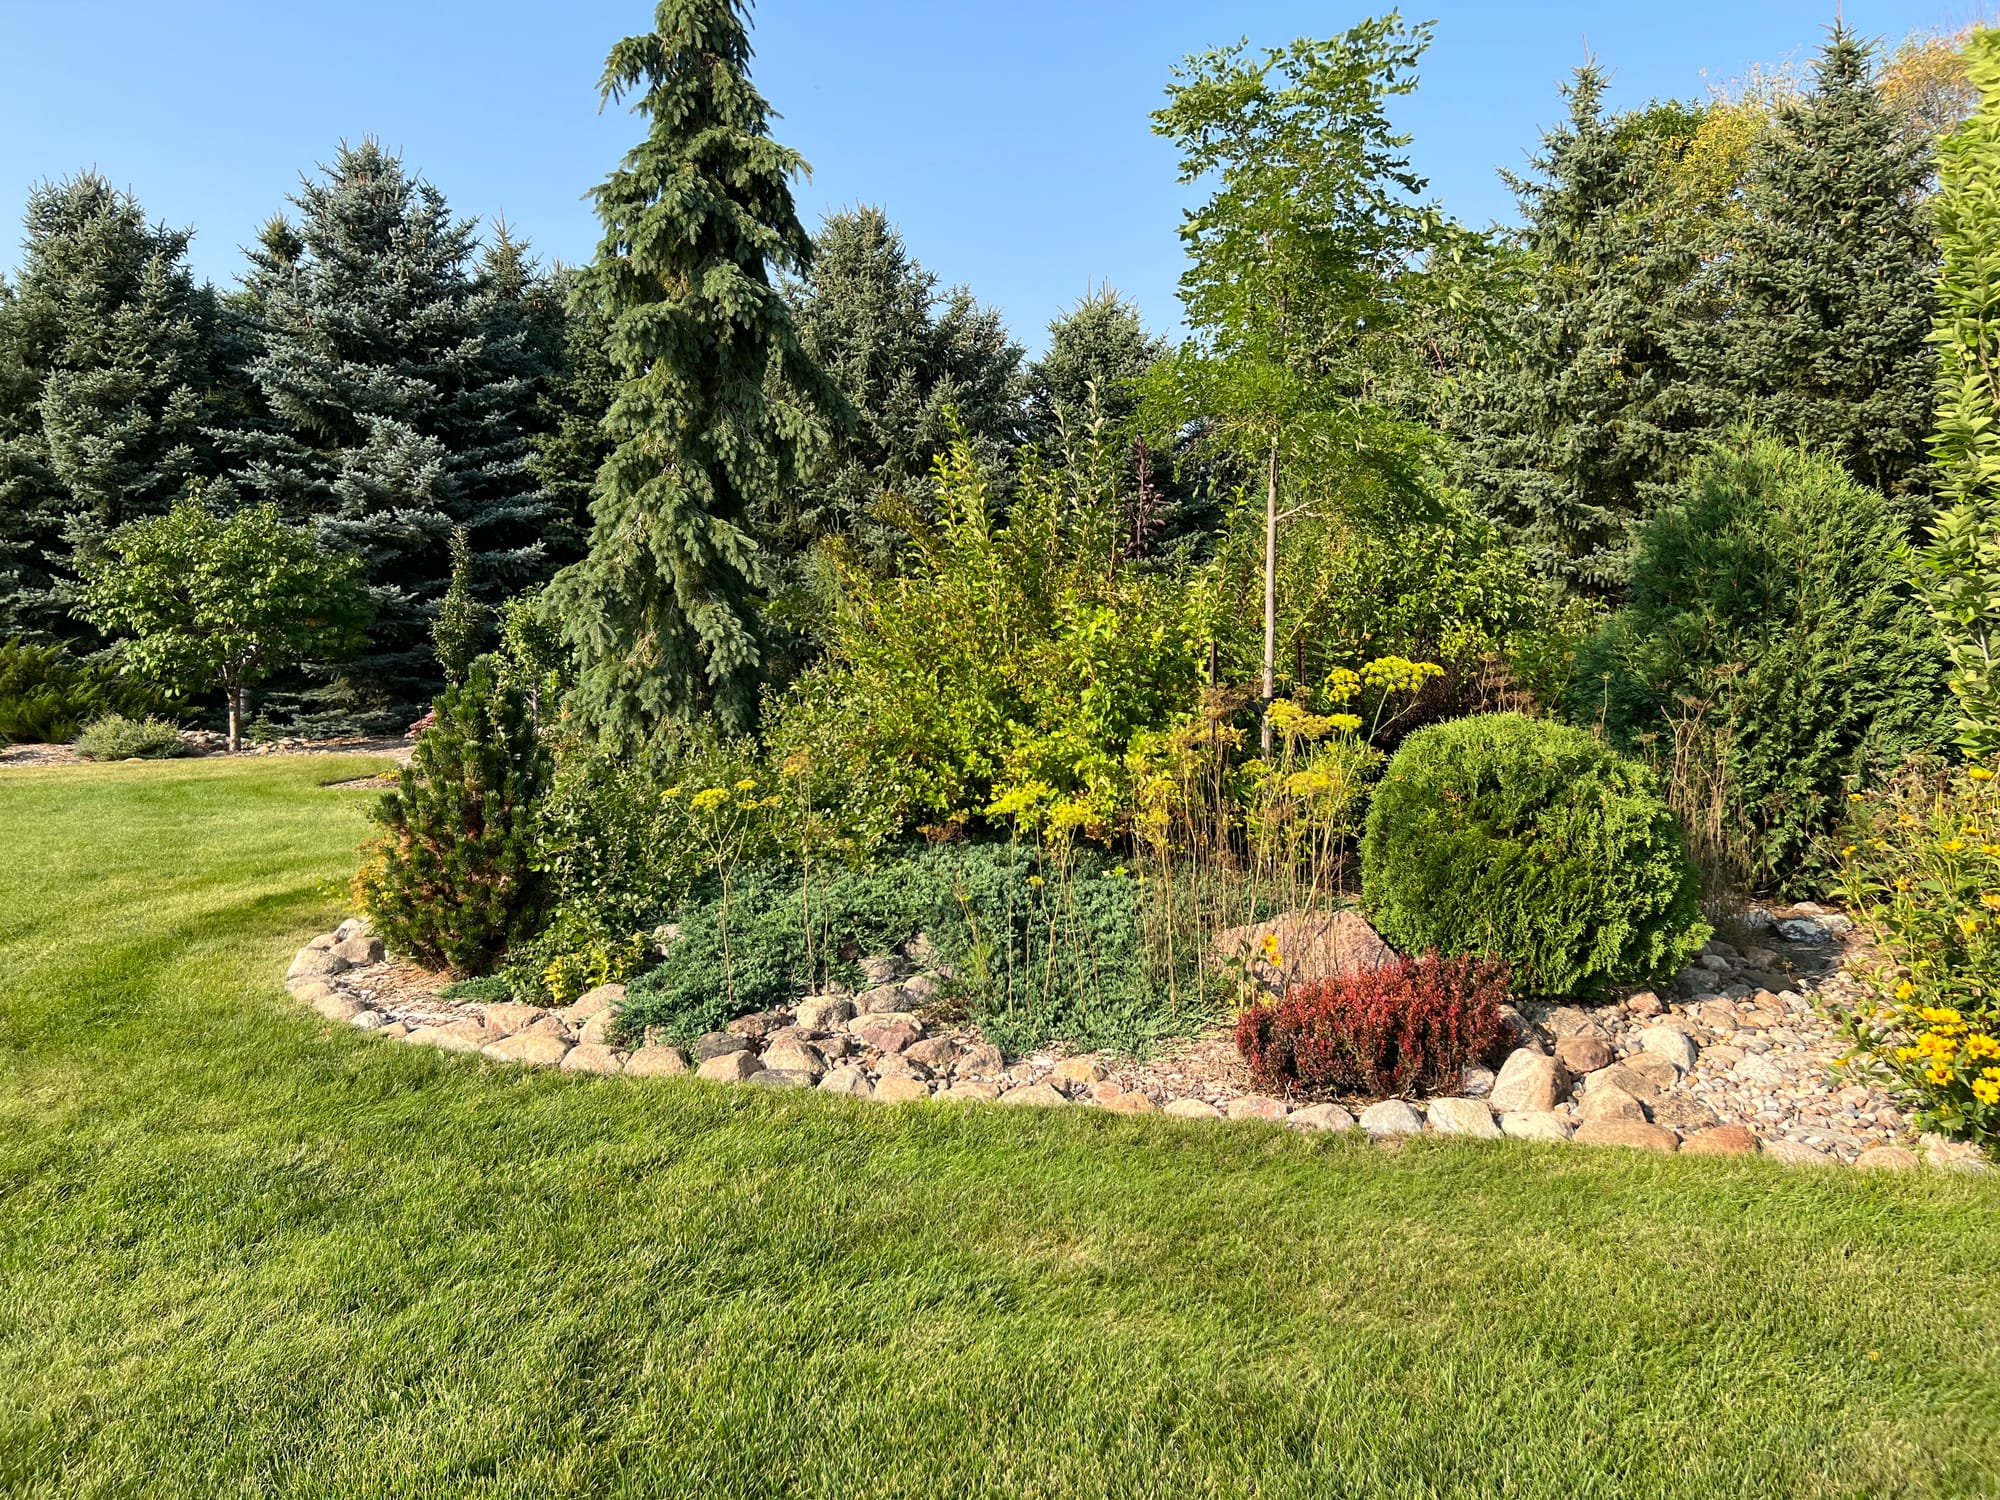
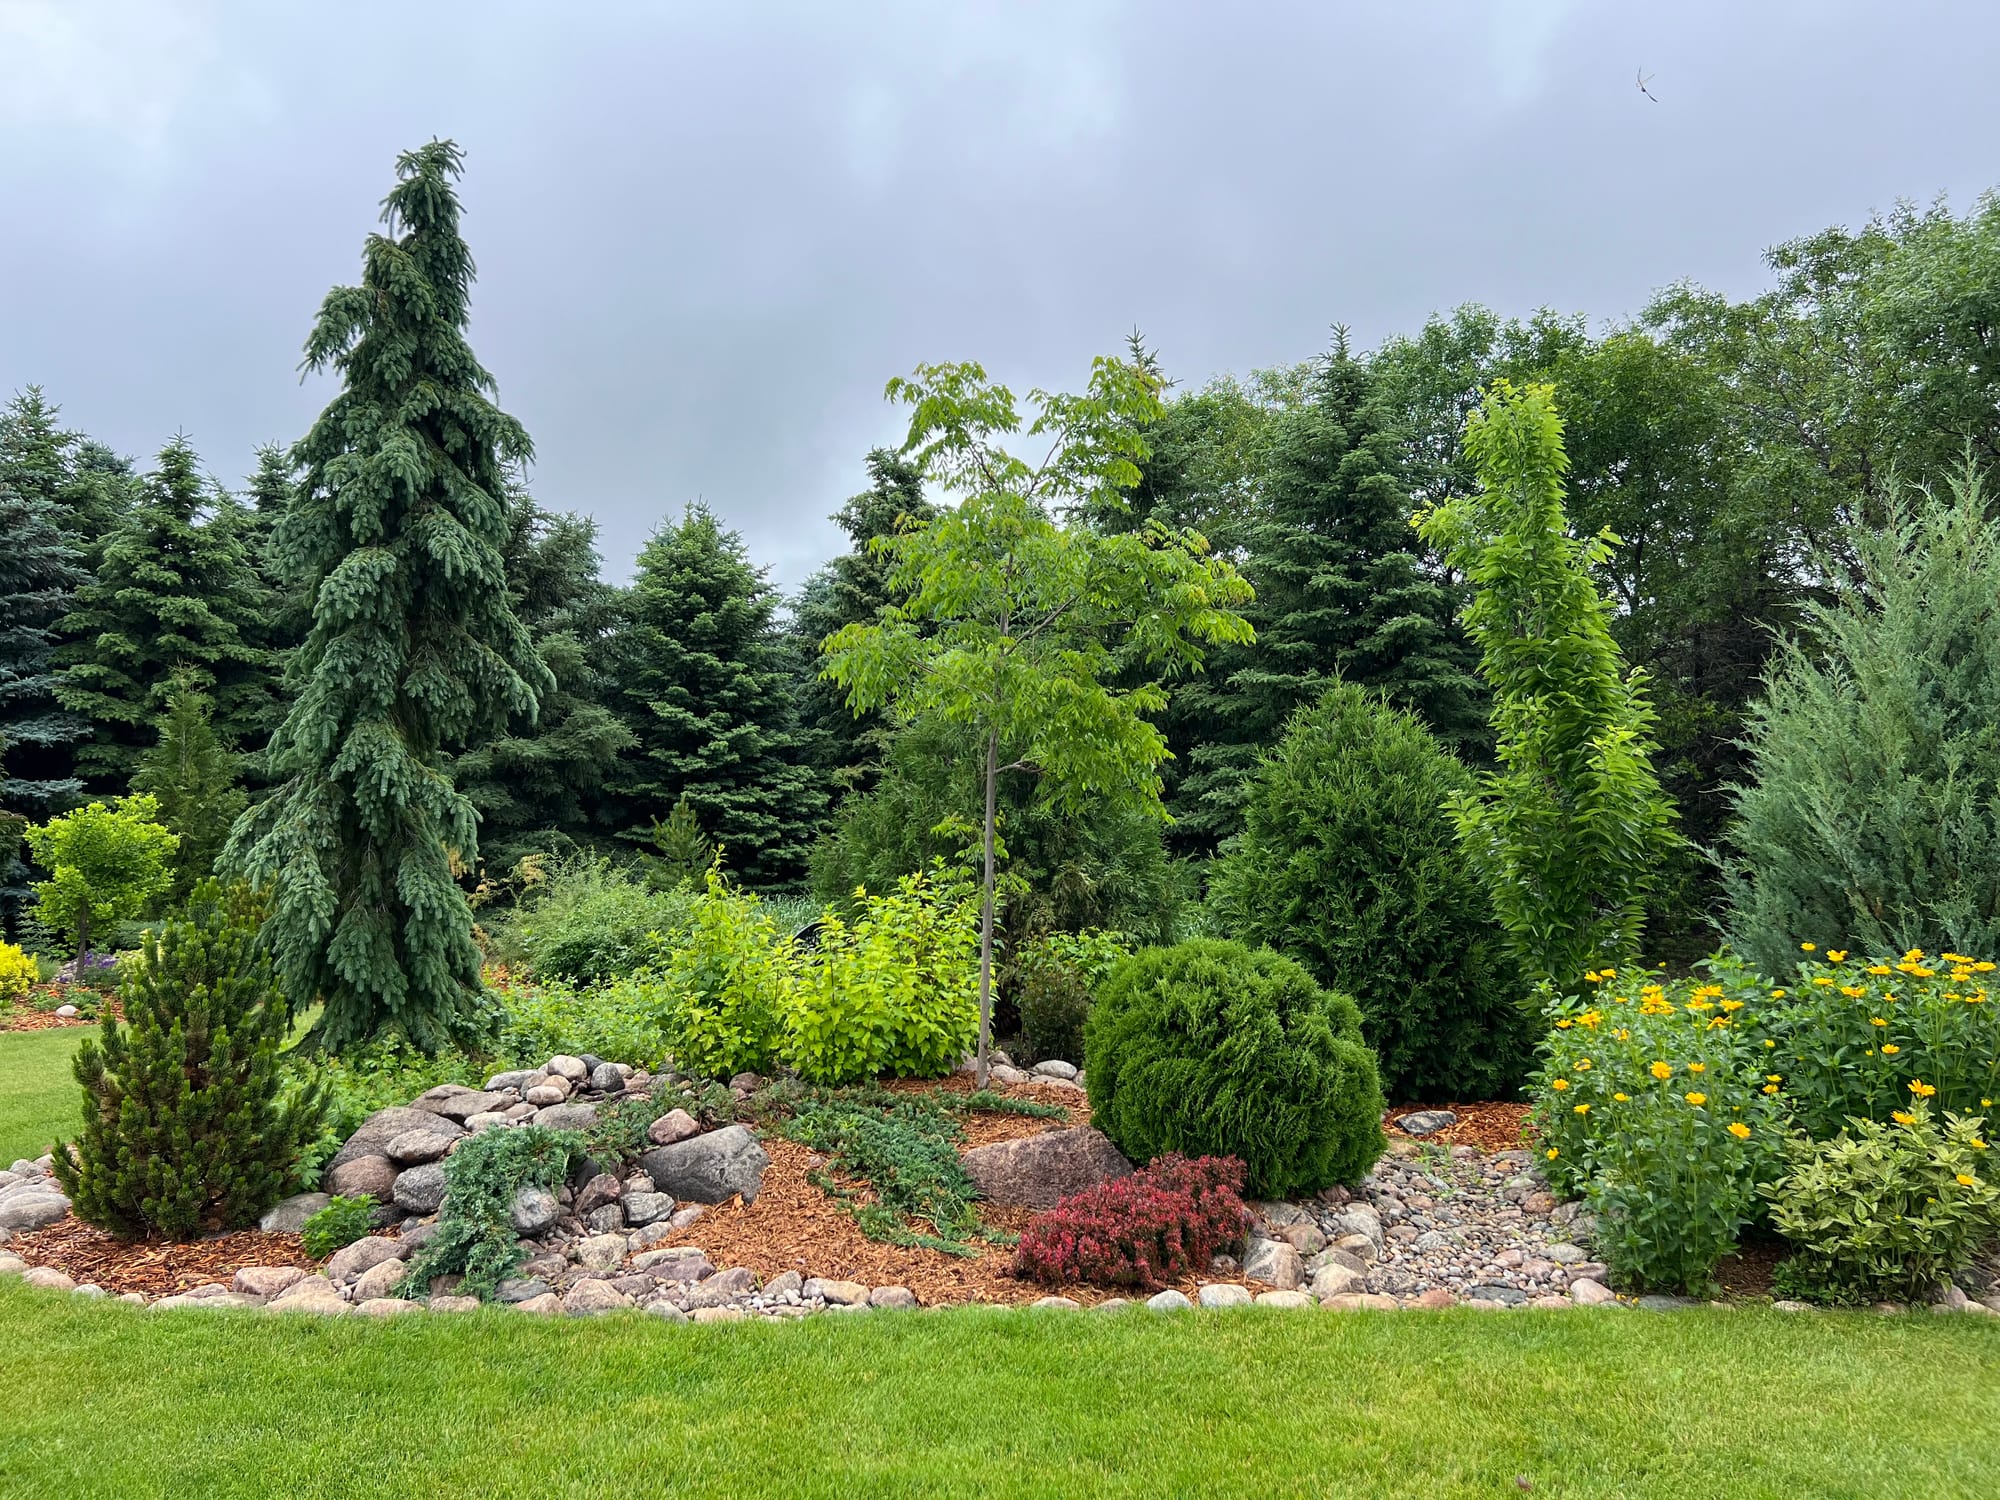
I’m big on curves and have added raised berms in nearly every bed I have created over the years. If interested, this Spring Rain Garden Tour shows many of those earlier beds I've installed.
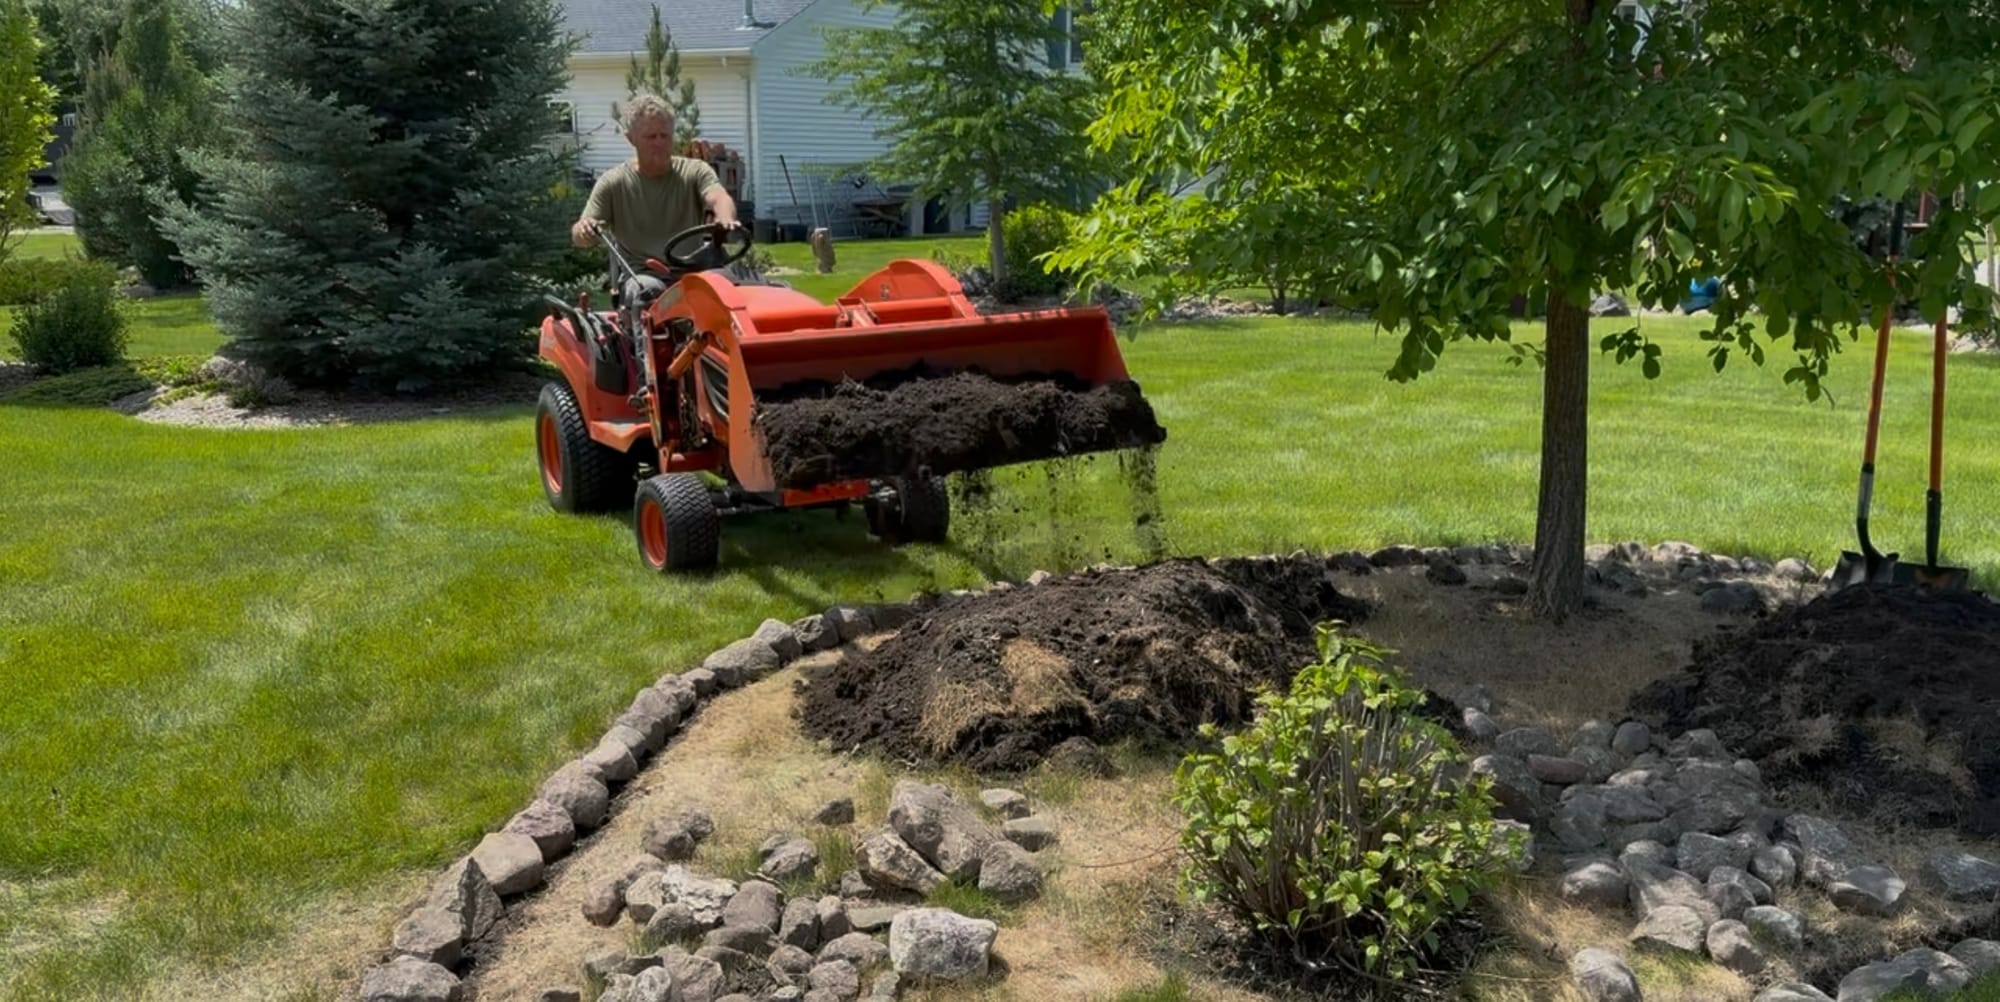
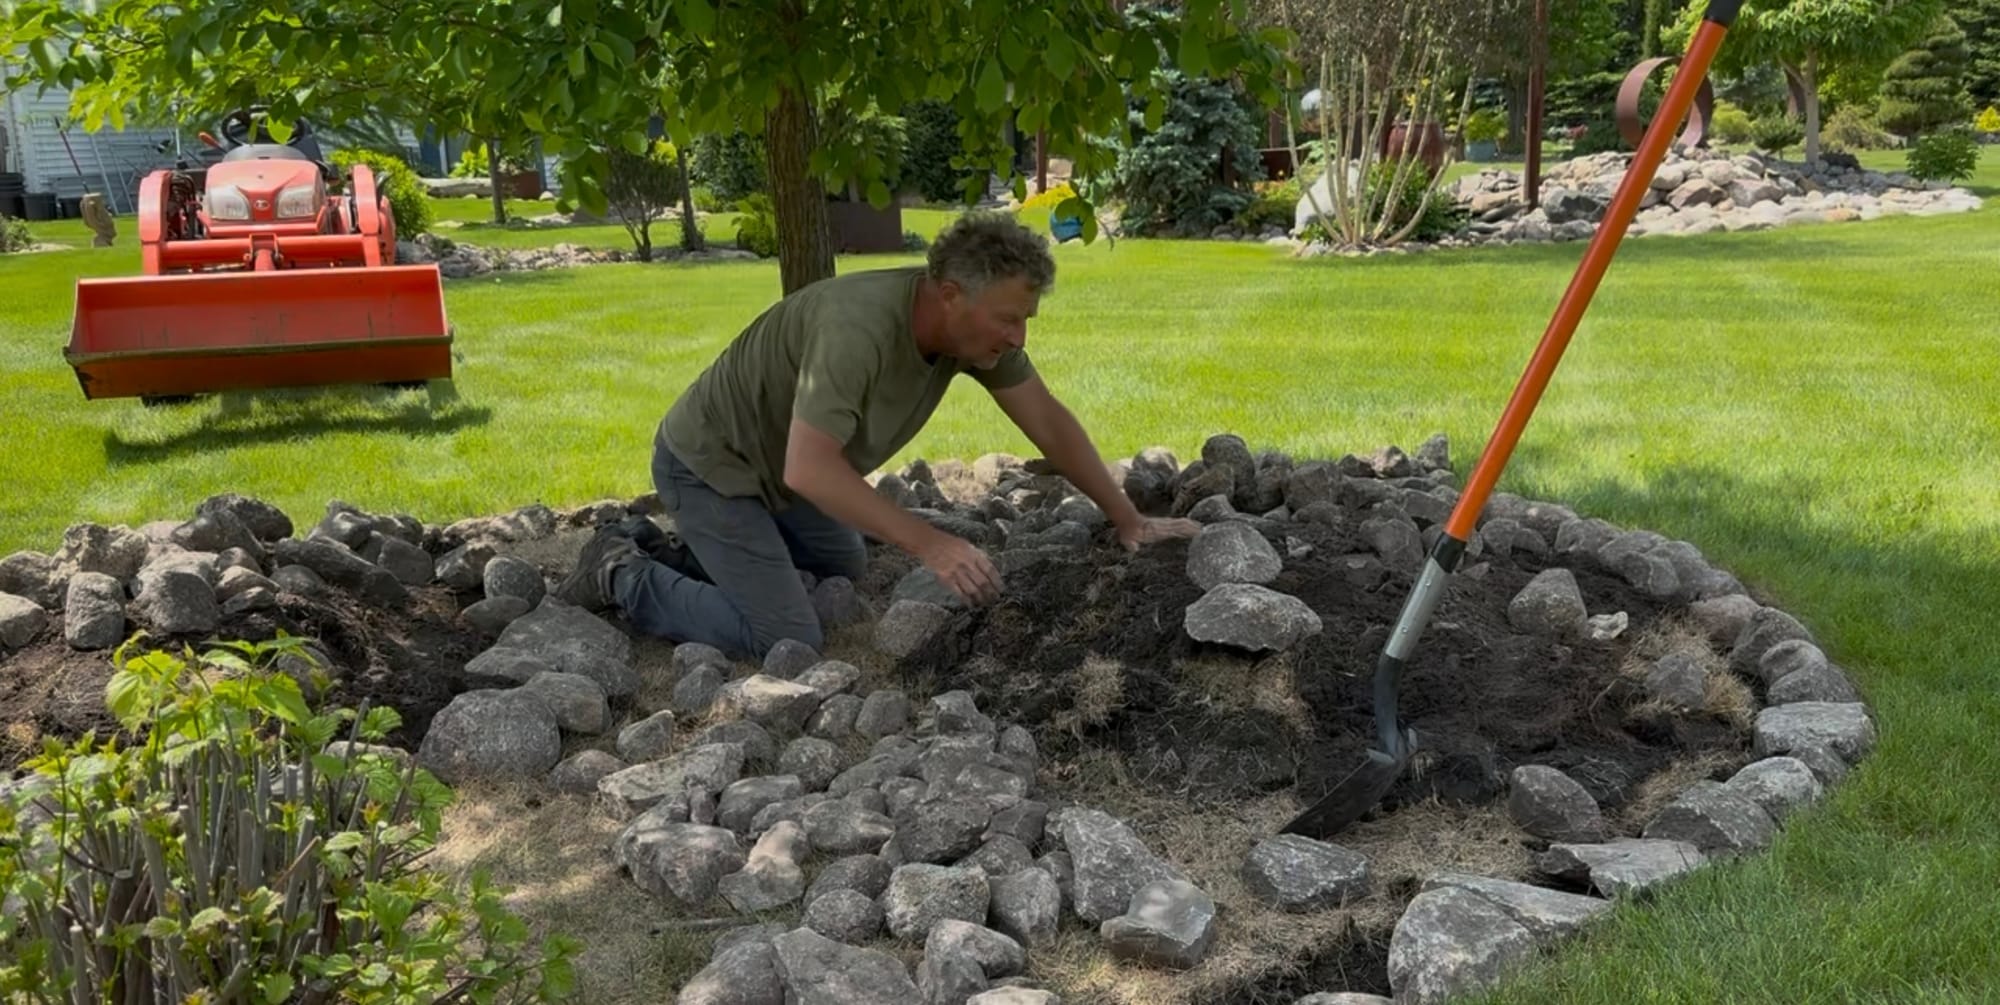
A slight change in elevation makes a big difference in the appearance and "feel" of our gardens and landscapes, resulting in a more natural look. And when digging the trench for the edging, it gives me a place to use the sod pieces. Before adding the rock and mulch, I chop up the sod chunks and add some pulverized soil on the top to make the berms more even and easier to work with.

I love using rock for edging, but it definitely adds more maintenance, since grass can grow between the gaps and prevents the mower deck from extending over the edge when cutting. I like the rustic look of rock, and it is plentiful in my area, so it is easy to source. But a good string trimmer and occasional use of herbicides are necessary to keep that edge looking neat and clean.

I rarely use weed barriers like poly or fabric. I feel it only offers short-term, effective weed control. Within a few years, it seems that weeds begin to germinate on top of the barriers anyway, as sediment builds up. So I install my rock and mulch directly on the soil surface. Sure, I get more weeds initially, but after that first year, I don’t find it hard at all to keep up with the weeds. And not having those barriers in place also allows perennials and shrubs to self-seed and spread more naturally. I think avoiding the barriers is better for the plant's long-term health, too.
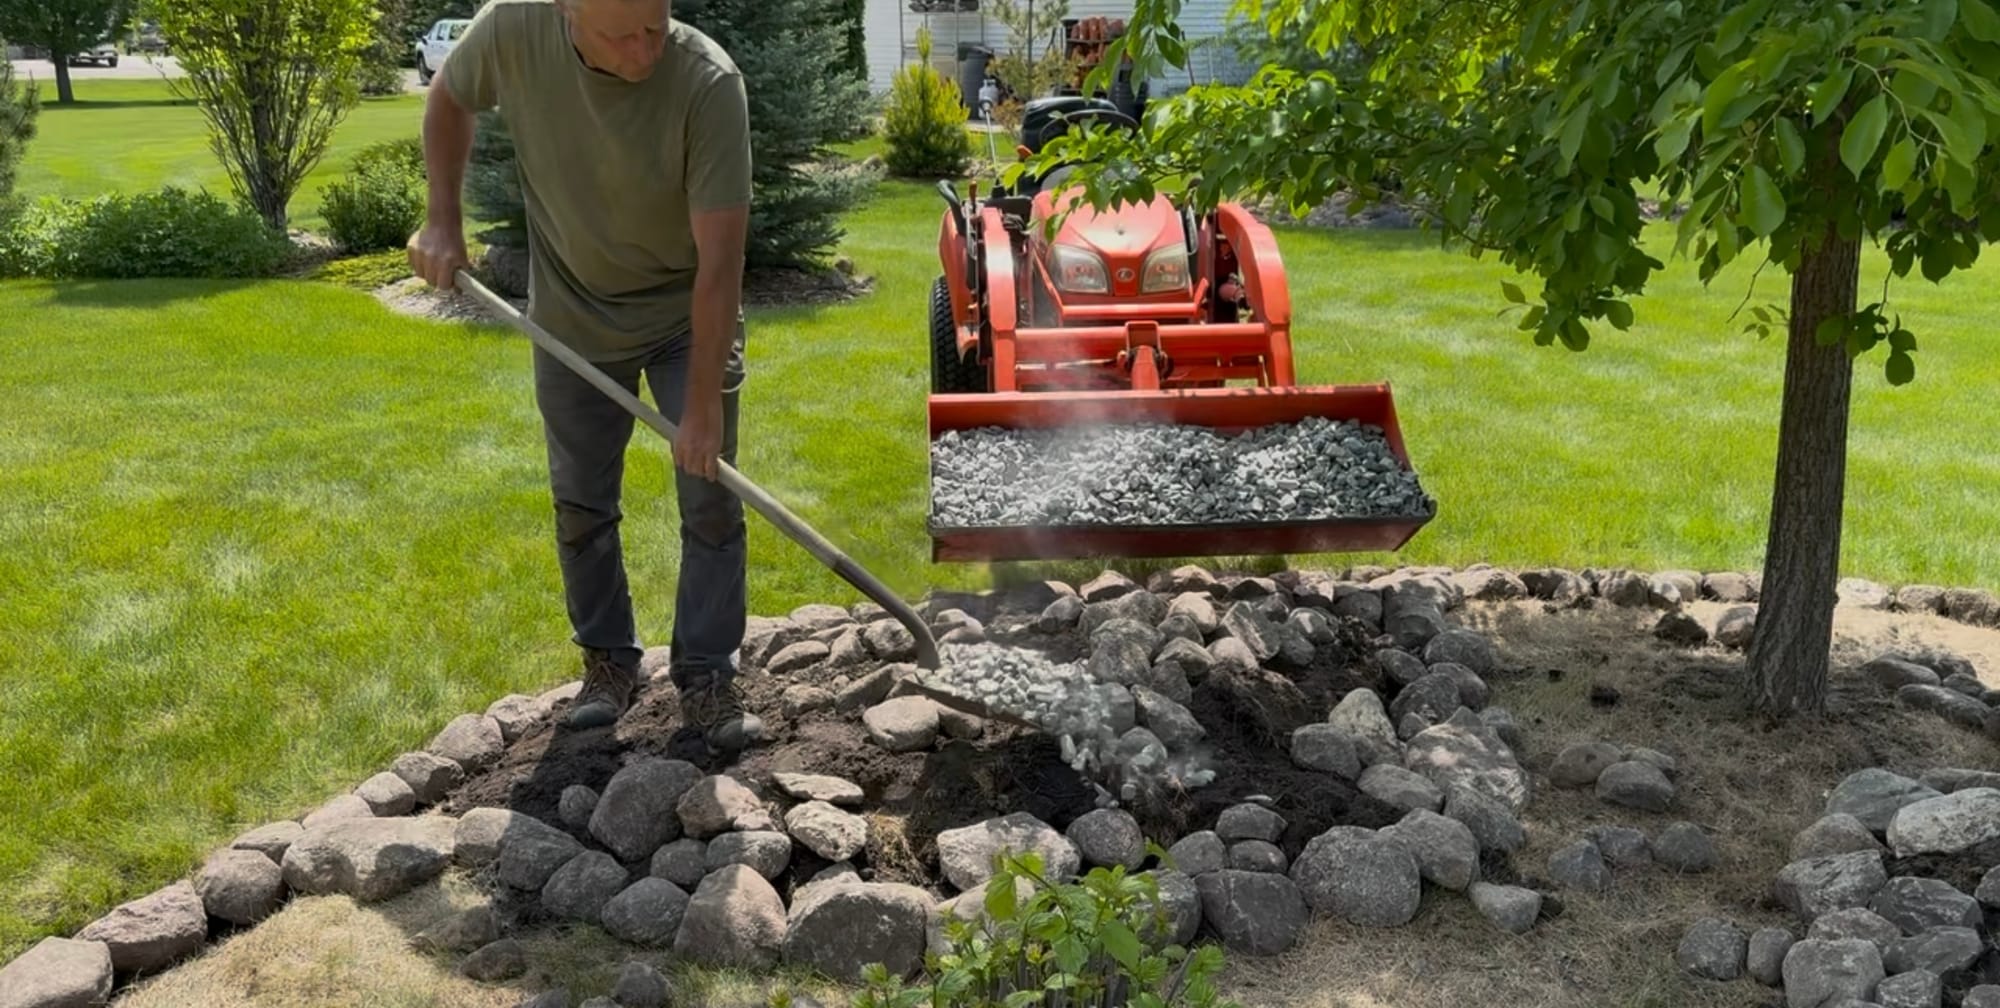
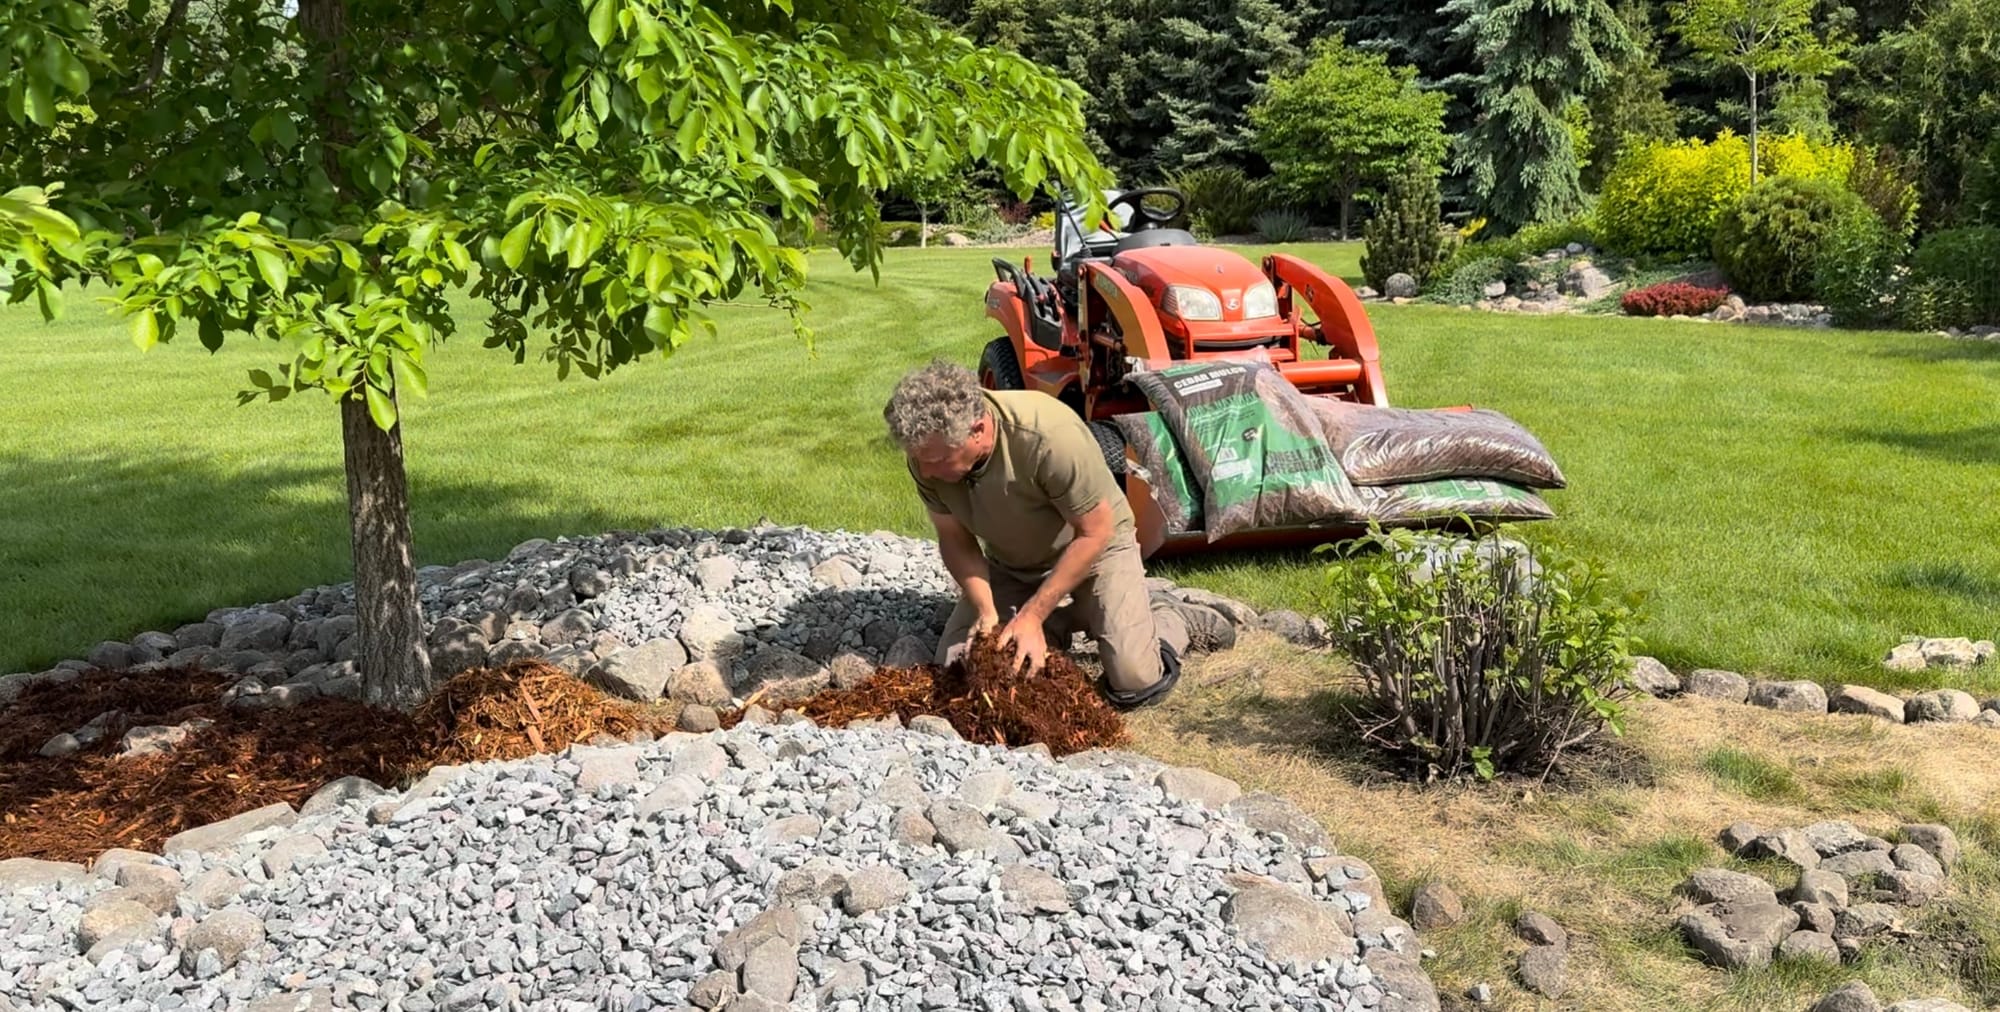
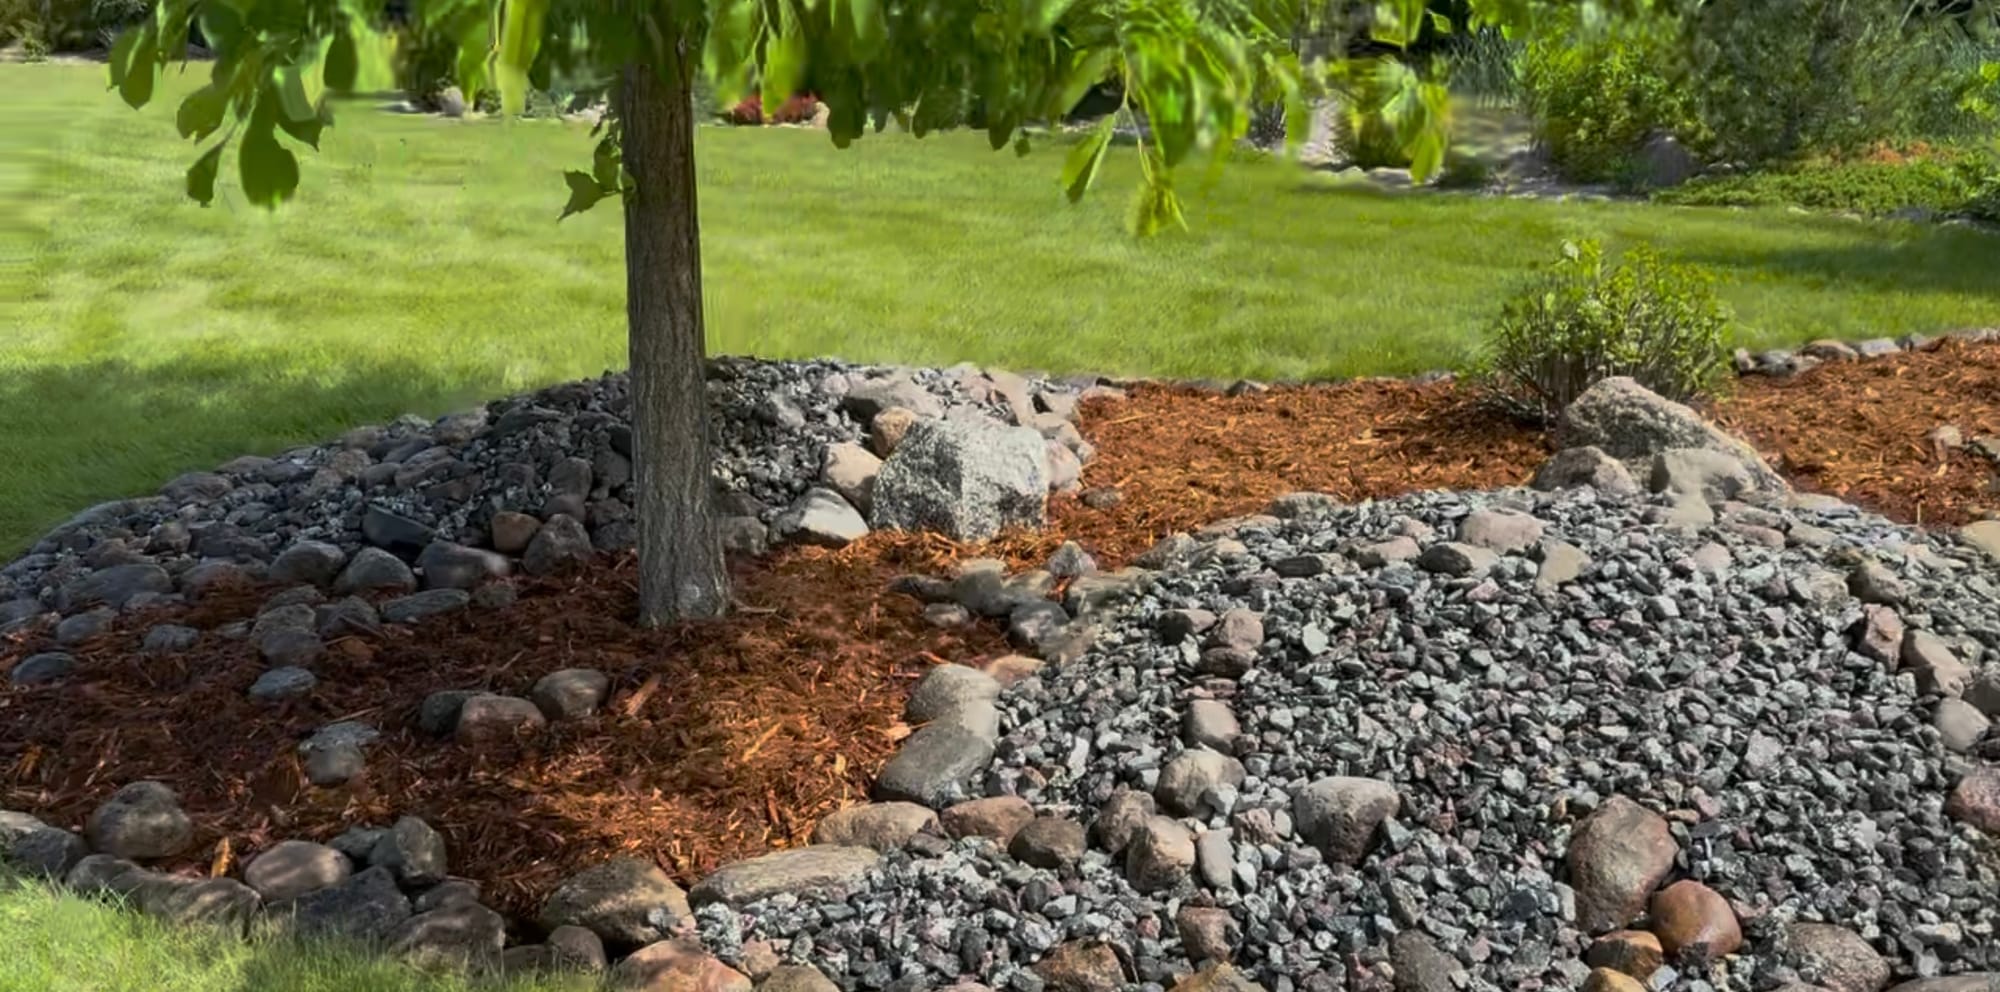
I also love using different-sized rocks and mulch together. The trick to keeping the mulch from contaminating or drifting into the rocks is to install the rock on the higher points within the beds. Using rock edging also helps, as it allows you to create a higher lip to keep the mulch, or rock, contained. And I avoid wood chips and prefer shredded mulches, as they’ll nest or bind together, so they're less likely to move in windy locations or during heavy rain events. The mulch I'm using here is a Western Red Cedar.
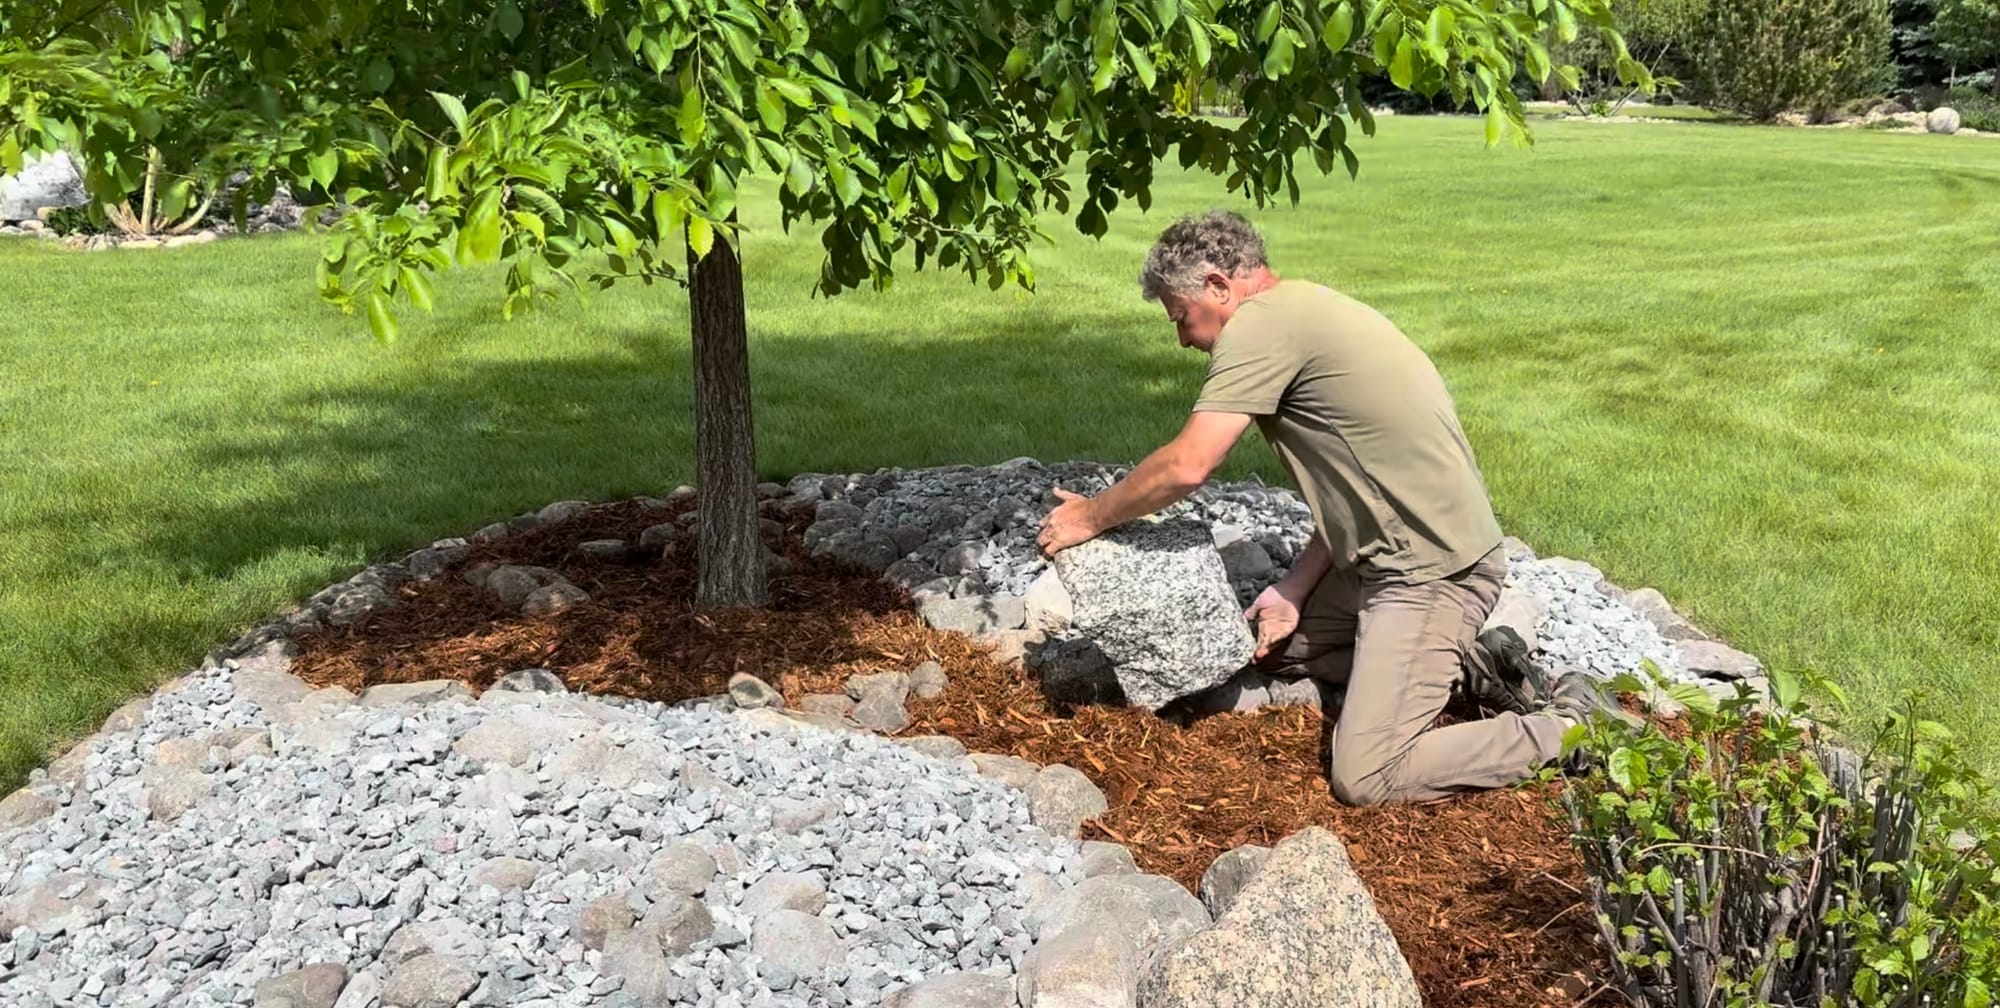
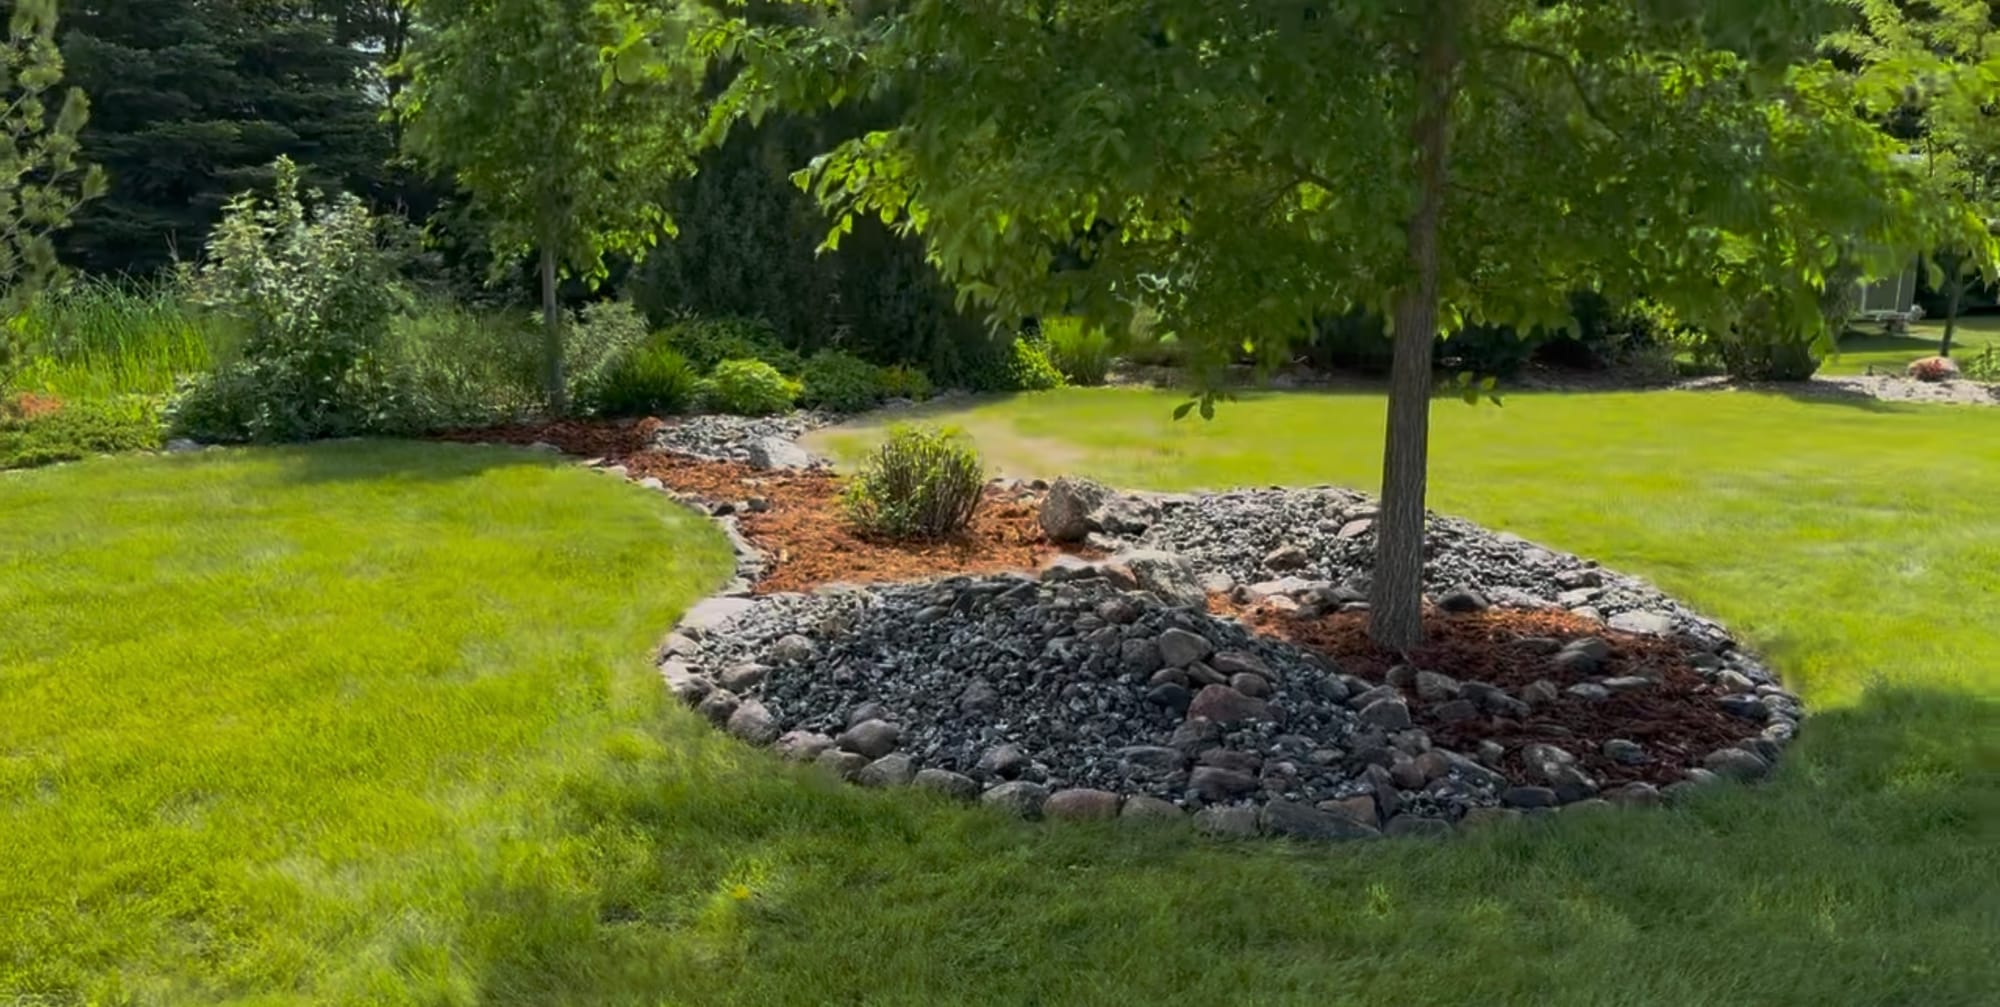
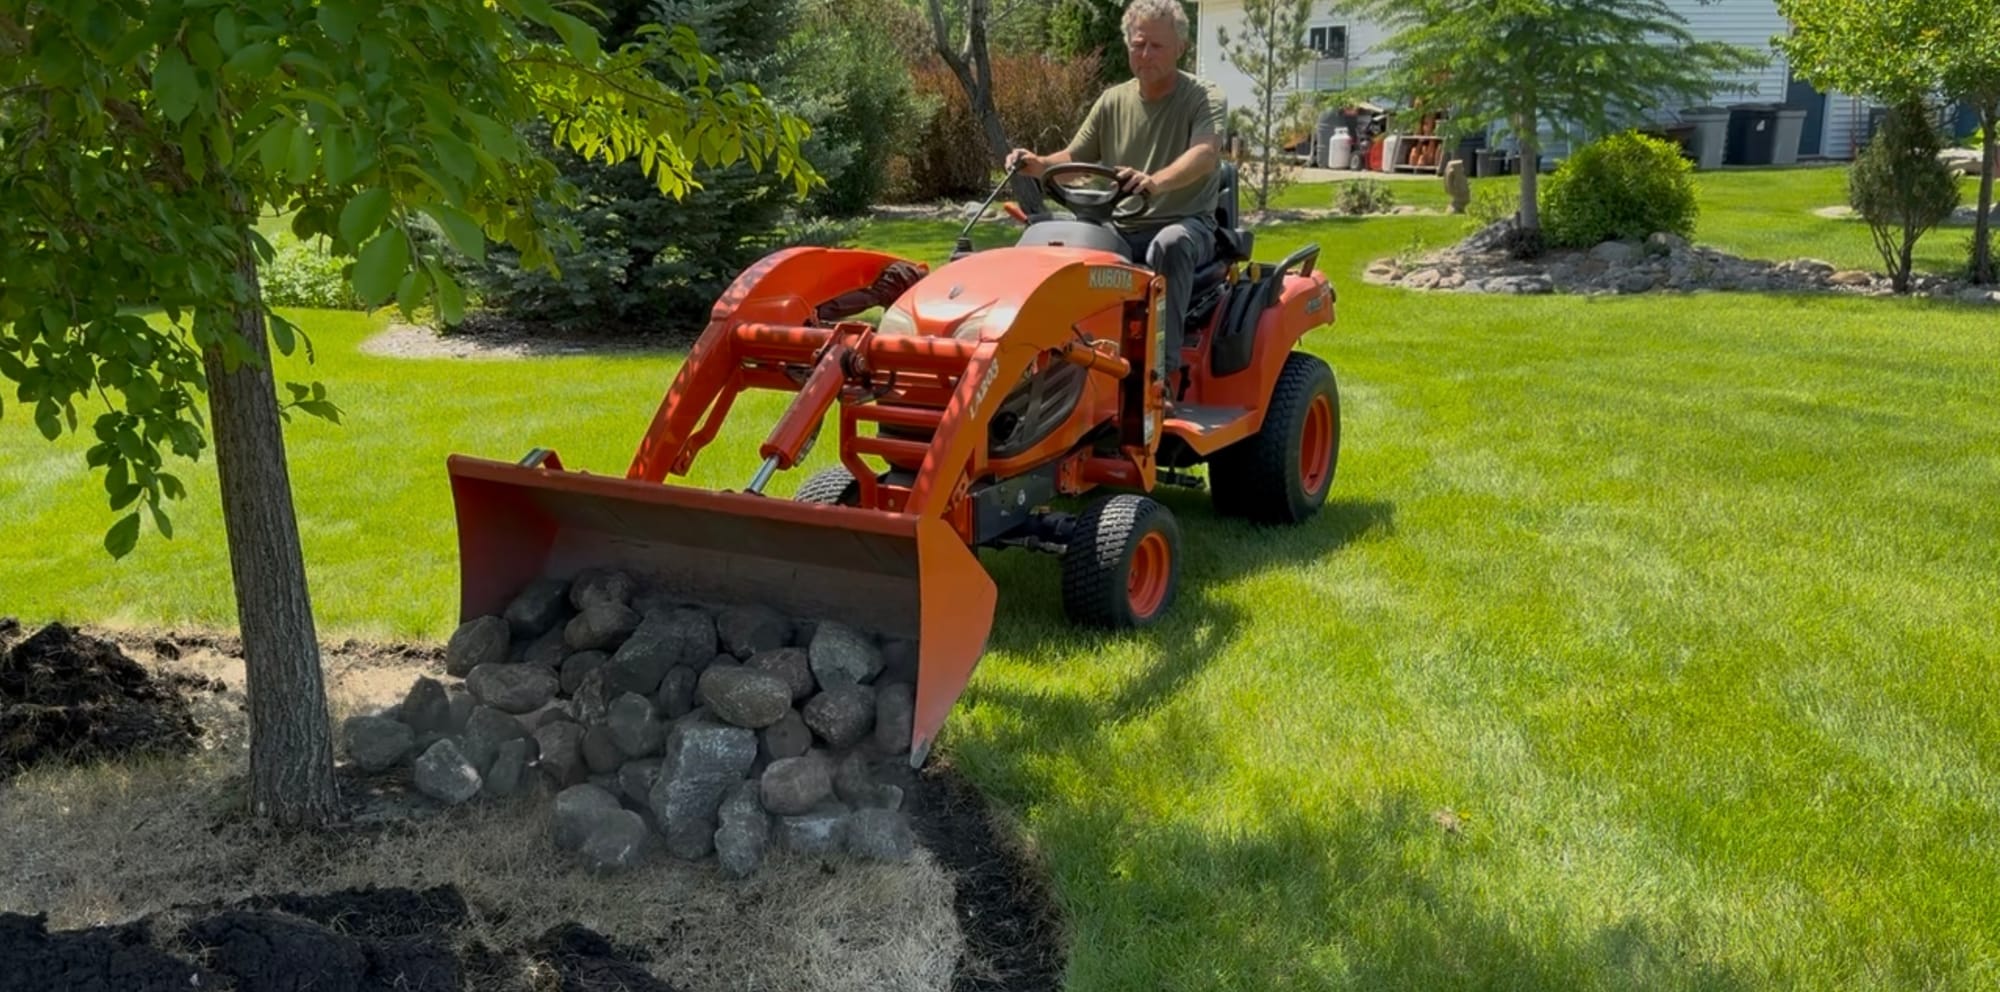
As an afterthought, I also added a few larger boulders for some added interest.
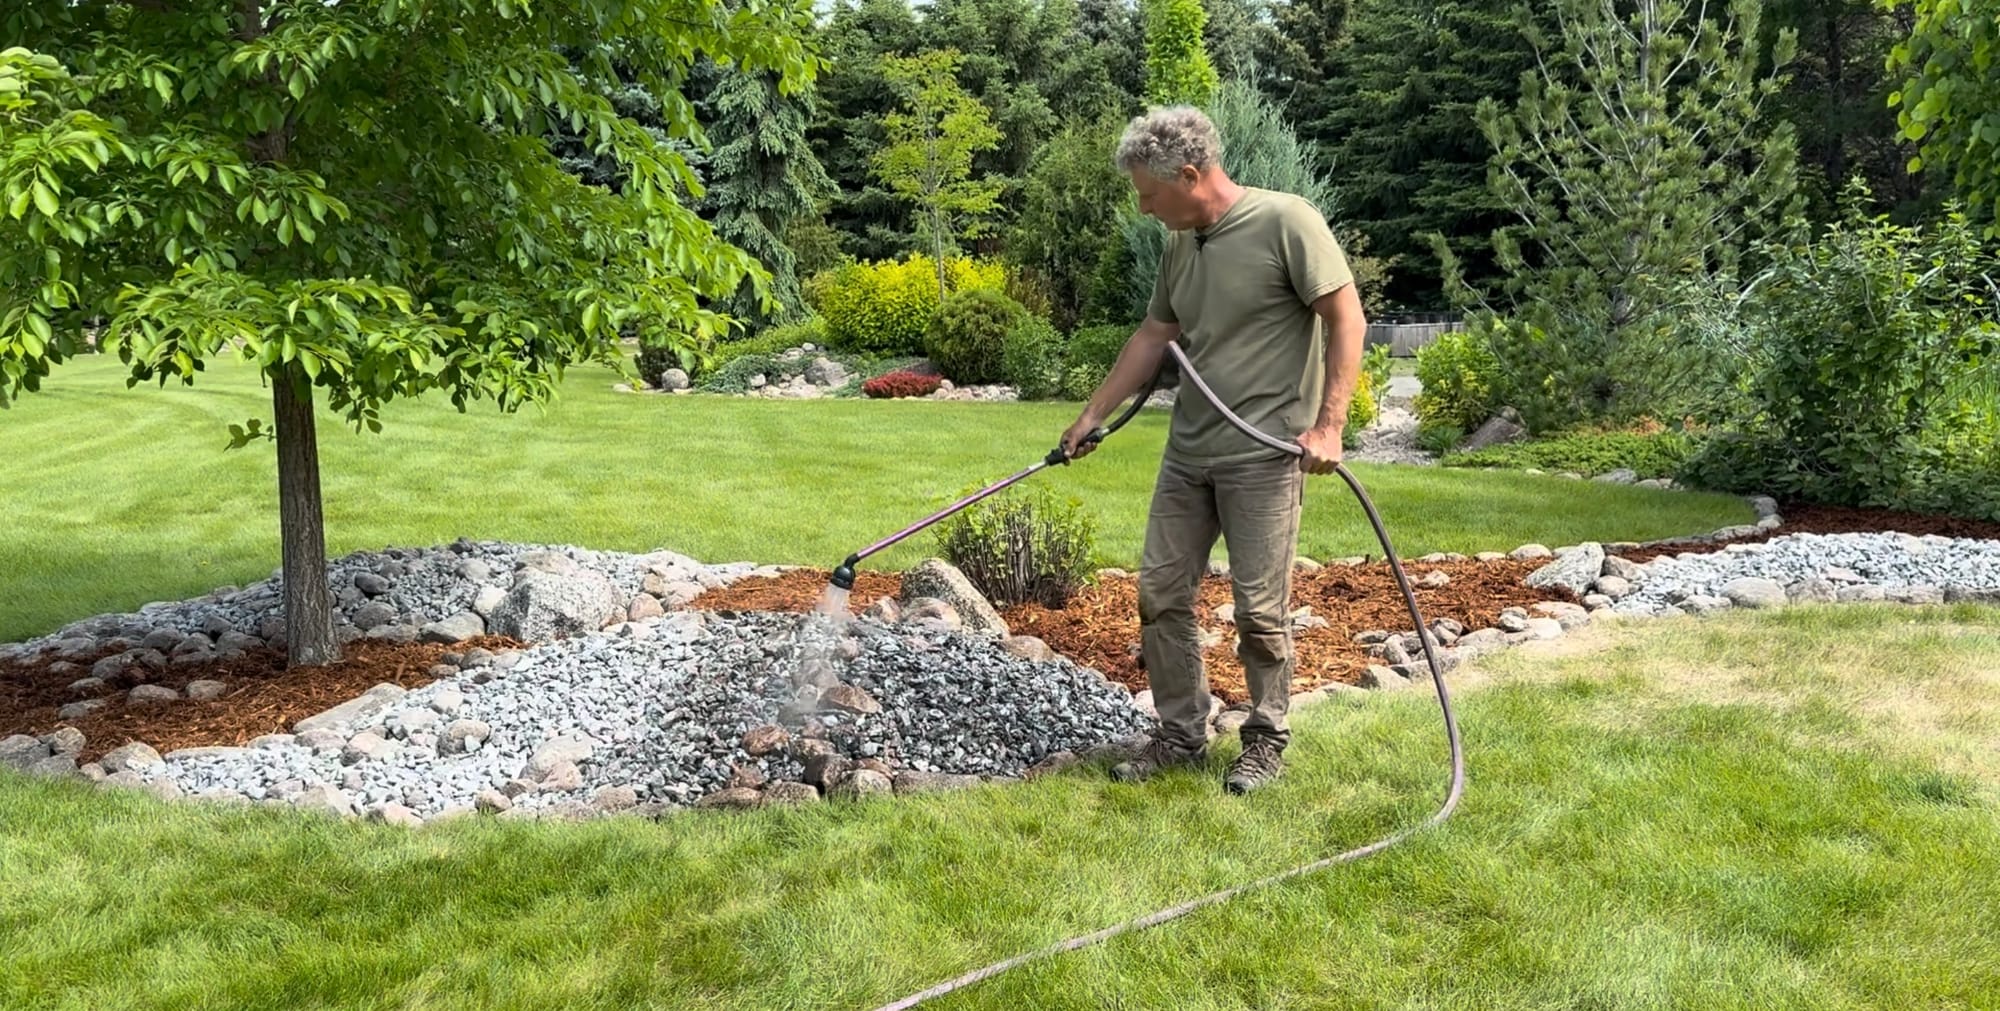
Rock is usually dusty and dirty coming from landscape supply centers, so washing it off at the end of the project really brings out the color ranges of the granite I’m using here.
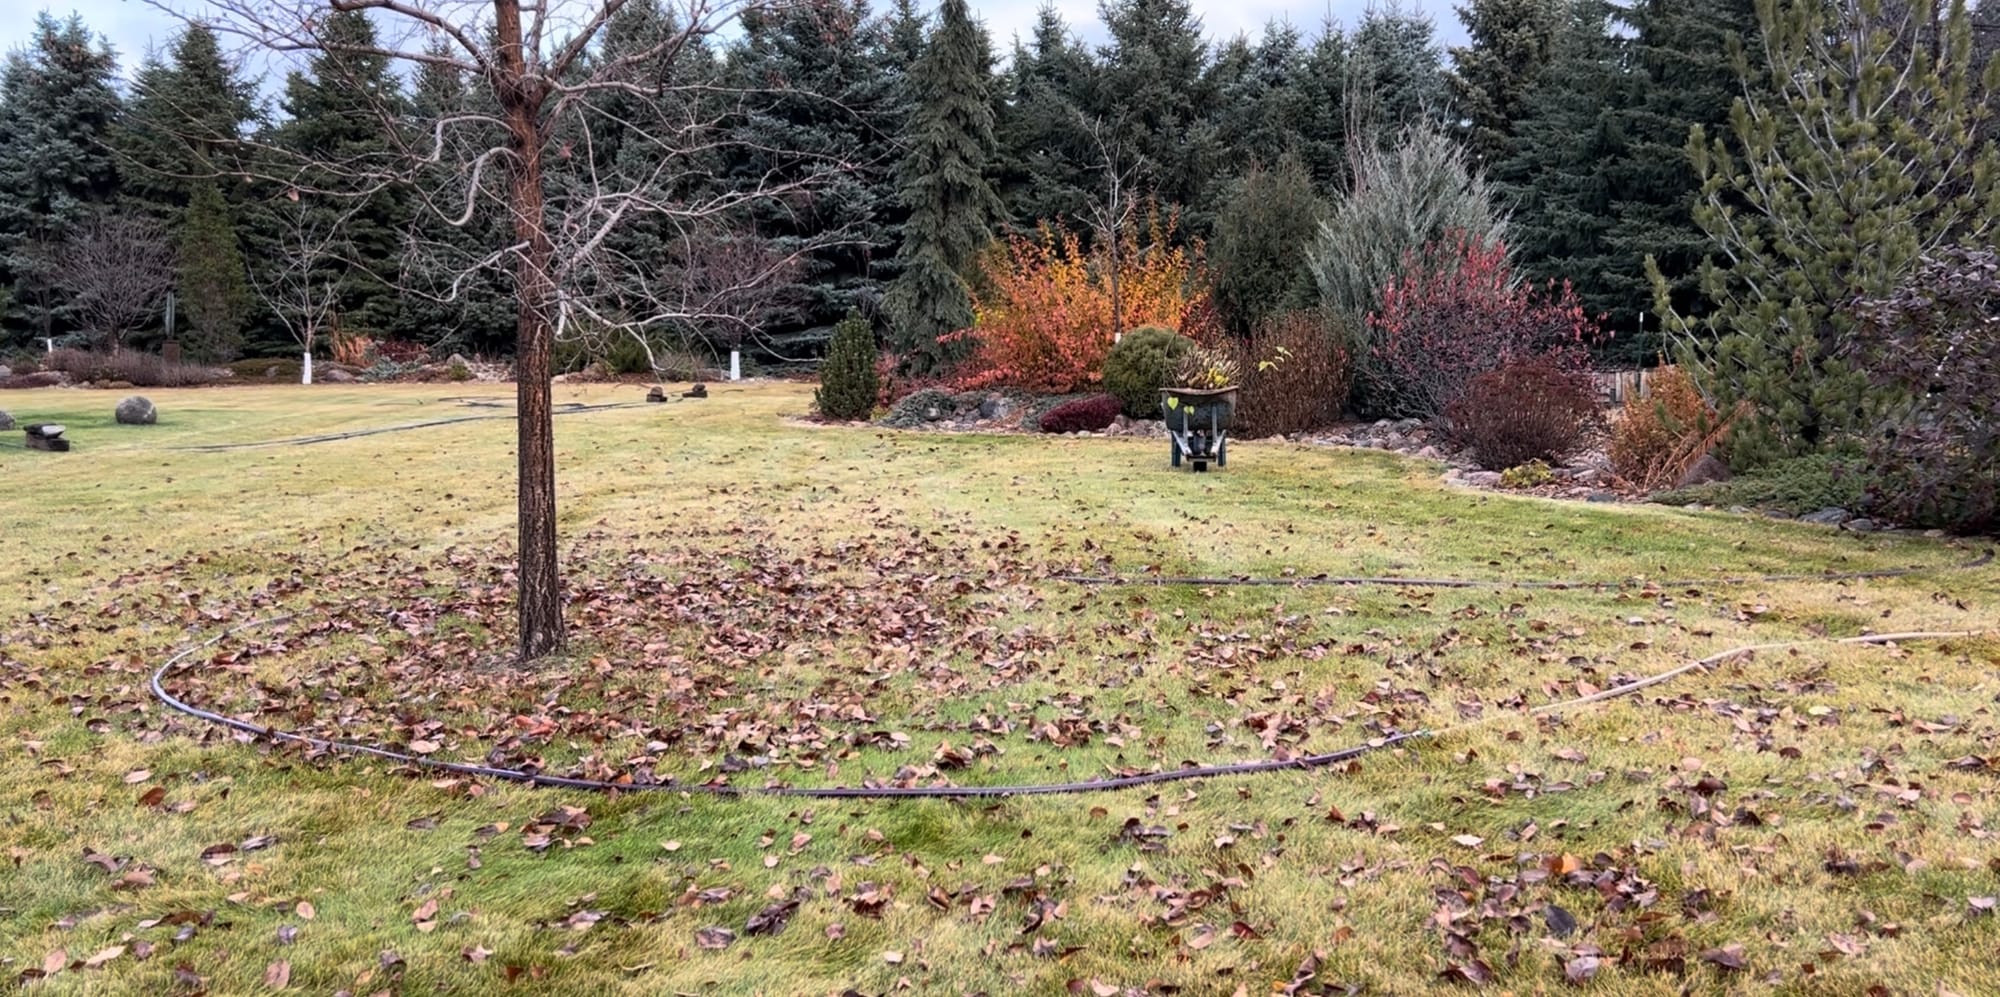
By the way, the tree planted here, now included in this bed, is one of my favorites. It’s a Northern Empress Japanese Elm introduced by North Dakota State University. It’s a small to medium-sized elm that has excellent fall color.


Northern Empress Japanese Elm (Ulmus davidiana var. japonica 'Burgundy Glow'
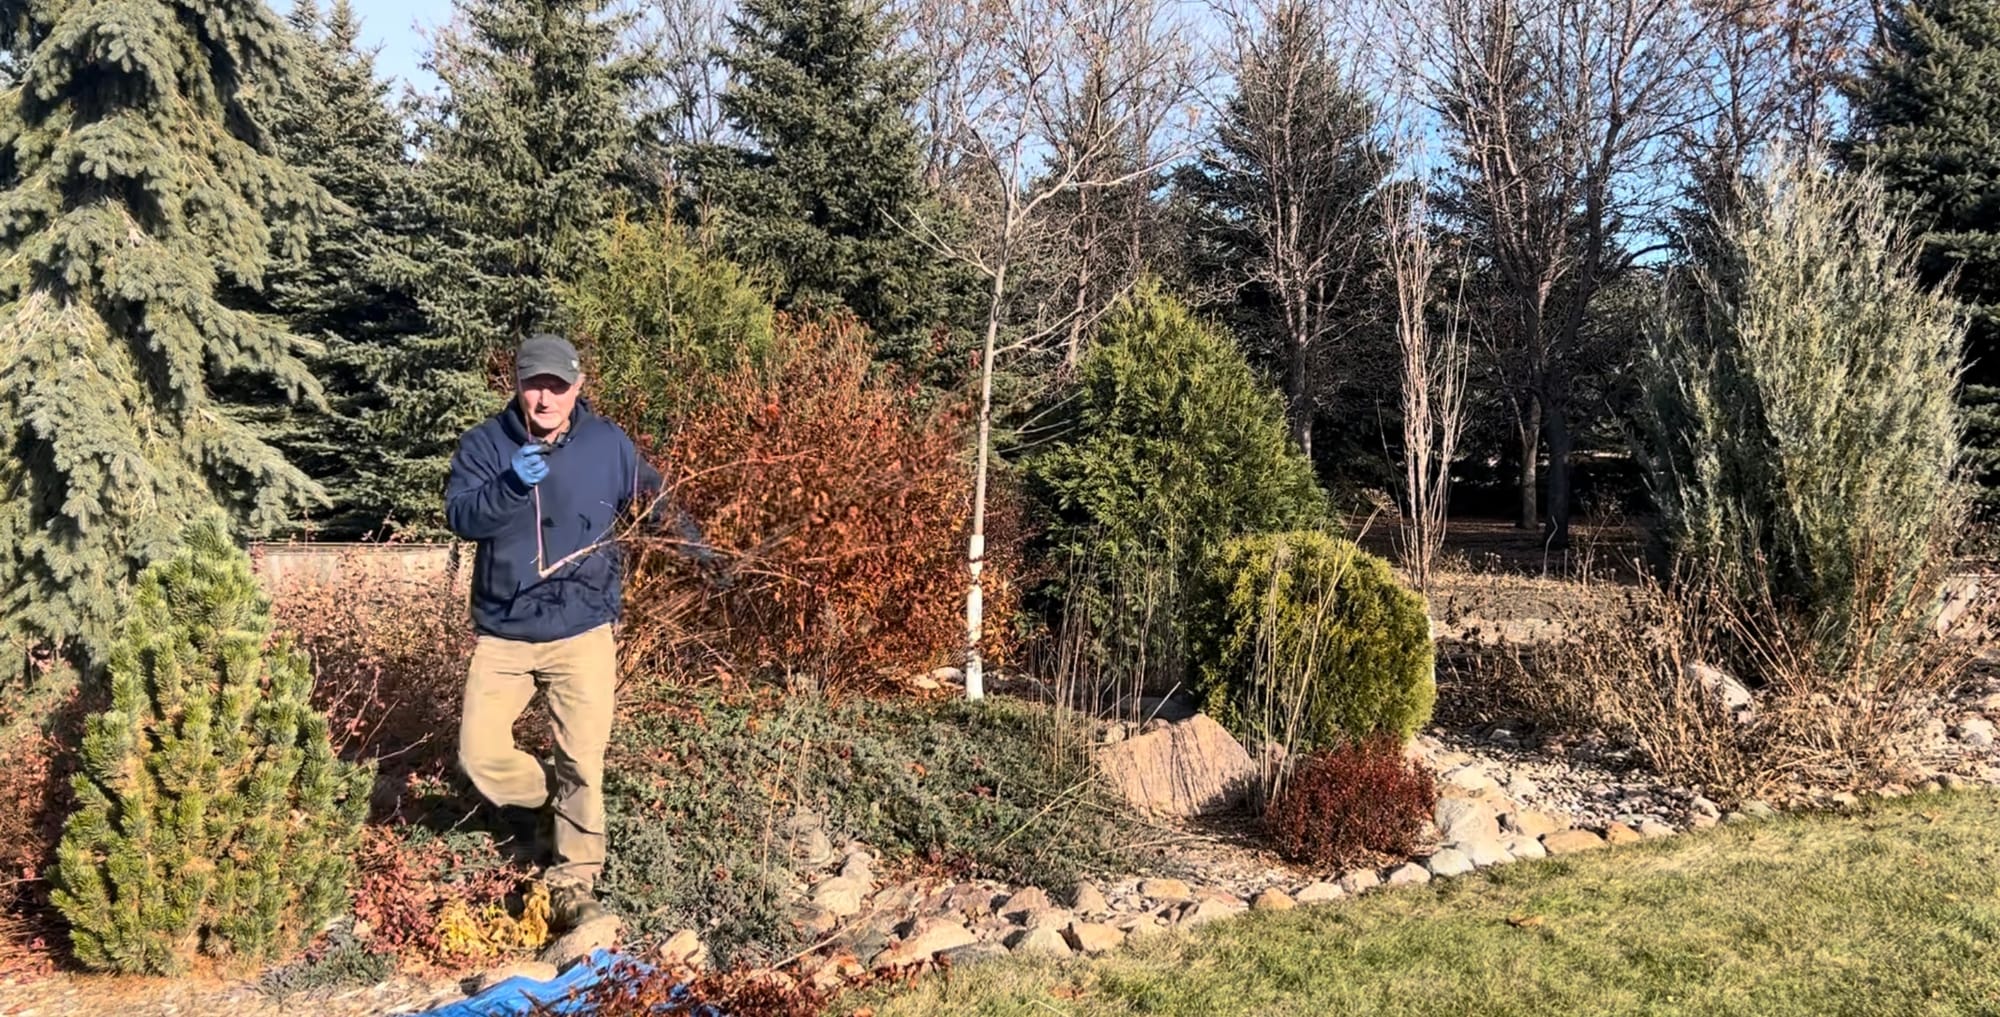
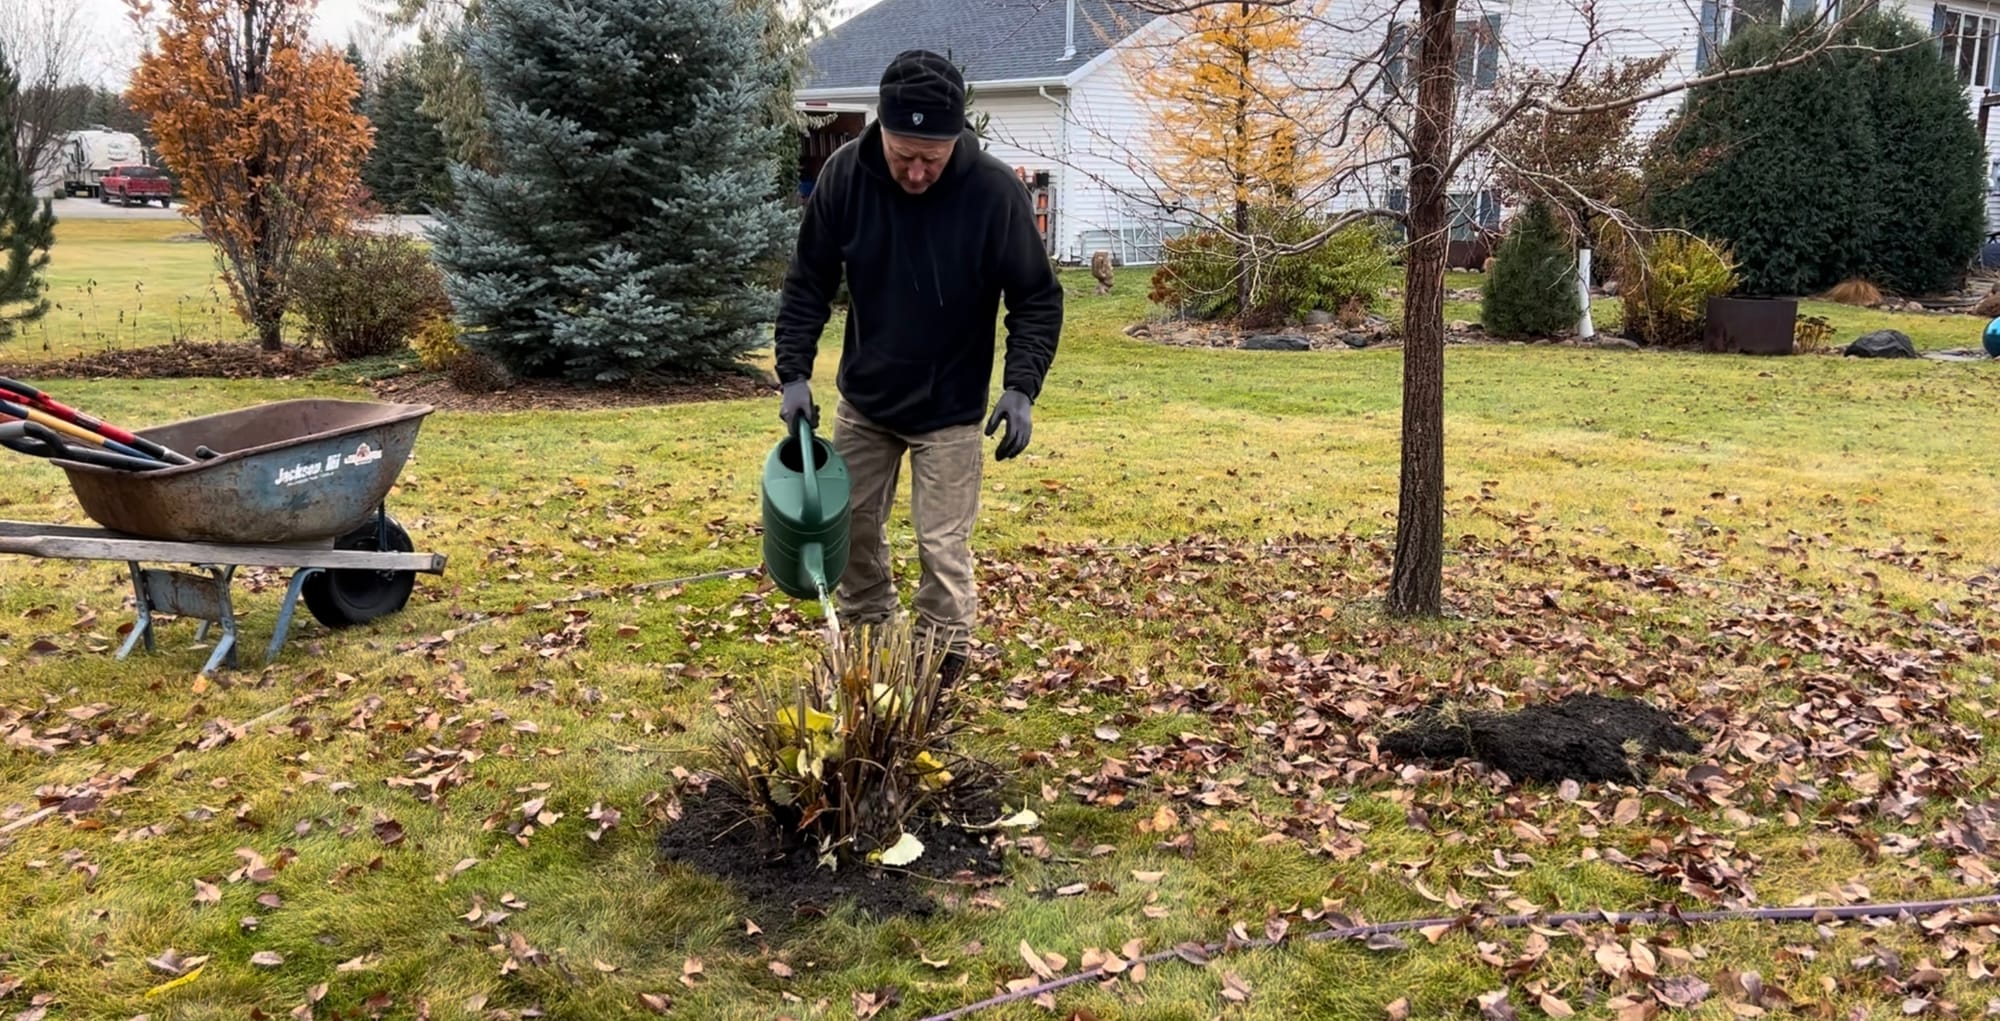
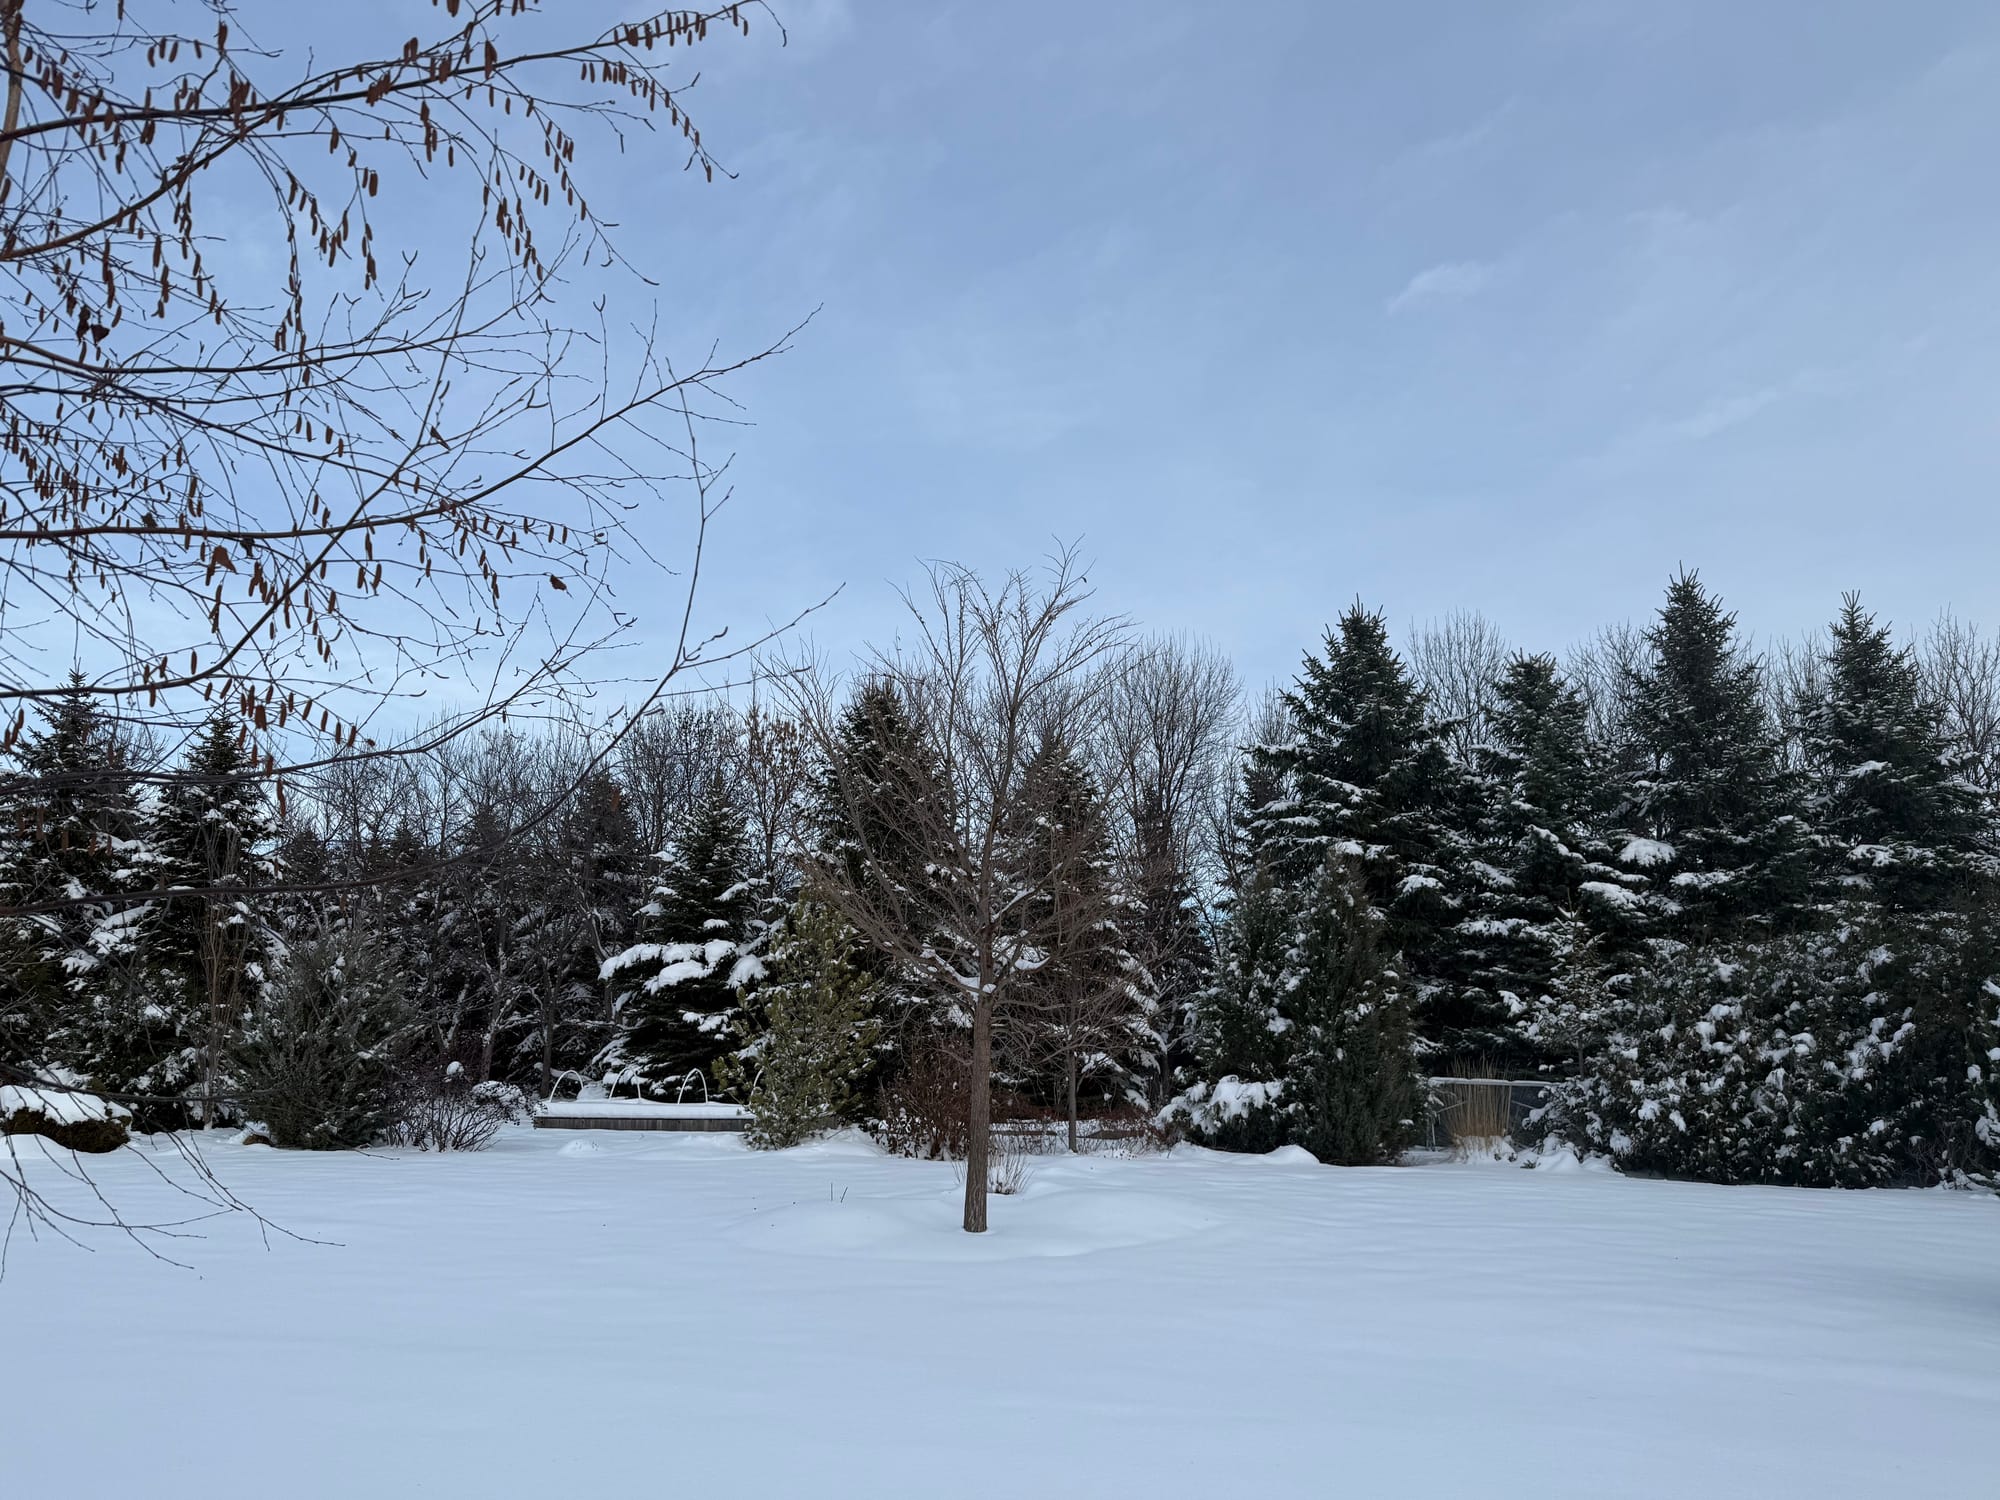
I guess I spoke too soon at the beginning, saying “I finished” this landscape bed, since I plan to add many plants over the next year (or two). I’ve already started transplanting many of our perennials that have found themselves getting shaded out under the lower branches of once, smaller trees. But that’s a story for another blog and video next season, as I’m currently enjoying fresh snow falls and the relaxation and down-time that winter offers.
Thanks for stopping by Garden Hike!
Kevin
Make sure you check out A.M. Leonard for all your horticulture tools and supplies. They're my go-to supplier! They've been in business since 1885 and have excellent quality and selection.
Check Price - Enter Discount Code GARDENHIKE10 To Receive $10 Off Orders $75 Or More

When you purchase through links on this site, we may earn a small commission at no additional charge to you.