Creating A Small Landscape Bed

I love landscaping! But landscaping can mean a lot of different things. I often create small landscape beds and then pause. I’ll add plants as I find them (or they find me).
According to dictionary.com, landscaping is: "to improve the appearance of (an area of land, a highway, etc.), by planting trees, shrubs, or grass, or altering the contours of the ground.
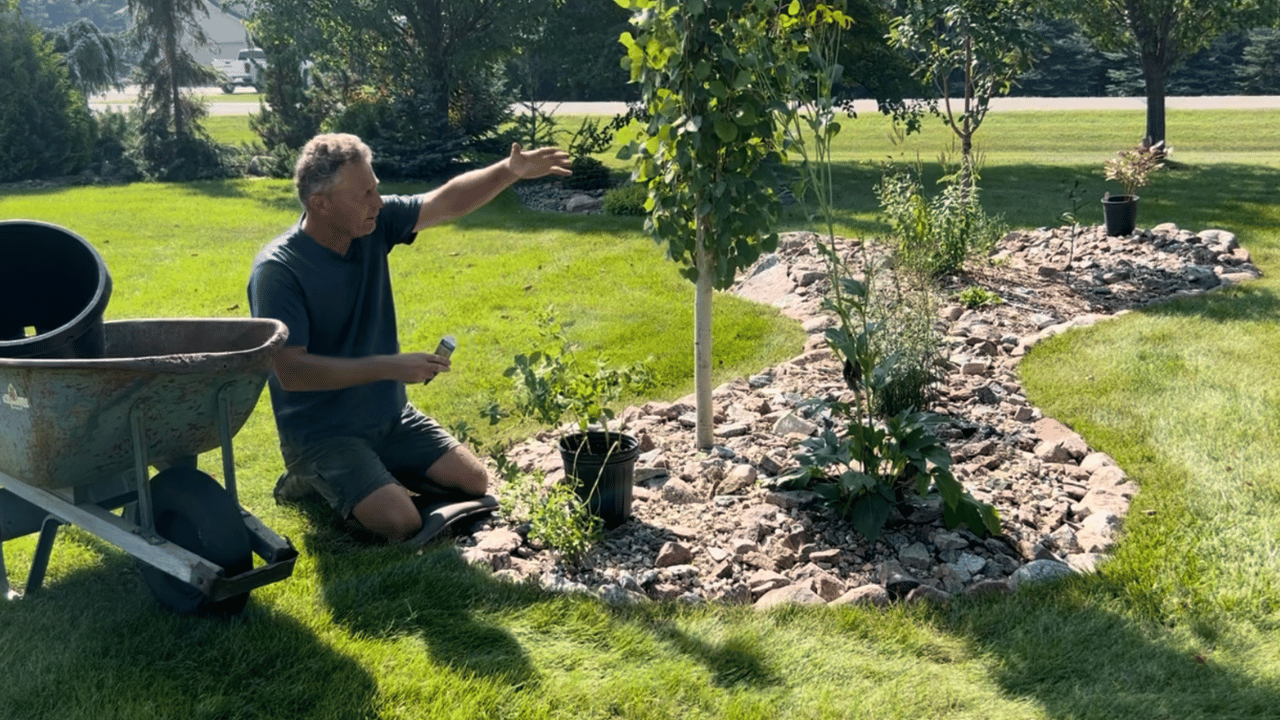
Here's a video showing a new landscape bed I've been working on:
When planning your project, you will need to determine:
- Type of edging used to define the border.
- Whether or not to use weed barriers and what type.
- Whether or not to add mulch, rock, or none.
- What type and size of plants?
- If you are changing the elevation by adding berms or contours.
- How much maintenance are you willing to do in the future?
Type of edging:
Edging options range from pre-formed plastic and metal to brick, concrete, and rock; use materials that blend in with your surrounding environment whenever possible. I live in a prairie state, and much of the open land has a lot of rock or fieldstone, so it is plentiful to use in our area and makes a beautiful natural edging. The drawbacks are that it is heavy and can be expensive due to the equipment needed to transport it. Natural edging can also be more challenging to maintain if you are next to turf grass due to wider gaps through which the roots can penetrate. I have a video here showing how I've installed rock edging in one of my new beds.
Plastic edging is the most common "man-made" edging in my area and the most economical. It is readily available, easy to work with, and creates a nice, clean-looking edge. It is also very effective at stopping grass from invading your bed. This video covers the steps necessary to install plastic edging.
Concrete and brick are excellent options for long-term durability and easy maintenance along turf grass borders. These options are also usually the most expensive. These edging types also have a more formal look.
I prefer the small rocks since most of my landscape has a natural or rustic feel. But since it was only sometimes convenient to get the rock material needed, I also have installed quite a bit of the plastic edging in various beds.
Weed Barrier:
Black Poly and landscape fabrics are the two most common synthetic weed barriers. I am not a big fan of using weed barriers below rock or mulch. I feel it only gives short-term quality weed control, and it is expensive. It also creates an unnatural environment for plants, channeling water away from the root system and reducing the oxygen exchange ratio necessary for best health. I use black poly around the foundation of my house to direct water away, though.
Landscape fabrics have various thicknesses and (should) allow water to move through their pores. Many thin, cheaper fabrics can break down quickly, especially if exposed to the sun's rays. And if you have ever had to remove a rock or mulch bed with fabric as an underlay, it adds an extra layer of frustration and "sweat" effort to the project. Most landscapers I know use one of these types of barriers on all their projects because any weed that might appear in the future gives the impression of a poor-quality job. But over time, a layer of sediment will build up on top of the barrier, in which weeds can germinate. So, as I mentioned previously, I feel the barriers only give short-term weed control. It does take a lot of extra maintenance during the first year of the project if you choose to avoid using weed barriers, but after that first year it is worth it in the long run, in my opinion.
Cardboard and newspapers are two natural organic weed barrier options. I have never tried or been interested in using either. Leaving your bed to bare soil is also an option if you plan on adding and removing plants frequently, especially if planting flowering annuals.
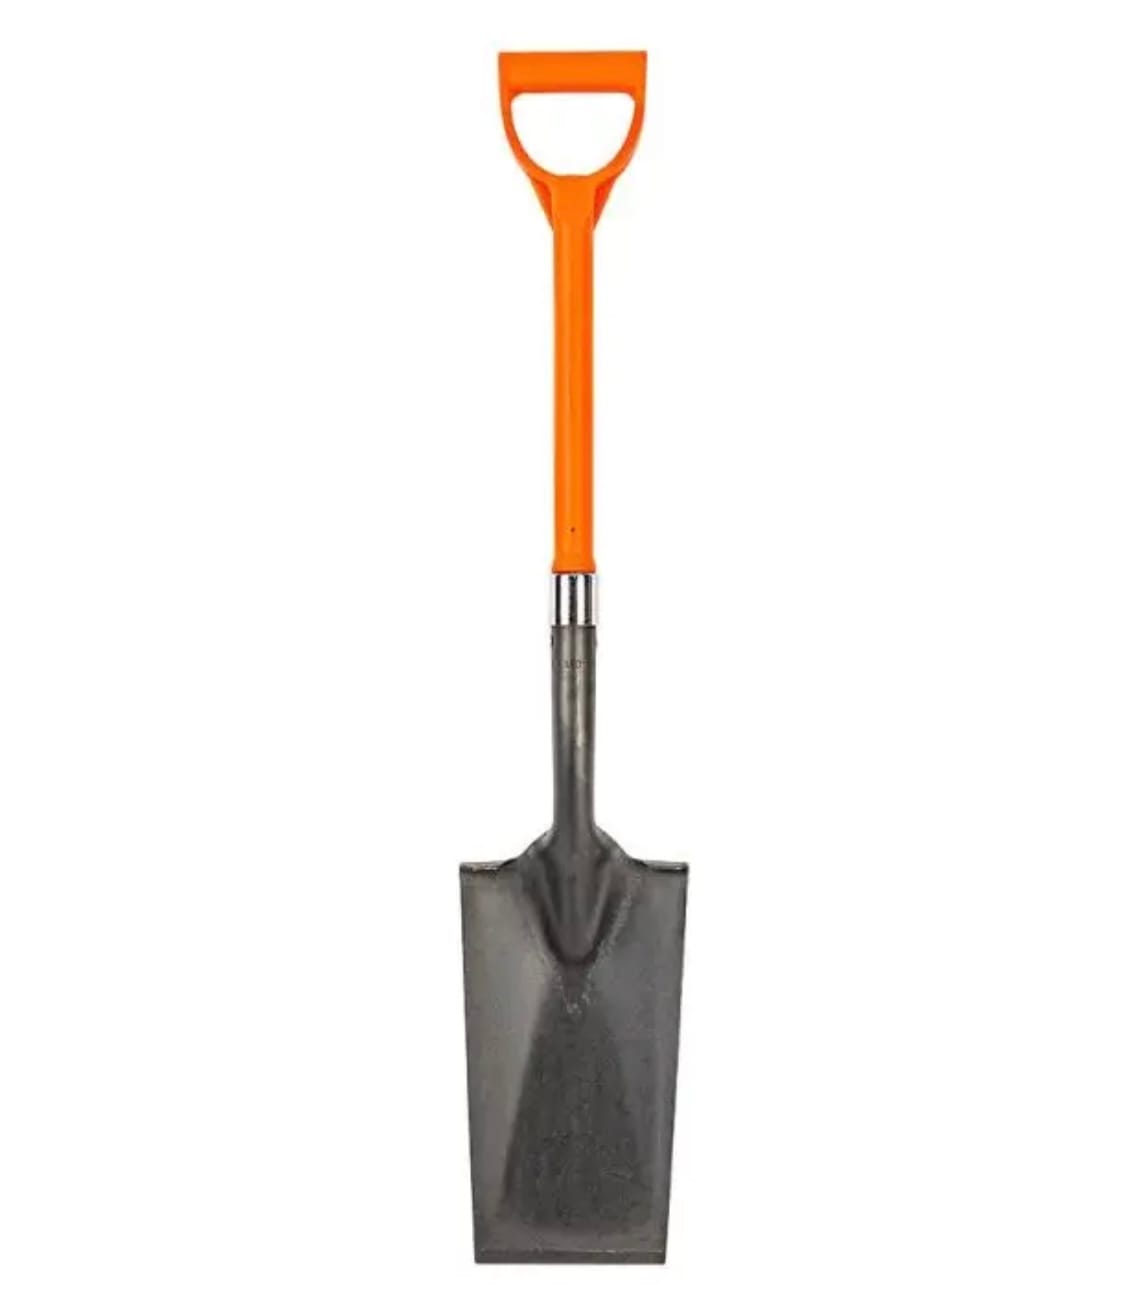
Nursery Spade With 27-Inch D-Grip
Heat-treated alloy steel blade with composite handle
When you purchase through links on this site, we may earn a small commission at no additional charge to you.
Rock or Wood Mulch:
I love to use both. I use these two coverings in combination with many of my beds. I'll let the photos below speak for themselves. What I have learned over the years, if you choose to use them in combination in beds, is to have the wood mulch on the lower parts and the rock on the higher parts of the bed. Wood mulch will start to dry, become light, and quickly move around more, making it more mobile in wind and heavy rain areas. Mulch placed on the high points will eventually start reaching the rock beds. I don't mind a little "contamination" in my beds, but I have learned over the years that this is unacceptable for certain personalities. Keeping the mulch on the lower parts of the bed will give you a cleaner look for a more extended period.
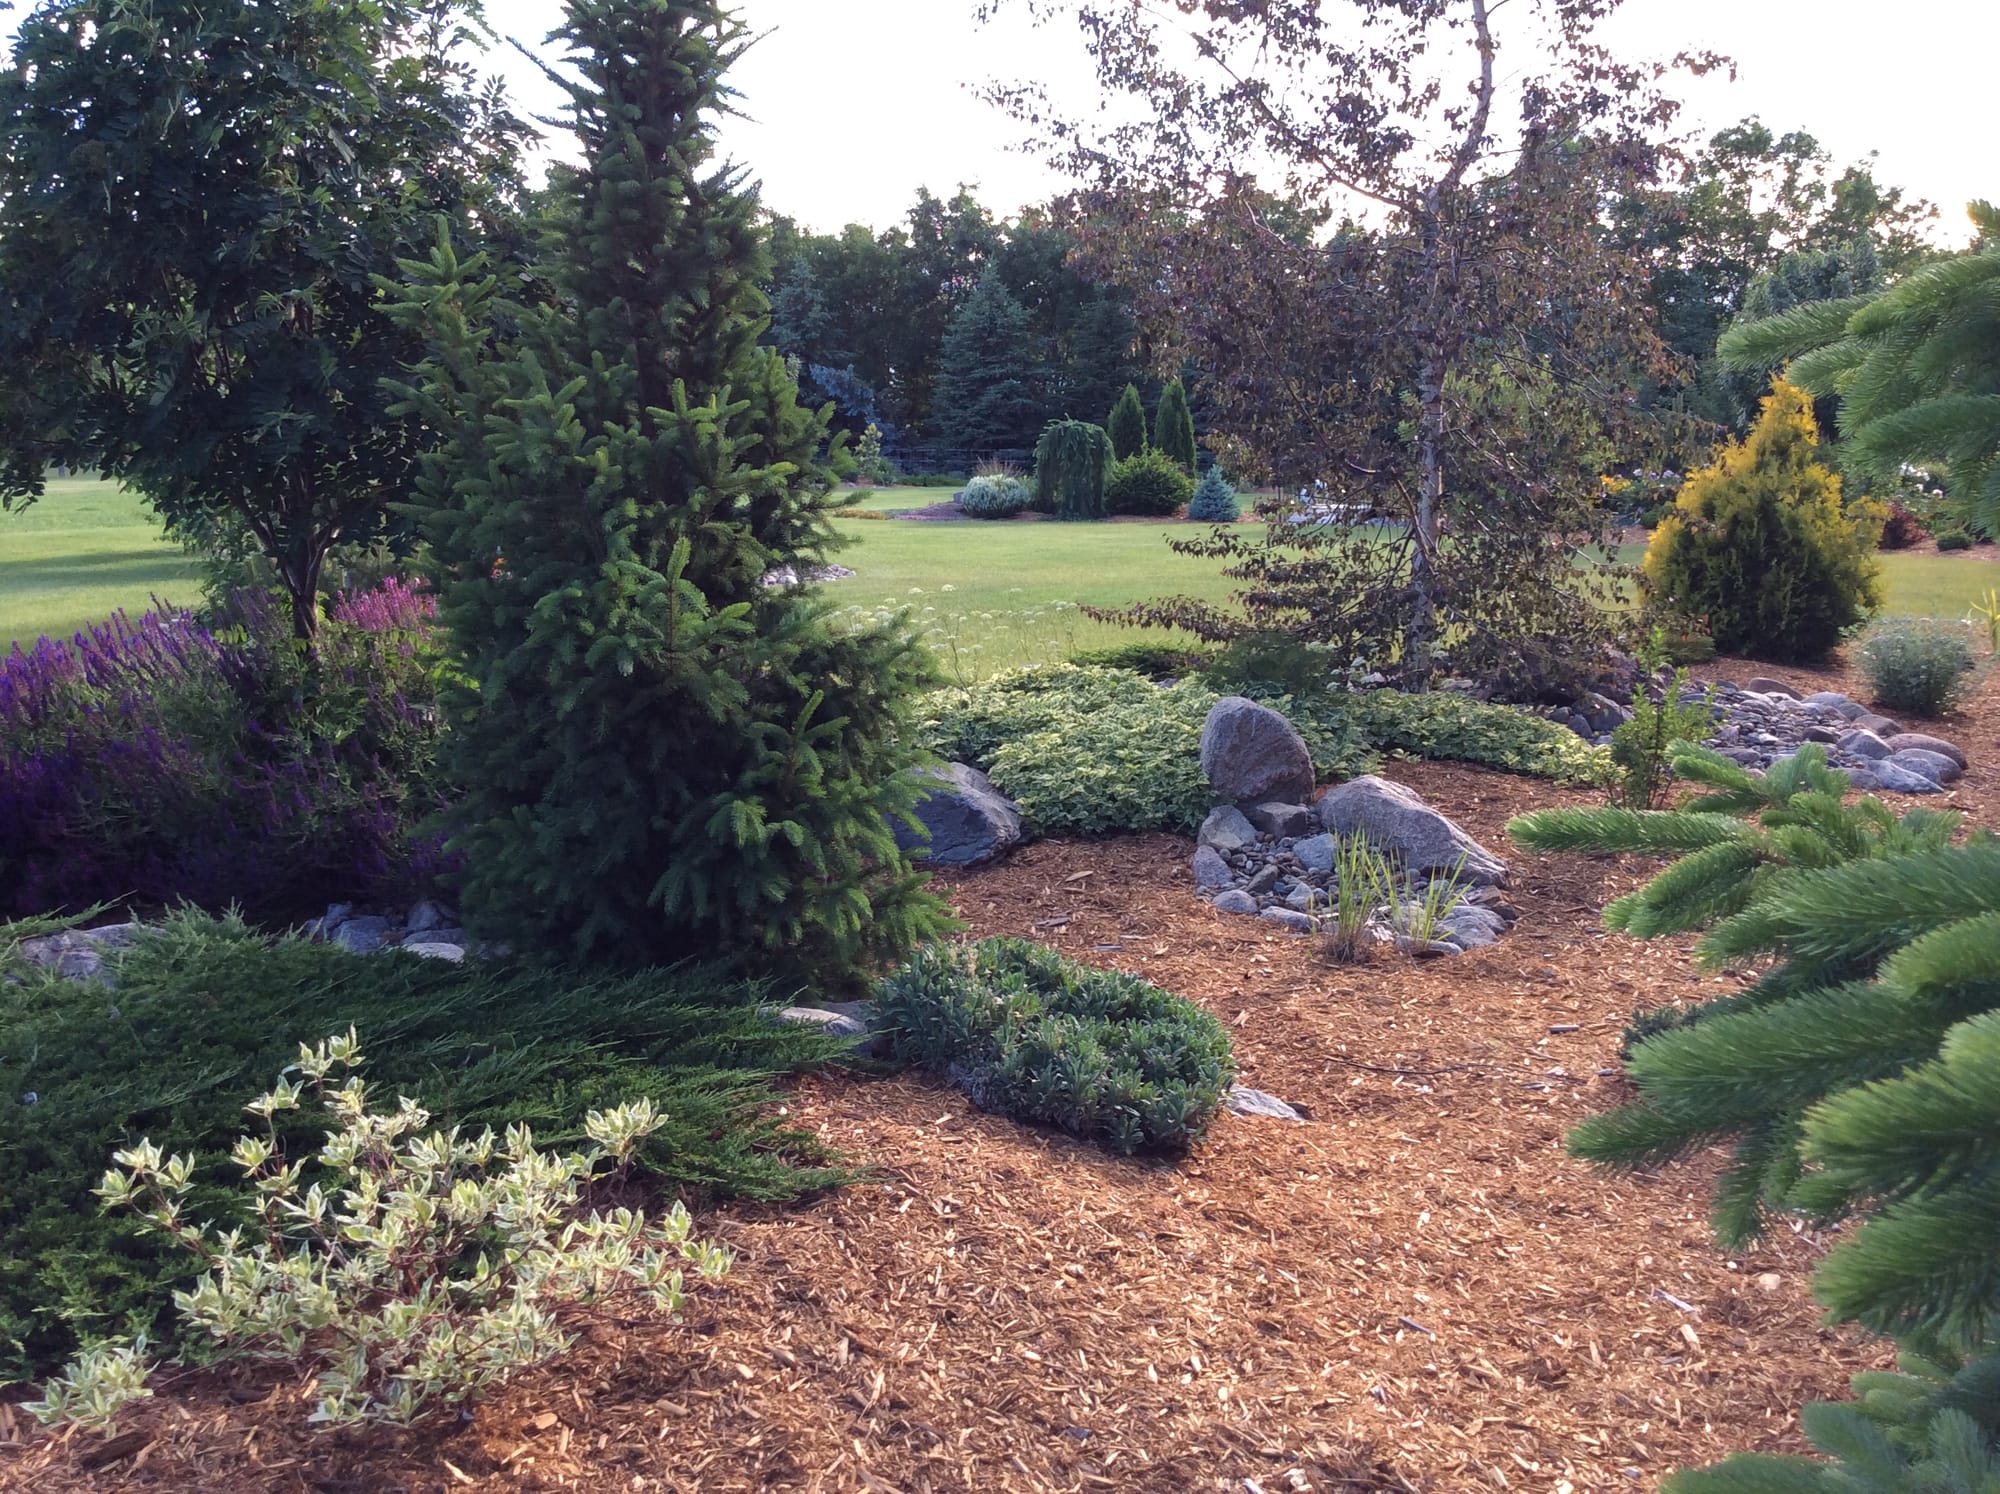
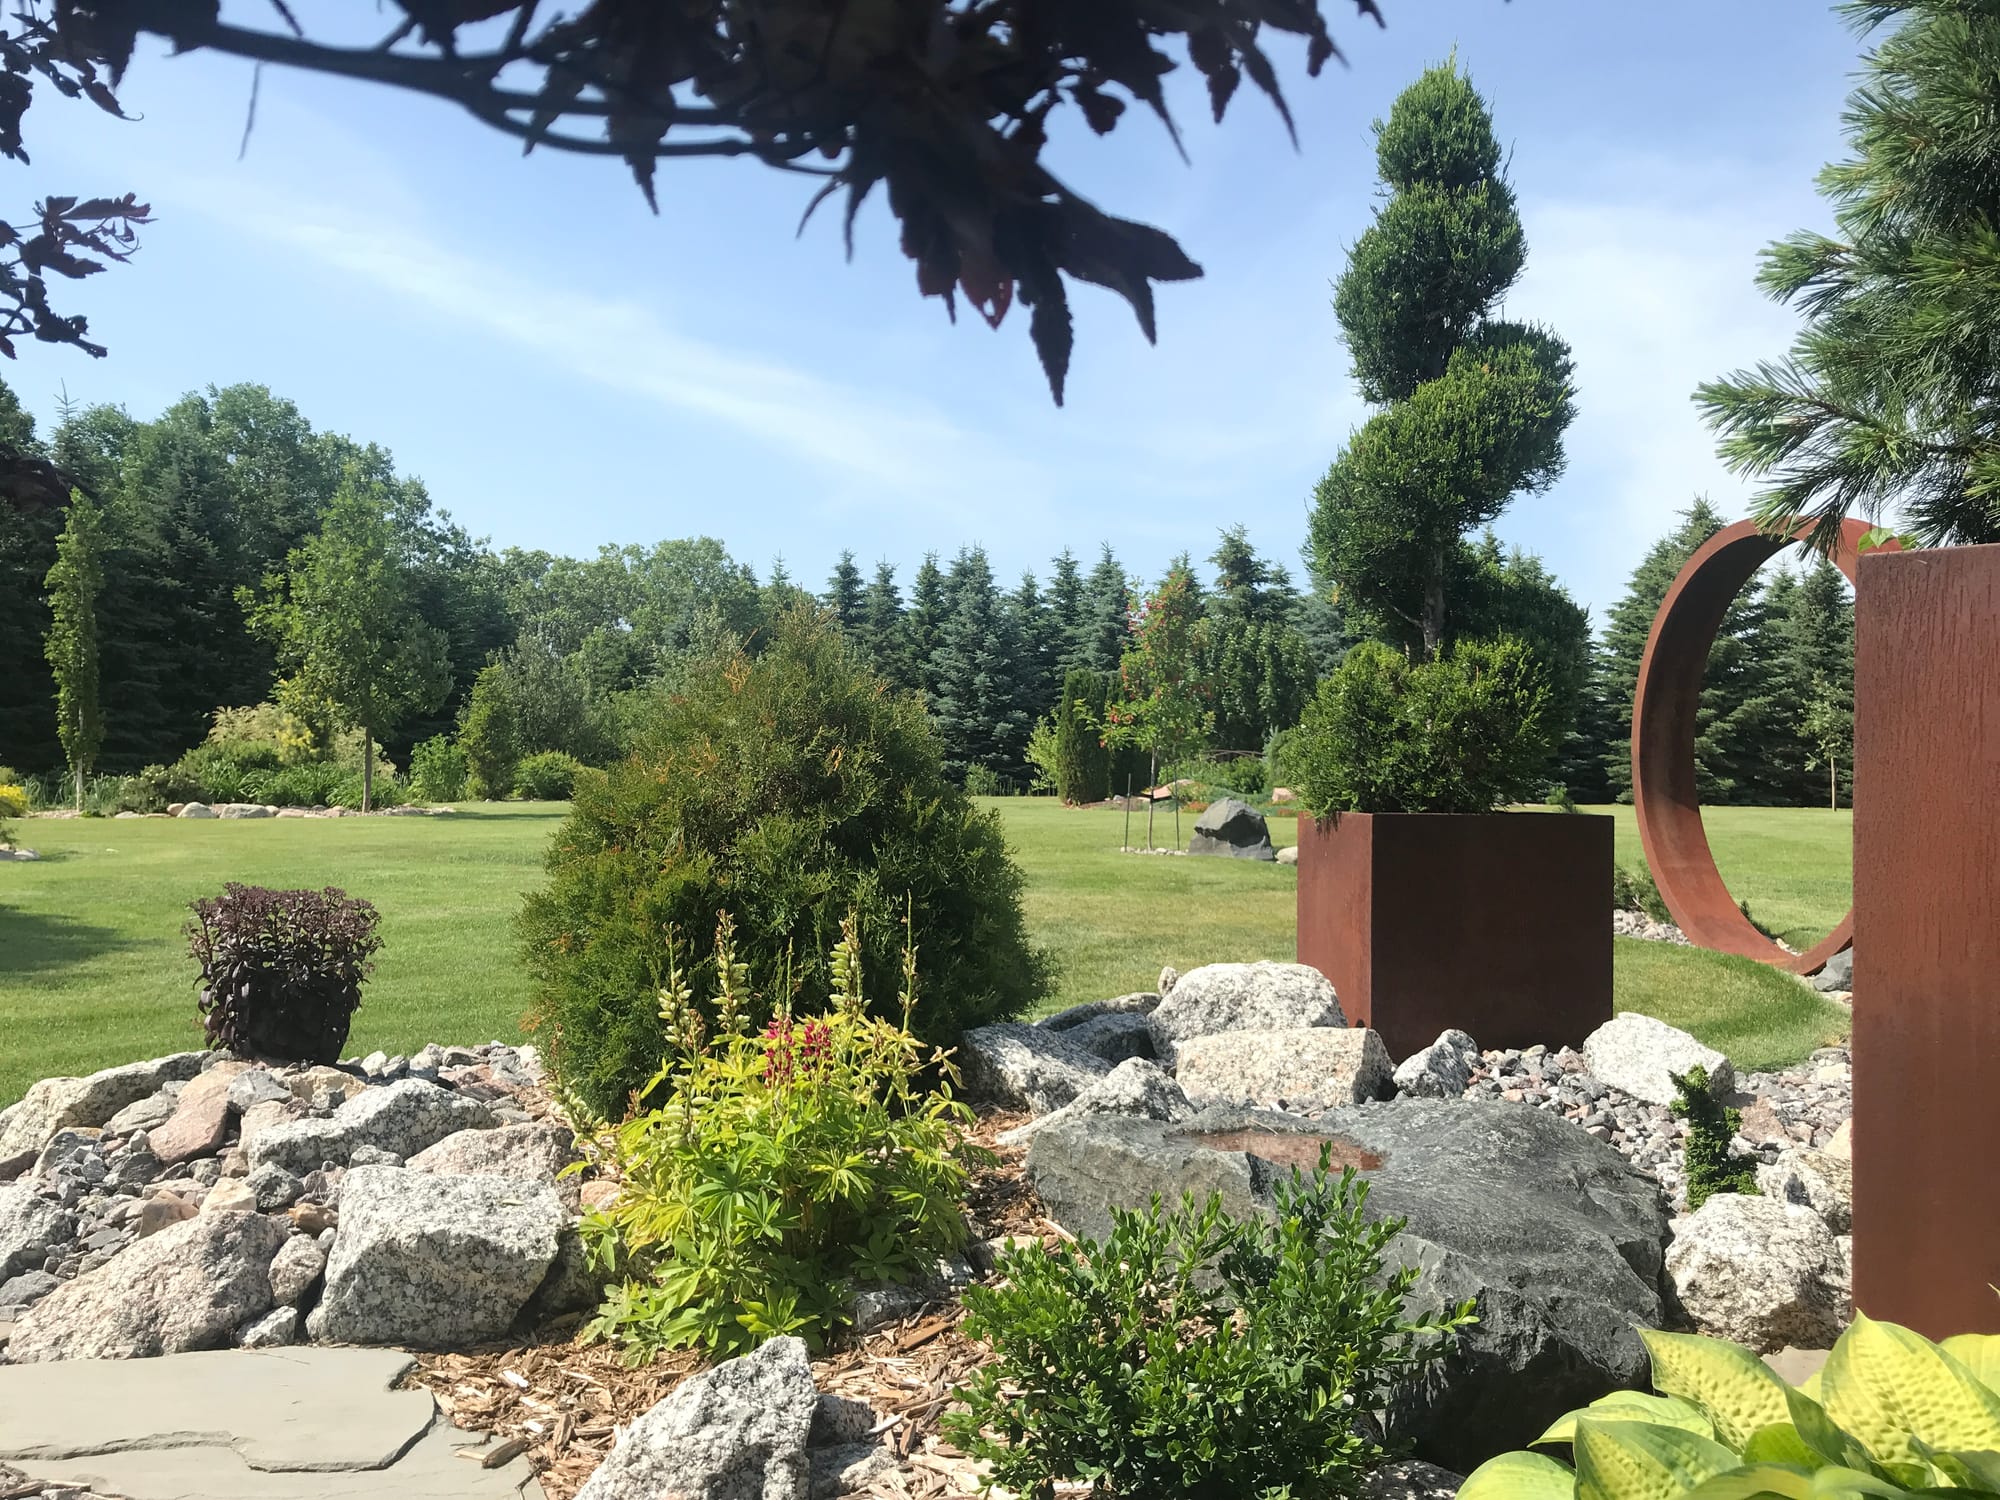
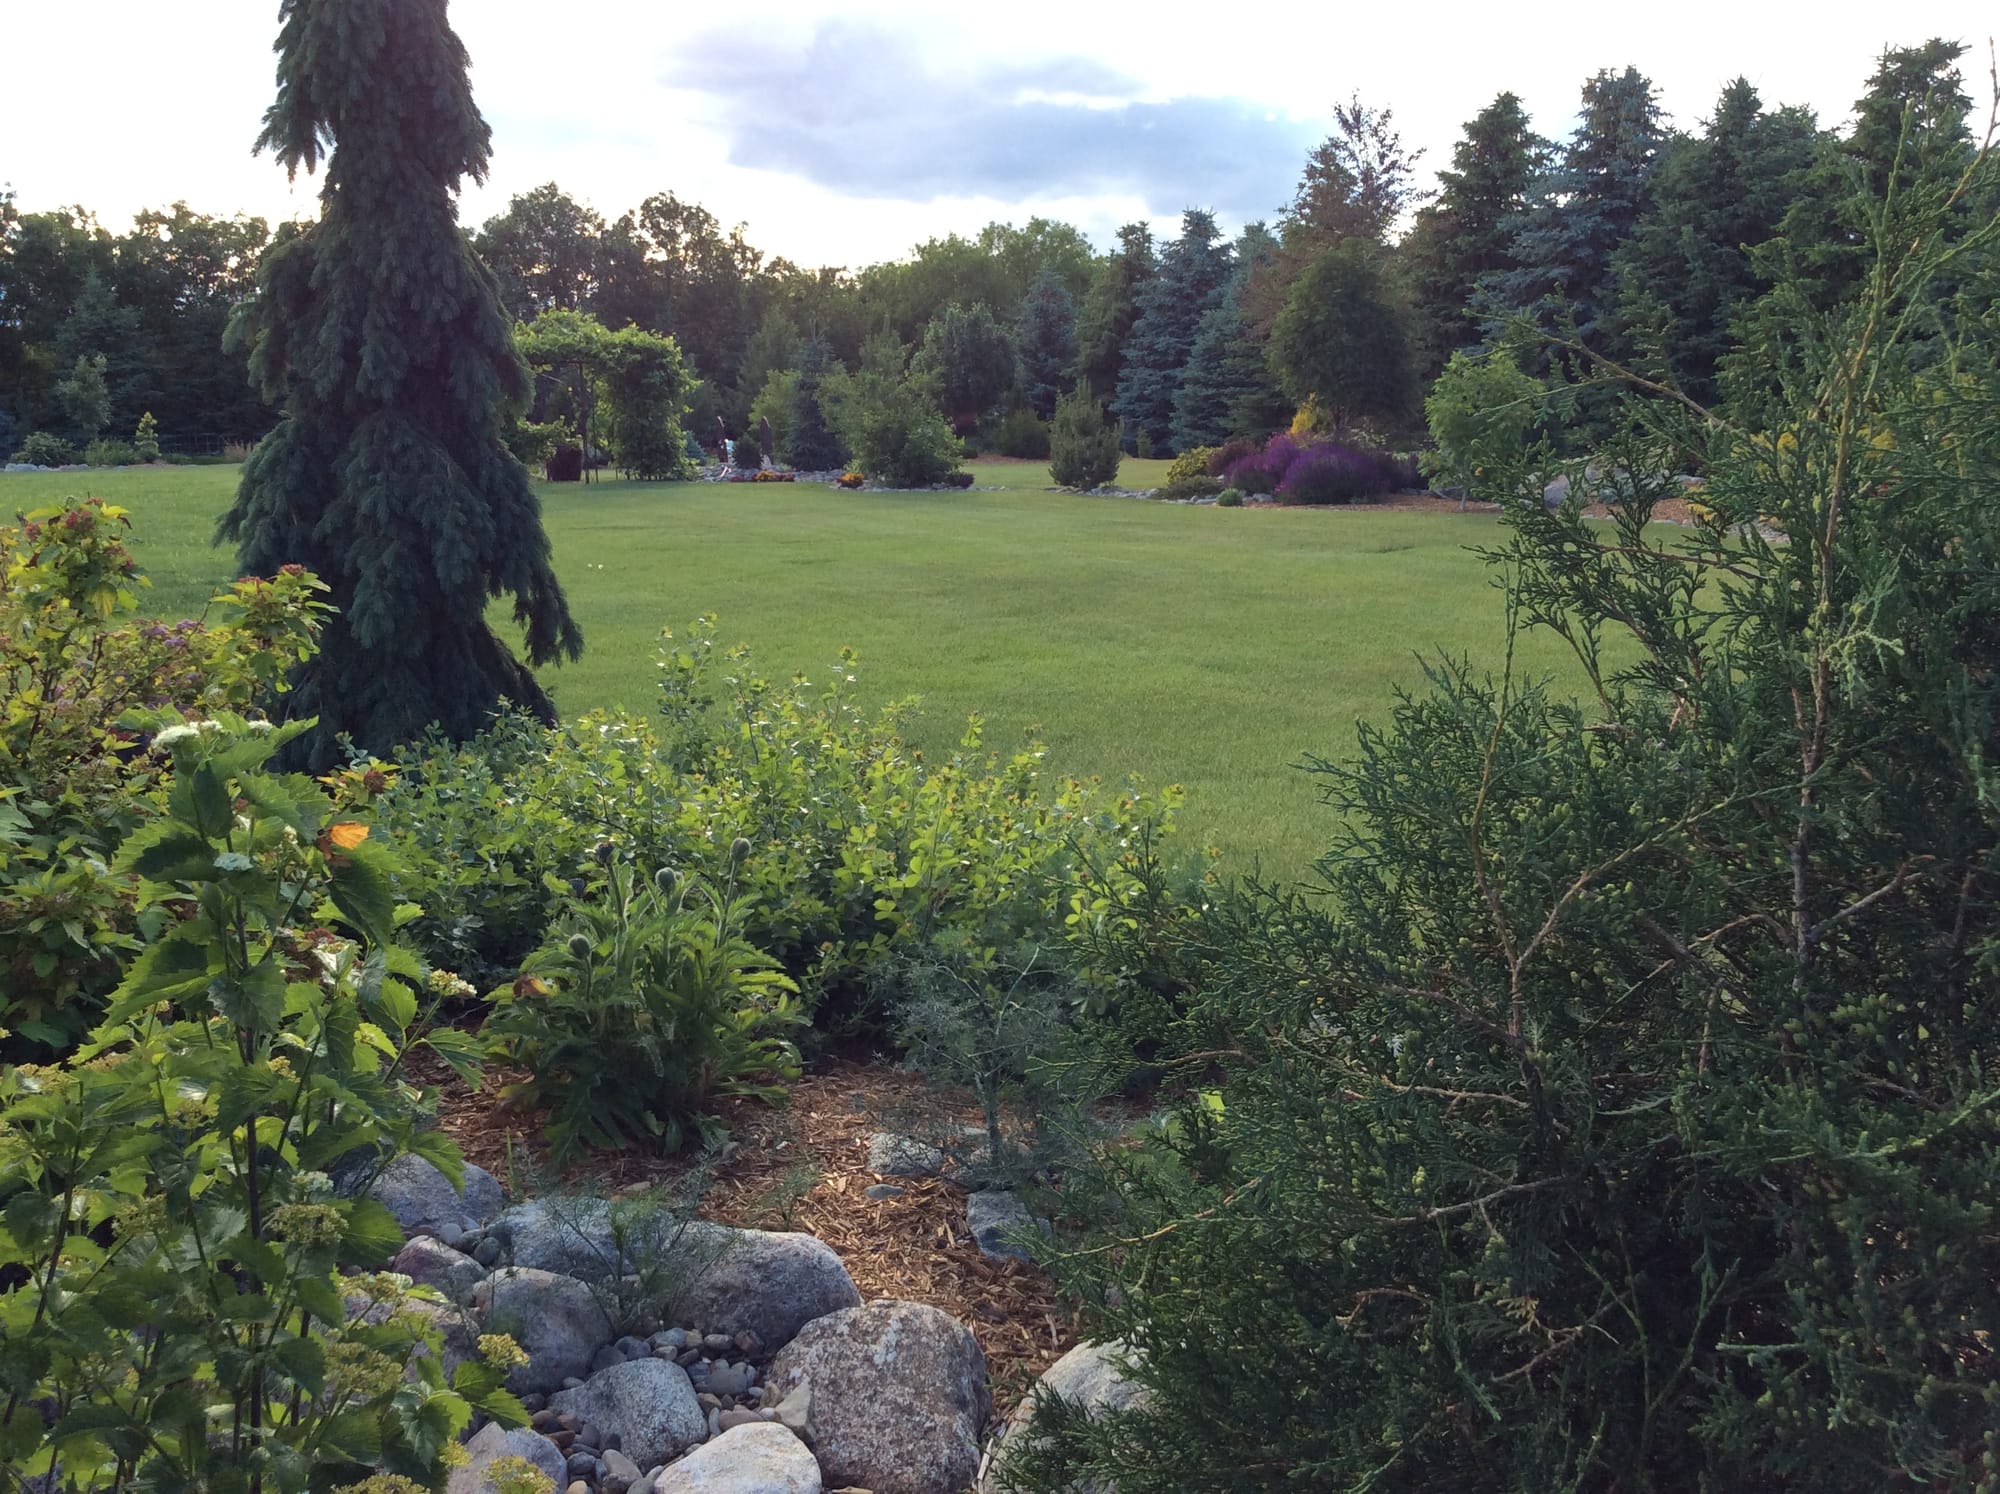
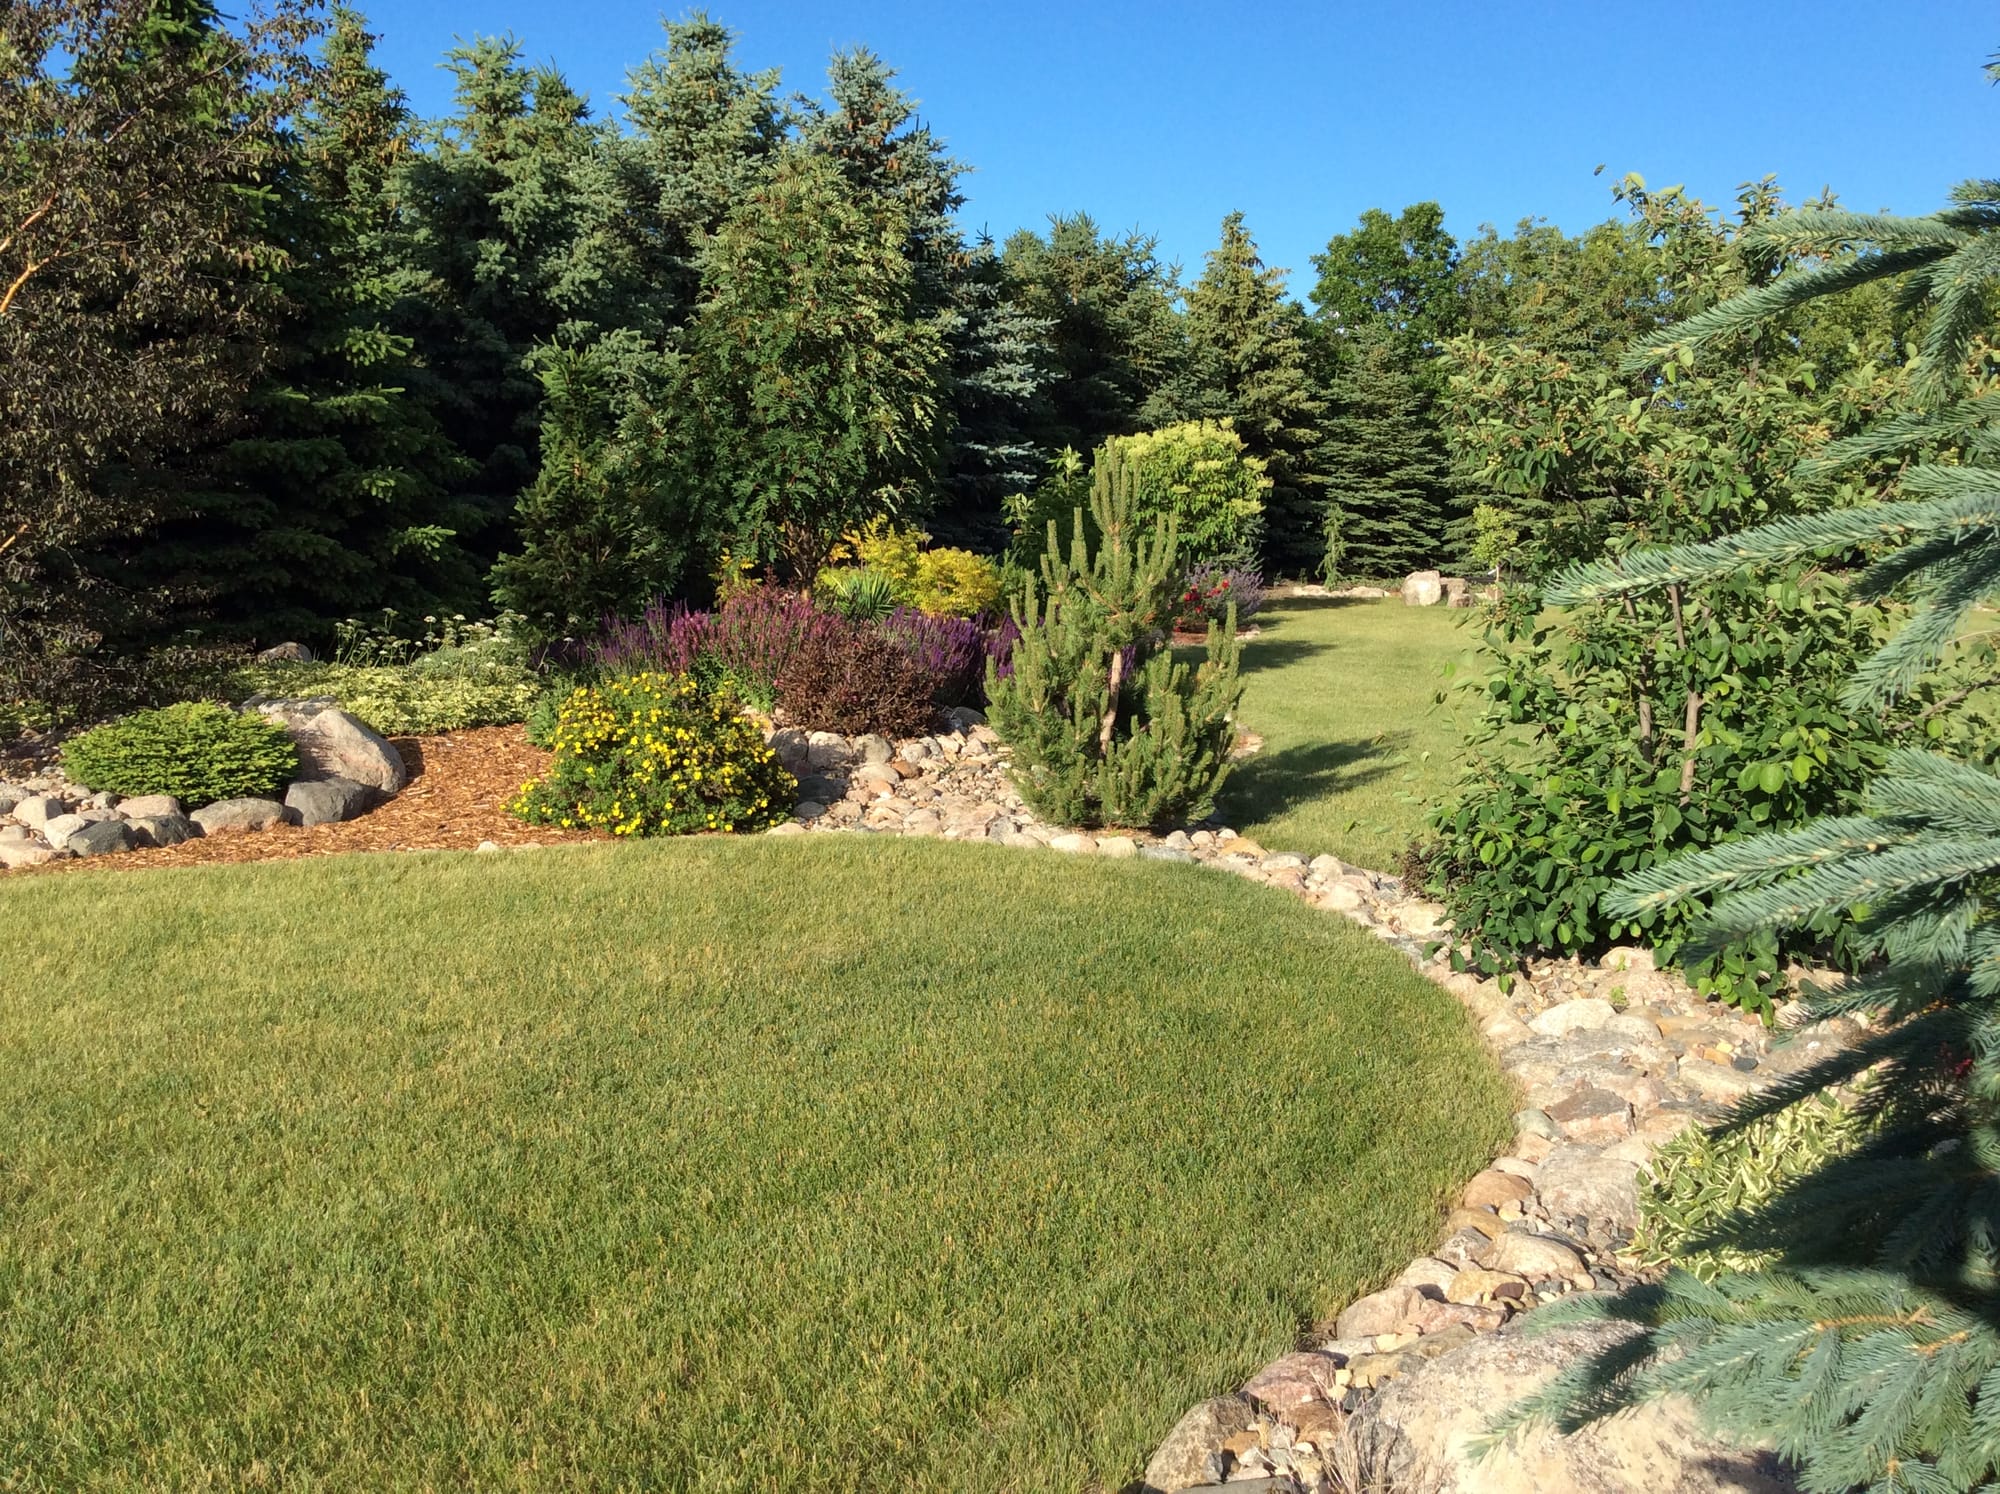
Rock And Mulch Used In Combination In Landscape Beds
Type of plants:
Start by identifying what type of plants you like. Factor in size, color, and winter interest characteristics: it is very easy to over-plant a bed, so make sure you look at the mature size of each plant and allow for space accordingly. I am comfortable with certain plants blending together over time, especially herbaceous flowering perennials. But conifer evergreens shaded by a shrub planted too close, for example, will usually lose their needles from lack of sun. There are so many concepts, styles, and combinations regarding plant design that we must save that for another article. Suffice it to say plants are what "make" the bed. Utilize your local garden center and clubs for valuable advice and information. Drive your neighborhood, check out what appeals to you, and duplicate your favorite finds.
Changing The Elevation:
I always encourage adding contouring and elevation changes, even in smaller beds; it just adds that "extra" that helps a bed stand out. Even a couple of cubic feet of soil that creates a slight slope or berm can be very pleasing in smaller landscape beds. Flat is boring to me and not found in nature. And nature is always my guide and inspiration.
Maintenance:
How much maintenance you want to do in the future is often not thought of until after. When helping someone plan their landscaping project, I always bring up the level of maintenance they are willing to carry out early in the conversation.
We've already discussed some pros and cons of different edgings and weed barriers above and touched on combining rock and mulch to avoid future problems. Regarding plants, the best advice is to remember not to overplant. Allowing a plant to have the space it needs for most of its life will dramatically reduce its maintenance and pruning requirements.
How much water, fertilizer, and sun a plant need should also be considered? Some plants need very little, compared to other plants needing a lot. For low-maintenance plants, look for drought tolerance, slow growing, and hardy as good signals on plant tags.
Watering Wand, Straight Grip, 24IN Length
Stainless steel nozzle with a foam grip
I like to have various-size beds in my landscape as each one will accommodate various sizes of plants. I also have locations in my landscape that are much drier and pretty moist areas. Plant accordingly. The same goes for shady vs. sunny areas. Plant accordingly.
The most important thing about creating a small landscaping bed is to enjoy the process. Learn as you go and enjoy the accomplishment of doing the project yourself—many like sharing landscaping/gardening photos as much as their grandchildren. Plants and do-it-yourself projects are like that; they become part of you.
Thanks for stopping by Garden Hike!
Kevin
Make sure you check out A.M. Leonard for all your horticulture tools and supplies. They're my go-to supplier! They've been in business since 1885 and have excellent quality and selection.
Enter Discount Code GARDENHIKE To Receive $10 Off Orders $75 Or More

When you purchase through links on this site, we may earn a small commission at no additional charge to you.