Growing Garlic: Five Key Steps For Success

Garlic is used for preparing food dishes worldwide and is loved for its depth of flavor and aroma. It also has many health benefits since it contains high levels of antioxidants. Garlic has existed for over 5000 years, making it one of the oldest known horticultural crops.
Let's take a look at five key steps that will help you be successful when growing garlic:
- Select hardy varieties for your growing zone
- Plant your garlic cloves in the fall at the appropriate time
- Mulch your garlic before winter in colder climates
- Harvest at the appropriate time
- Cure Your Garlic Before Storing
Select Hardy Varieties For Your Growing Zone
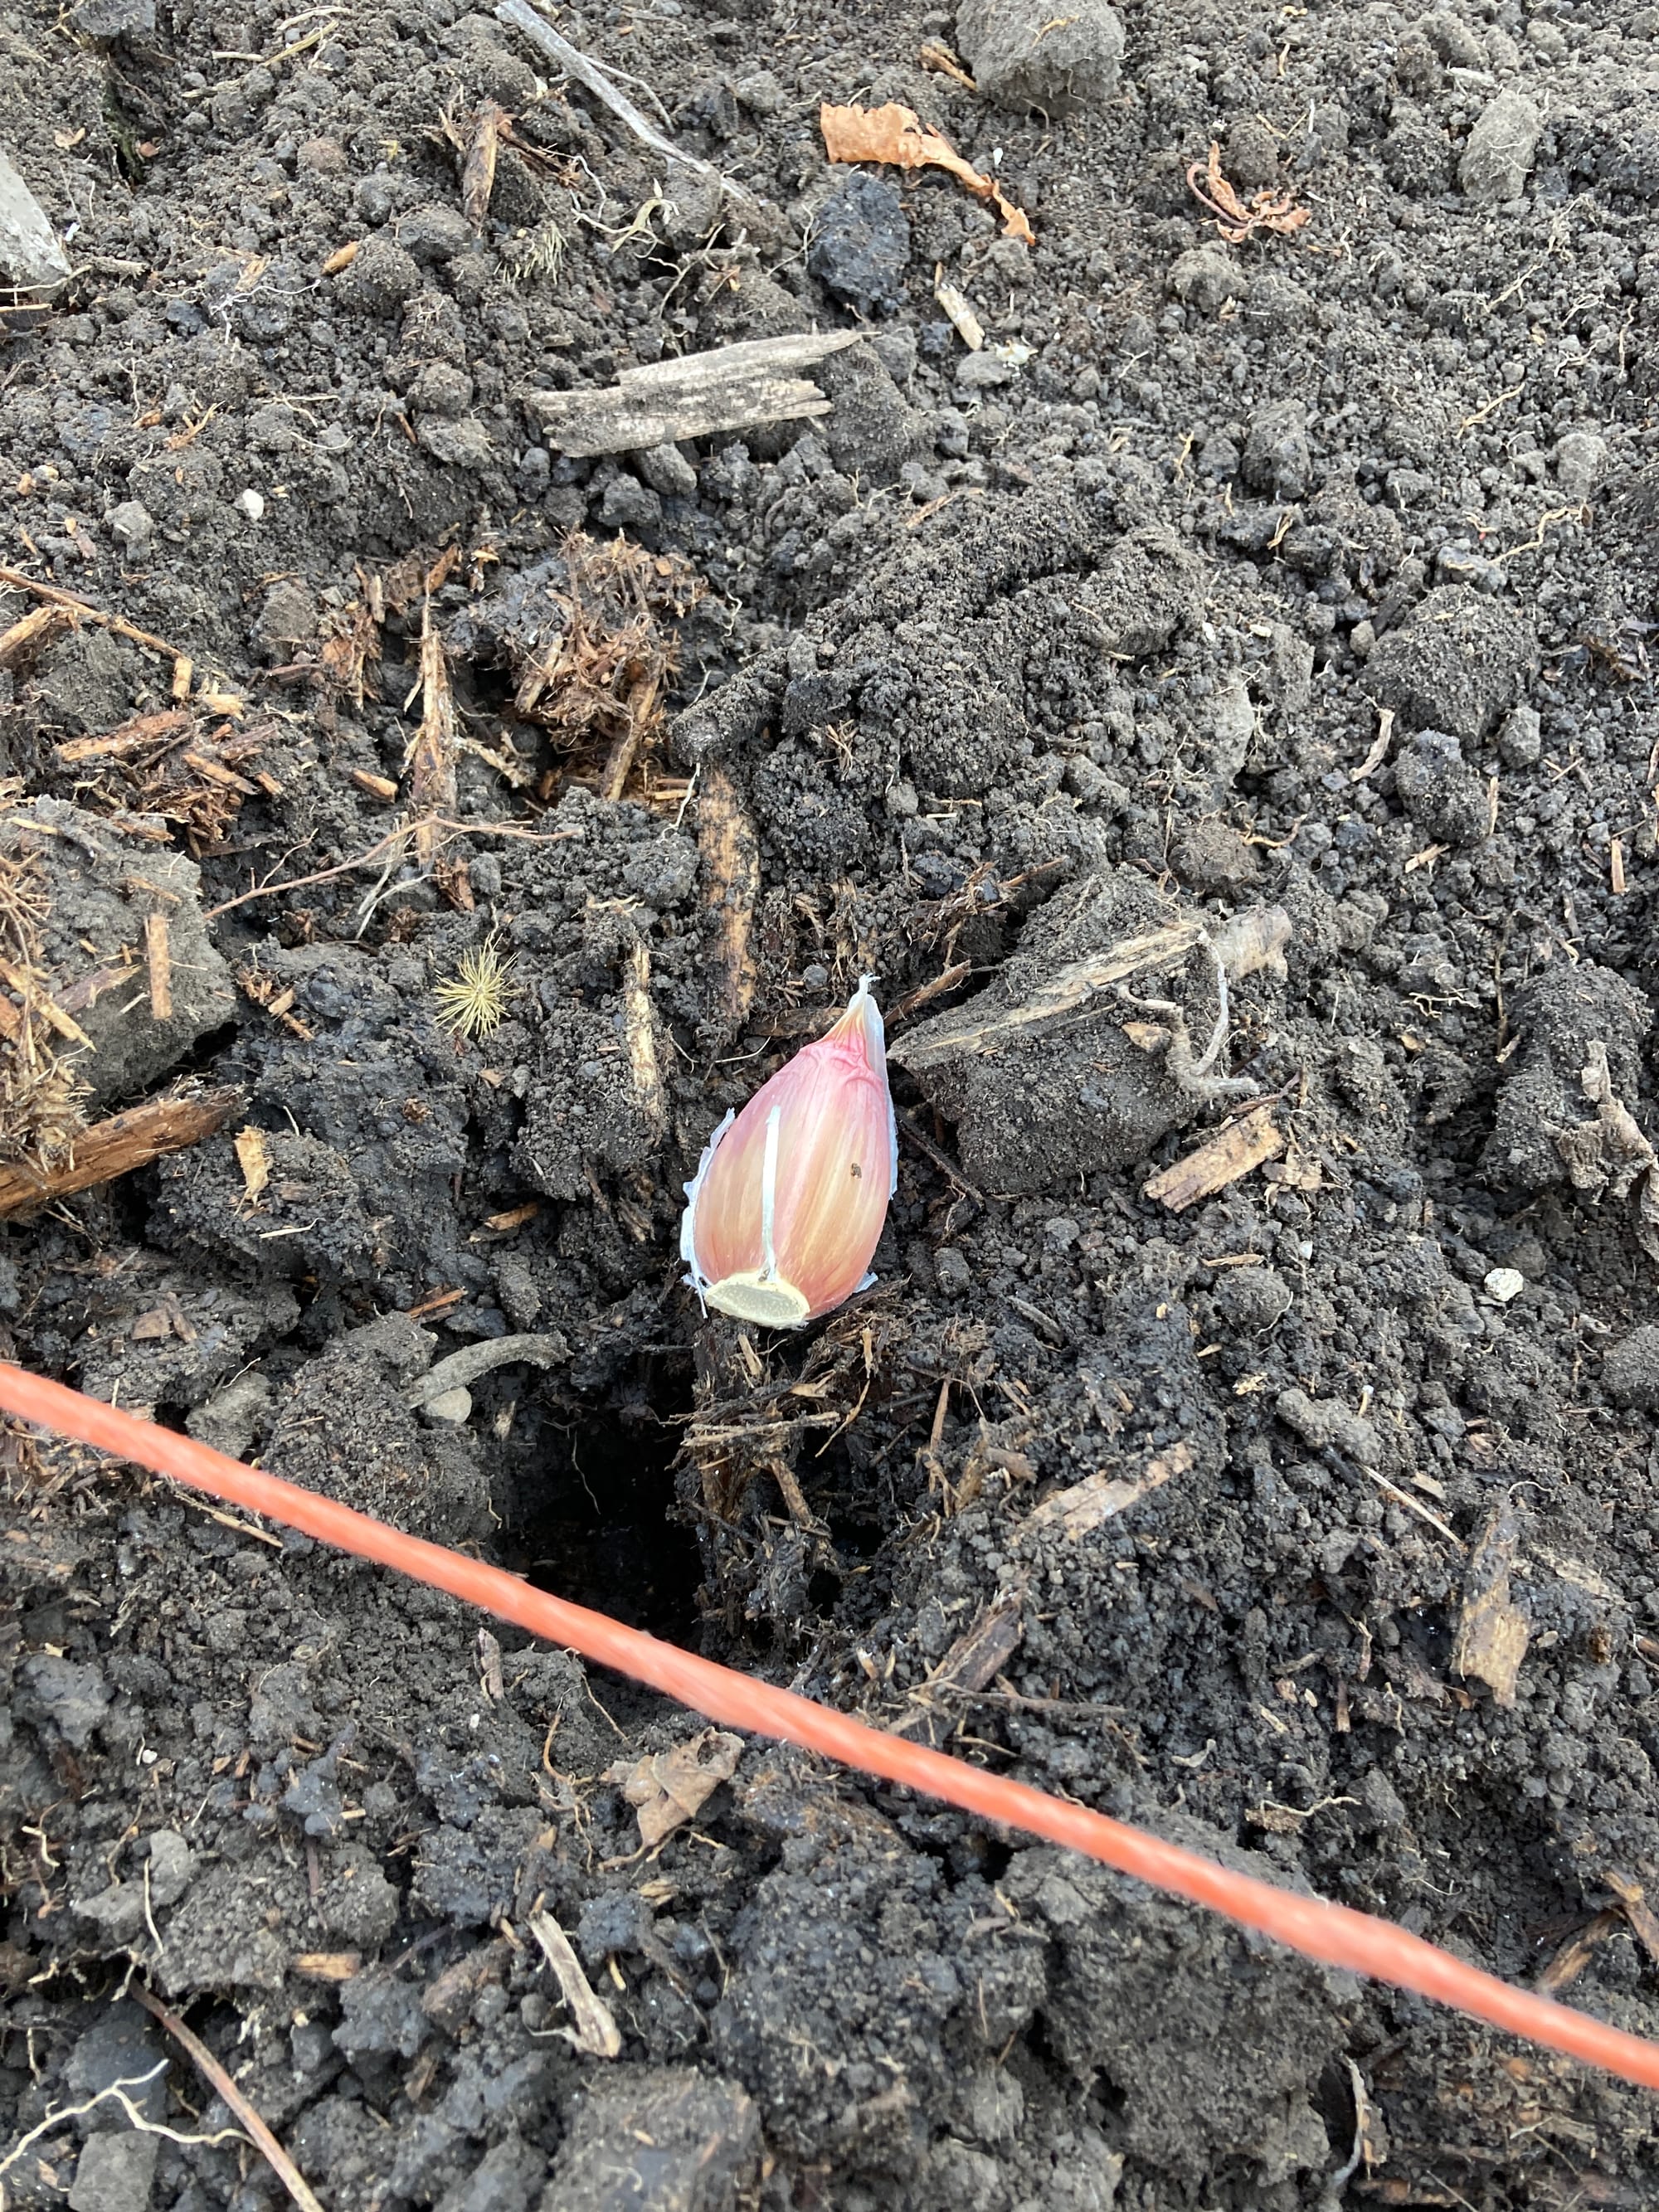
I've been growing garlic for about seven years and have switched to growing only hardneck varieties due to their increased winter hardiness. I am currently growing the Music variety with great success. The Music variety has large cloves, so a 4-6" planting depth is ideal. Many softneck varieties are also available, but we will not be covering them in this post.
Johnny's Selected Seeds is a great source when shopping for your garlic bulbs. They offer an excellent description of the varieties available and will ship the bulbs at the proper time according to your growing zone.
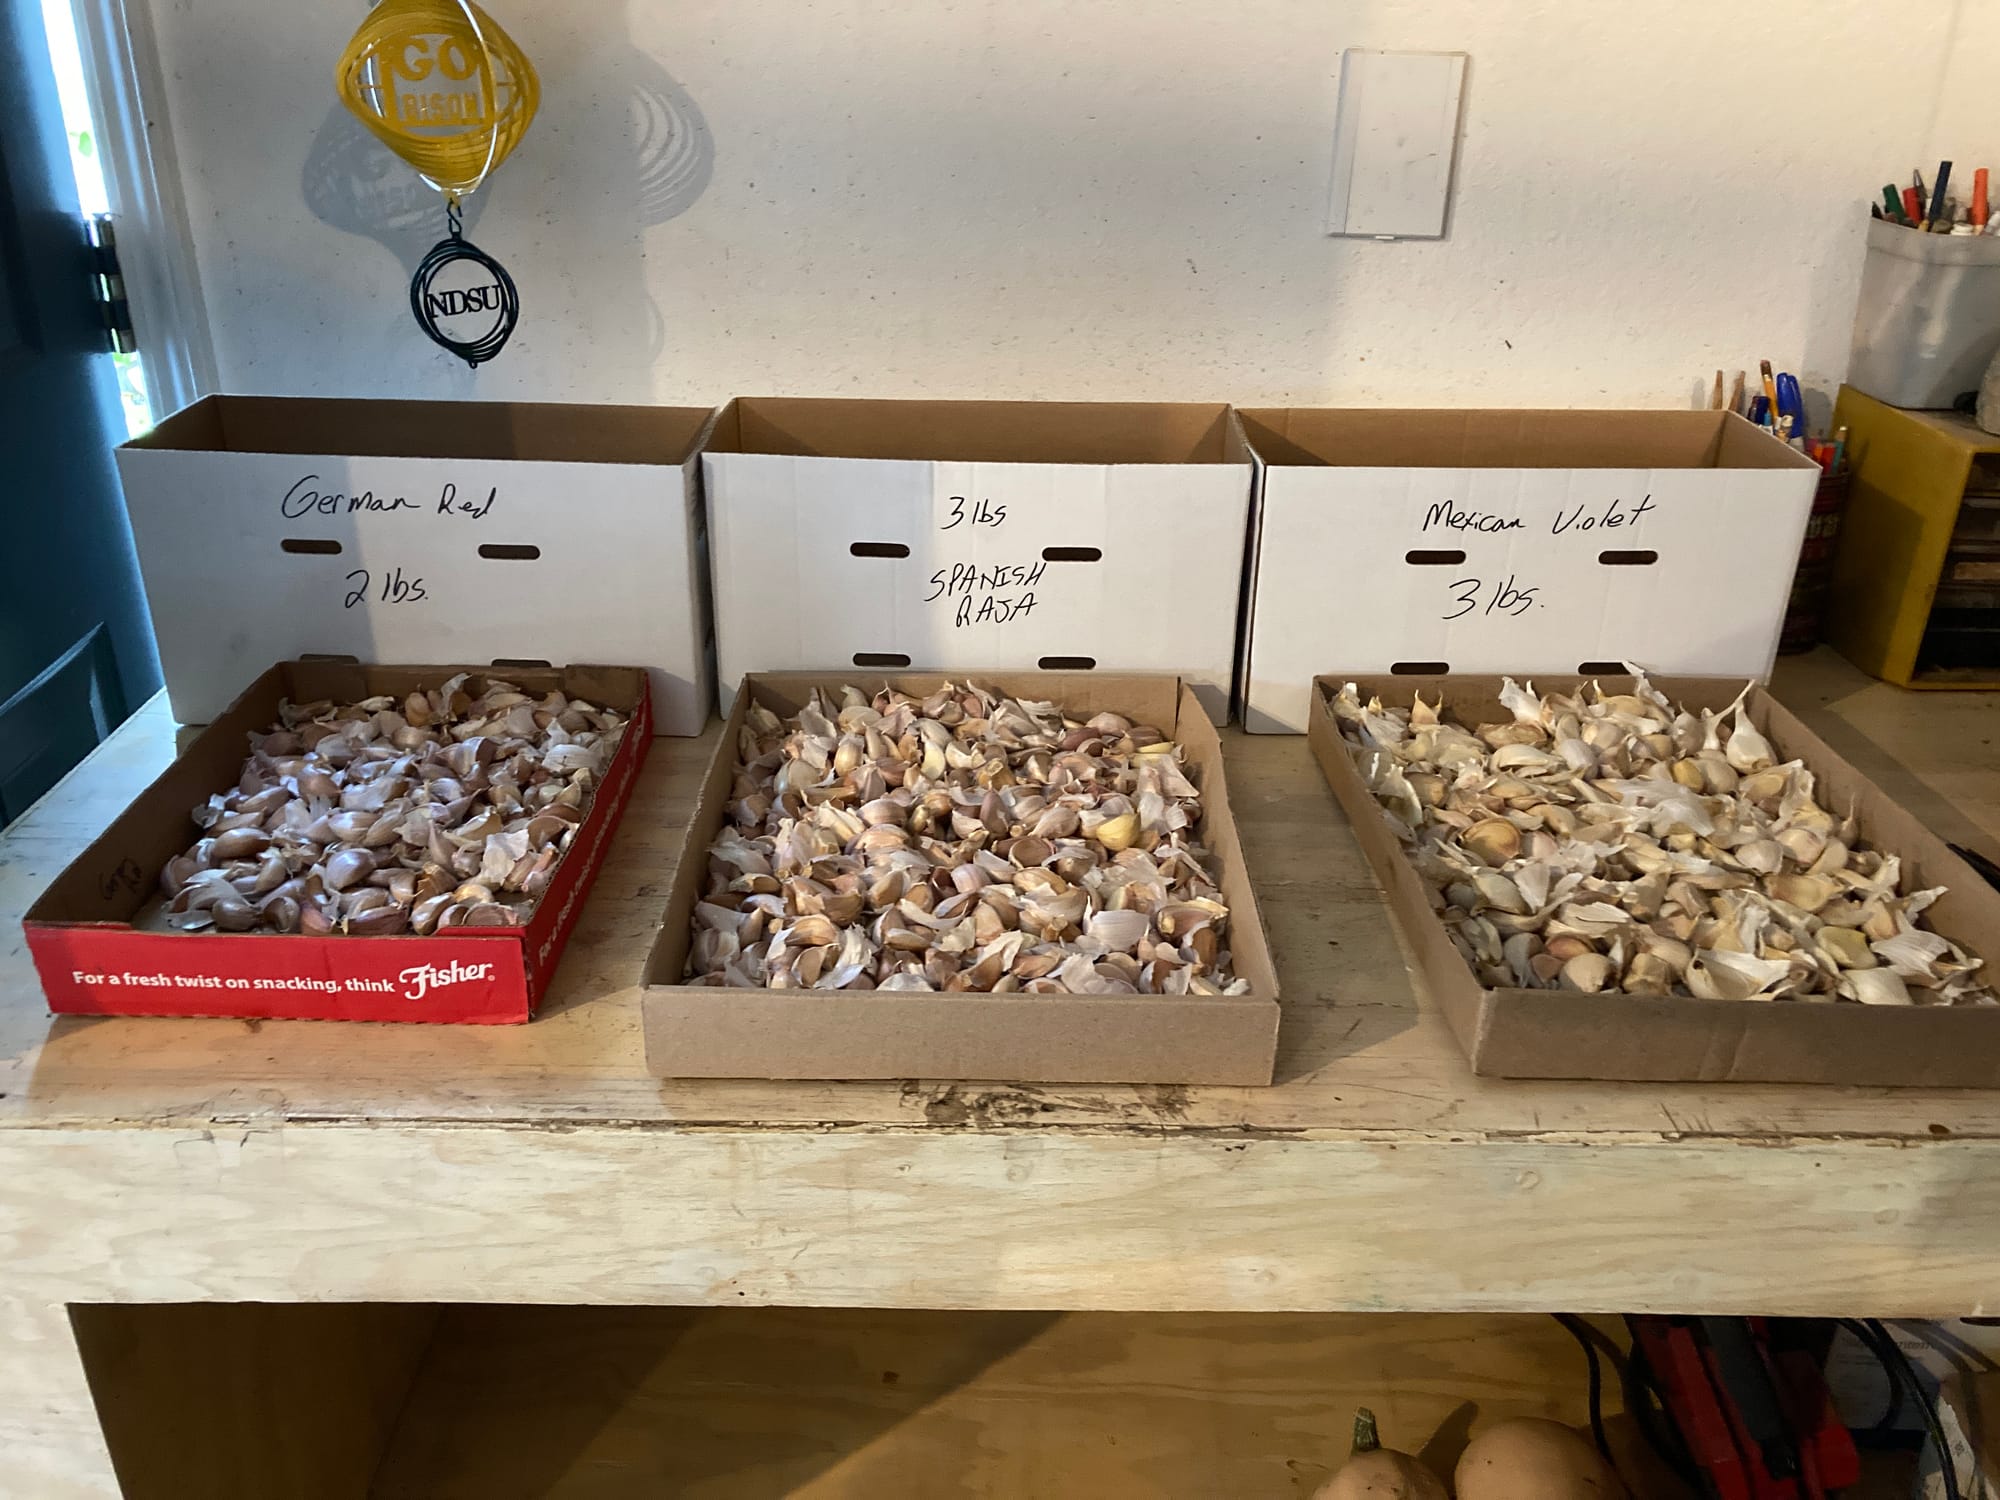
I recommend German Red, German Extra Hardy, and Music hardneck varieties.
I experimented with several different varieties a few seasons ago, planting over 1000 cloves. I lost over 95% of that crop due to three critical mistakes: selecting non-hardy varieties, planting too early, and mulching at the wrong time.
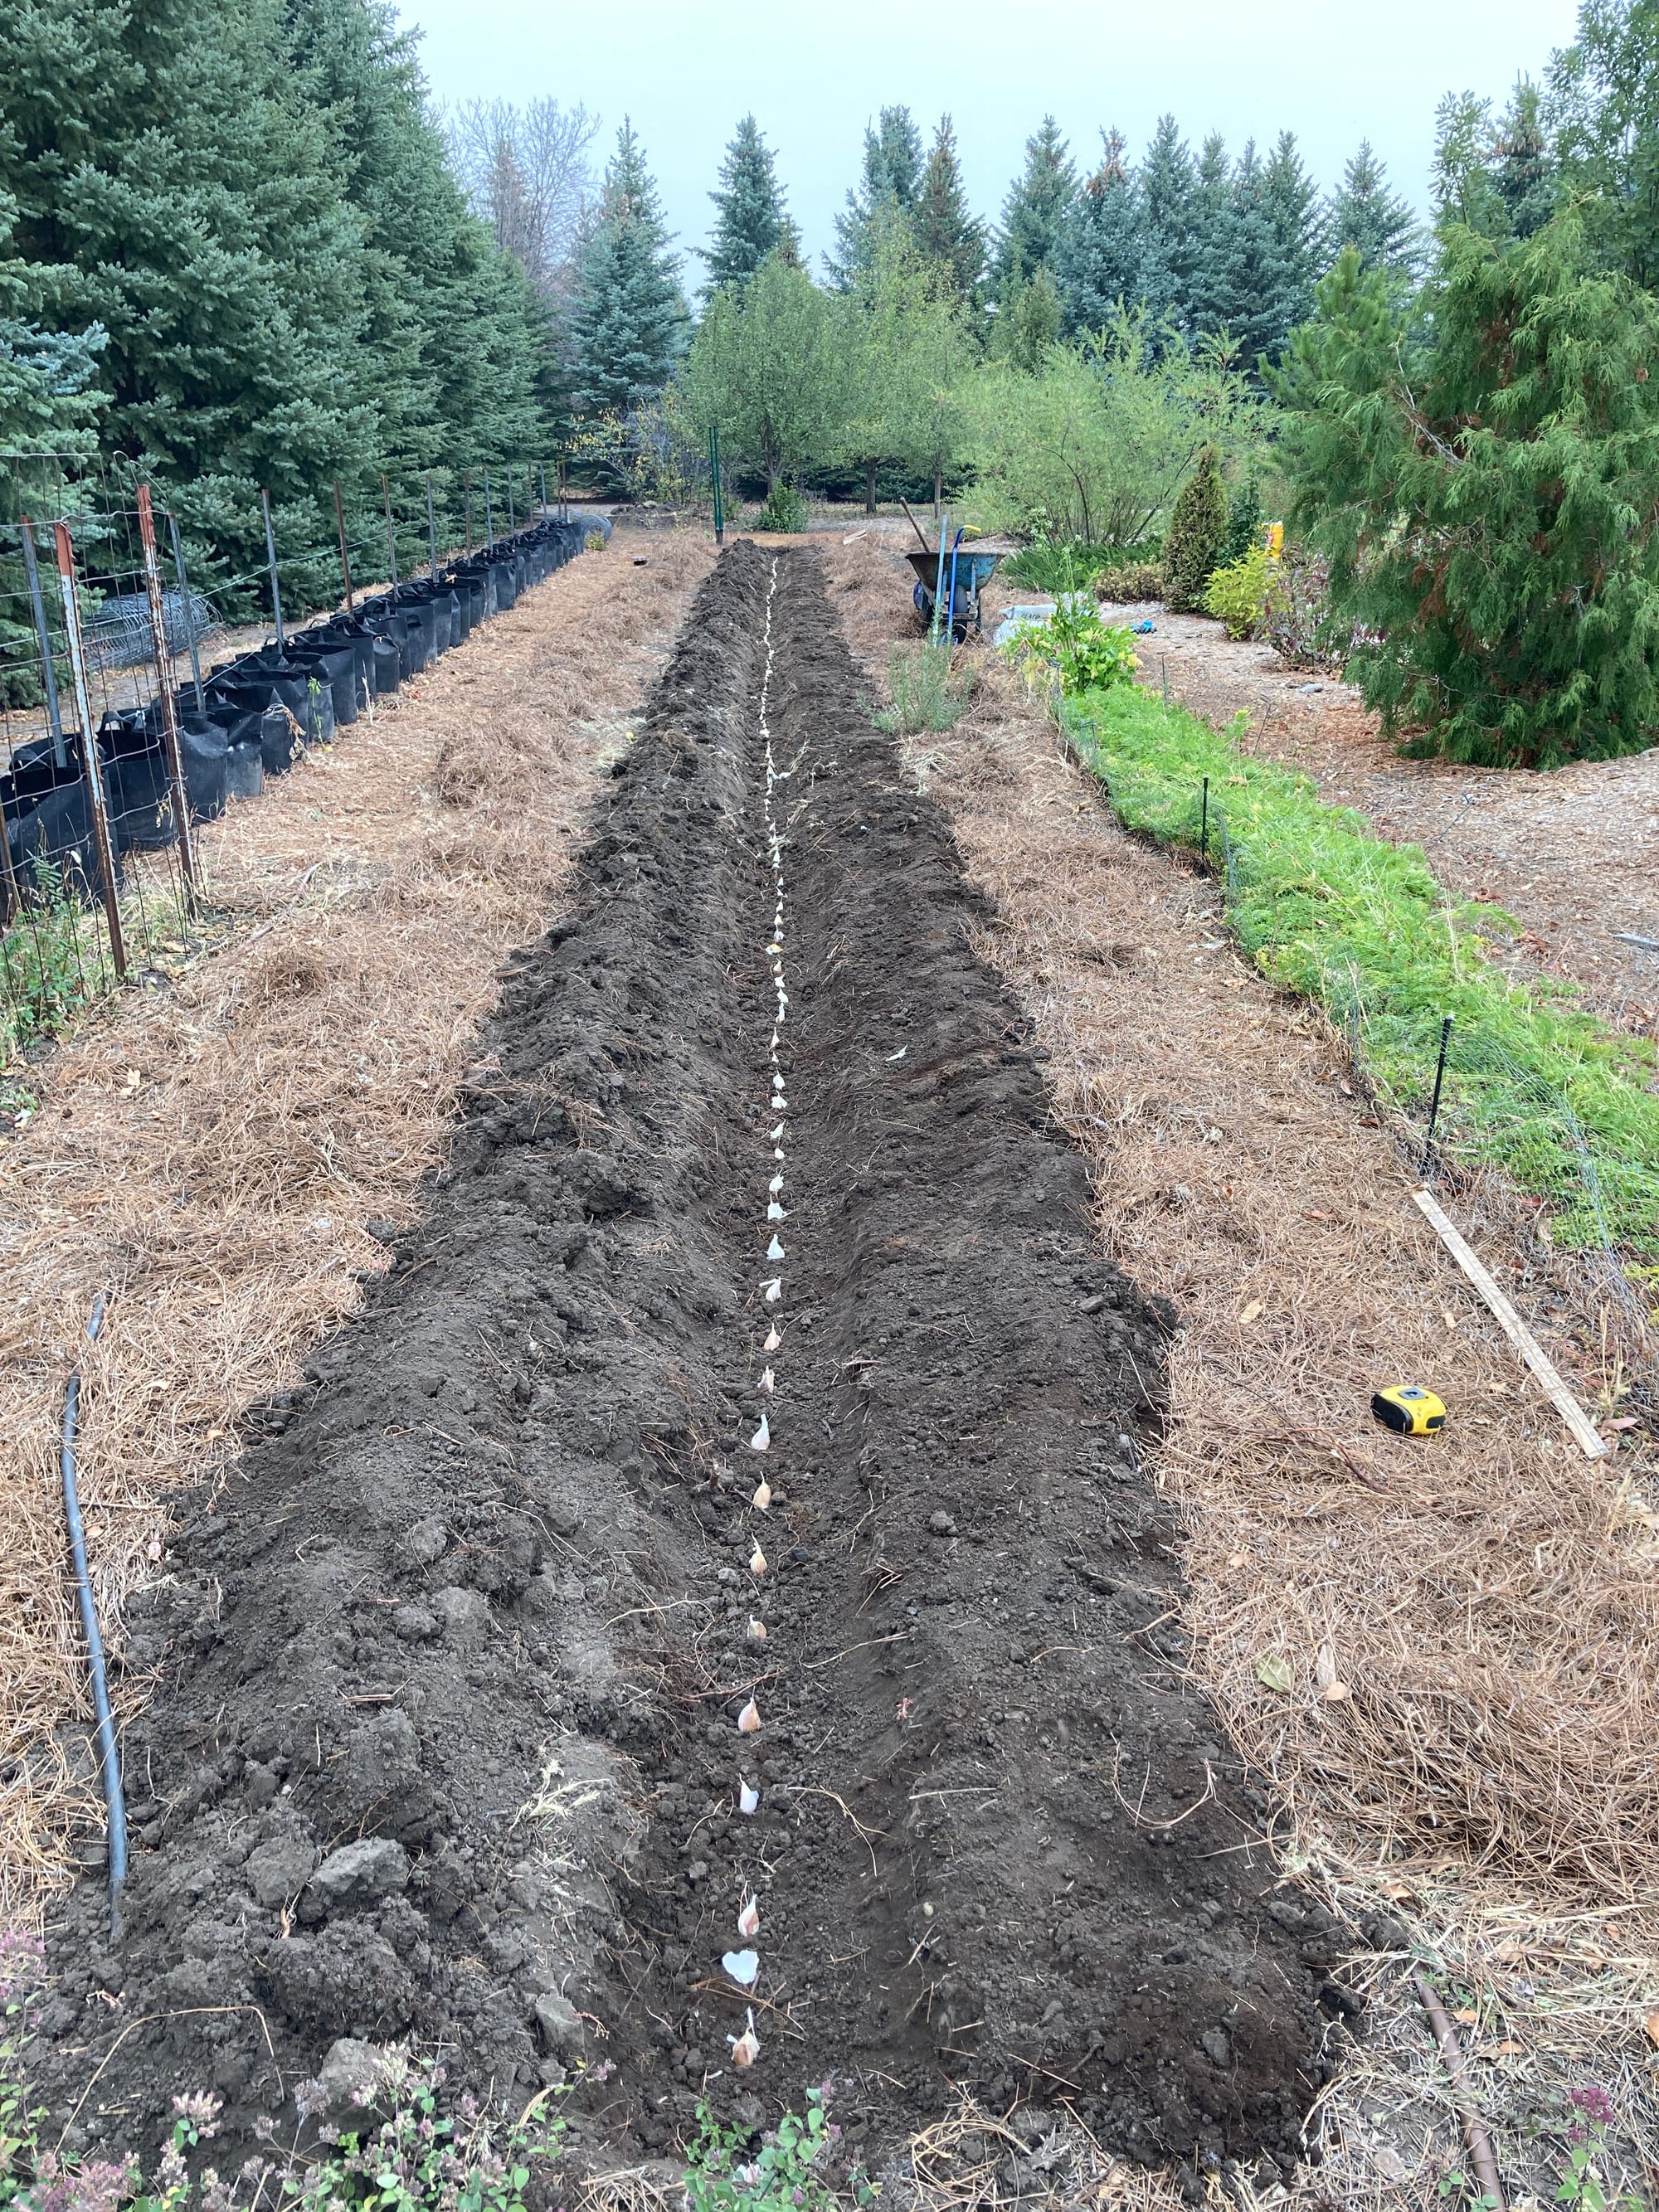
Planting Your Garlic Cloves In The Fall At The Appropriate Time
It's all about timing and paying attention to your area's weather and average freeze dates.
I lean more towards planting my garlic too late now than too early. Before the abovementioned crop failure, I had read articles suggesting planting your garlic cloves 4-6 weeks before your ground begins to freeze. Since the ground in my area, northern Great Plains, Zone 4, usually starts freezing up the first week in November, I planted my cloves in mid-September. I mulched my crop the same day I planted the cloves. Then, we had six weeks of mild temperatures. And since the mulch was placed on the cloves early, that trapped even more heat in the soil.
These two critical mistakes allowed the garlic to sprout early above ground that fall. When the cold weather finally arrived, all the tops froze back. Ideally, you want the garlic to begin putting on roots but only have leaves emerge above ground next spring. Now, my goal each season is to have the garlic in the ground about two weeks before the ground begins to freeze. That time is usually around mid-October.
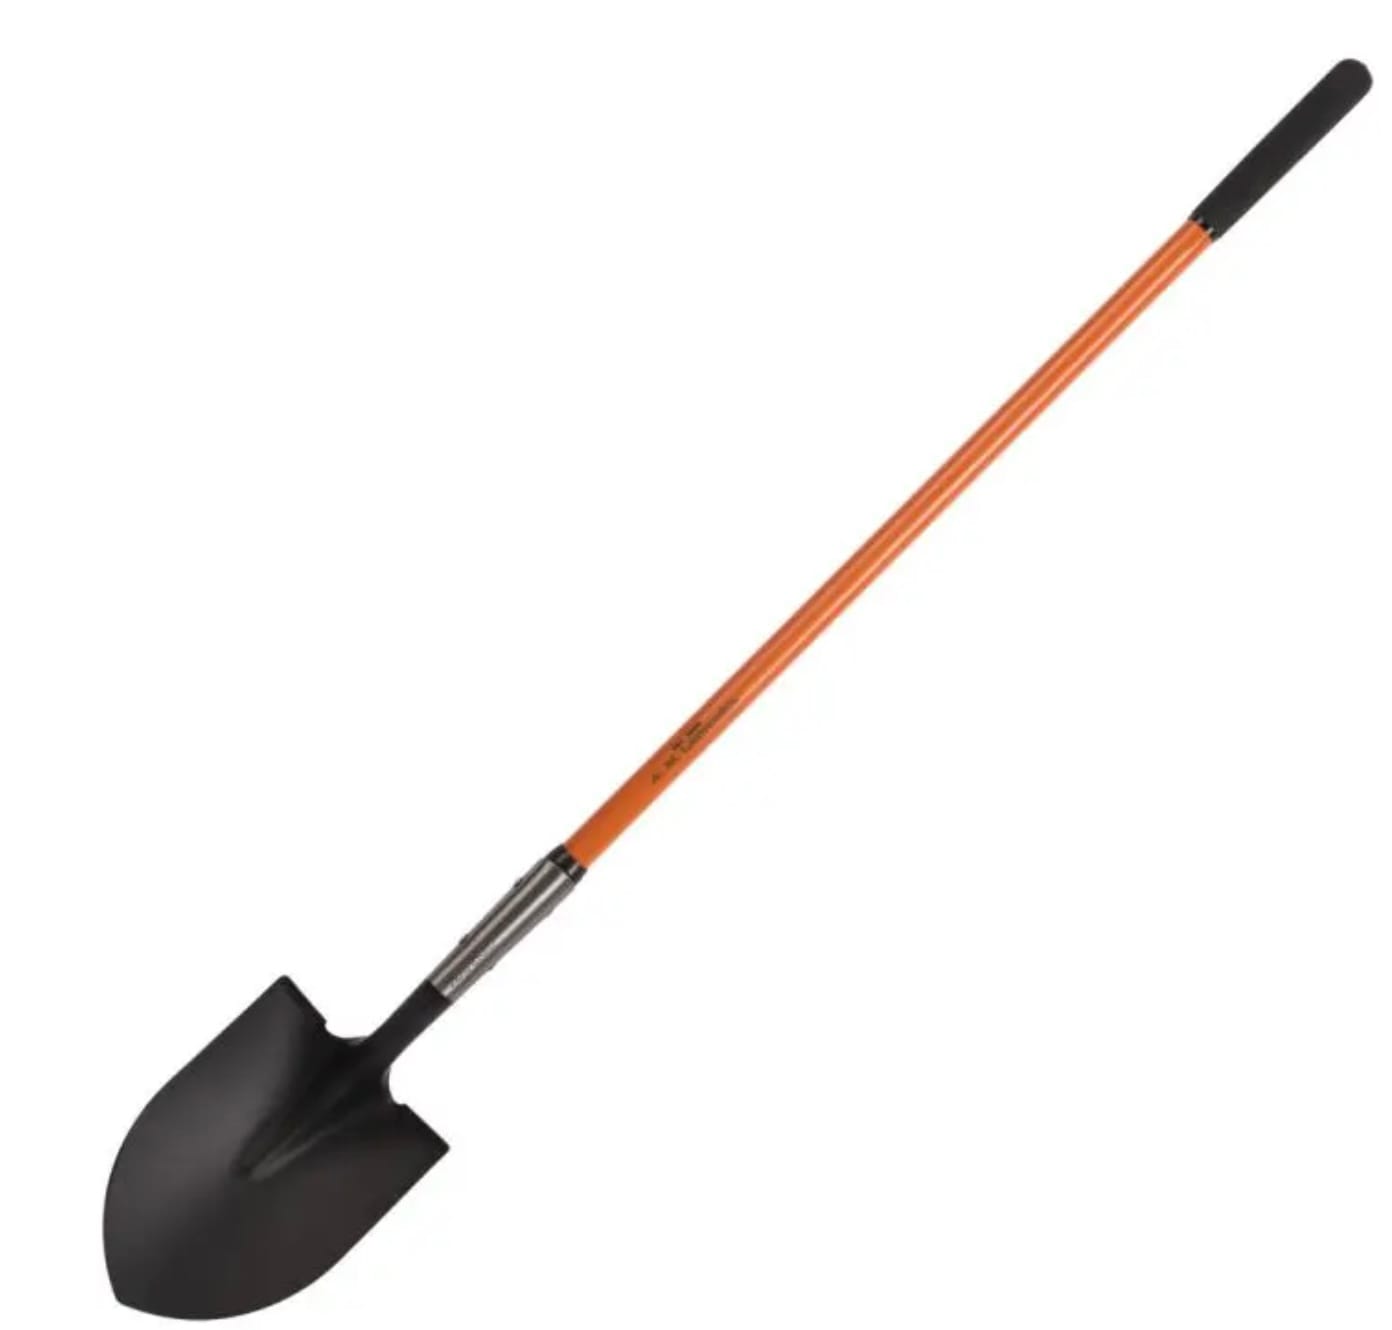
Closed-Back Round-Point Shovel
Tuff-Strong fiberglass handle with 14-gauge steel
Garden Hike is supported by its audience. When you purchase through links on this site, we may earn a small commission at no additional charge to you.
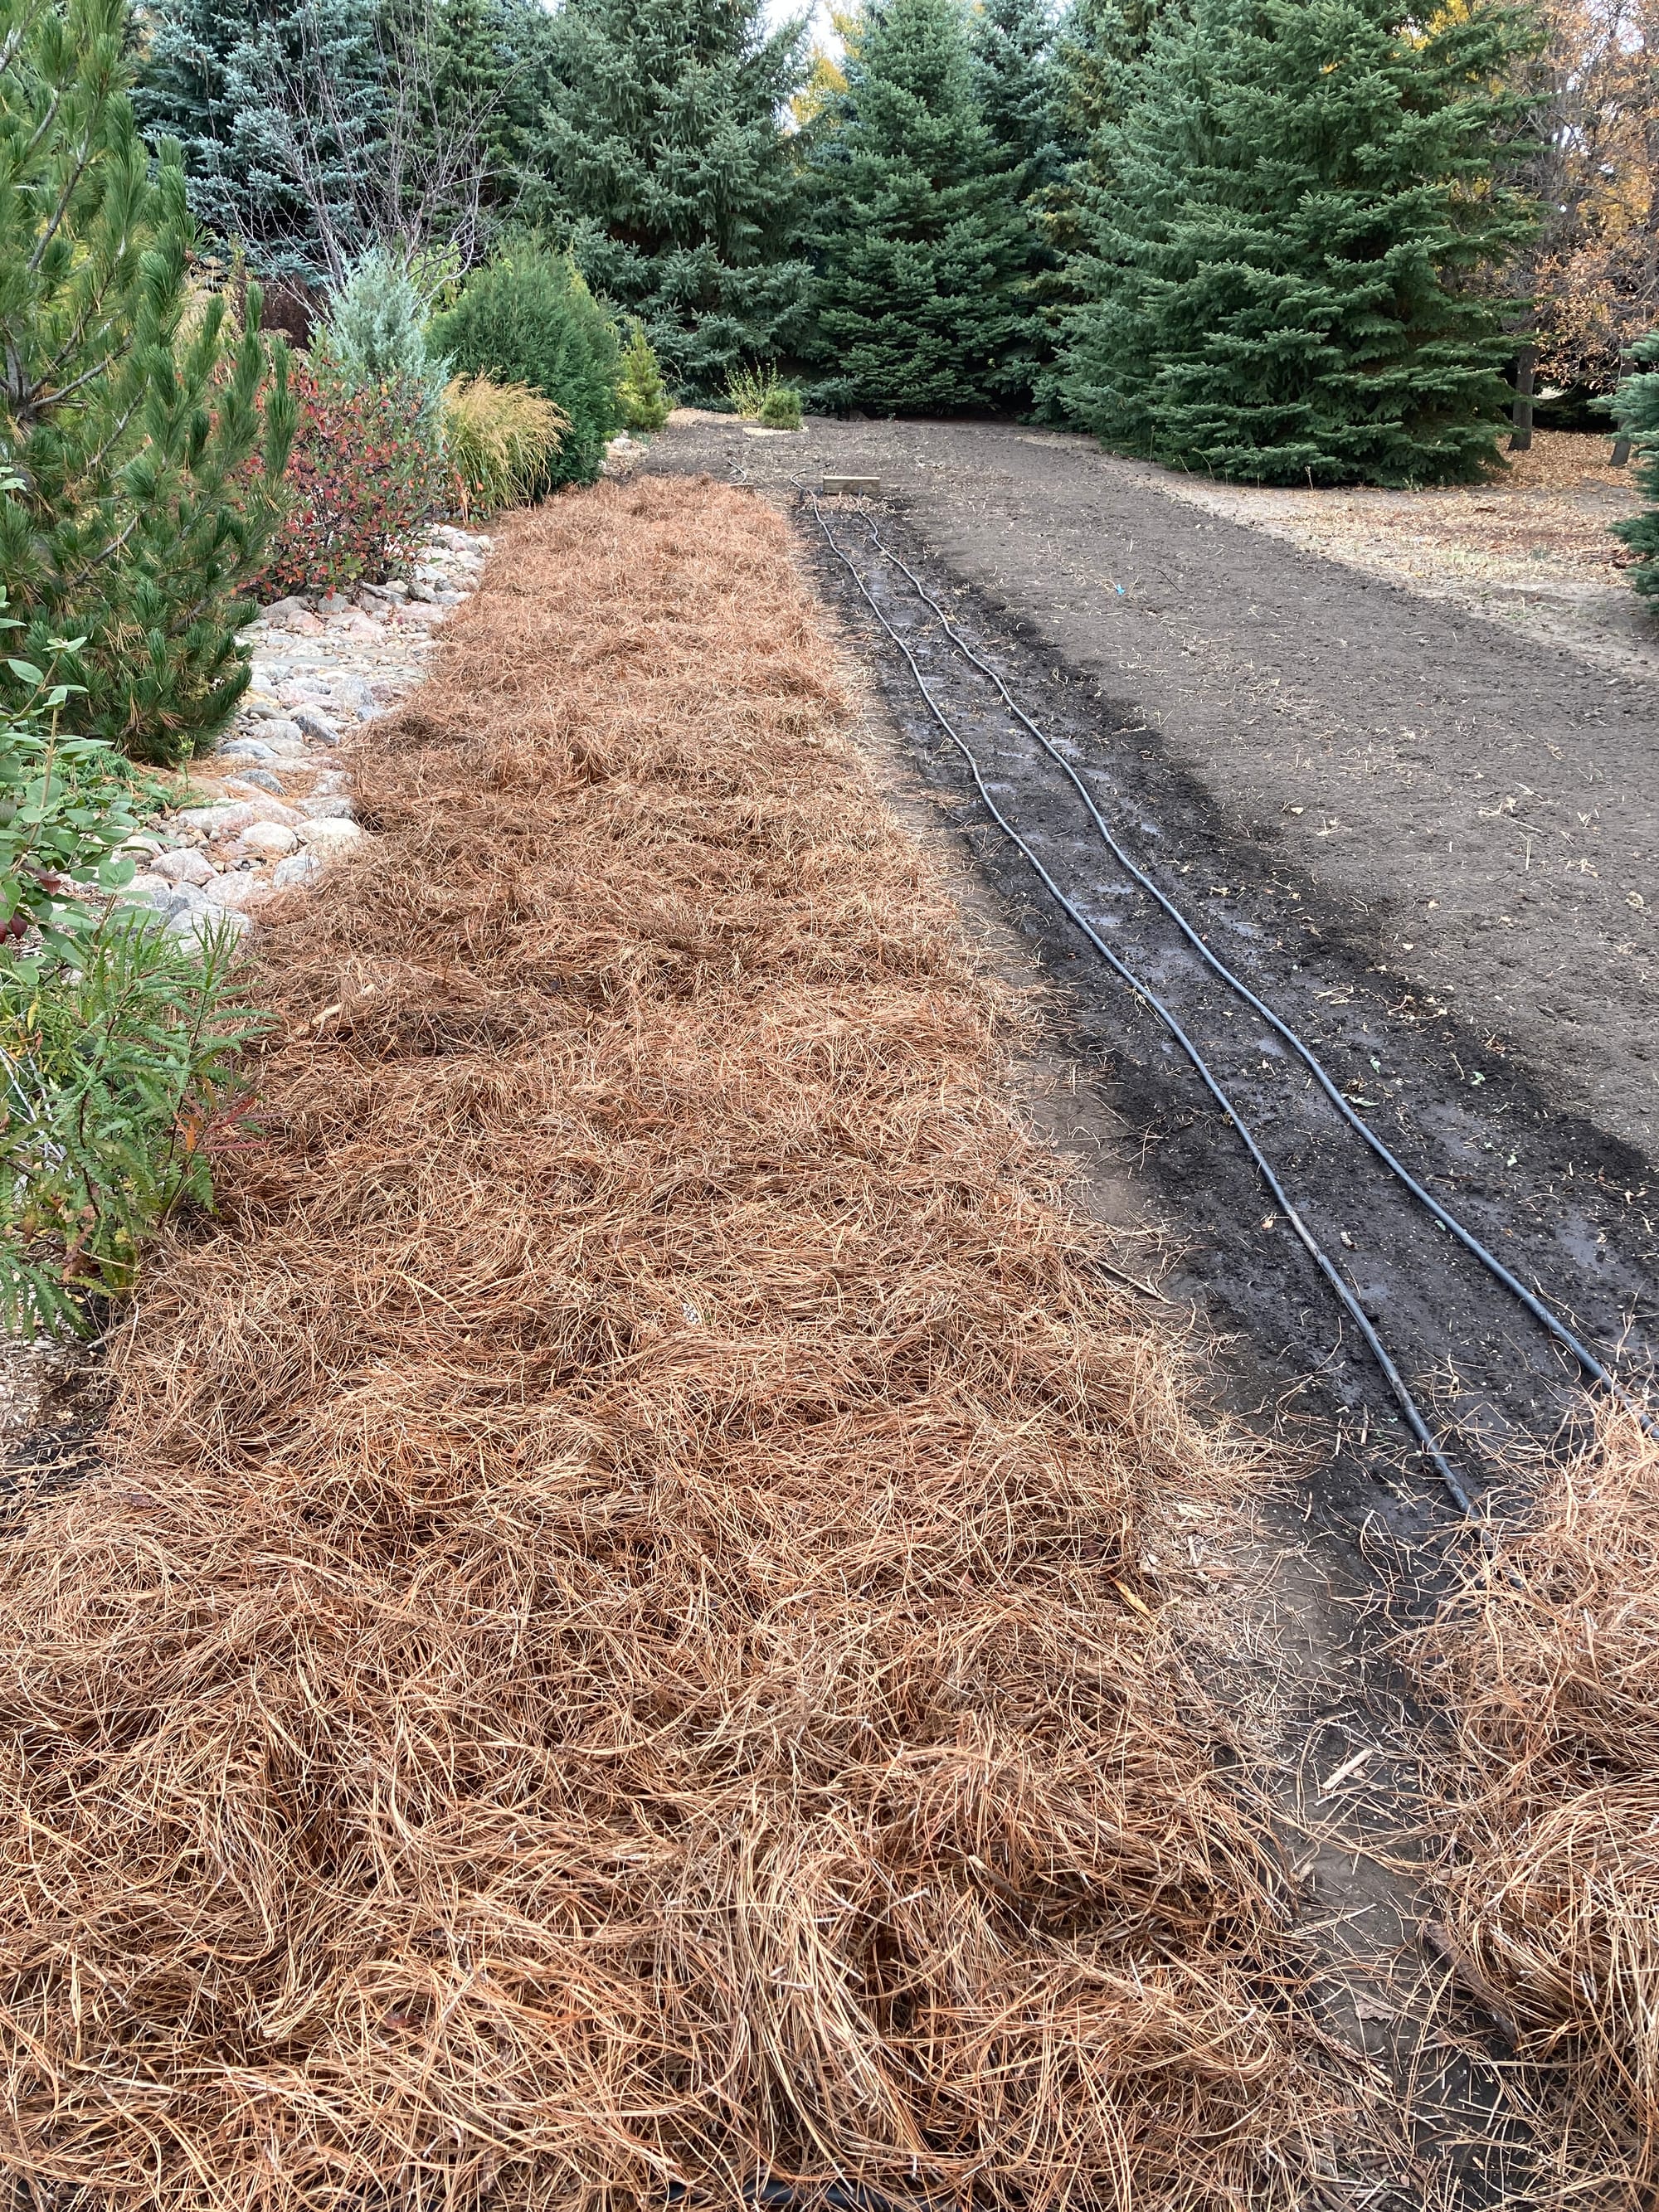
Mulch Your Garlic Before Winter In Colder Climates
Now, I also wait to mulch until winter has definitely set in, and I have about one-half to one inch of frozen ground on the surface. Since the garlic cloves are planted 4-6 inches deep, they will continue to put on roots for a couple more weeks, even with the cold temps and late mulching. Perfect.
Mulch your crop with 4-6" of organic material after you notice light freezing on the surface of your soil. I cover a couple of different mulch choices in the video. An important point to mention about mulch is whether or not you should leave it on in the spring. If you use something light, like a straw, you can leave it on, as the garlic will work through the covering. If the mulch is thick, you may need to remove the mulch as the leaves emerge and re-mulch once the plants are up about 4 inches. I mulch heavy, remove, and then re-mulch.
Before we go onto the fourth and fifth steps, I also want to mention that I lay a drip irrigation tube under the mulch in the fall. Mulch does an incredible job of holding in moisture. Now, if rains are infrequent, keeping the soil moist is a snap.
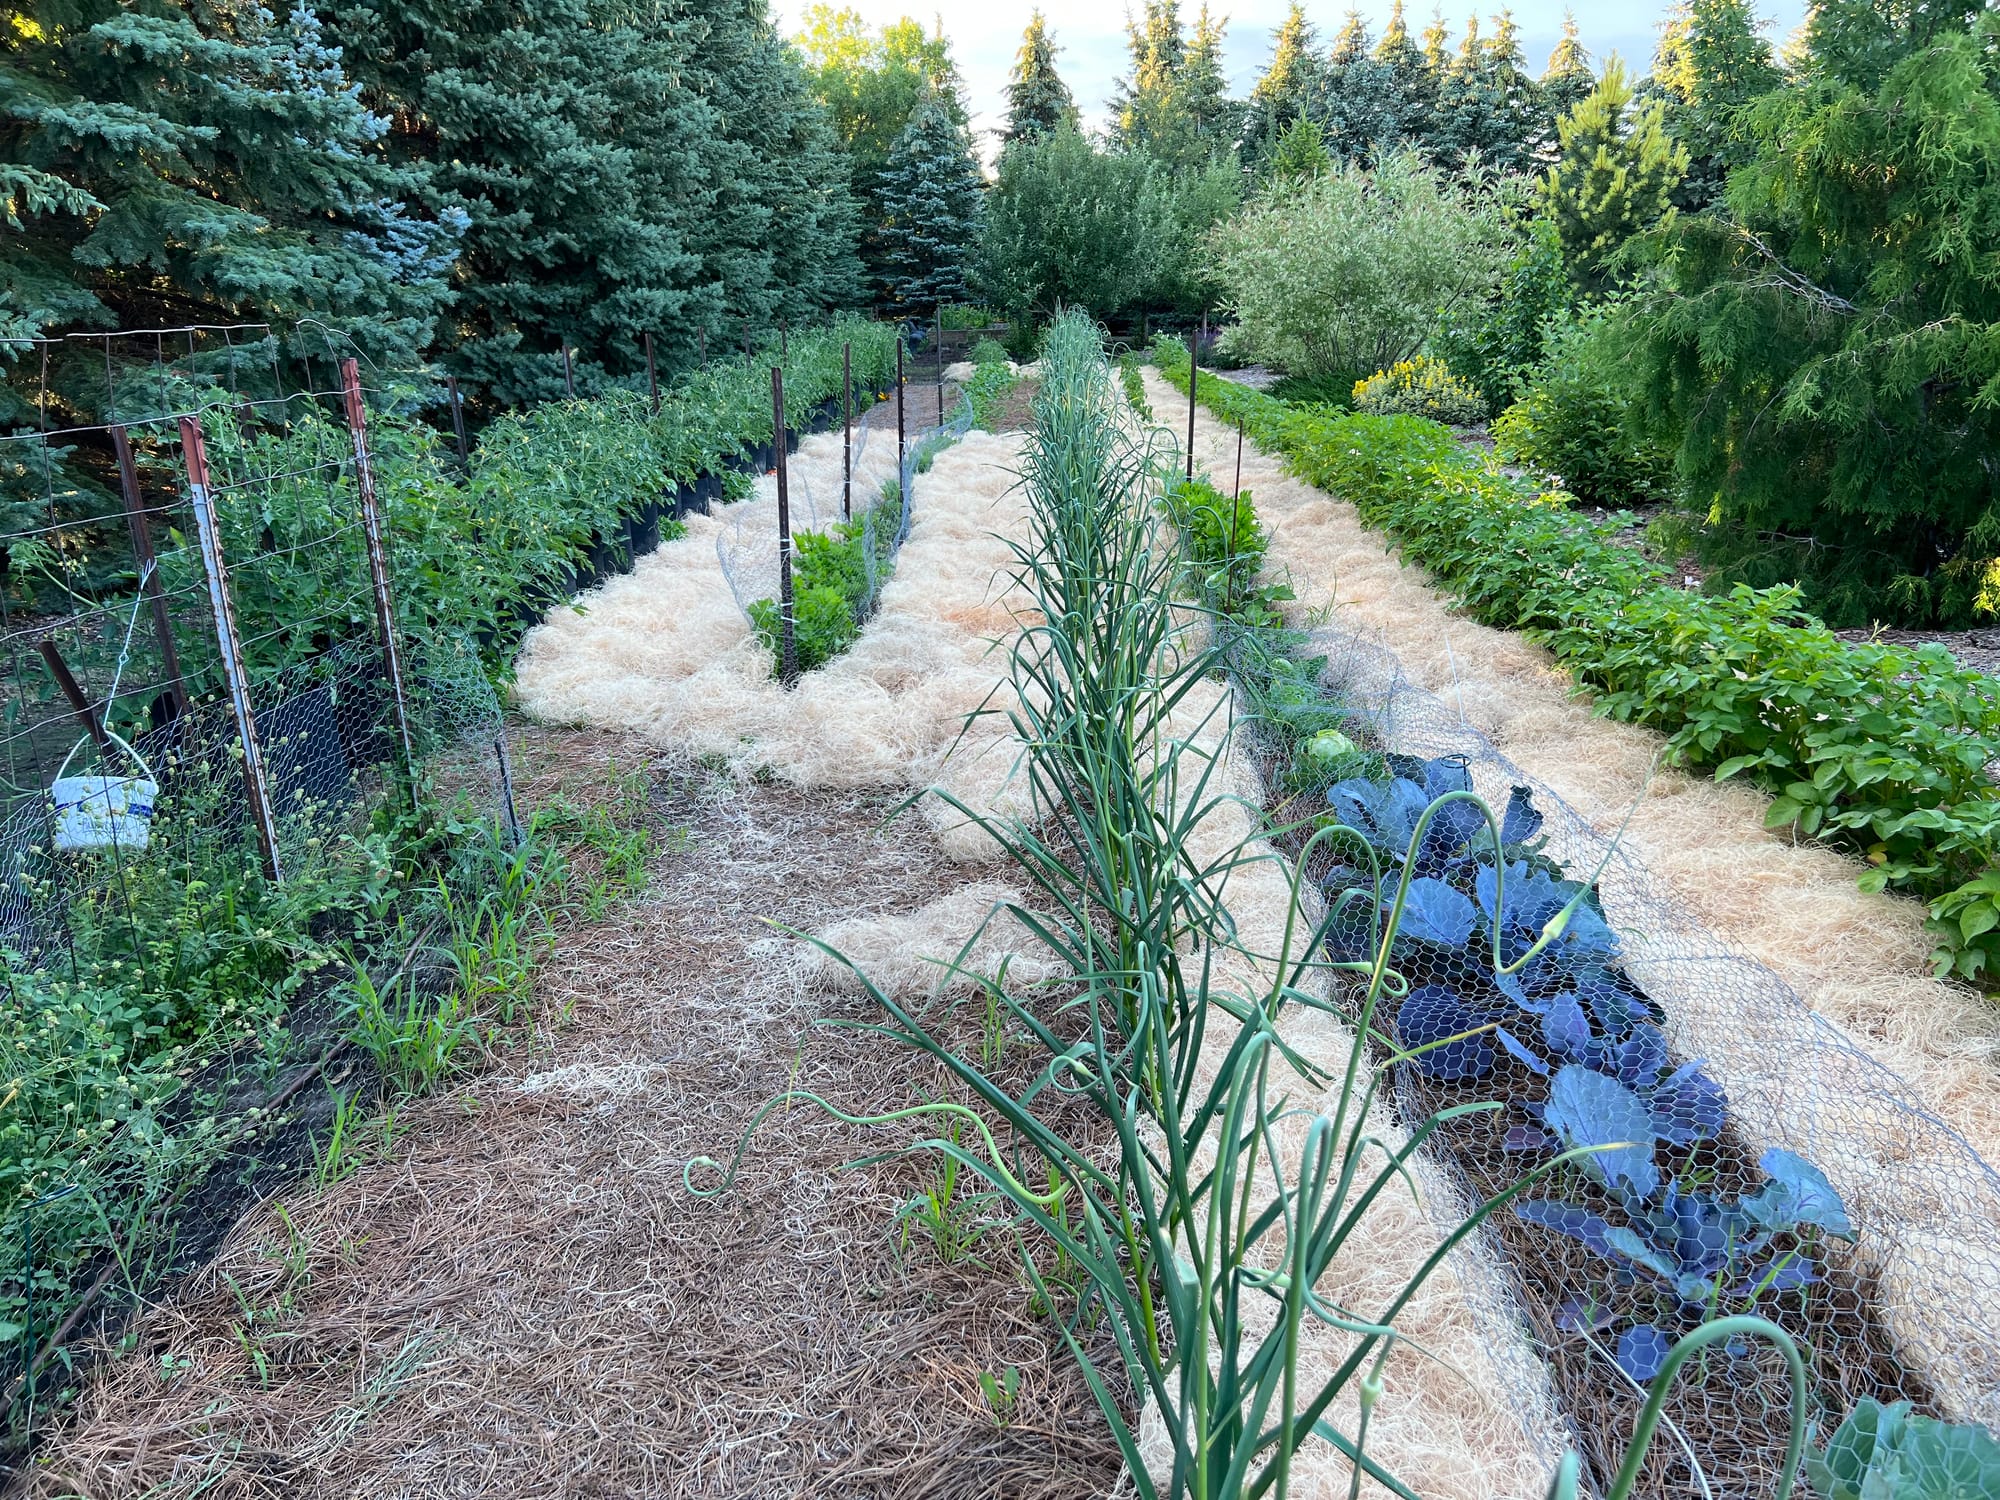

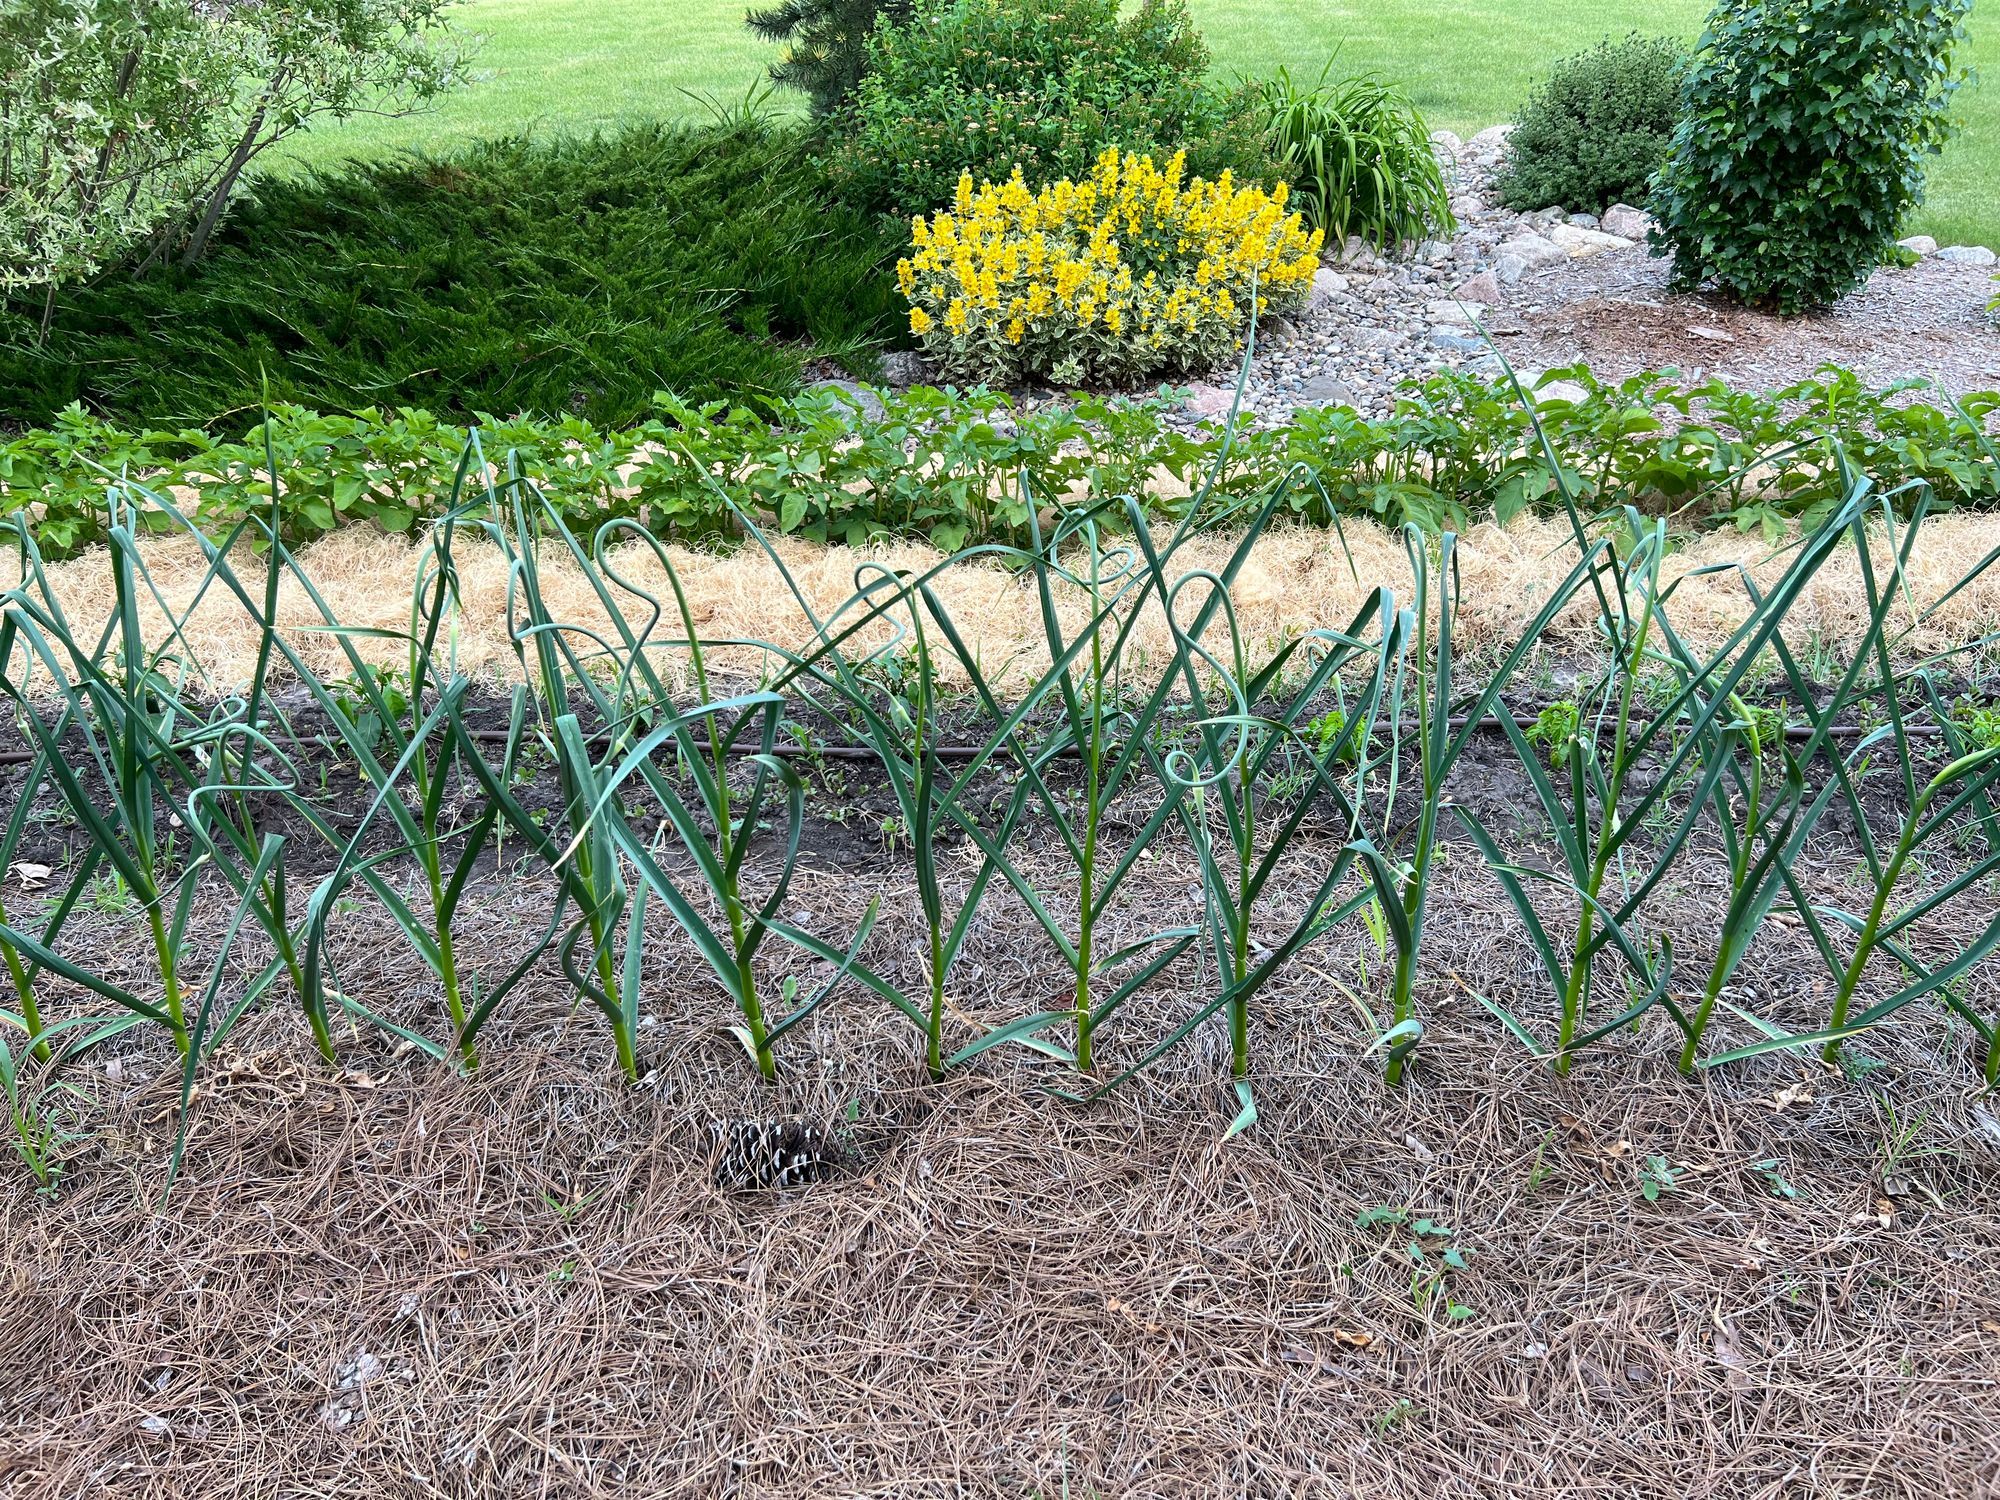
Harvest At The Appropriate Time
I have found that I harvest later in the season when using summer mulch. The even and adequate moisture the mulch provides prolongs the growing season for at least two weeks. The rule of thumb used by most growers signaling it is time to harvest is to wait for the bottom two leaves to dry up or look for about 50% of the lower leaves to be "browned up." The goal is to maximize your bulb size before harvest.
Harvest time will vary depending on your garlic variety, the season temperature, available soil moisture, and whether or not you mulch your crop. Depending on the above variables, I harvest garlic between the end of July and the first part of September. You must wait for the signals of the lower leaves drying up. Mid-August is the most common harvest time for me.
You can use various tools to dig your garlic when you are ready to harvest. I use a large fork sold for loosening compacted soils, as it is heavy-duty with long handles that provide good leverage. After loosening the soil, I hand-pull the bulbs by grabbing the top stems.
It is a 50/50 debate on whether or not you should remove the scapes earlier in the season. I usually leave mine on as I did not notice a difference in the bulb size the year I did a test study.
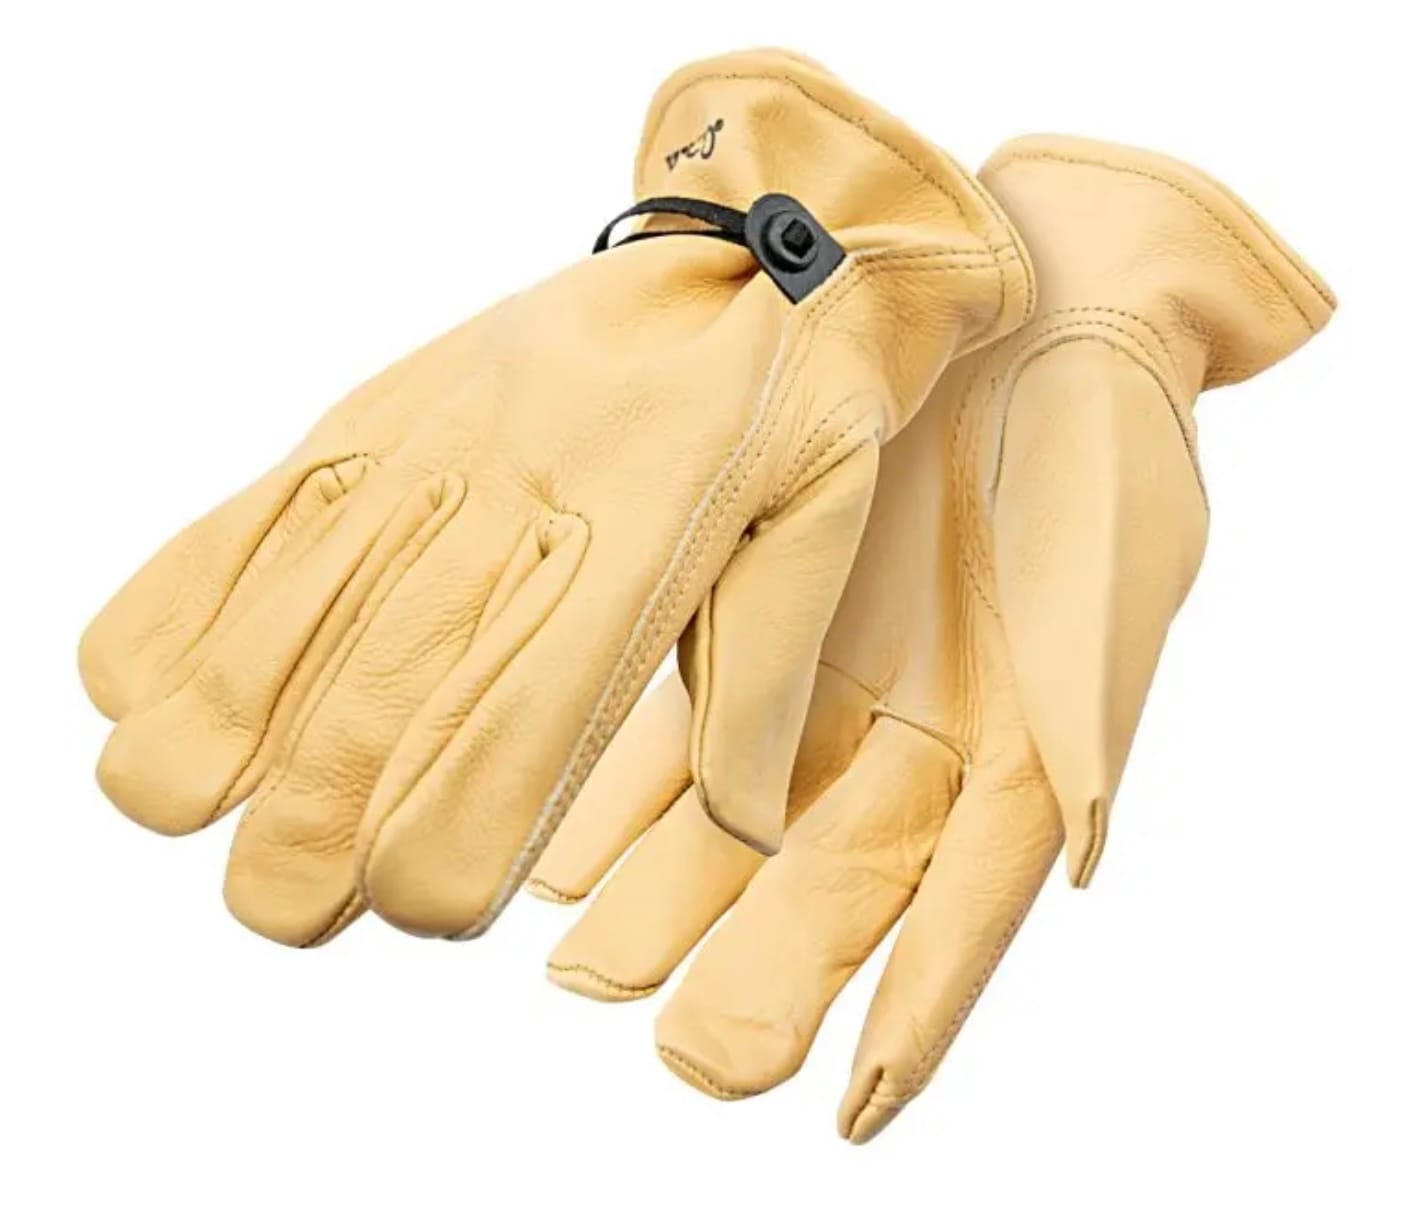
Cowhide Glove With Adjustable Pull Strap
Available in sizes medium, large, and x-large
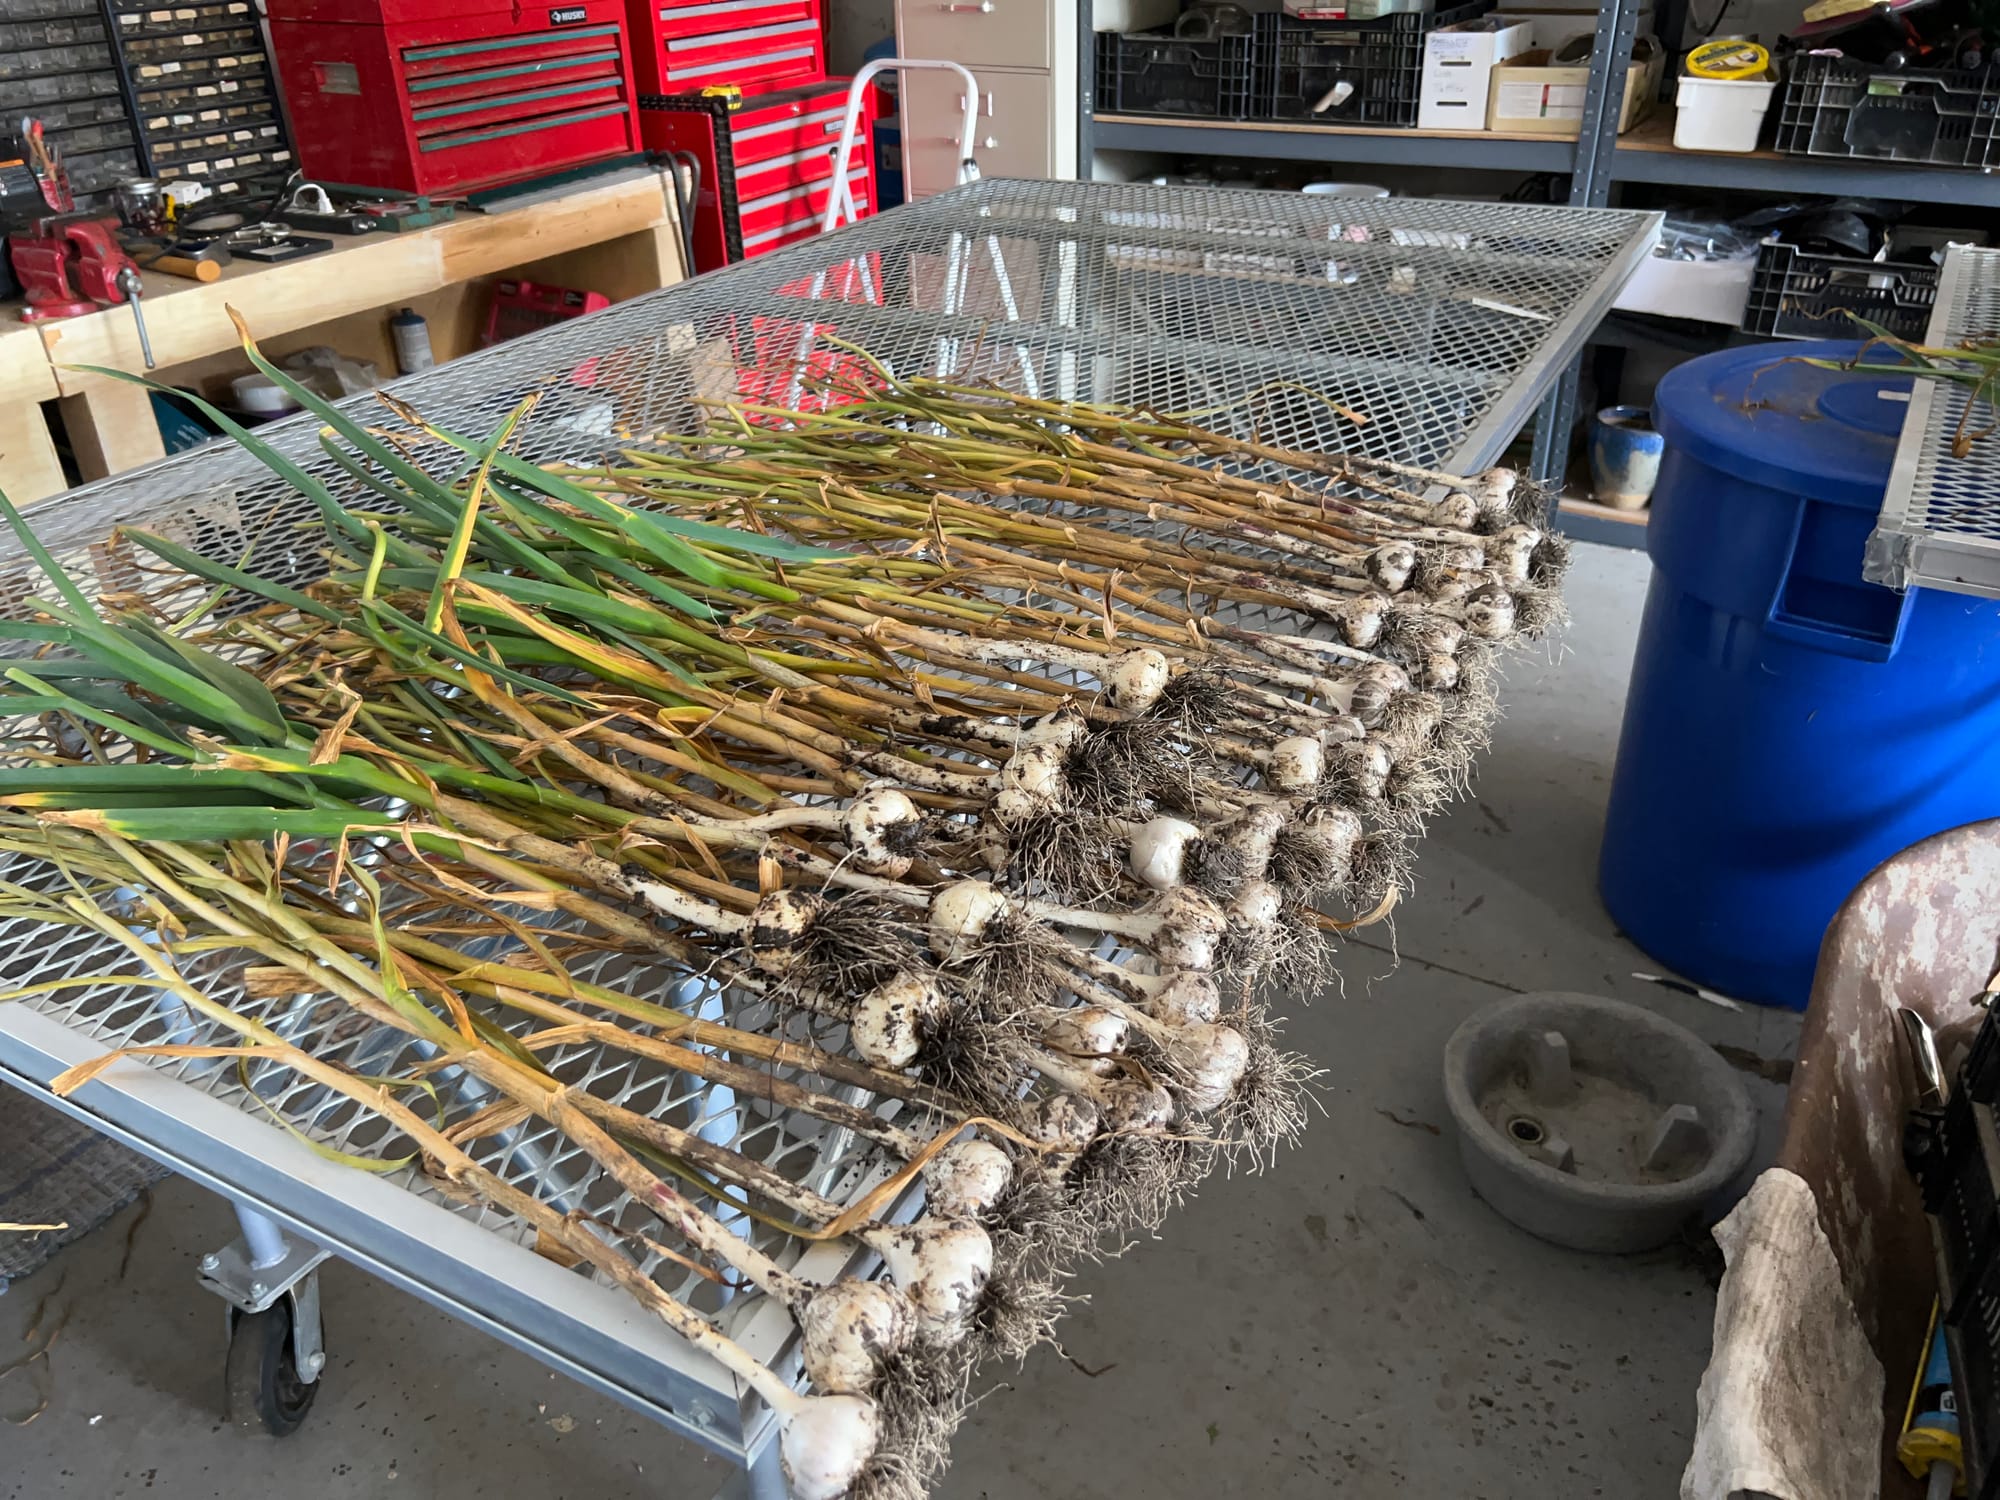
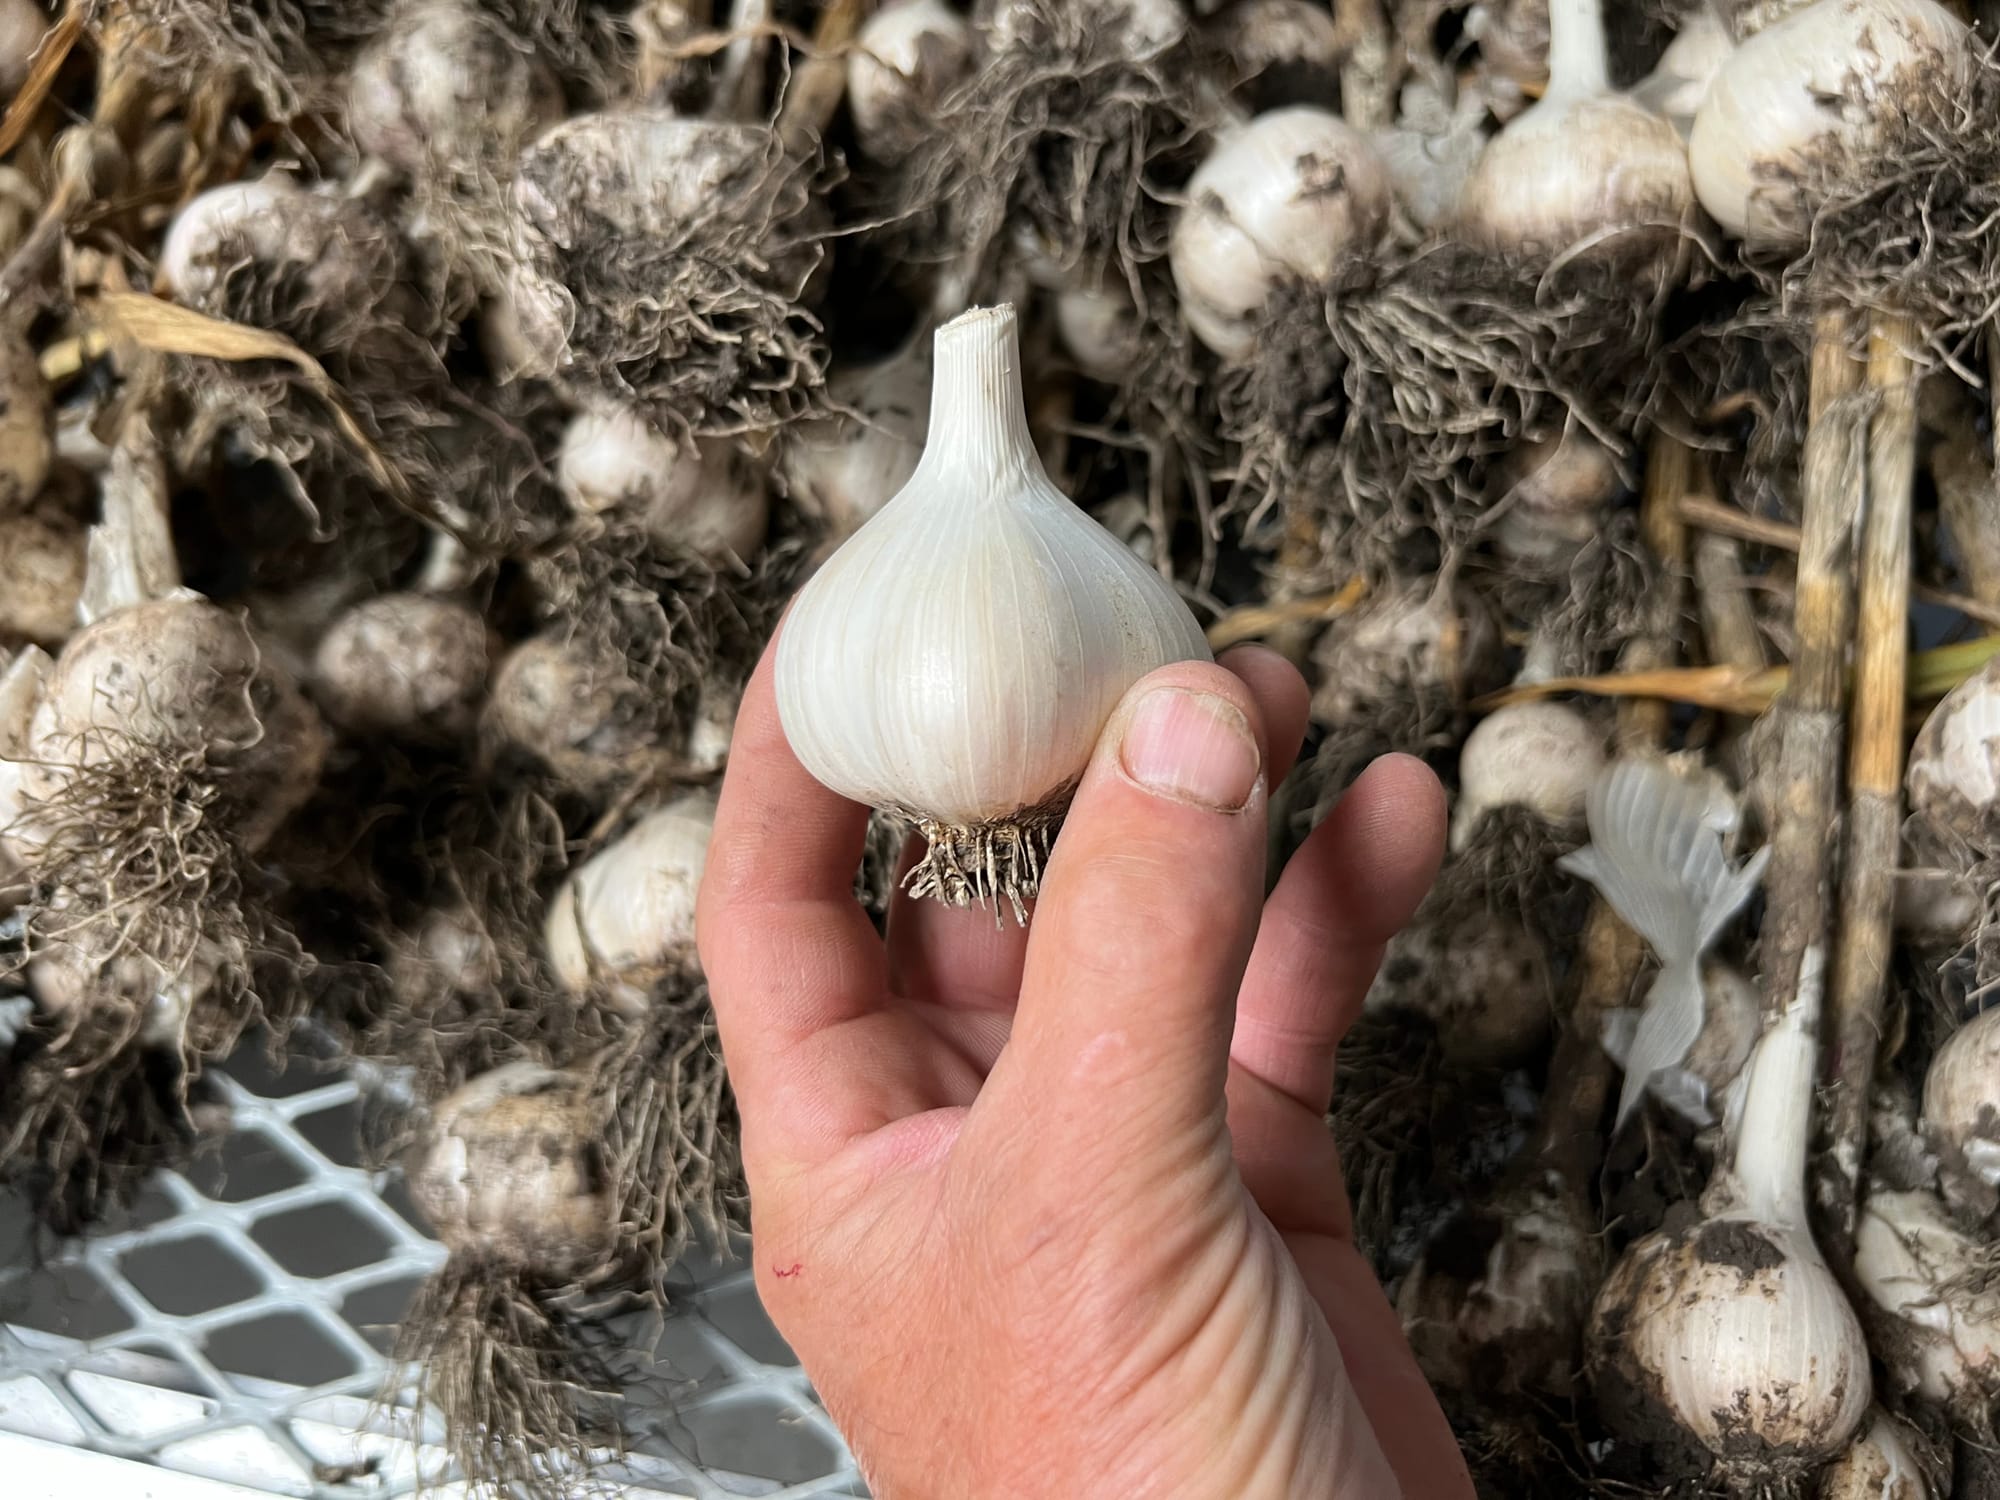
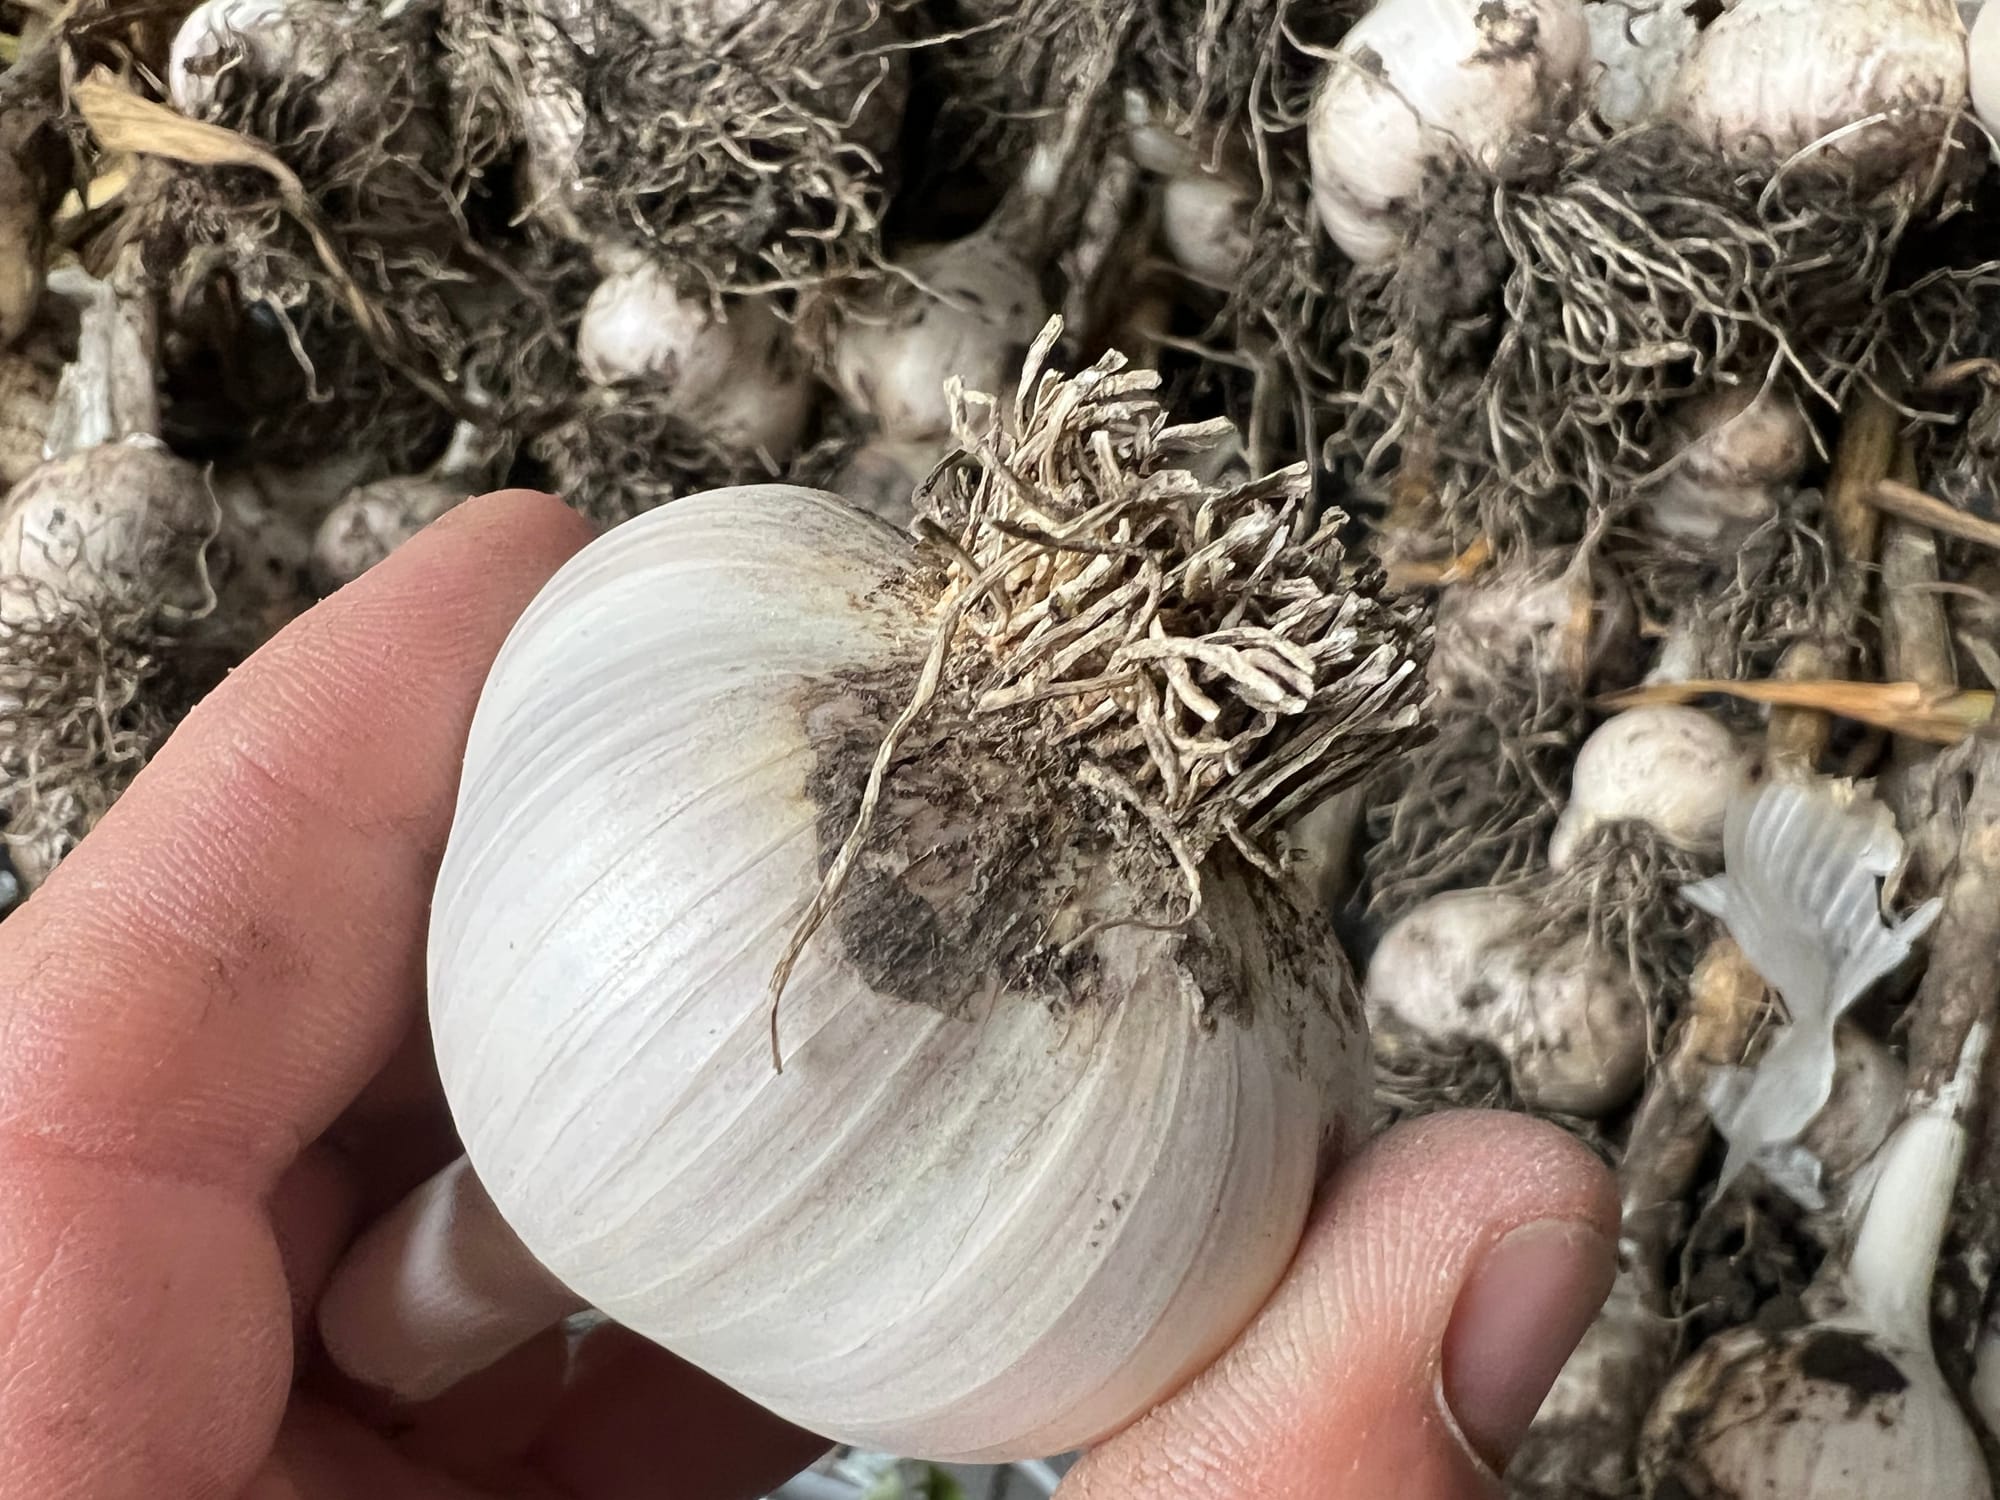
Cure Your Garlic Before Storing
You can use your garlic for cooking or canning foods right away. But for storage, you will want to cure the garlic. Also, peeling the skin layers off the clove is much easier once cured. The main criterion is to keep the bulbs out of the sun and rain. I use the garage attached to my house and either hang the plants in bunches or lay them on one of my tables with a webbed surface, allowing good airflow. Temperatures can vary between 65 and 95 degrees F during this curing period, depending on the season.
After about 2-3 weeks, you can remove any remaining soil, cut off the top leaves, and cut the roots off the bottom of the bulbs. Then, I place them in a cooler, dark location in one of my crawl spaces in my house, which is naturally about 65 degrees in the summer and 55 degrees in the winter. This temperature works perfectly for me, and the bulbs will last 4-6 months, maintaining good quality.
The video below covers a few more points and expands on some of the abovementioned steps; I hope you enjoy it. If you are into growing your food, check out our video on planting potatoes. Nothing beats growing your own fresh food.
Thanks for stopping by Garden Hike!
Kevin
Make sure you check out A.M. Leonard for all your horticulture tools and supplies. They're my go-to supplier! They've been in business since 1885 and have excellent quality and selection.
Enter Discount Code GARDENHIKE To Receive $10 Off Orders $75 Or More

When you purchase through links on this site, we may earn a small commission at no additional charge to you.