Ideas For Creating Beautiful Natural Landscape Beds


The video included in this blog post views many different plant varieties and landscaping ideas on one of the first garden beds I created in this landscape setting (about 15 years ago).
I wish I had more photos of the early stages of this project, but this was back when flip phones were the norm, and they did not have the memory to store many pictures. The cloud was an actual cloud back then. At least, that is how I remember it, but I was resistant to start text messaging, too.
I remember trying to follow some landscape principles, using odd numbers and groups of three, etc. But since then, I've become more of a plant collector and now focus more on blending plants and duplicating nature as best I can.
The best advice I can give for creating natural landscape beds is to go on walks or bike rides for inspiration. Observe and enjoy nature; breathe it in.
Top considerations for creating natural landscape beds:
- Create contours, berms, and elevation changes.
- Define bed edges with curves.
- When adding garden art, use wood, rock, or metal materials.
- Select plants with different sizes, shapes, and colors.
- Choose flowering plants with a range of bloom periods.
- Avoid using fabric or plastic weed barriers.
- Use a combination of rock and wood mulch.
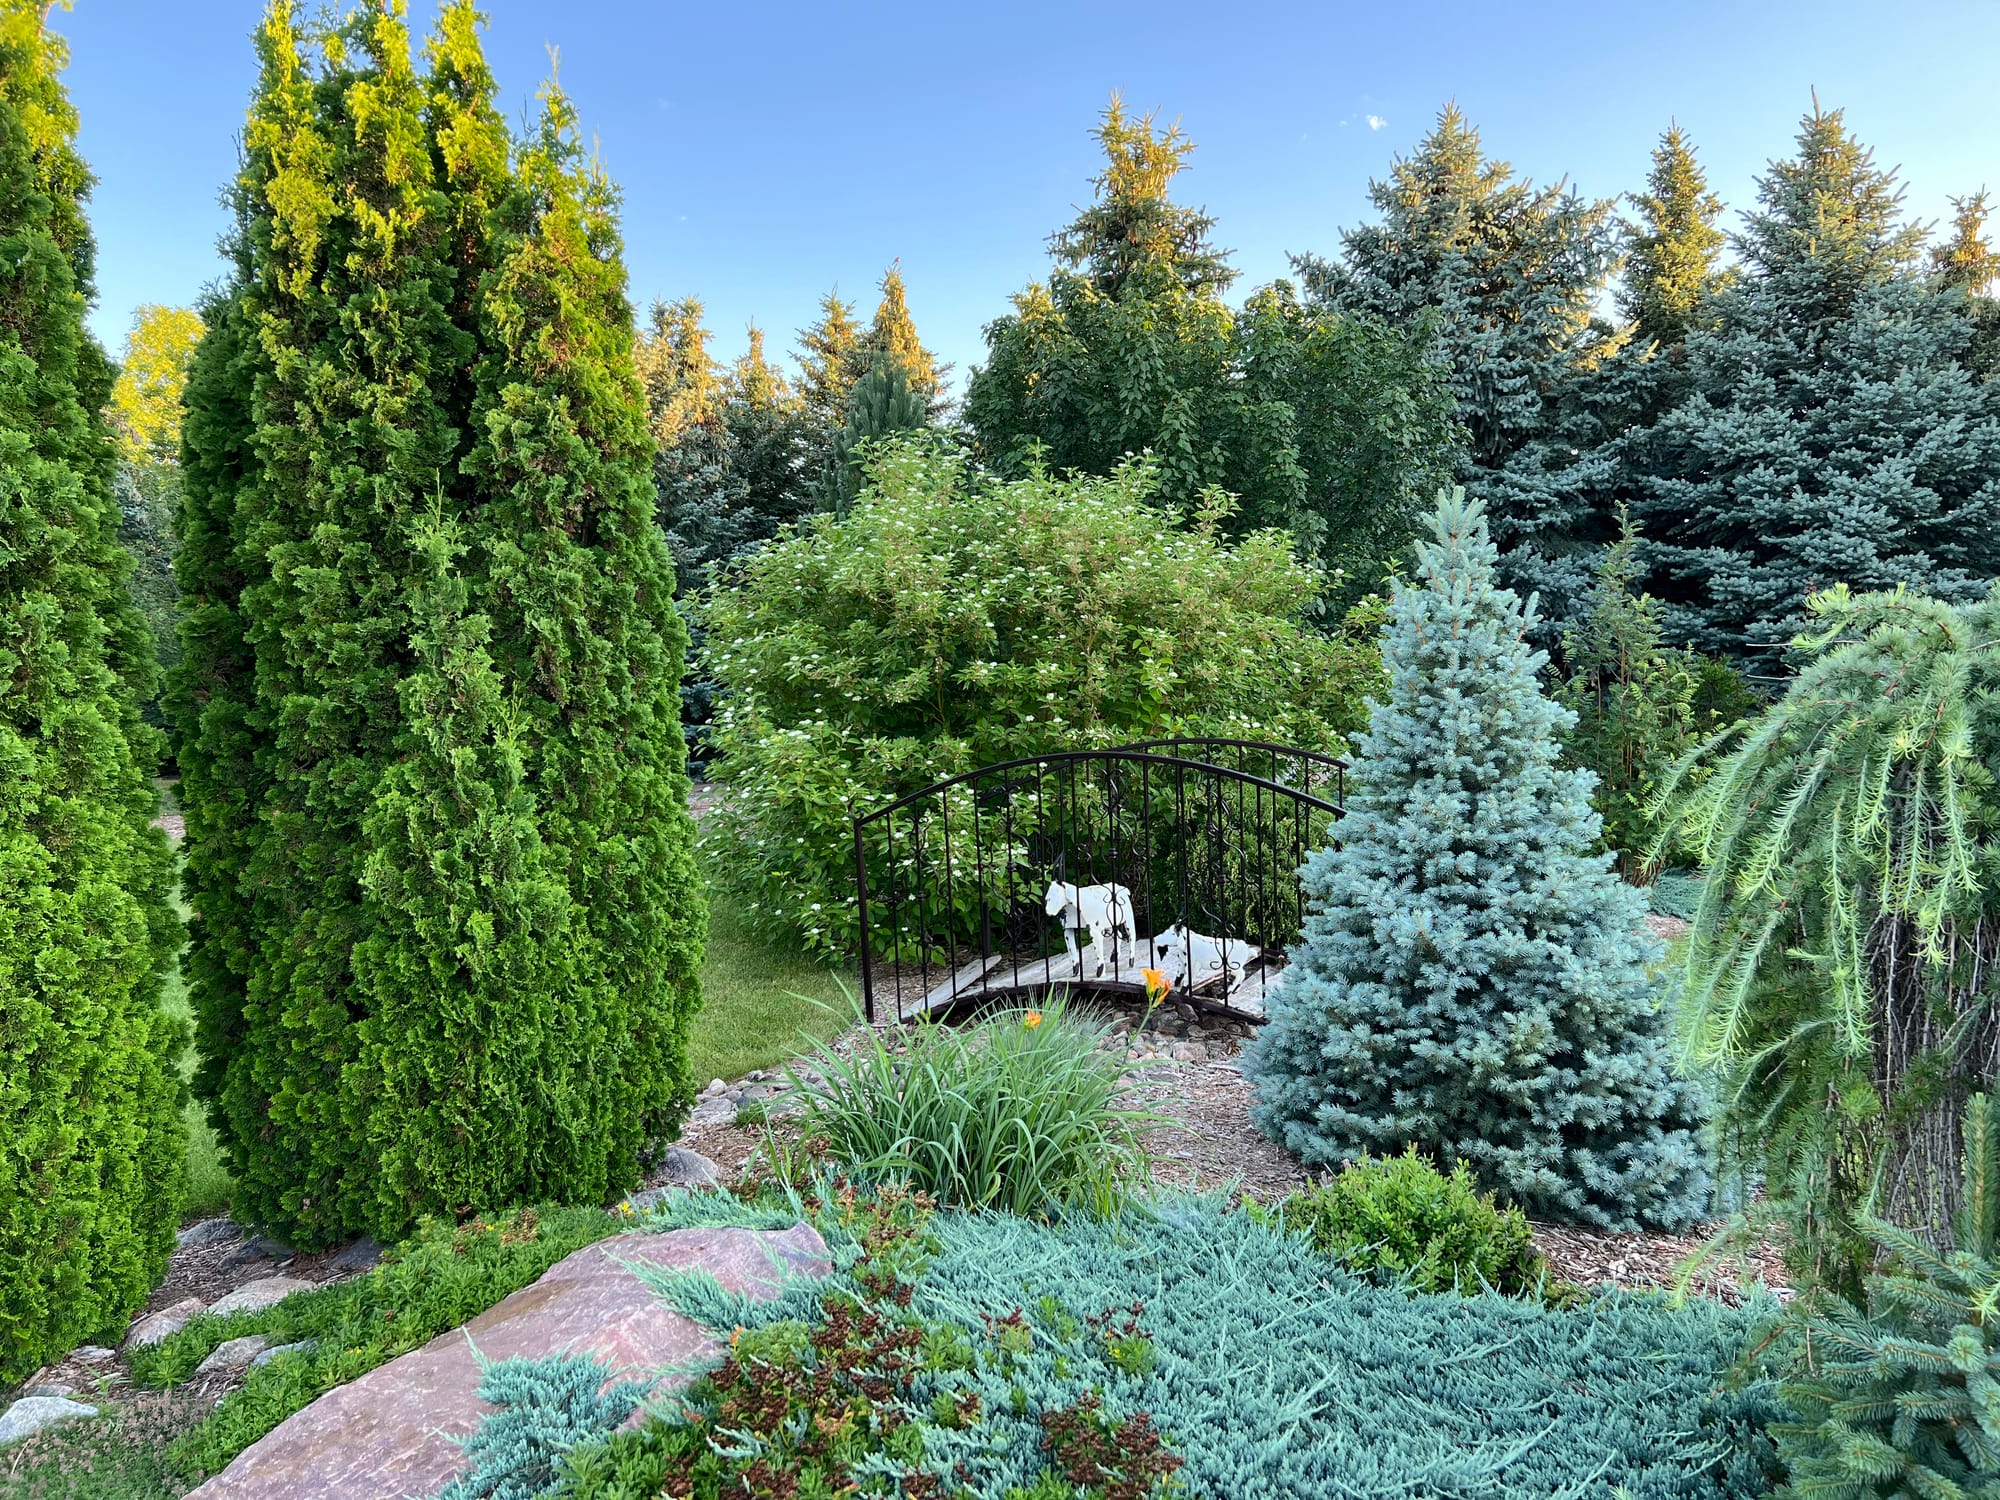
Create Contours, Berms, and Elevation Changes
Even in very small landscape beds, small elevation changes can make all the difference in how a bed looks and feels. When starting a project from scratch, this process can be as simple as adding a couple of wheelbarrows of topsoil. In more extensive beds, 10-15 cubic yards of soil may be appropriate. Anything to make it "not flat". Adding larger specimen rocks can help with this effect. Have the rock "emerge" from the berm by adding soil around the sides. Just "plopping" the rock on top is not as natural a look.
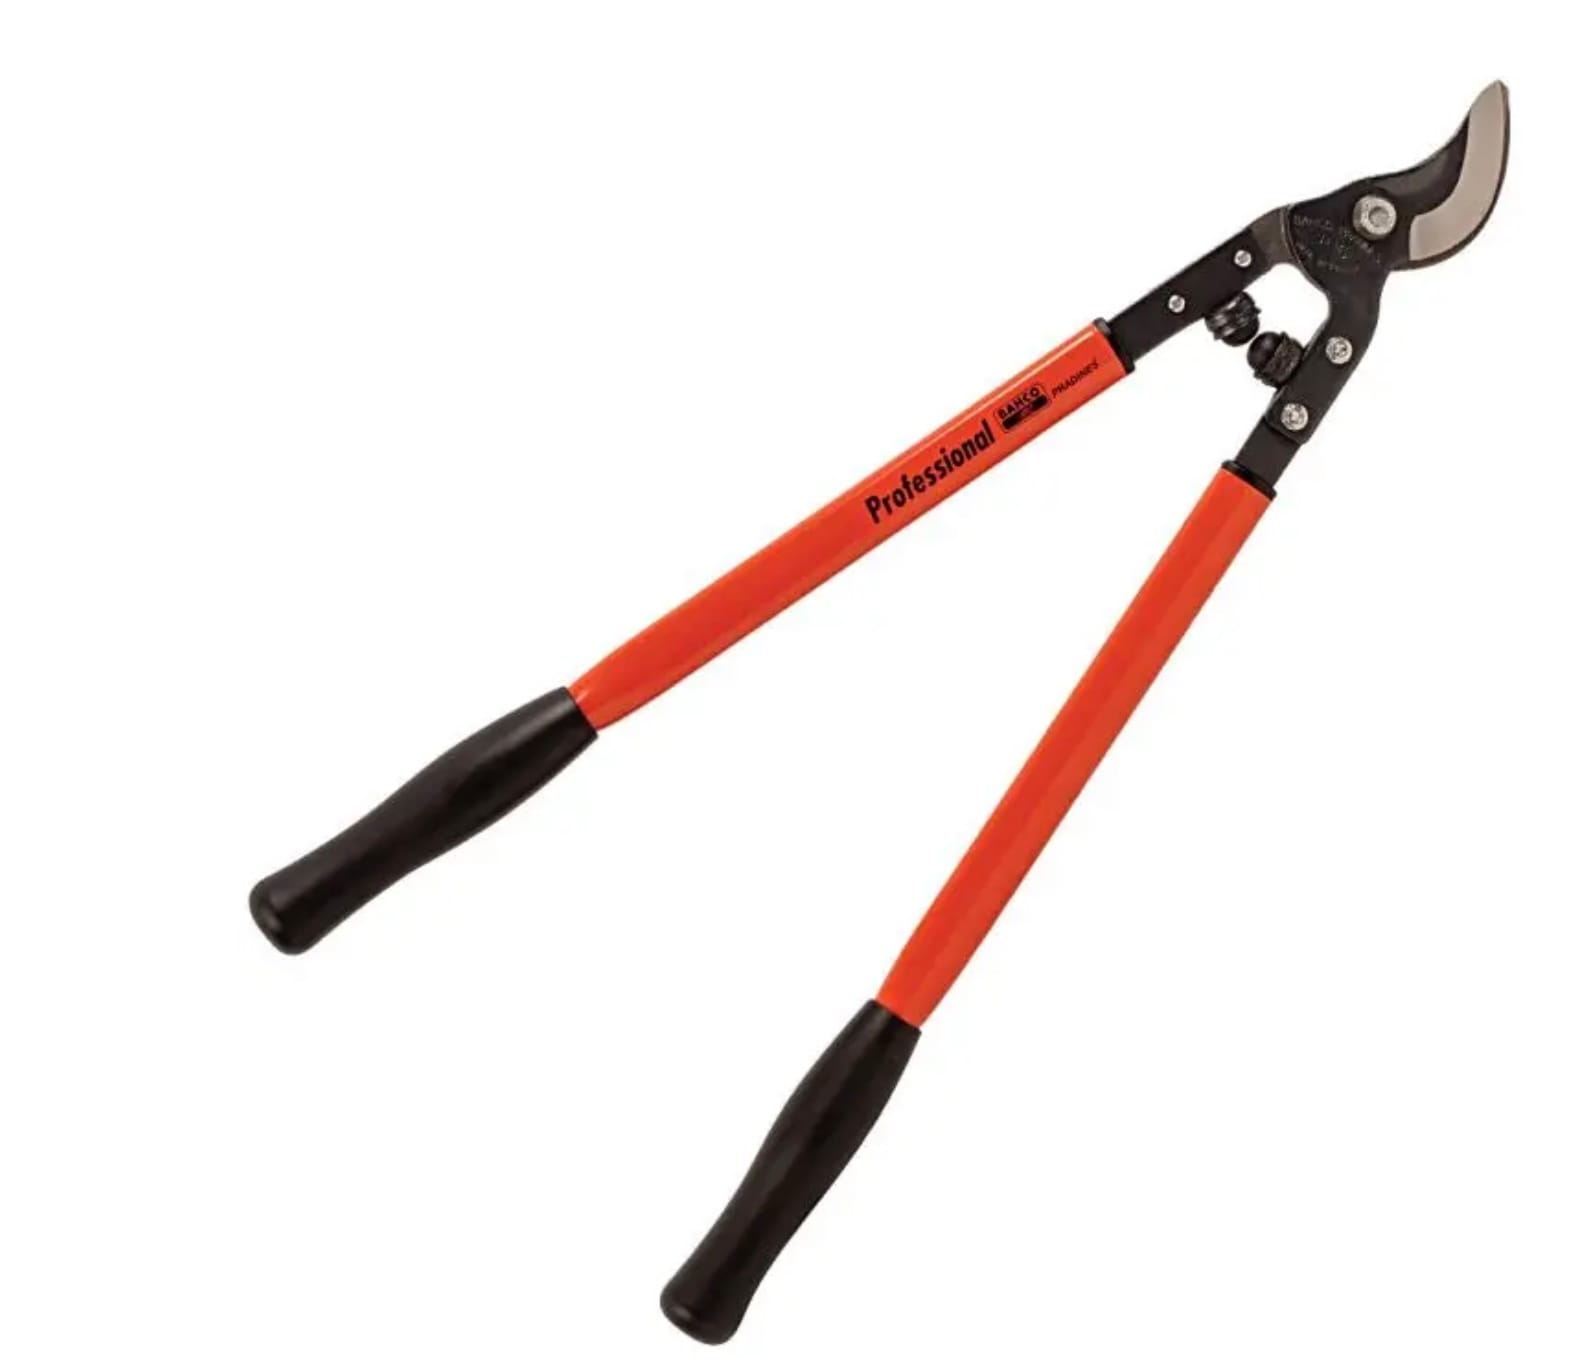
Bahco Loppers 1-1/4IN Cutting Capacity
Lightweight, well balanced and versatile
When you purchase through links on this site, we may earn a small commission at no additional charge to you.
Define Bed Edges With Curves
It's hard to find square points in nature. Use soft curves to frame your beds along with the elevation changes, berms, and contours. Weave in and out with wide and narrow points where possible. In the video below, I show how I use a garden hose in the early planning stages to help visualize how the bed will look before the first shovel digs in. I have used a lot of natural rock edging in our gardens for the best natural look, but it can also be higher maintenance and more expensive. It's about 50/50 in my beds now, where I've used rock or plastic edging. The main goal is to create a border next to lawn areas and stop the grass from creeping in.
When Adding Garden Art, Use Wood, Rock, Or Metal Materials
I love rusted metal objects or items made out of various rocks and granite. These will give you the most natural look with their earth-tone colors. I'm not against using bright colors for a sharp contrast but use them sparingly.
The bridge you notice here is a good example. We don't use it to walk over, but it creates an "effect." It may be a conversation piece or remind you of a country setting, triggering an emotional experience or memory. It also adds the element of height and a curved railing, creating a natural separation between the berms and plants.
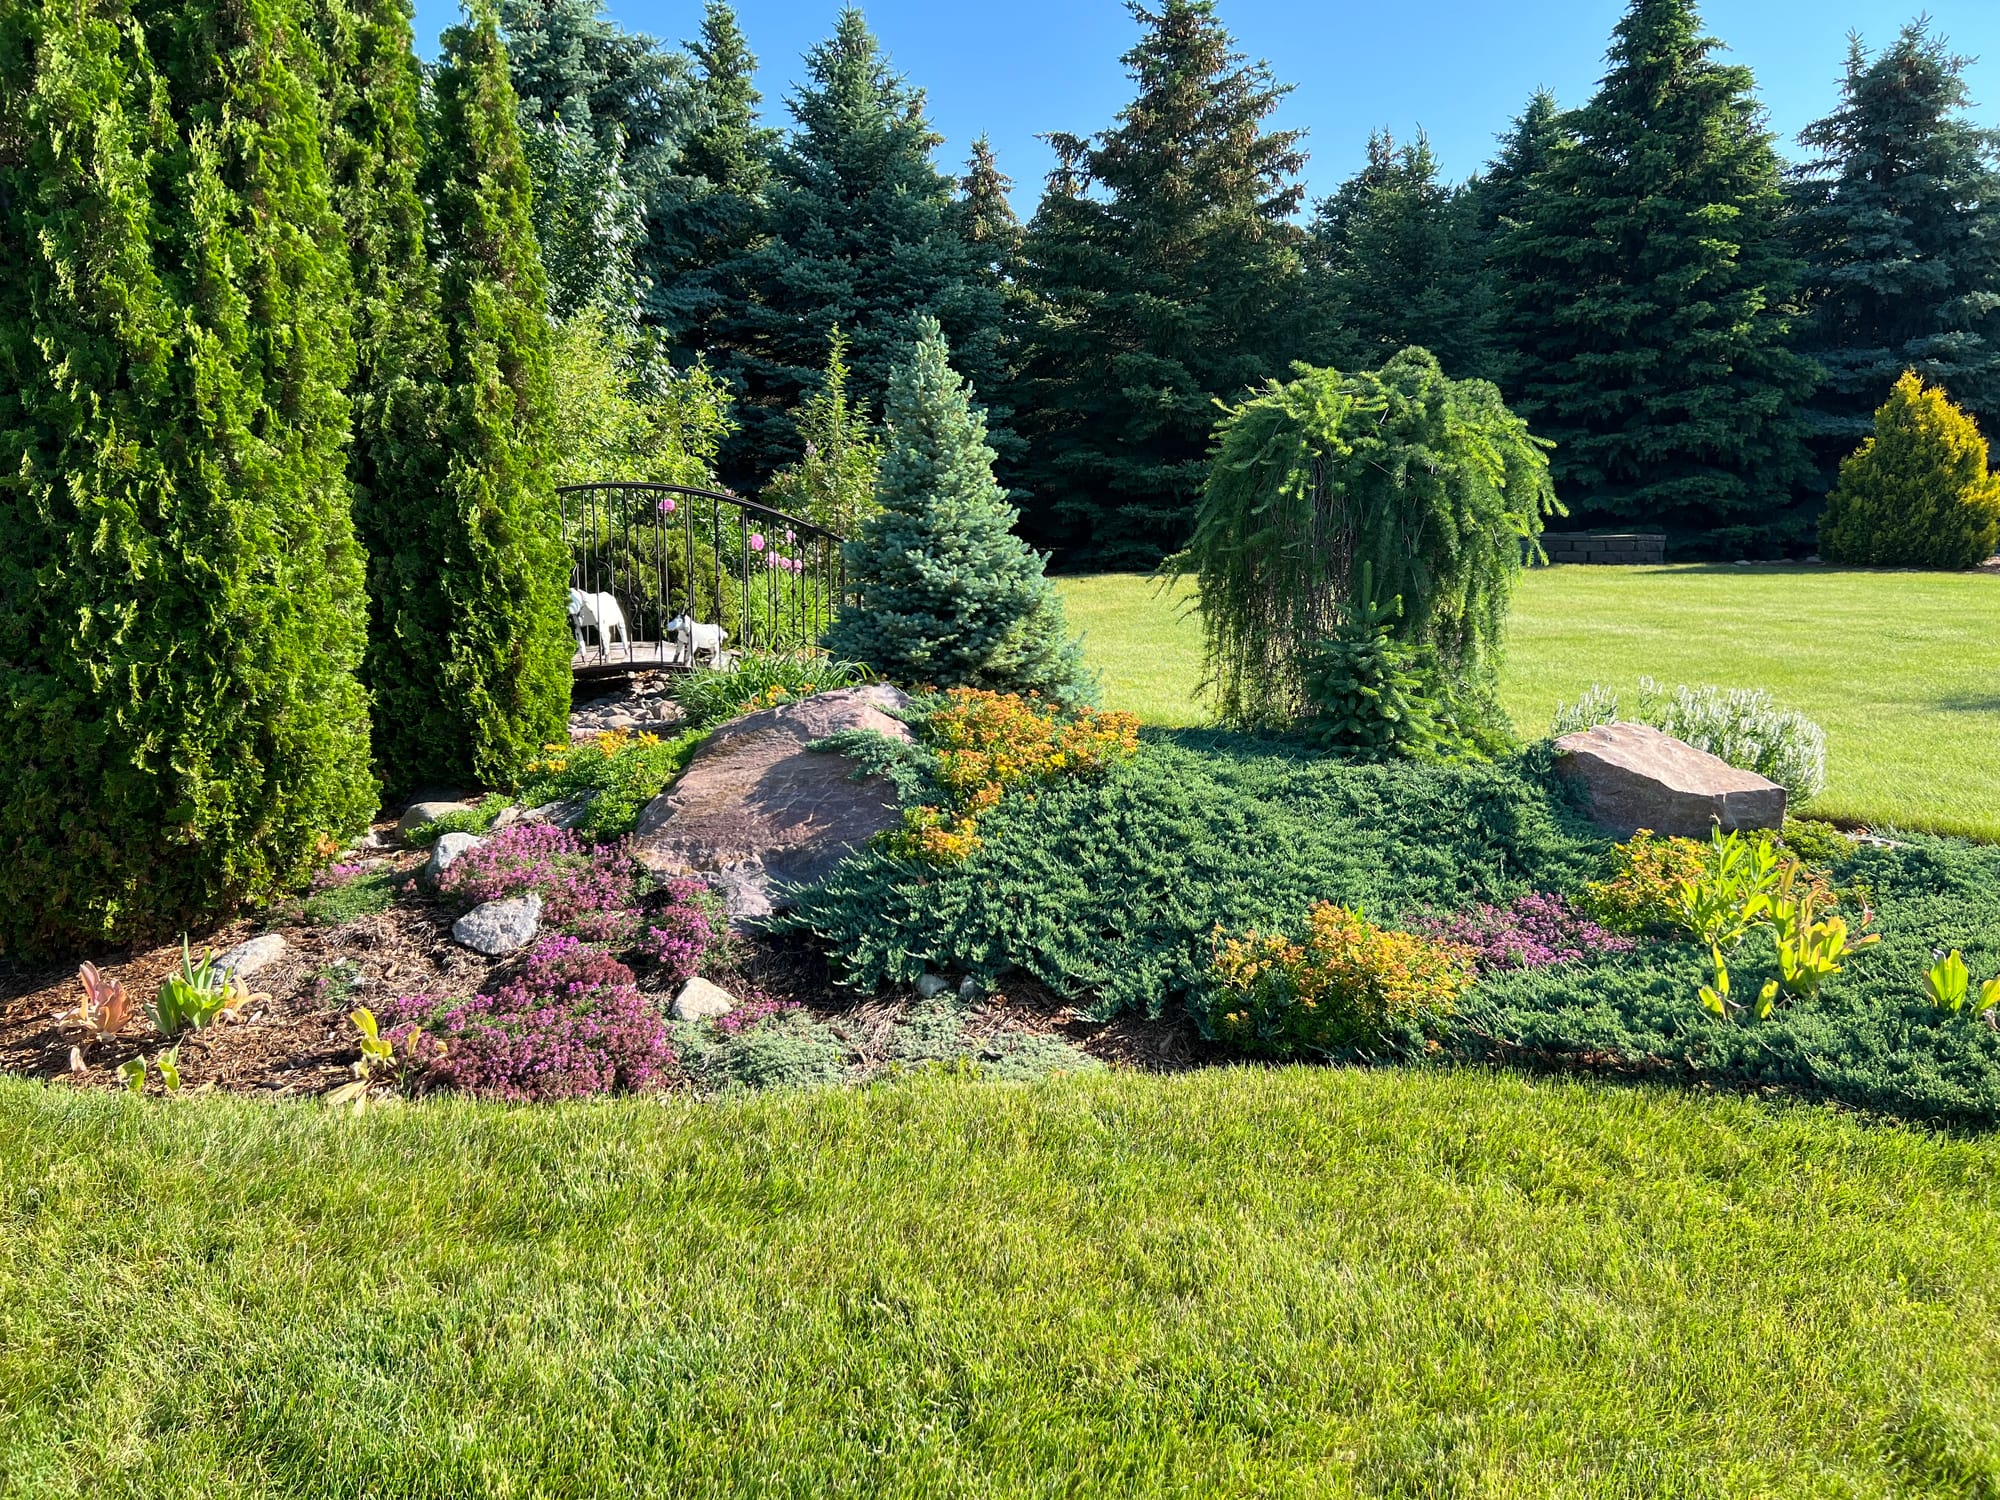
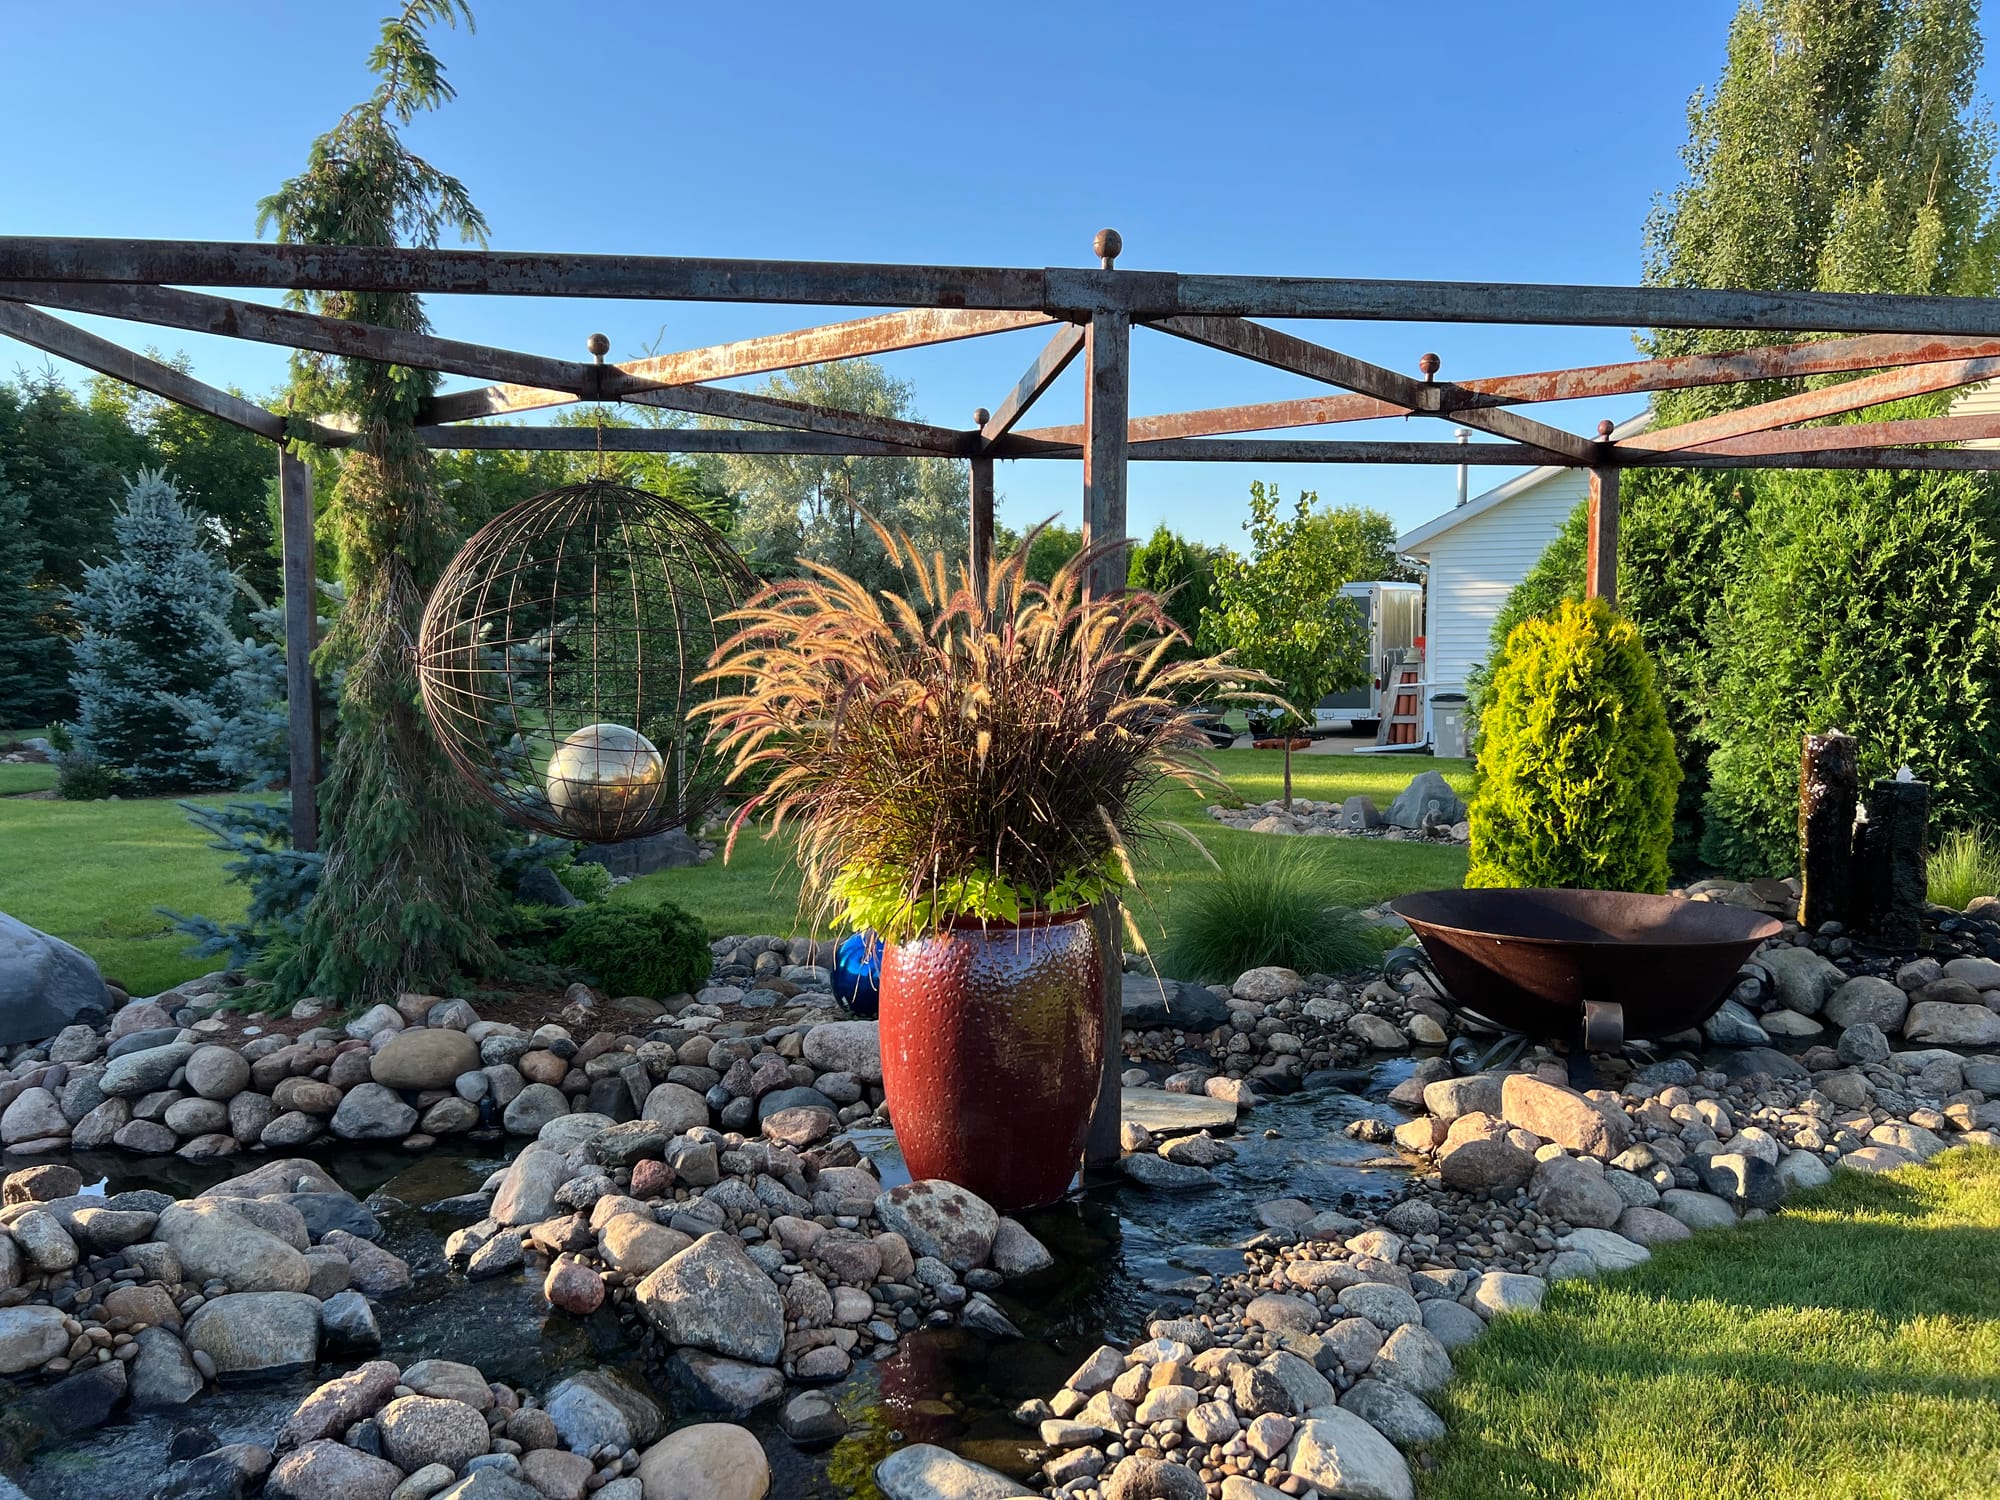

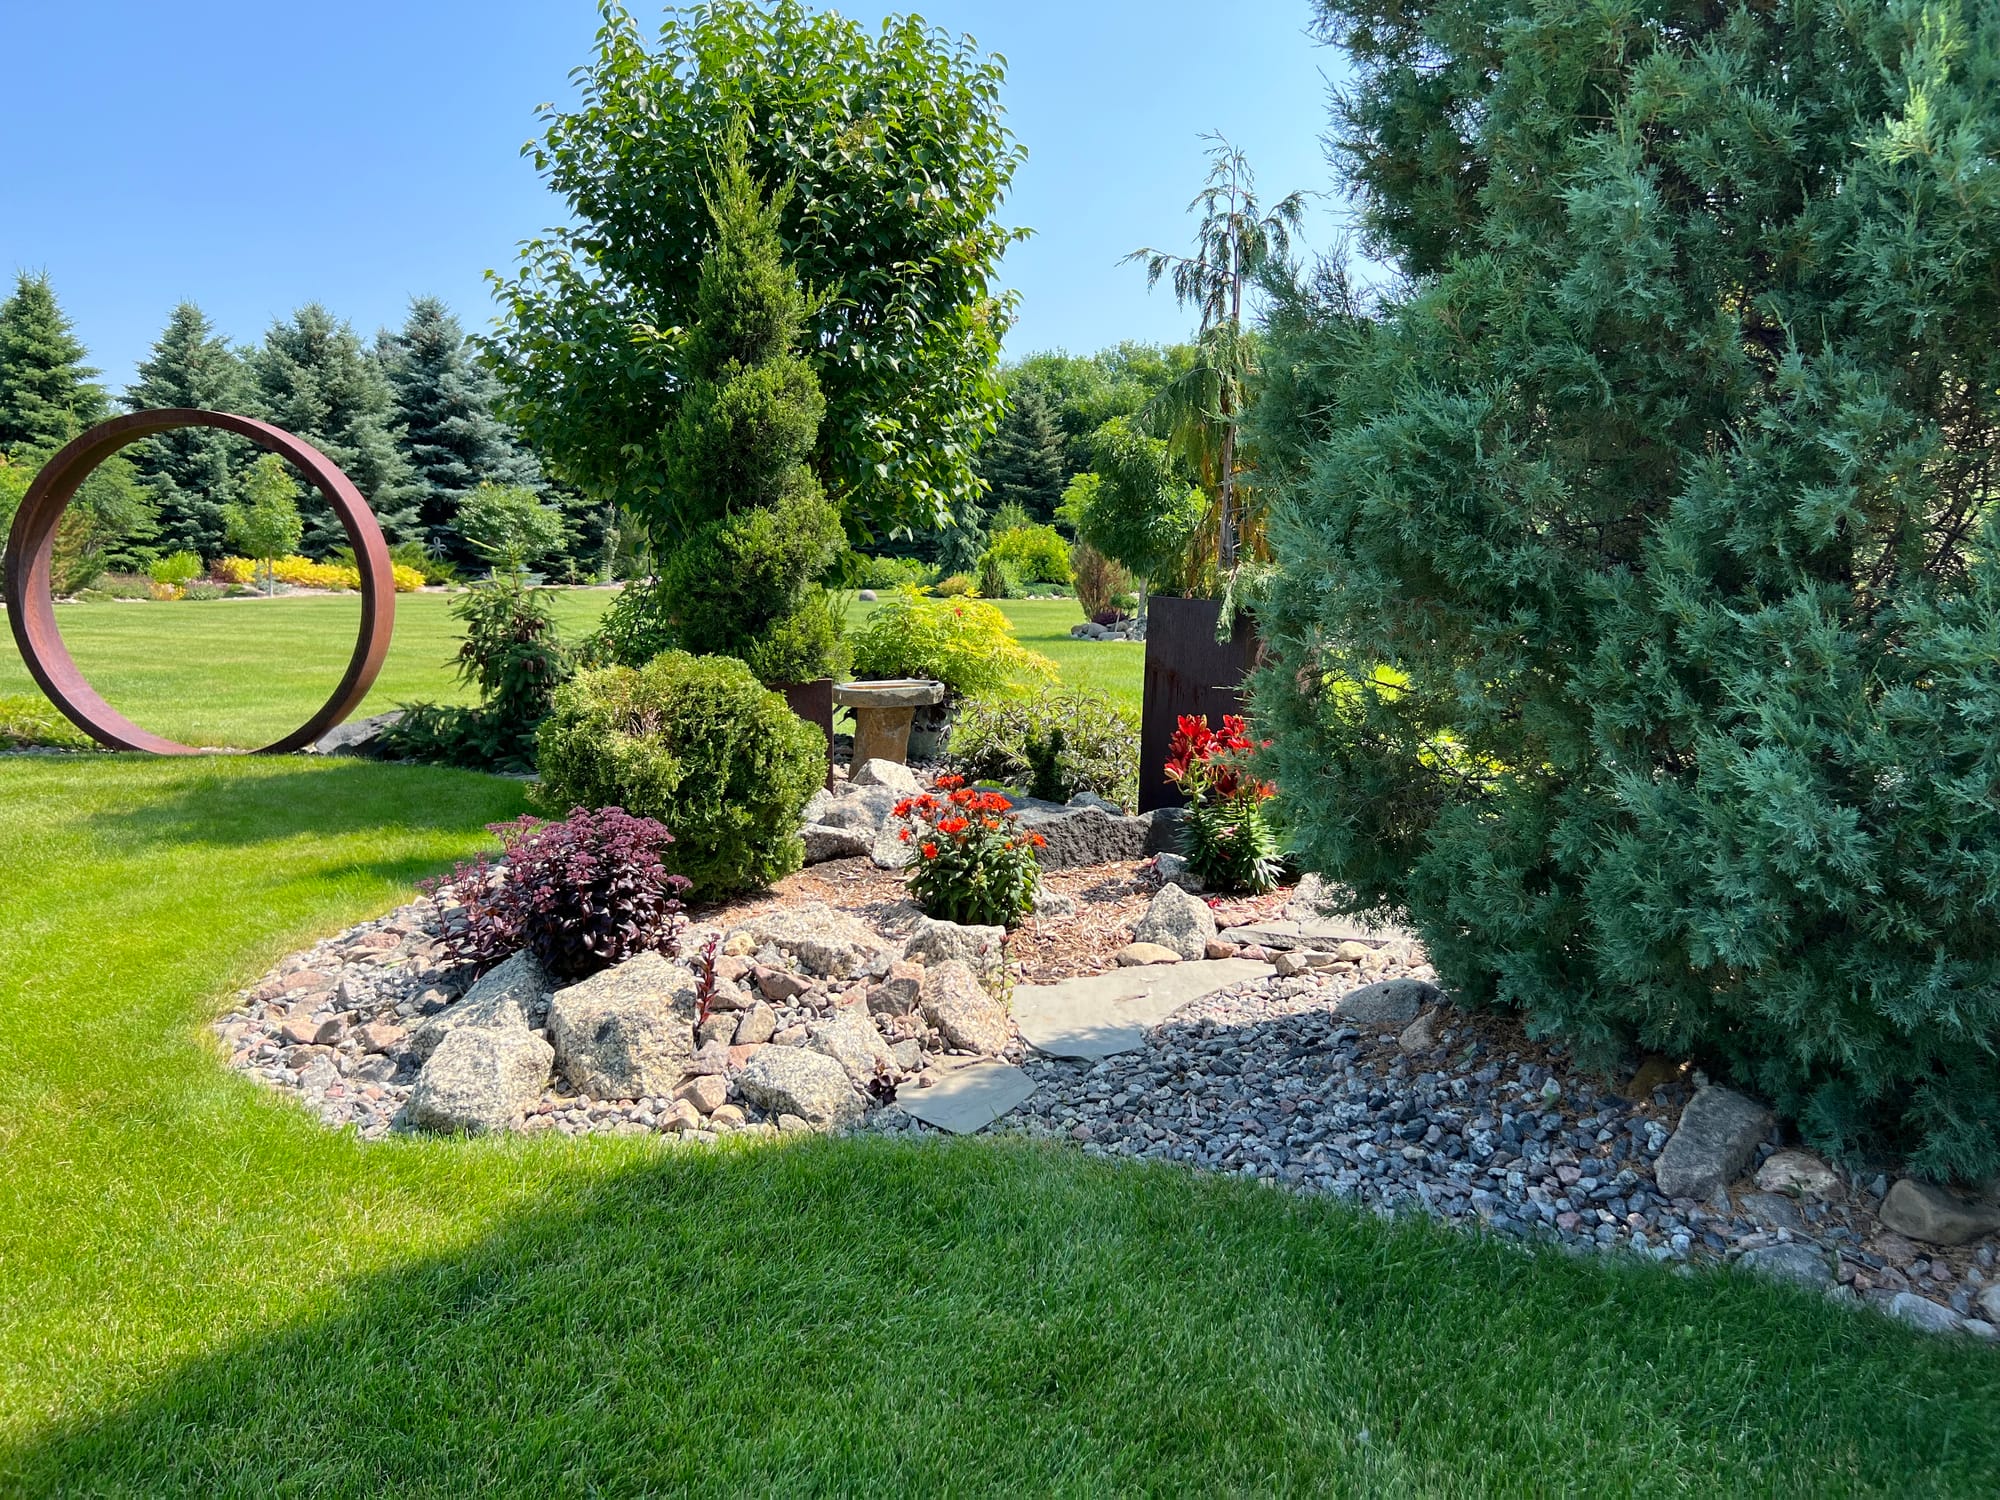
Photos With Rock, Mulch And Metal Garden Art
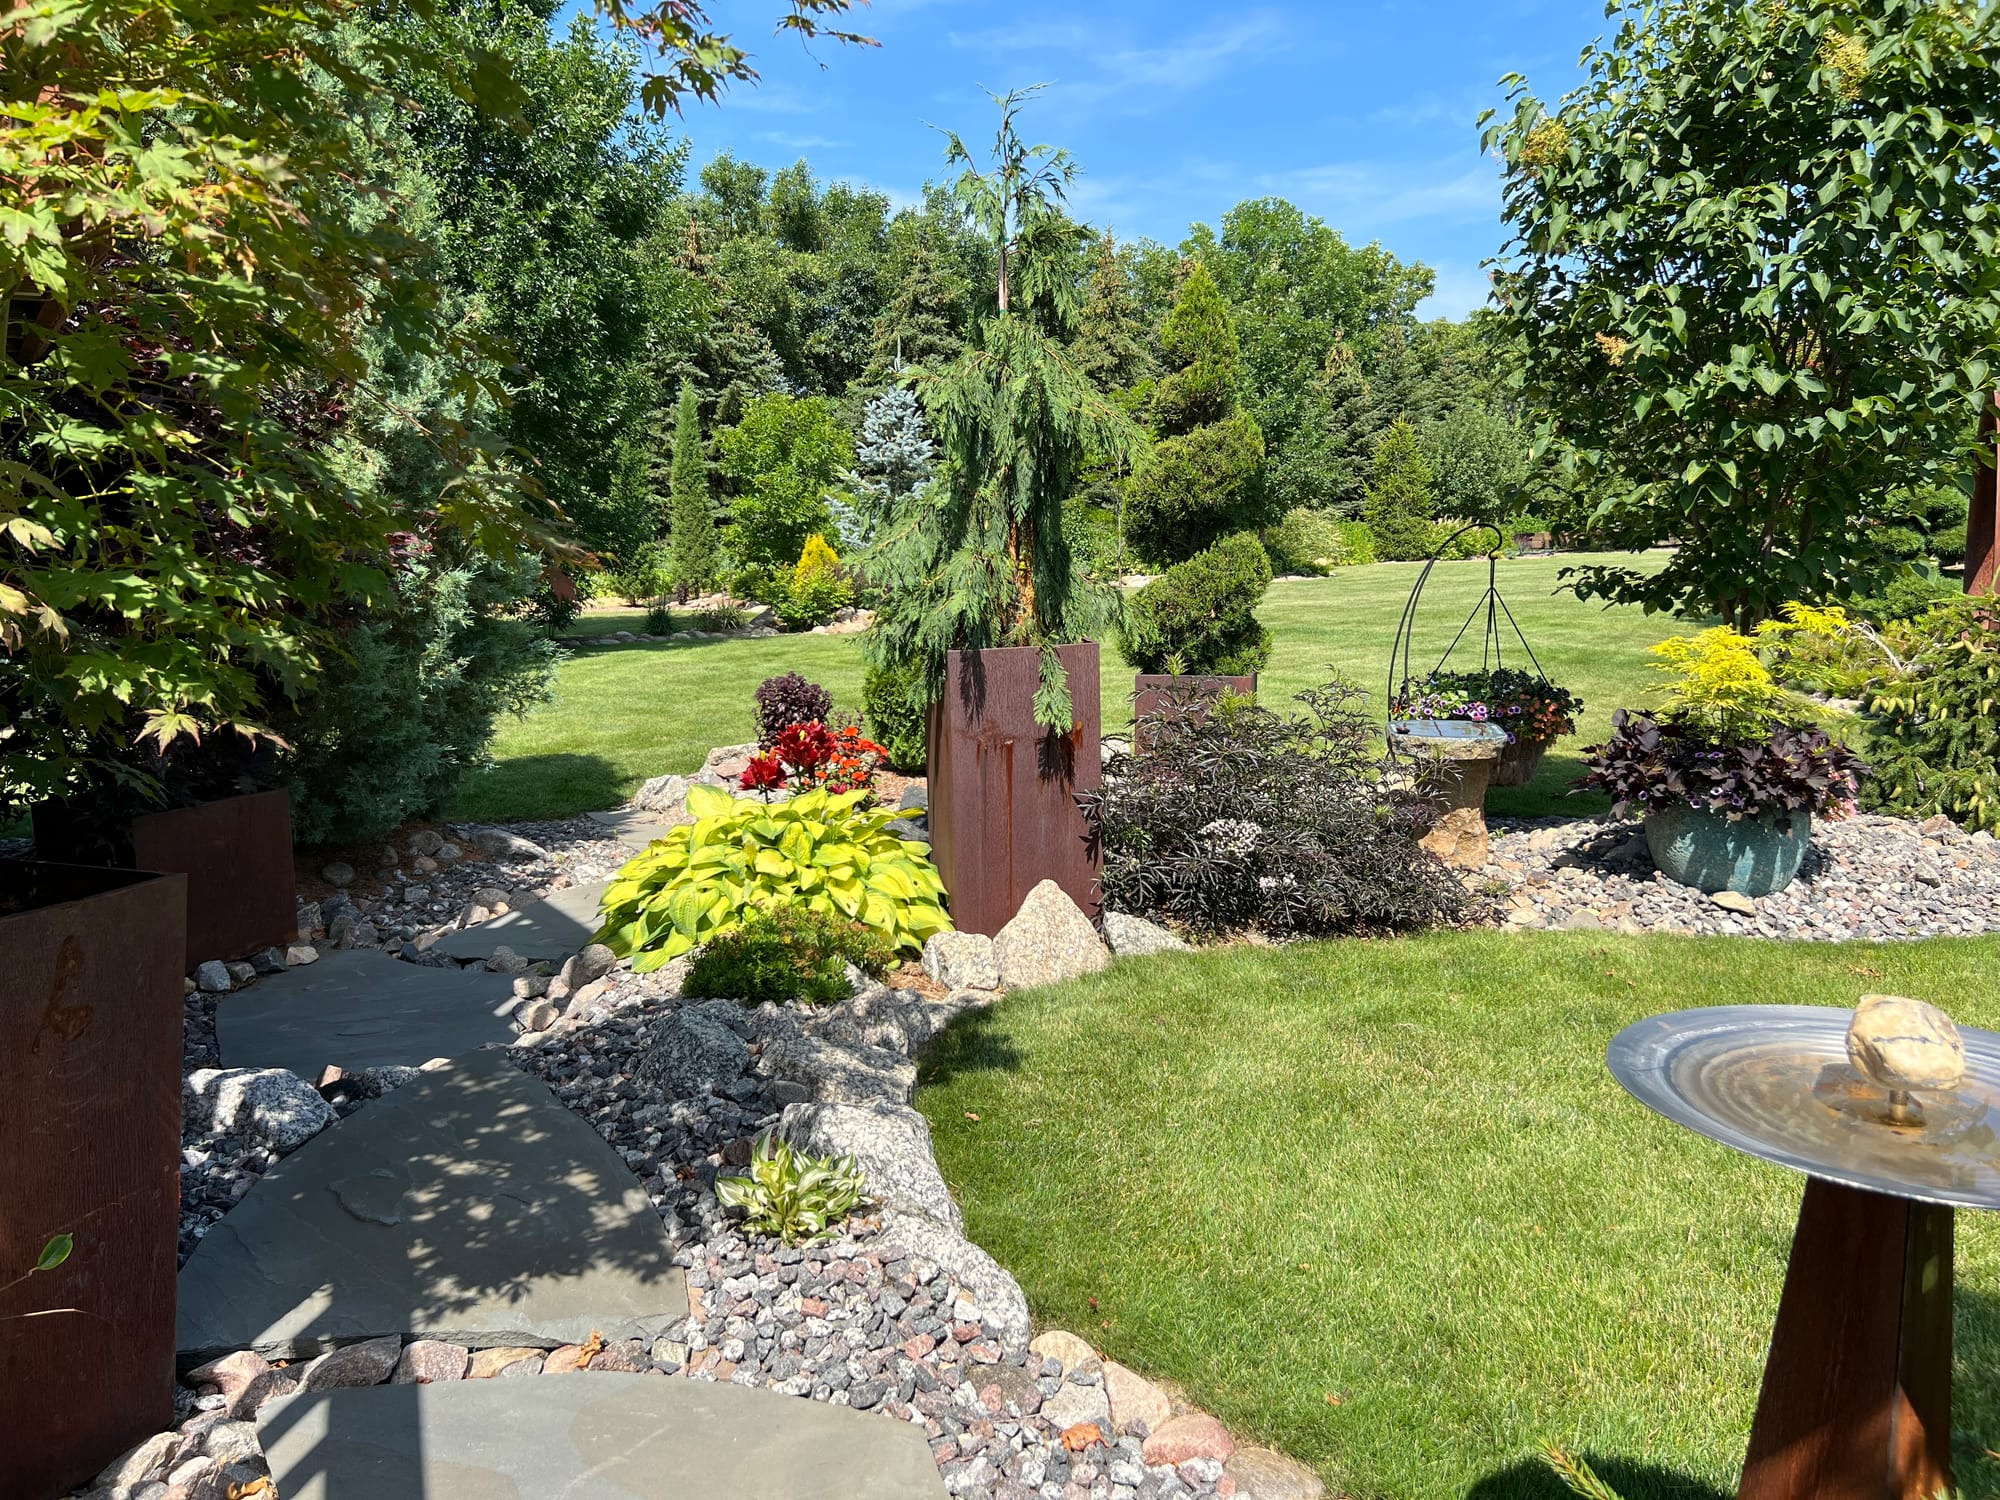
Select Plants With Different Sizes, Shapes, And Colors
Since I've become more of a plant collector, I focus more on a plant's mature size and shape when planting and developing garden beds. I imagine how they will look in the future with surrounding plants. Landscape principles like odd numbers, groups of three, symmetry, etc., are more important when working next to buildings.
Cowhide Glove With Adjustable Pull Strap
Available in sizes medium, large, and x-large
Garden Hike is supported by its audience. When you purchase through links on this site, we may earn a small commission at no additional charge to you.
I like to combine evergreens and deciduous plants with different forms, flanking these larger woody plants with the blooming perennials and often planting them very close together. Consider what plants will offer winter interest as well.
Start by picking out plants you love, experiment, have fun, and let the plants show you who the teacher is. With natural beds, allow your plants to naturalize by spreading roots and self-seeding. Let them "take over" areas you did not expect. Don't be afraid to break some landscaping "rules" along the way.
Choose Flowering Plants That Have A Range Of Bloom Periods
If you love flowering plants and that is your main objective, plant varieties with early, mid, or late bloom periods and use them in different combinations and groups. Check out this video for suggested varieties.
Intermix flowering perennials and annuals with various trees and shrubs, both evergreen and deciduous. This type of diversity in plant selection, along with berms and contours in the soil, is a powerful combination.
Avoid Using Fabric Or Plastic Weed Barriers
Not only is it more challenging to create the natural berms we have been discussing when using barriers, but I feel they only offer short-term weed control and will inhibit the natural spreading of many plant varieties.
Use A Combination Of Rock And Wood Mulch
Larger rocks should "emerge" from a berm area rather than being "plopped" on the top surface. I love using a combination of decorative rock and wood mulch coverings. I'm not a big fan of raw soil left on top. The mulch coverings will help with weed control and add to the natural look we are after.
I hope this helps when planning your next landscape bed!
Thanks for stopping by Garden Hike!
Kevin
Make sure you check out A.M. Leonard for all your horticulture tools and supplies. They're my go-to supplier! They've been in business since 1885 and have excellent quality and selection.
Use promo code GARDENHIKE at checkout to receive $10 off orders $75 or more.

When you purchase through links on this site, we may earn a small commission at no additional charge to you.

FELCO Model 2 Hand Pruner
FELCO's Classic award winning pruner. Long lasting durability.