Large Self Watering Raised Garden Beds: Concept, Materials, Assembly

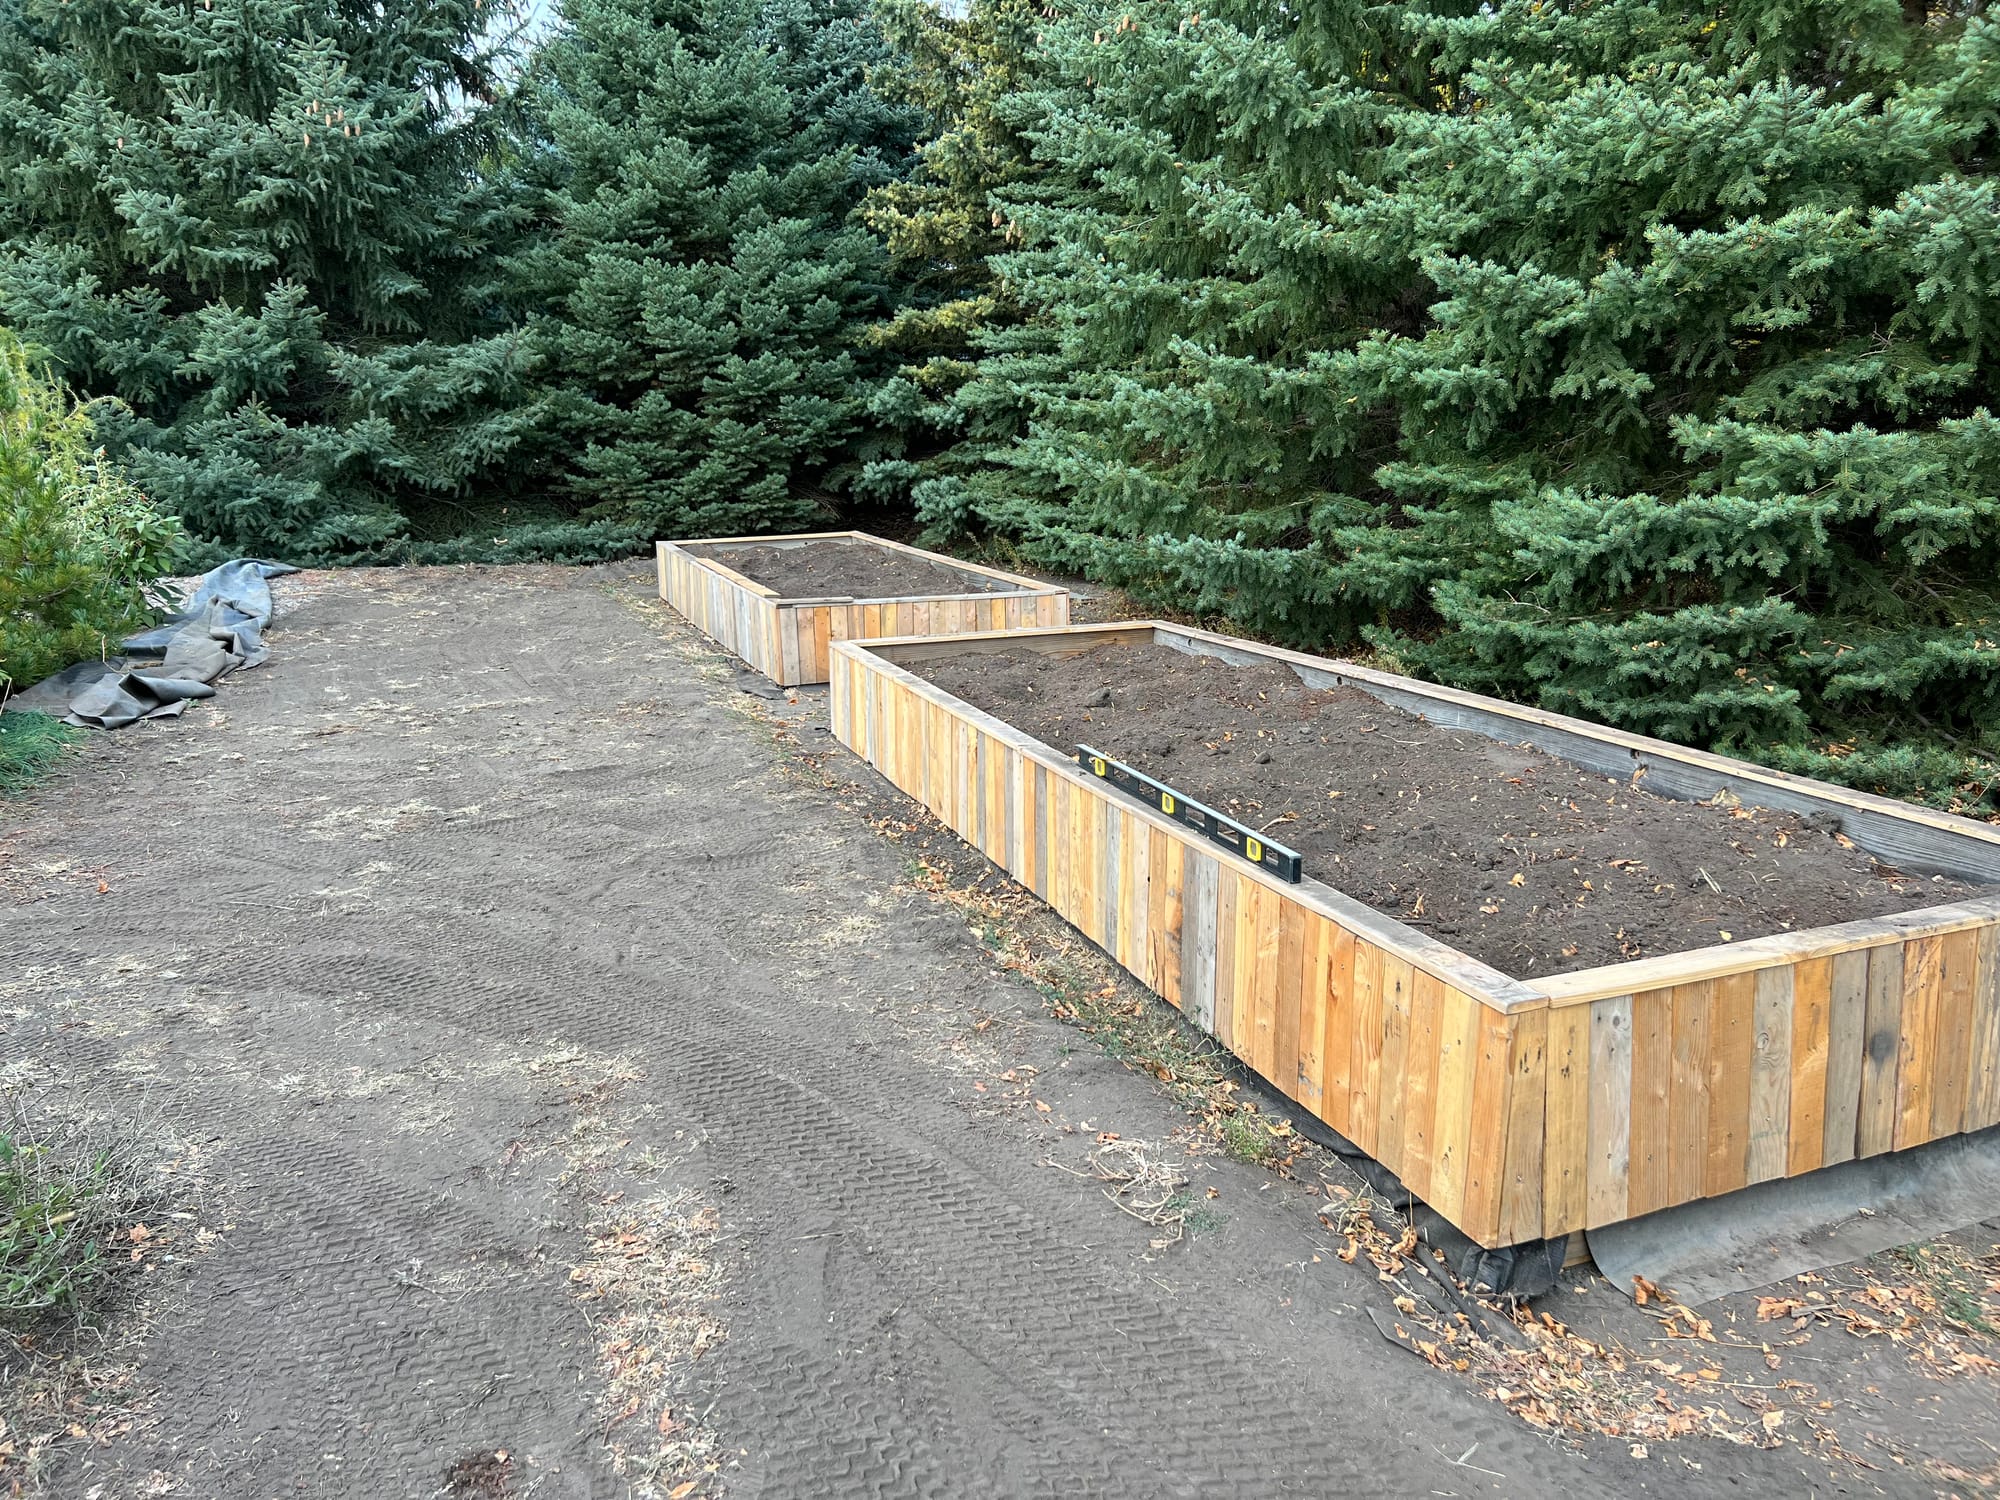
In the photos you see here, one of our vegetable gardens is next to these large spruce and ash trees.
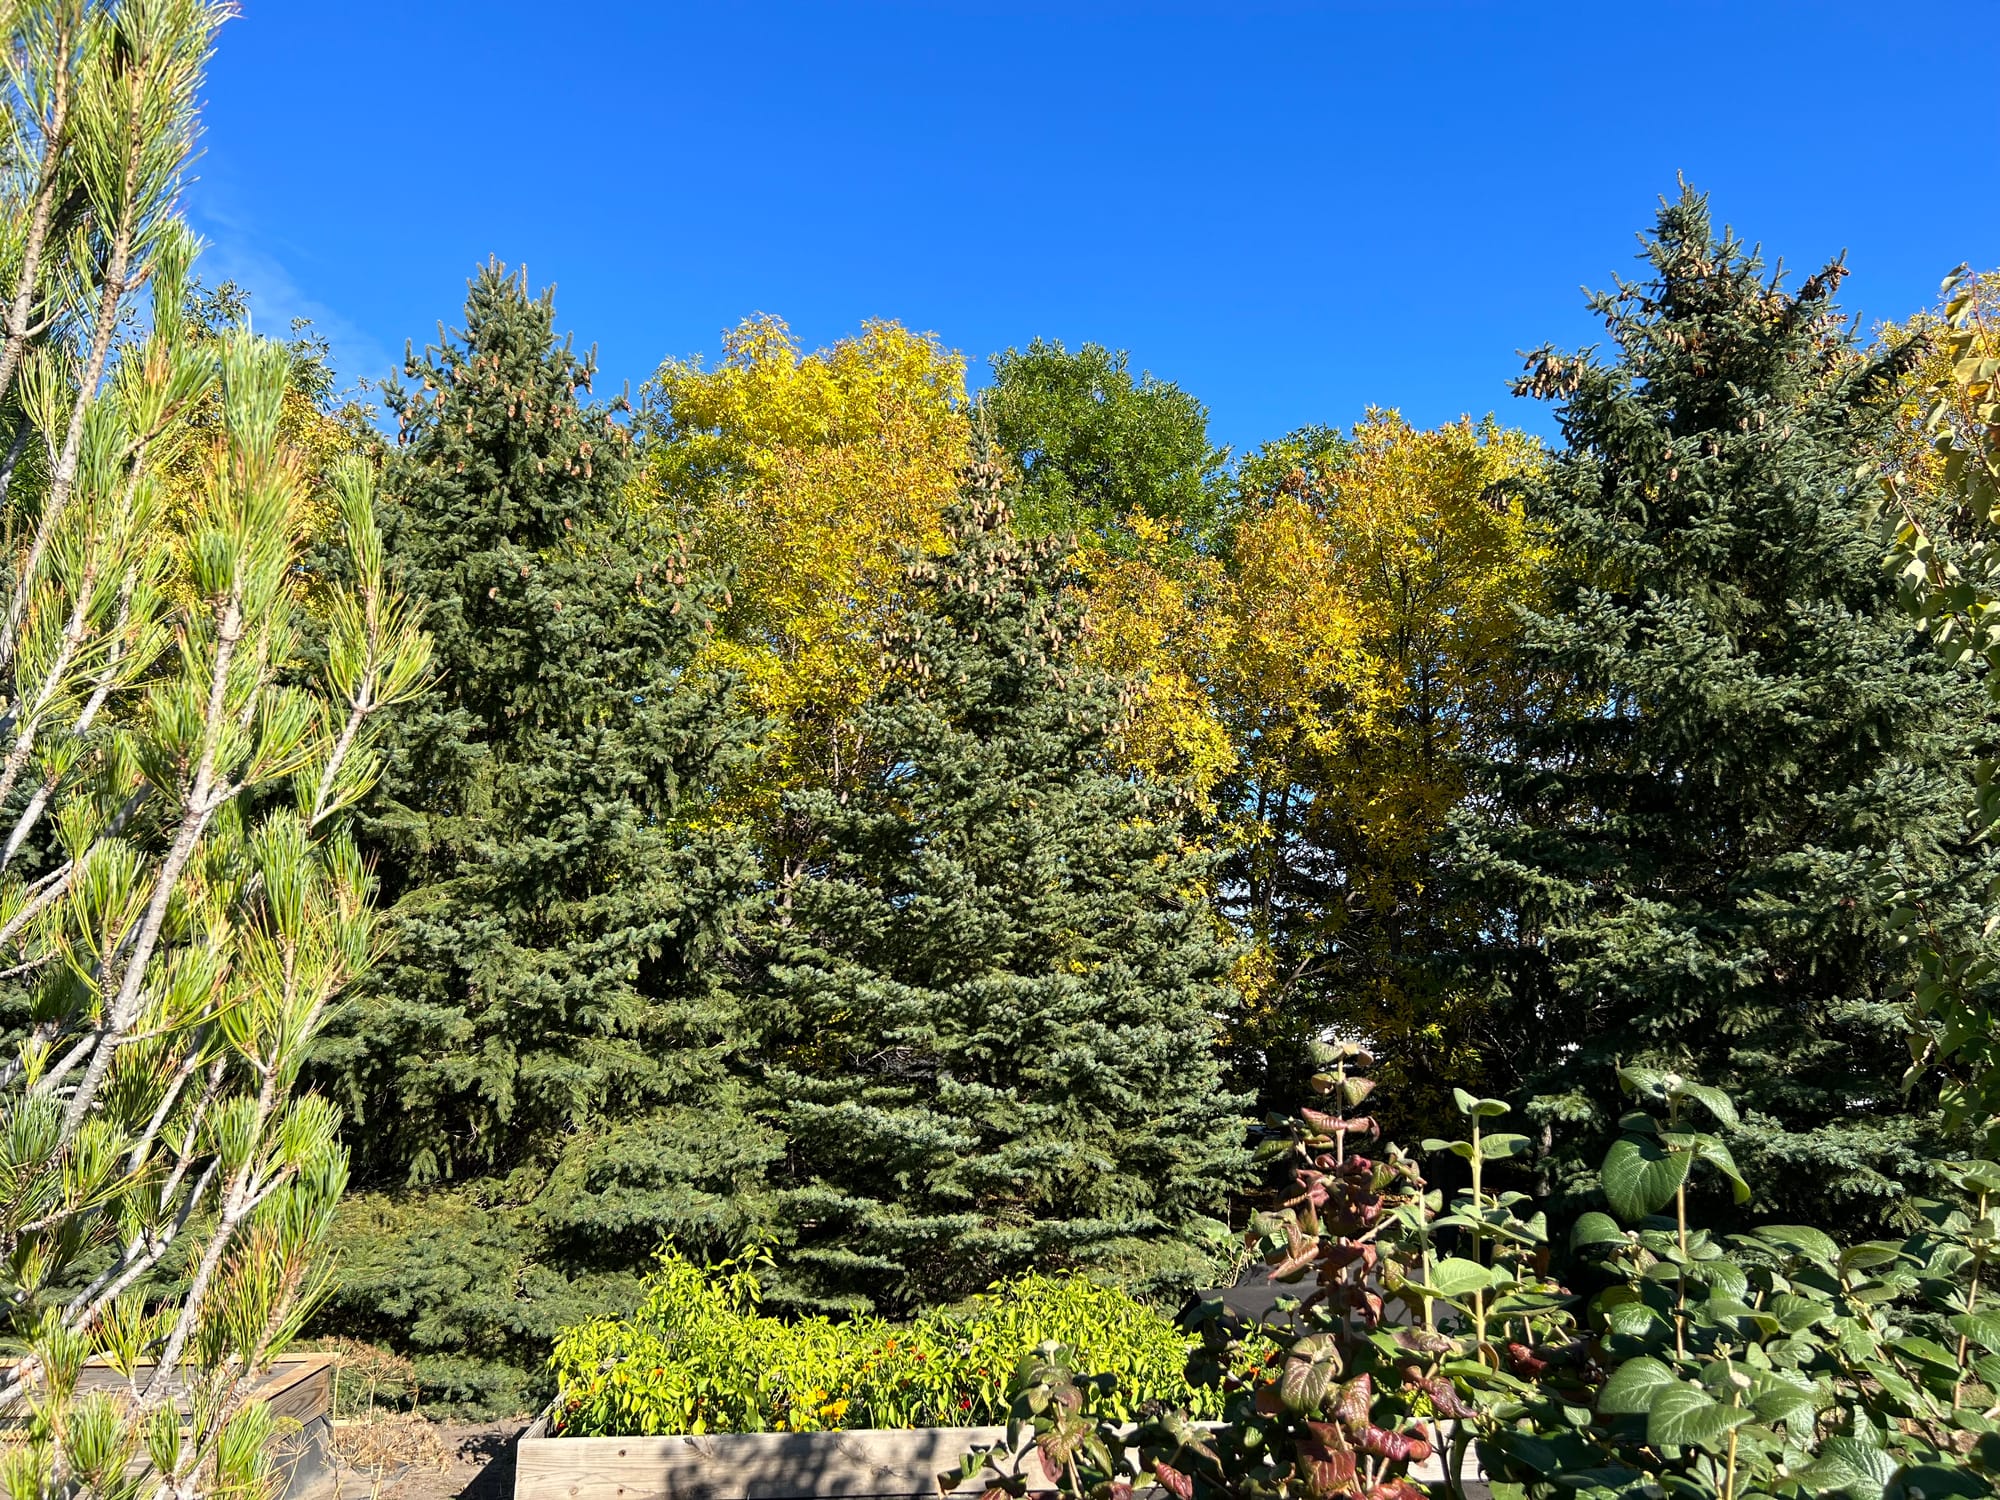
It's incredible how much moisture and nutrients trees of this size will "rob" the surrounding area. Growing vegetables in this area has become almost impossible; it's just too competitive. I've also learned that the beneficial microbes in the soil will change as it transitions to predominantly tree roots from, well, not tree roots. It was formerly just a grass patch with small trees and initially provided abundant harvests.
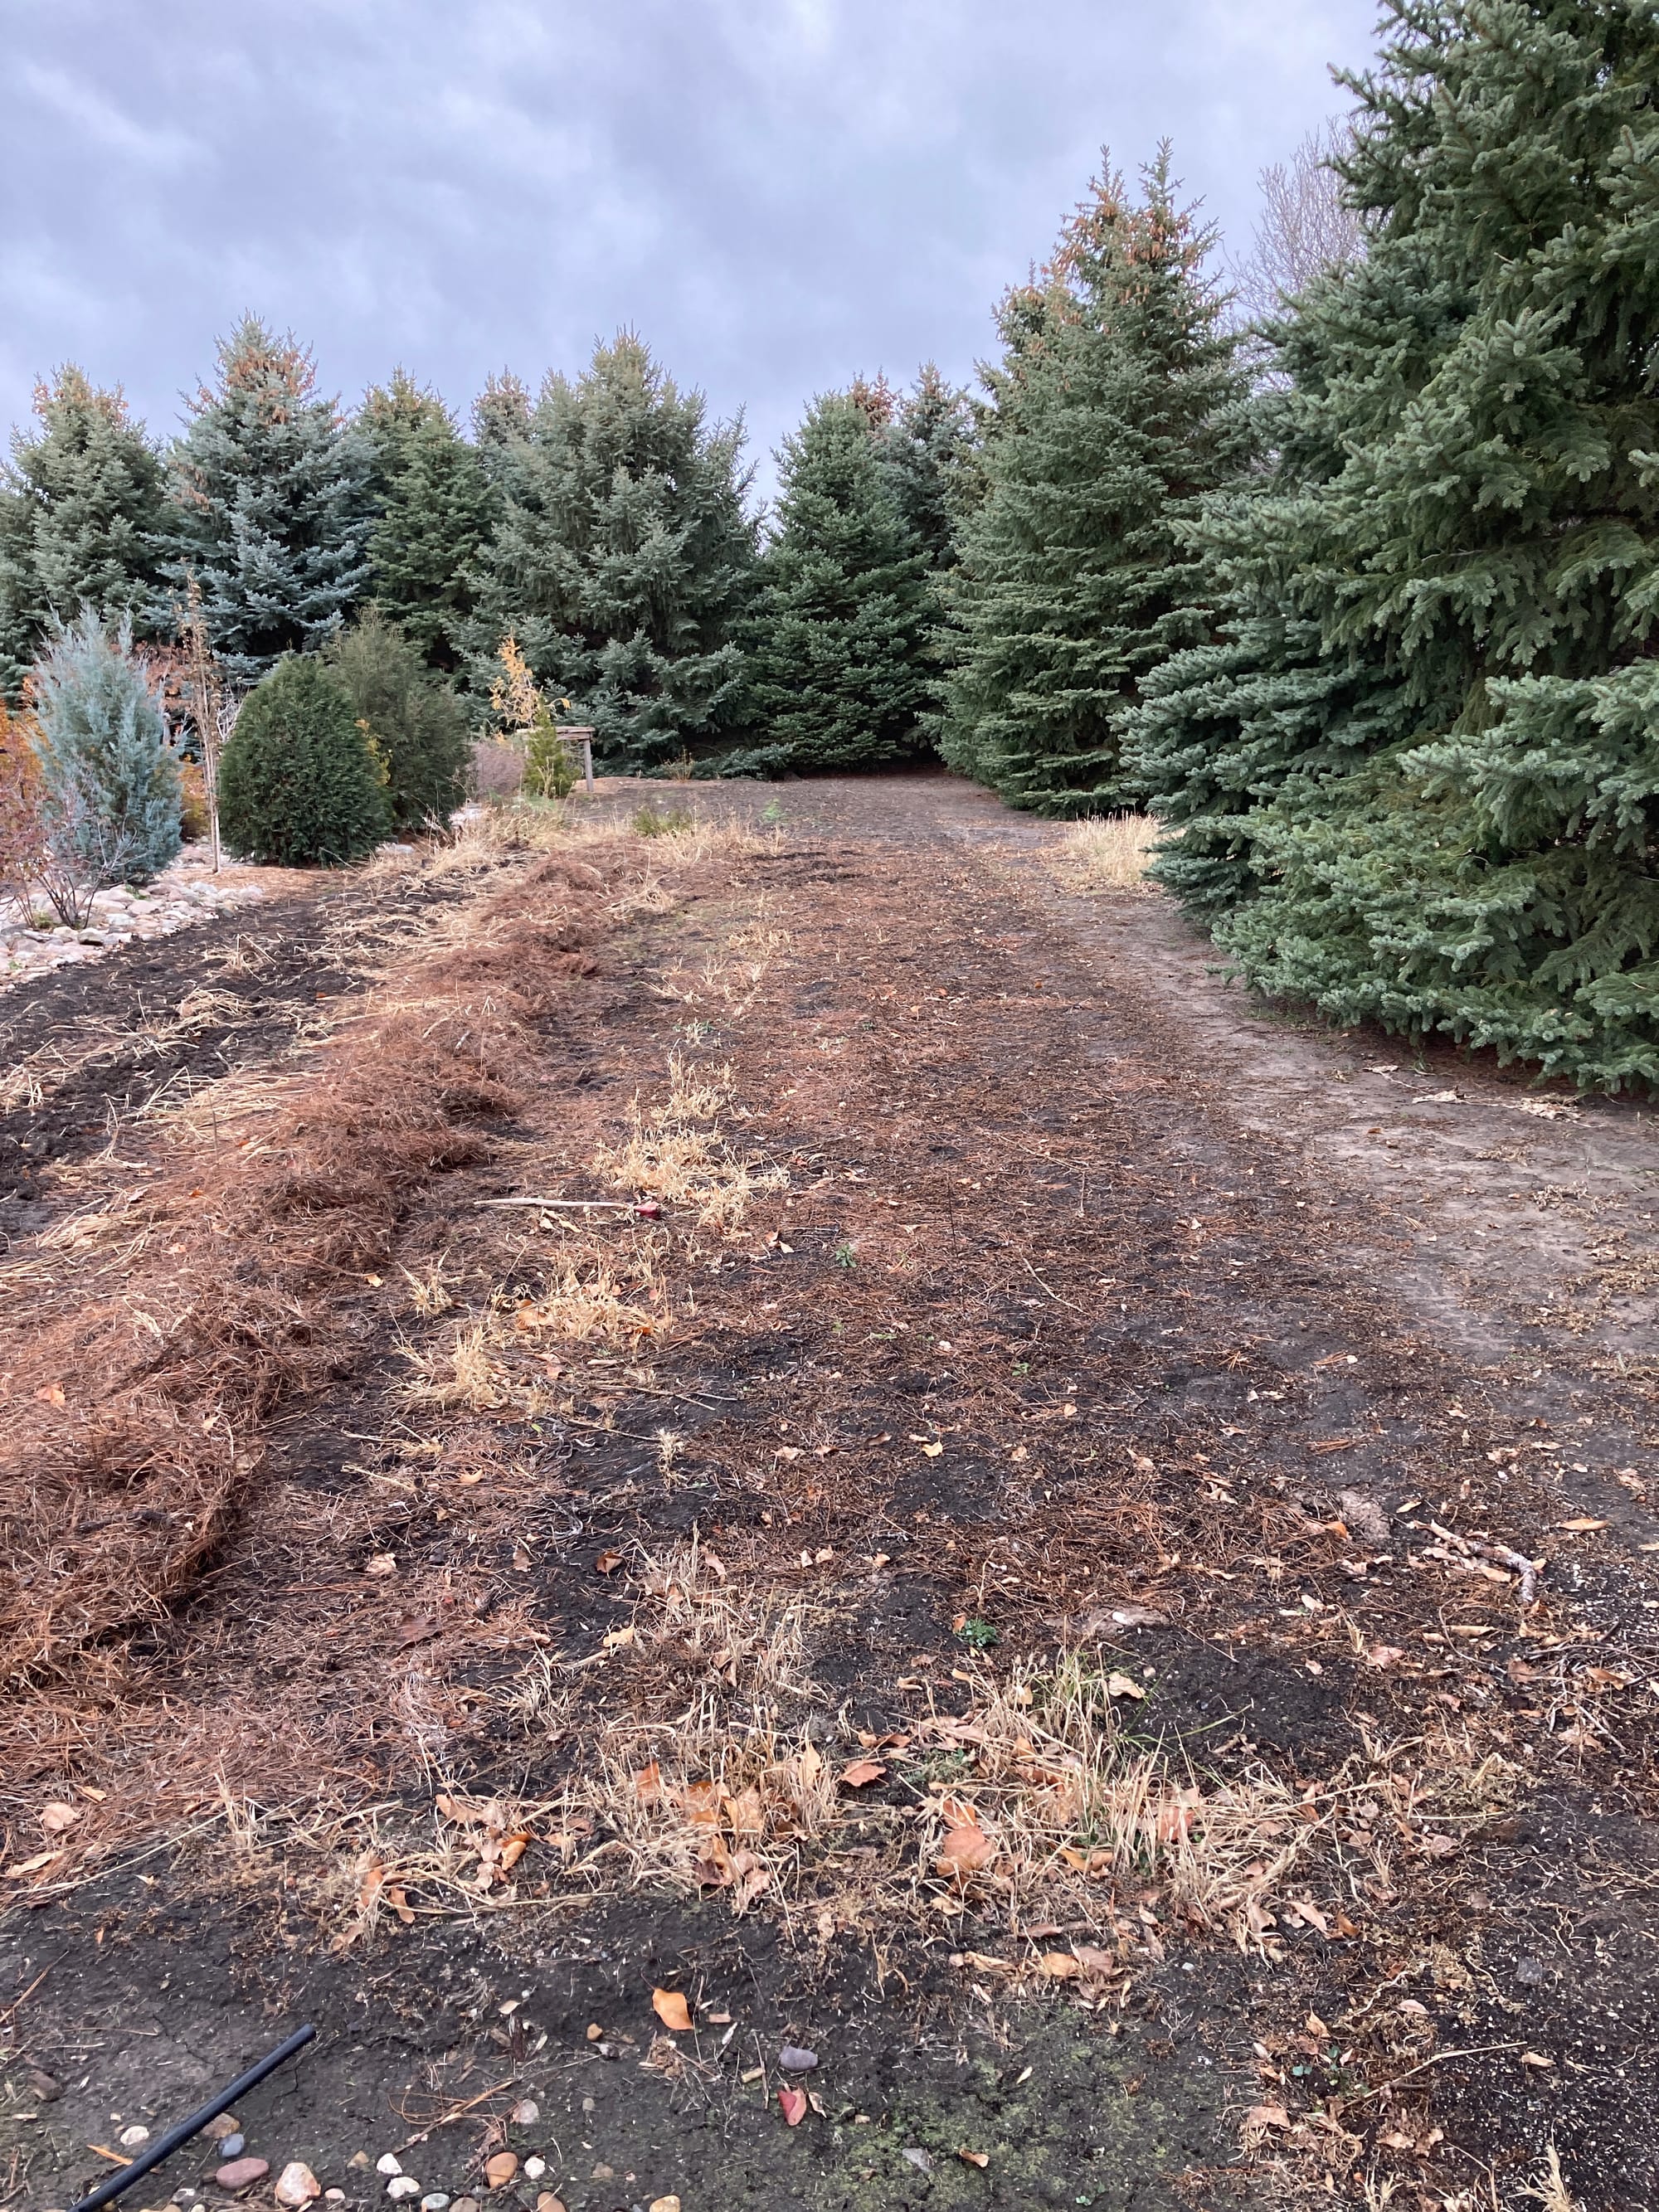
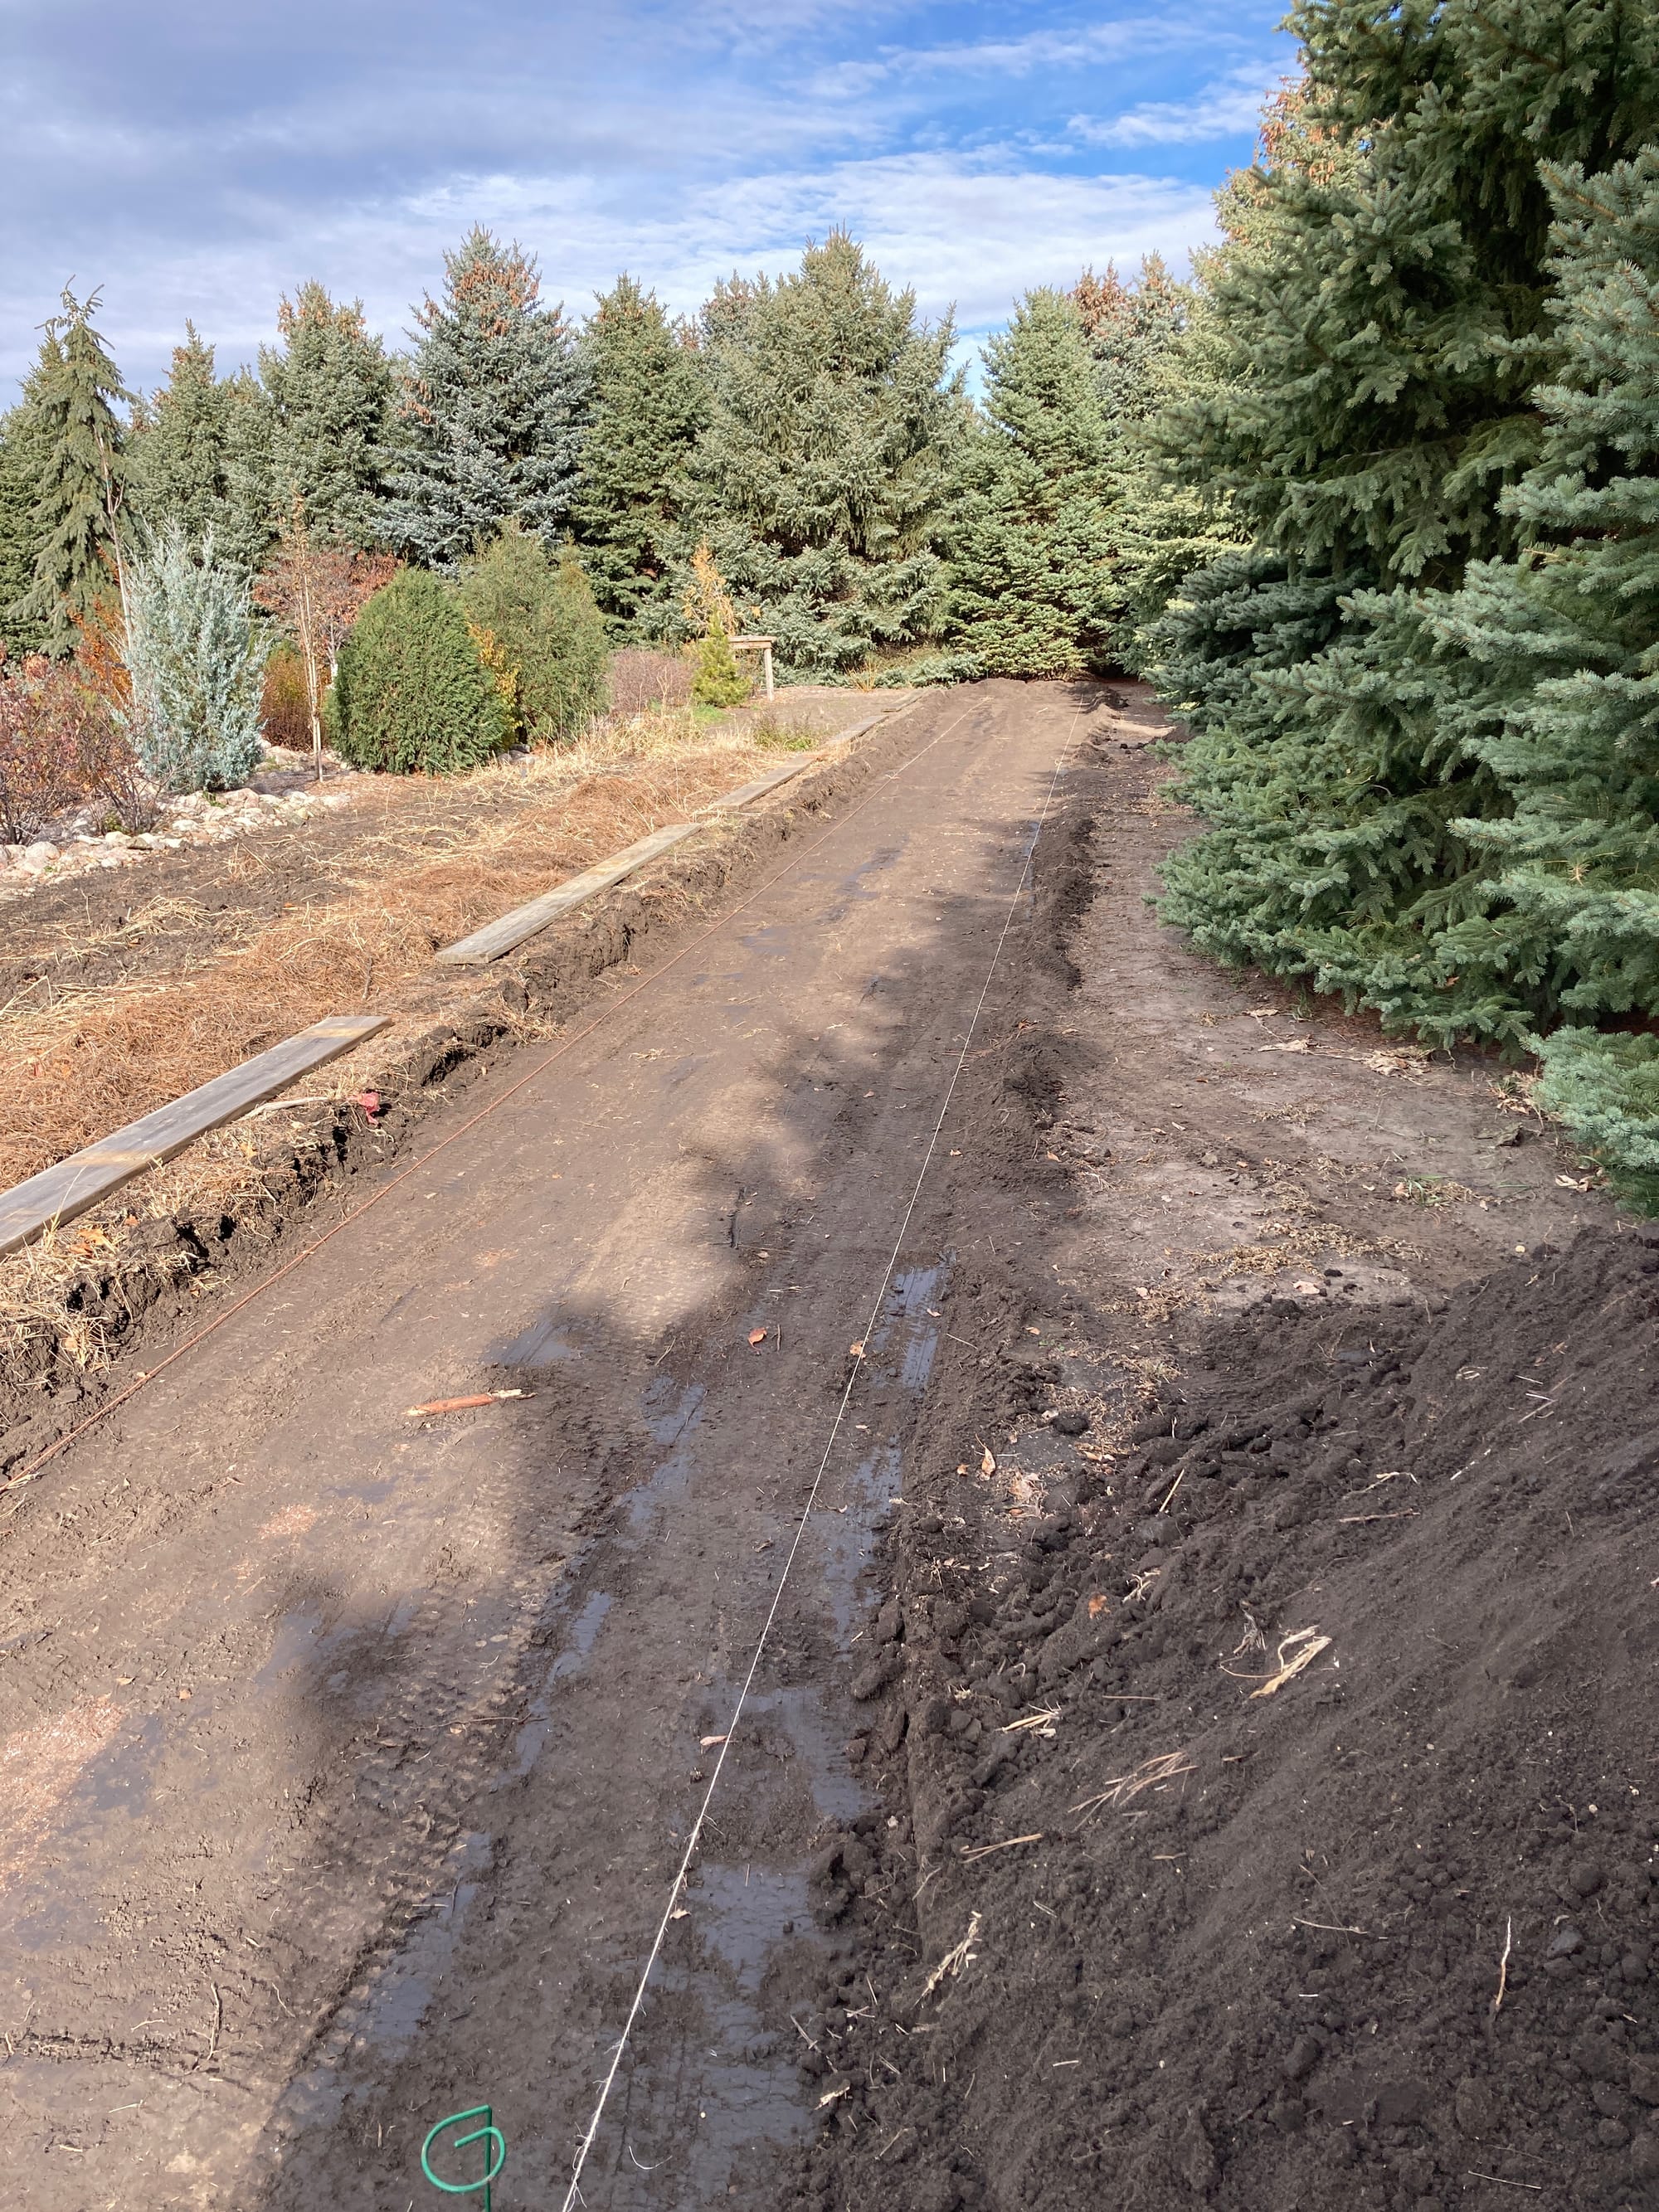
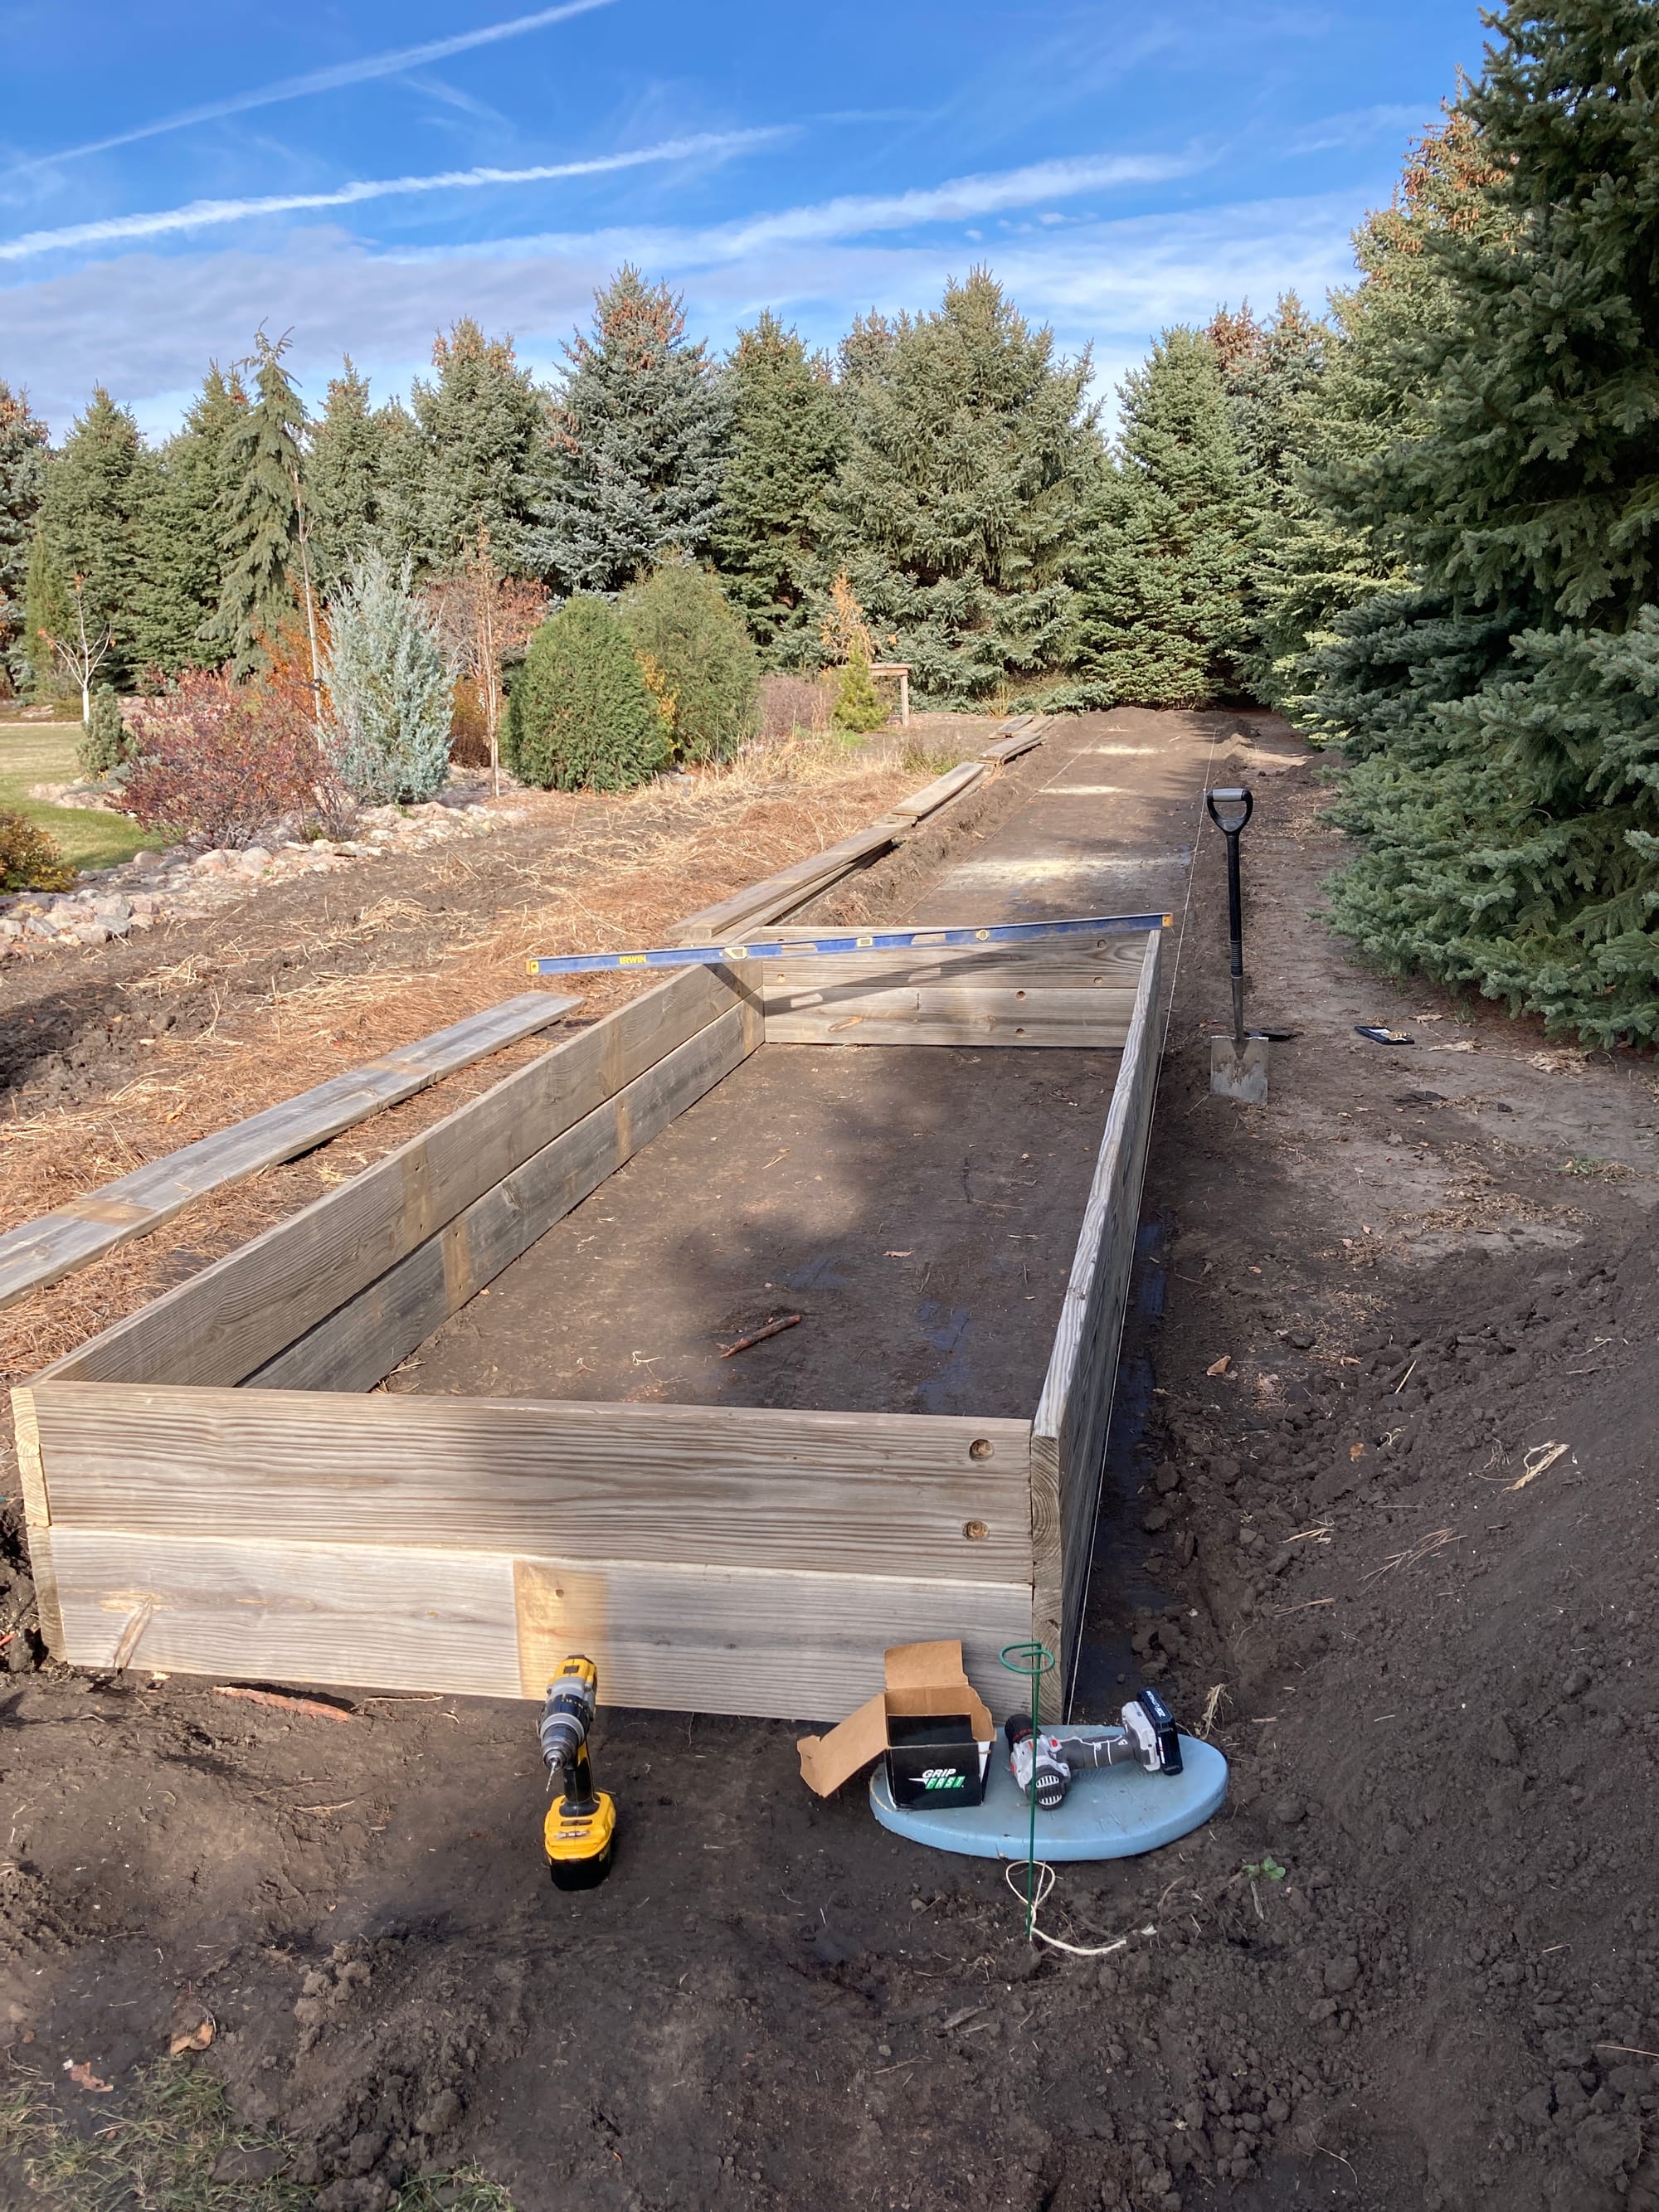
So, I started the process of making our garden plot into raised gardens.
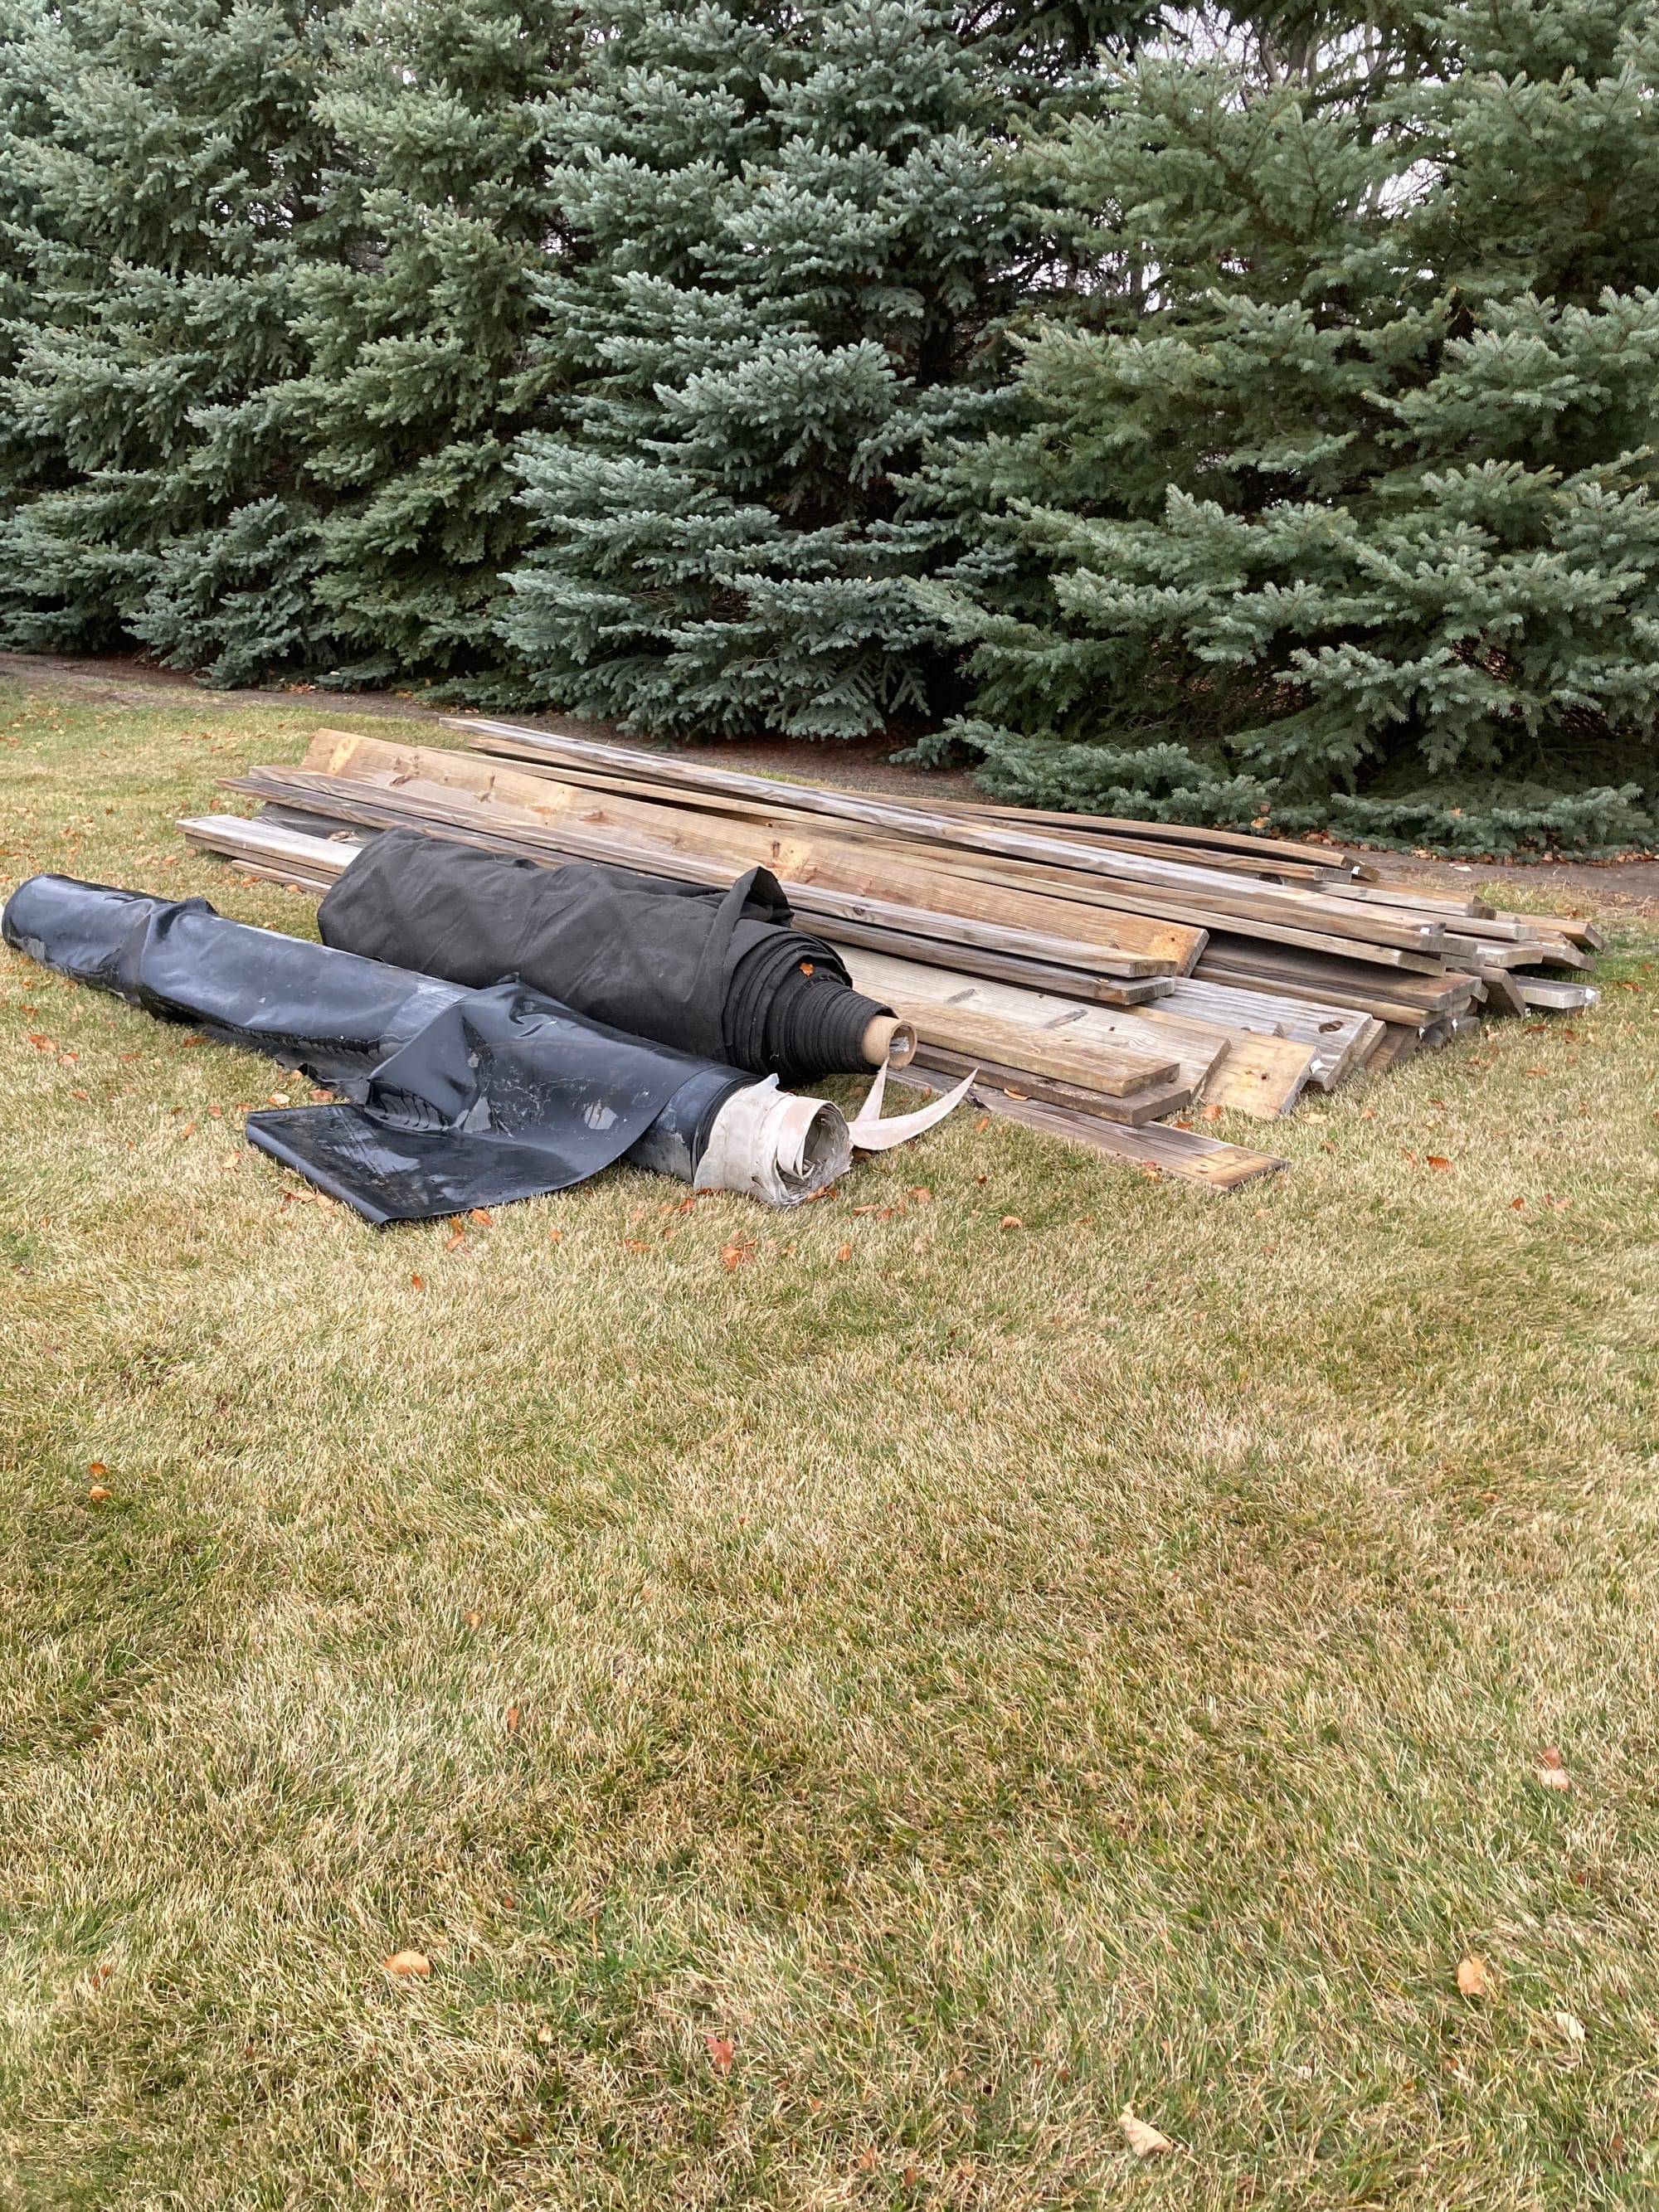
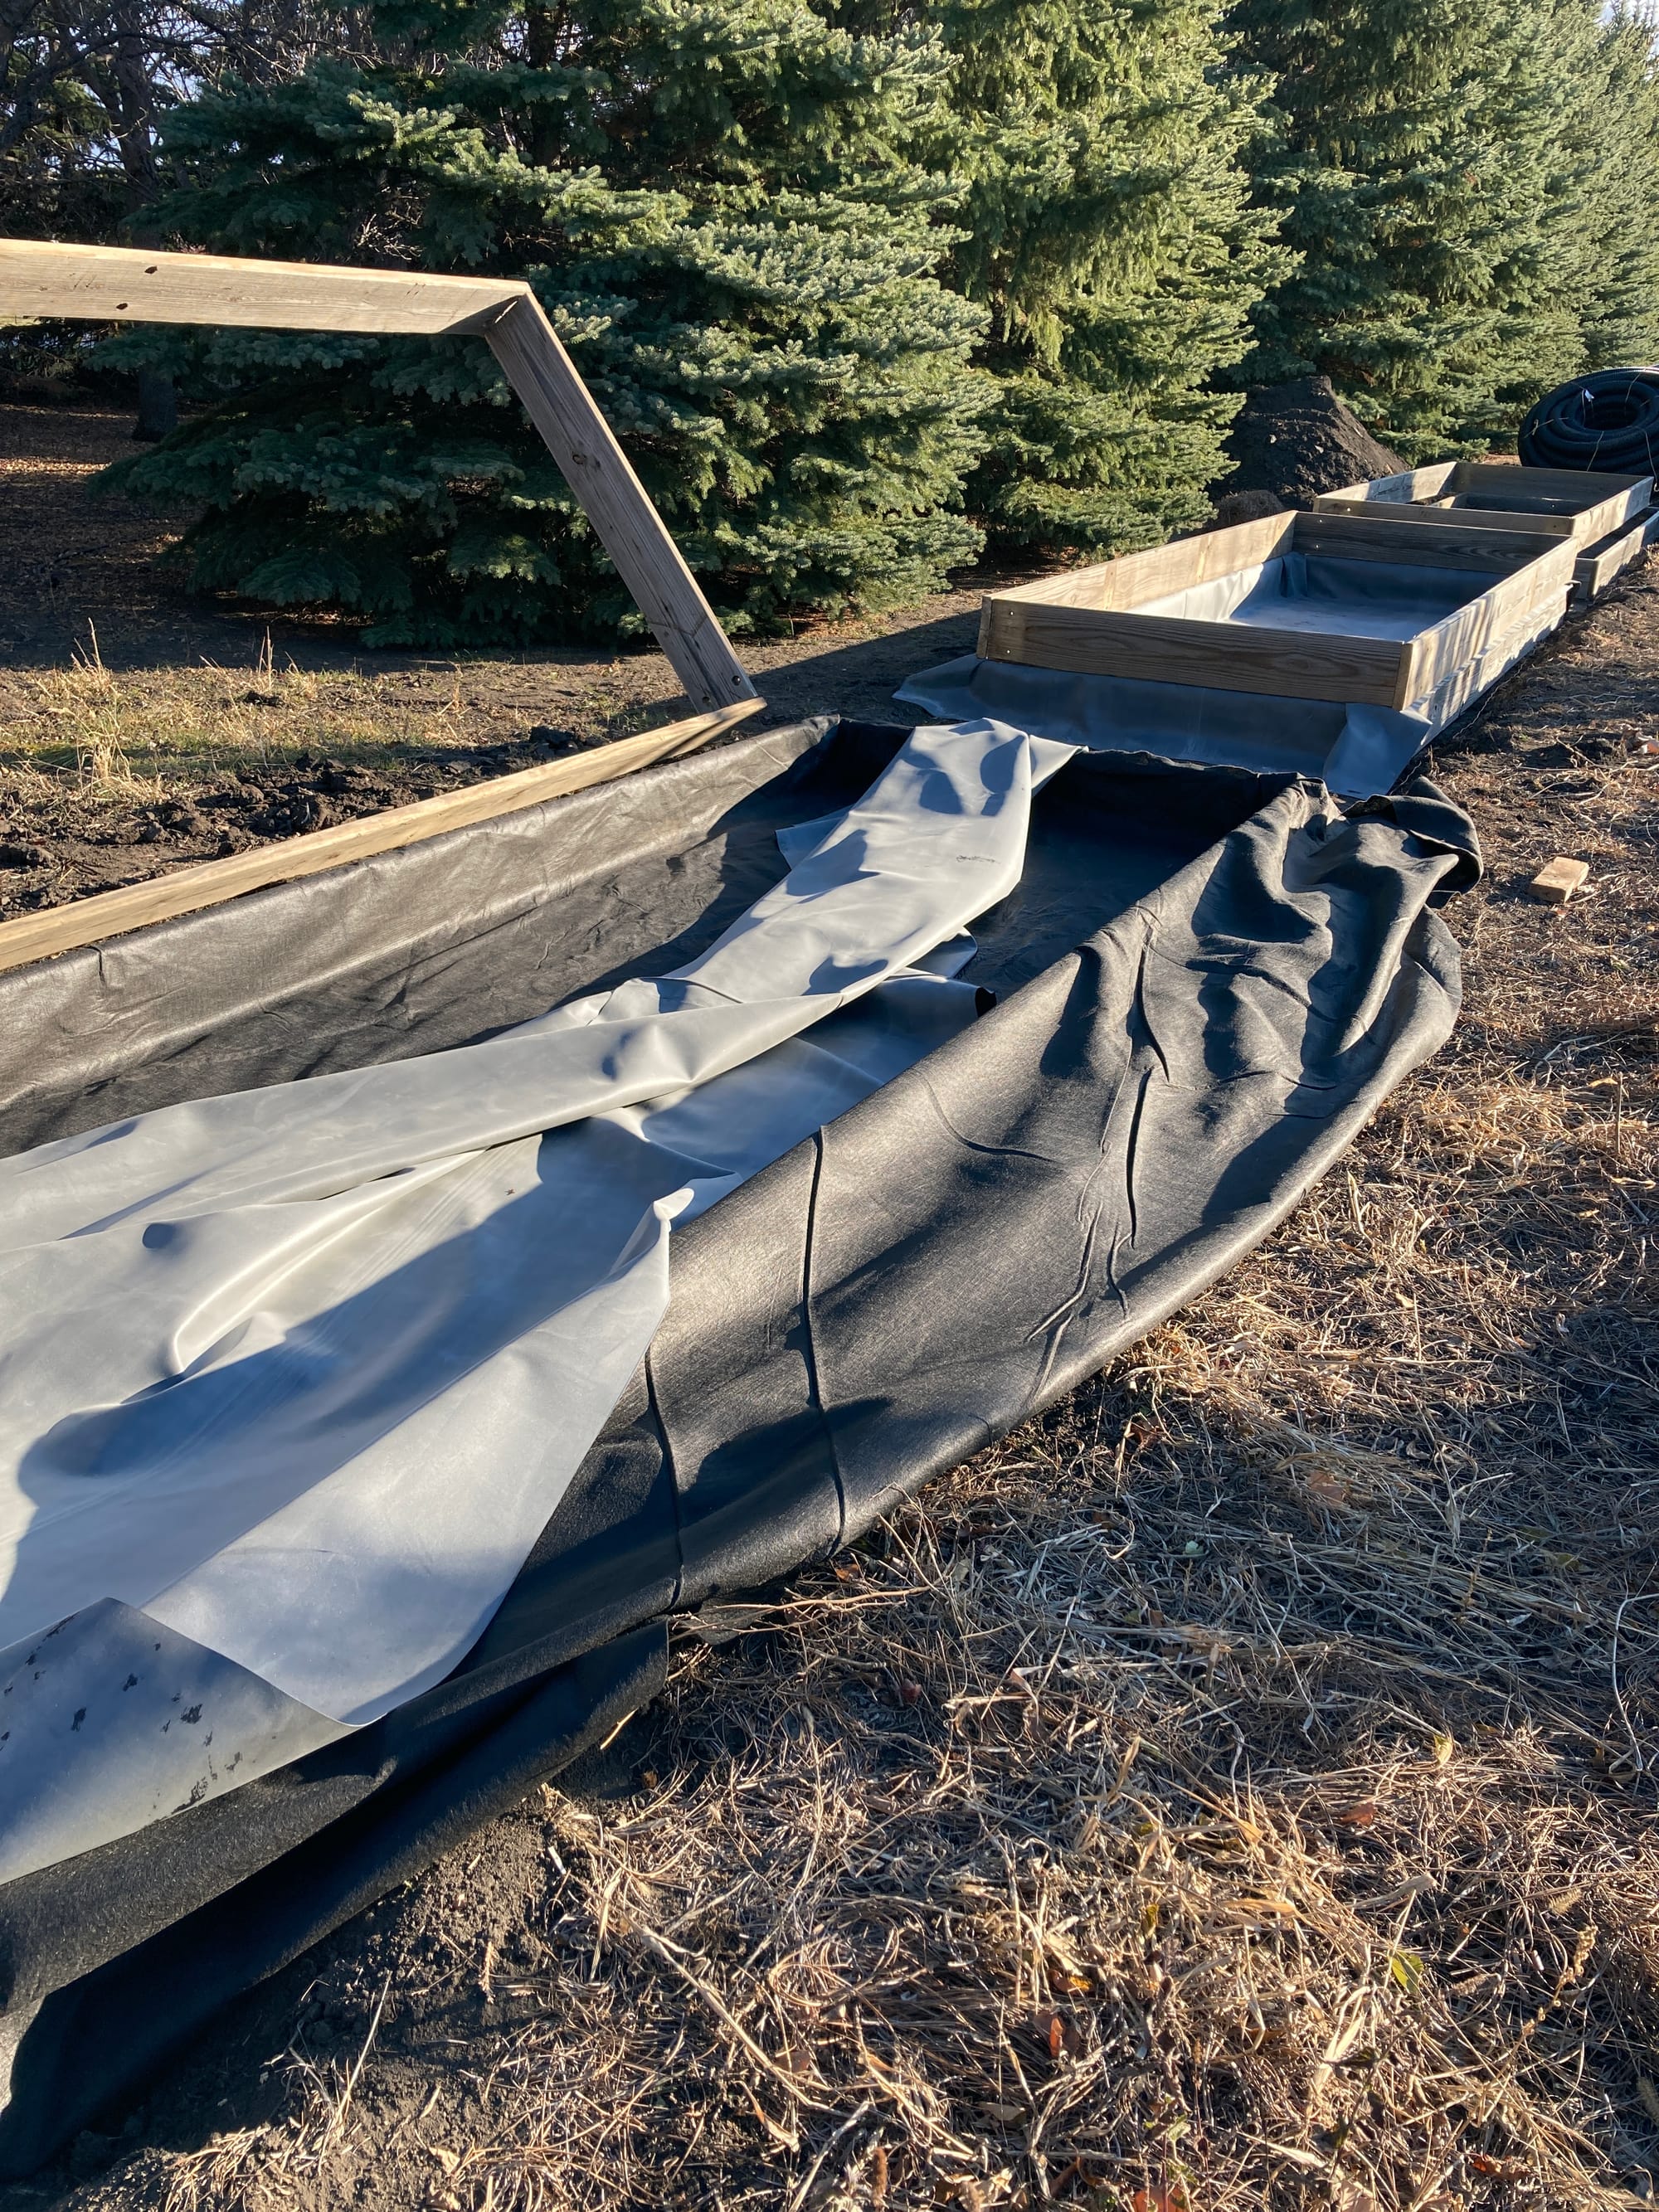
I was fortunate to get some free lumber planks from some old landscape rock bins, which made the project worth doing from an affordability standpoint. Purchasing this many boards would have run into the thousands of dollars. I also had on hand some old rubber pond liner and landscape fabric from a recent water feature I had installed.
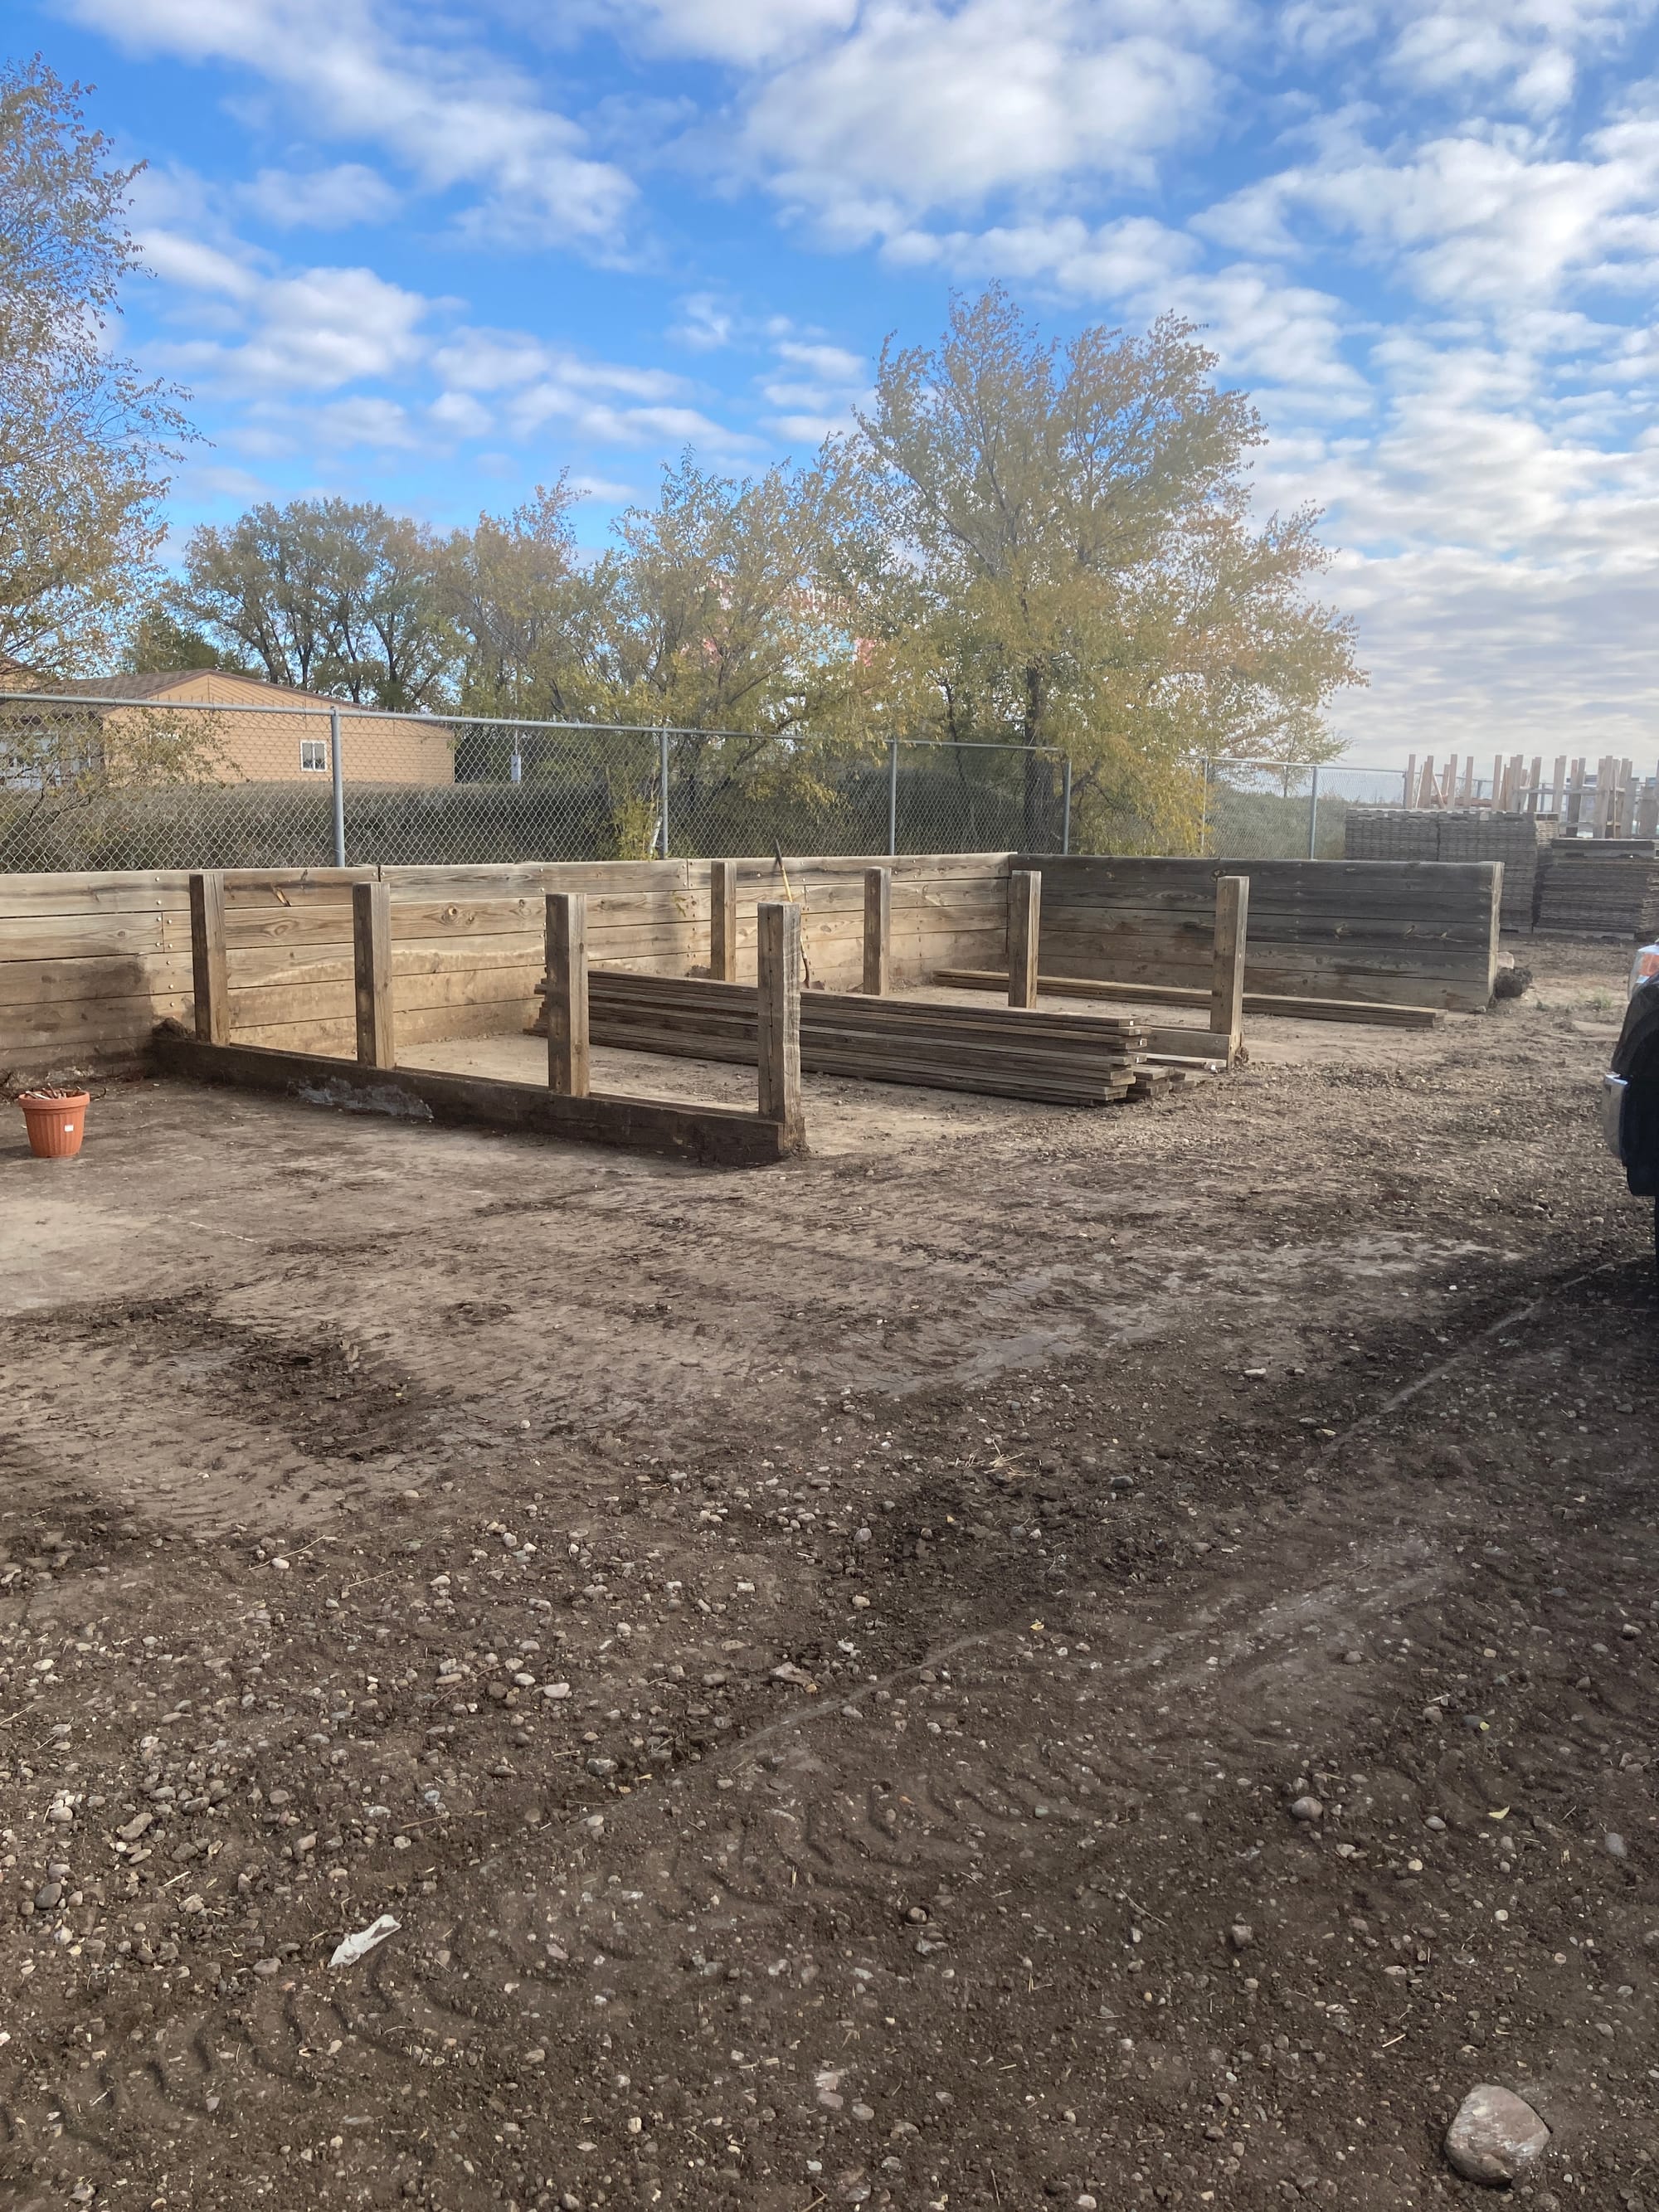
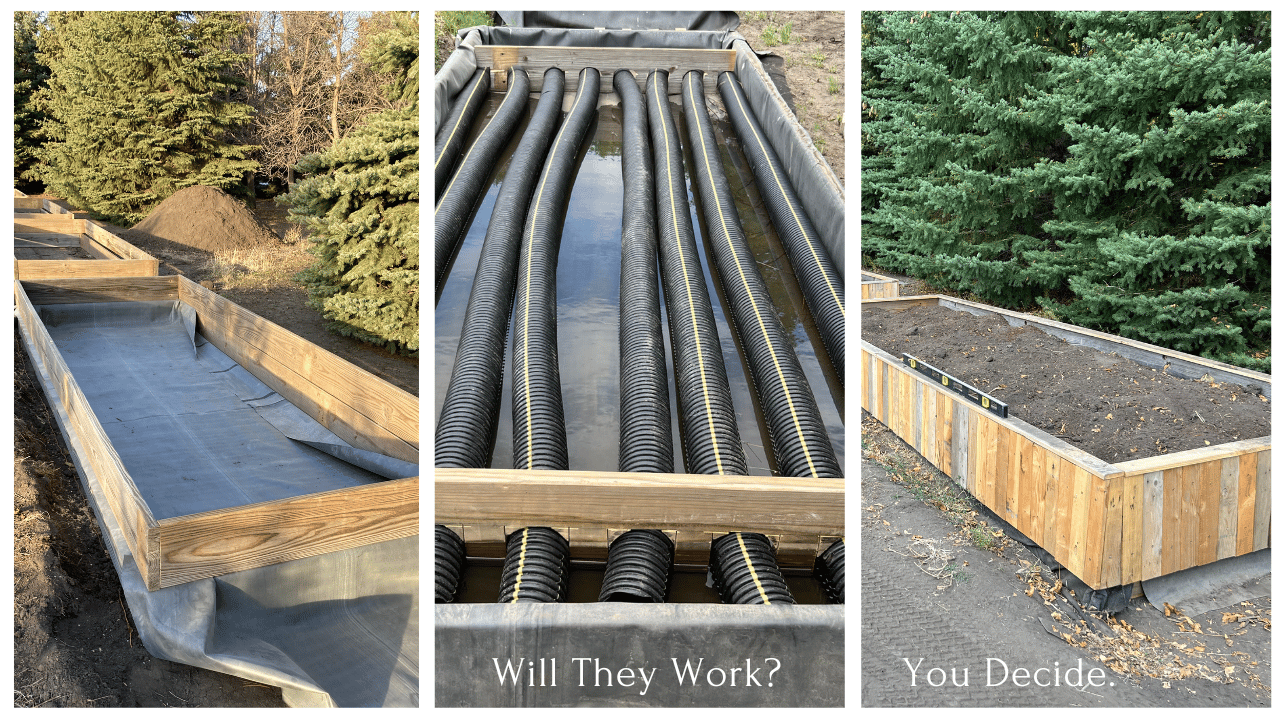
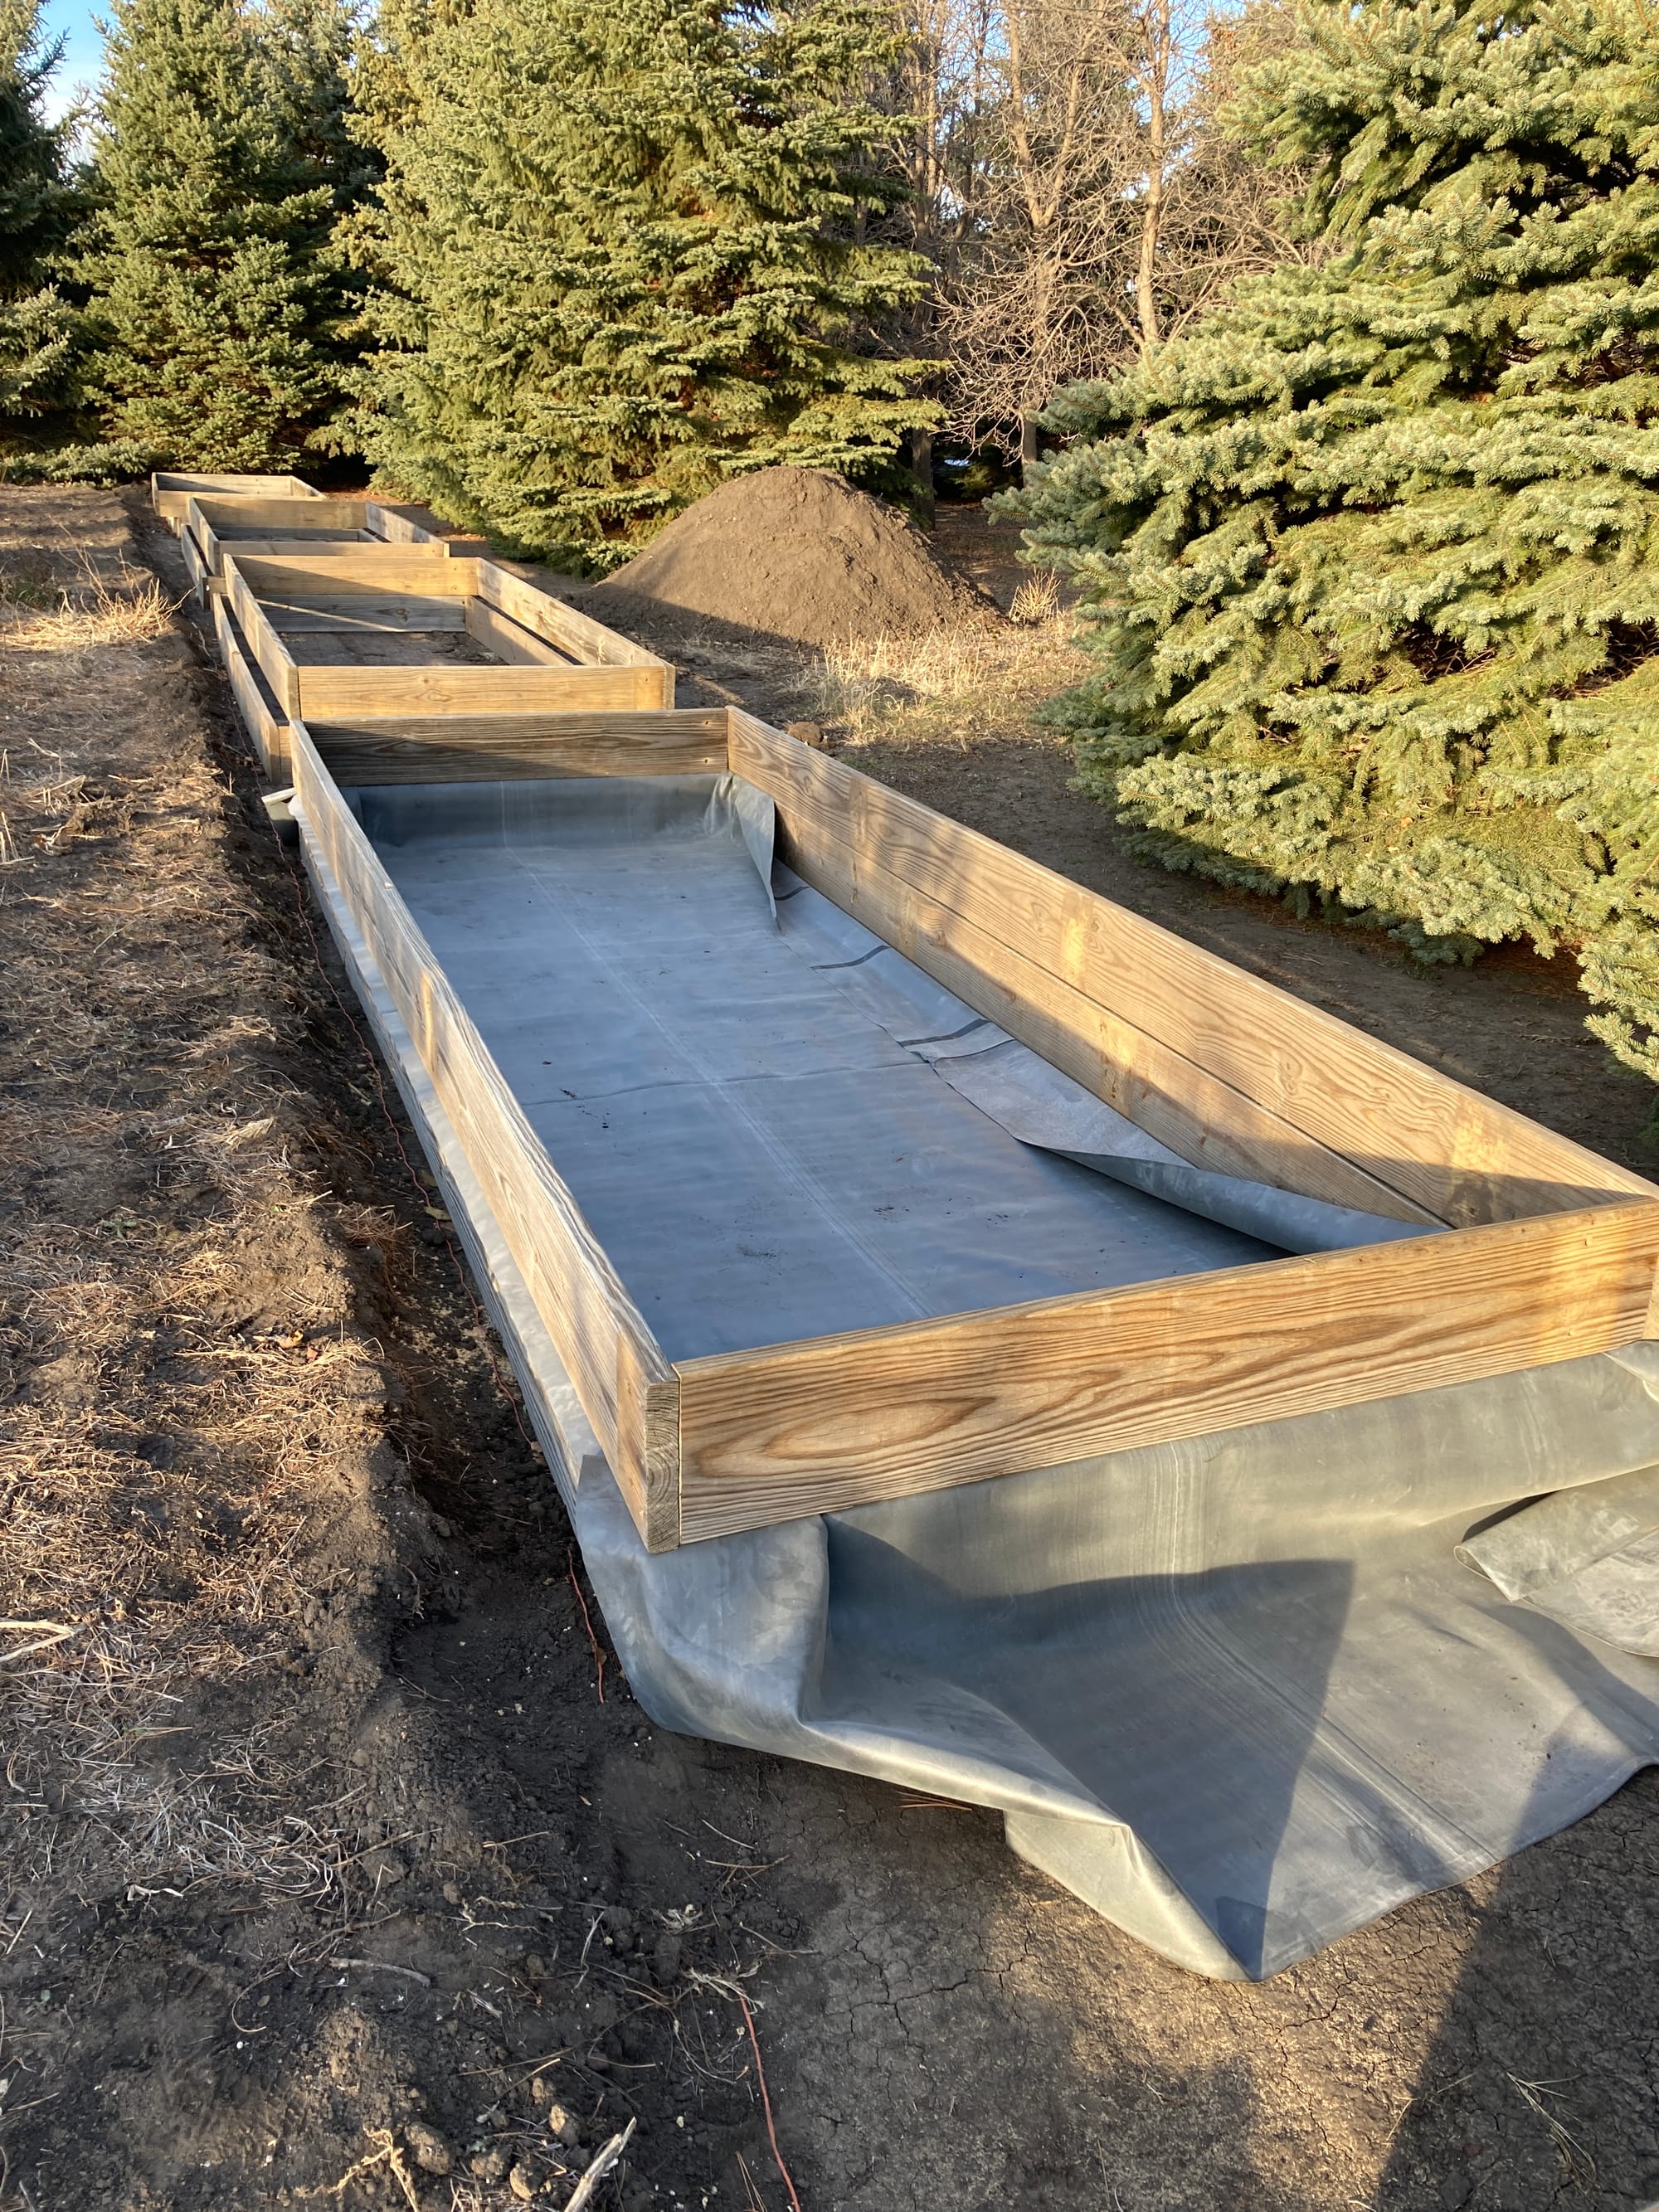
I love to experiment, so I created the large self-watering beds you see here. I encourage you to watch the video for an overview of this project.
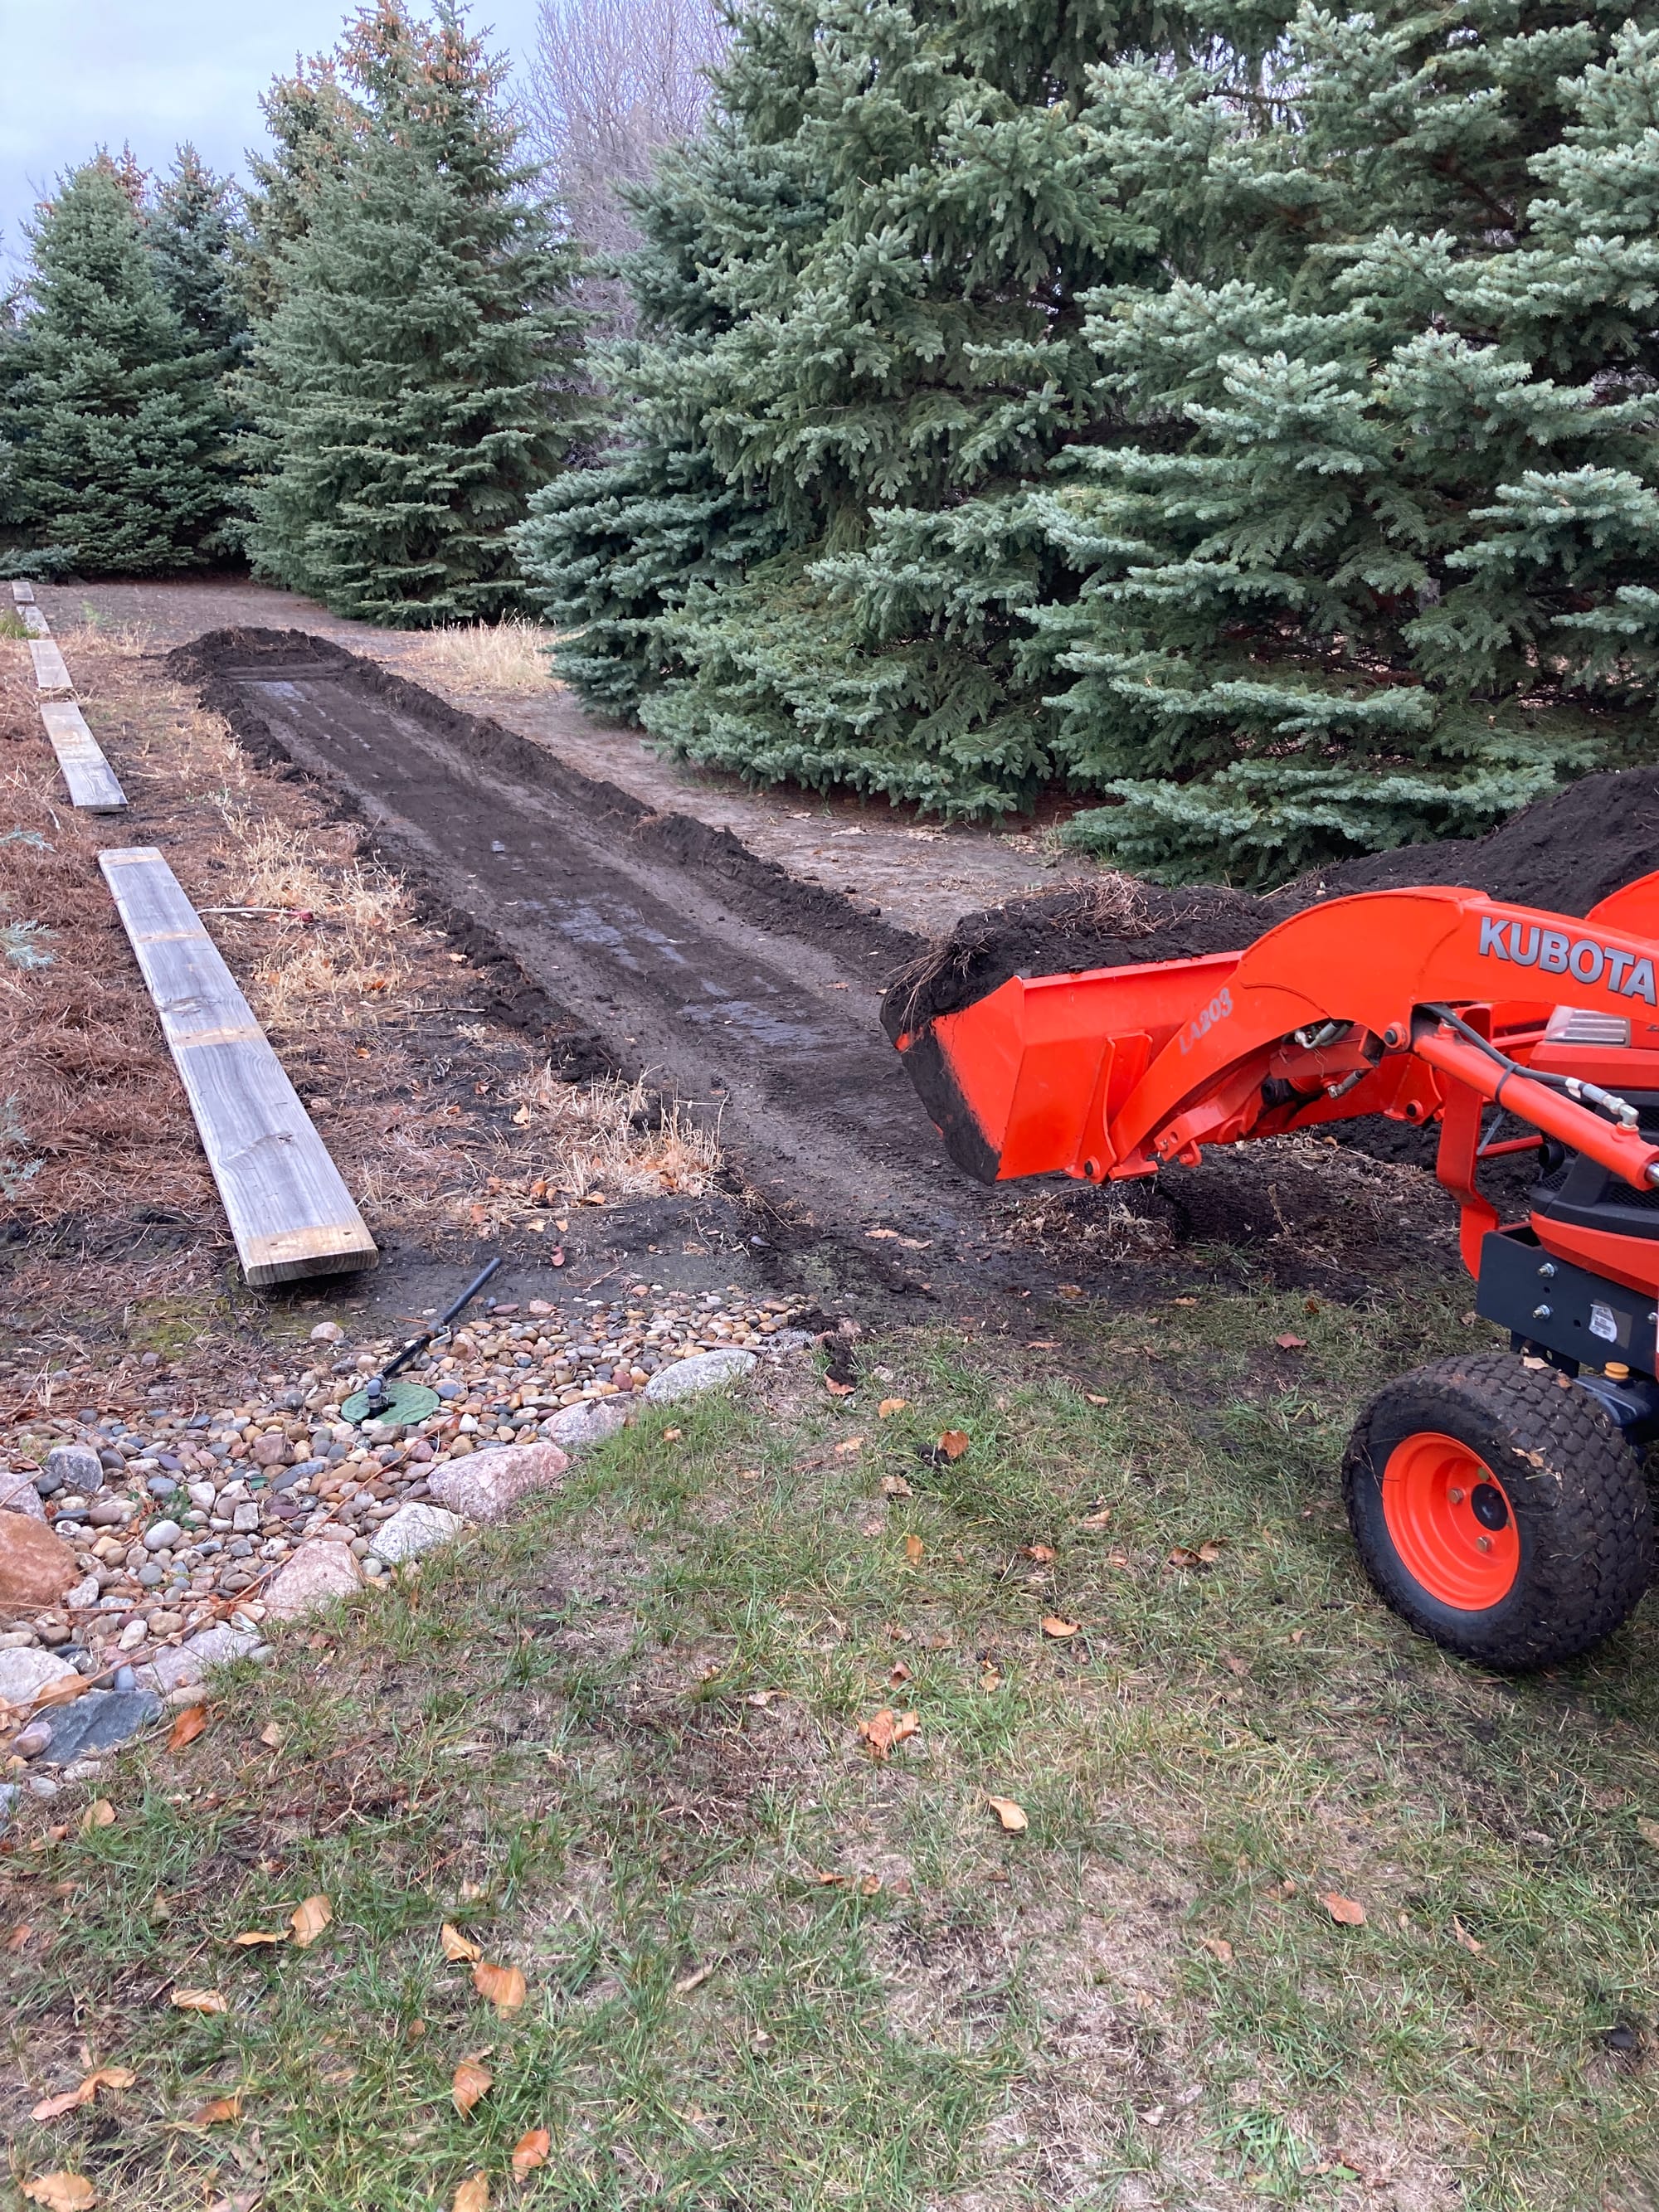
I have a small tractor with a front-end loader, and pulverized topsoil is relatively cheap in my area, so filling several boxes this large was pretty easy. I initially started to hand mix by shoveling the soil and amendments but abandoned that process quickly.
You'll see in the video how I used my tractor rototiller to mix the amendments and soil. Amendments like perlite, vermiculite, and peat moss costs can add up quickly, though. And they did!
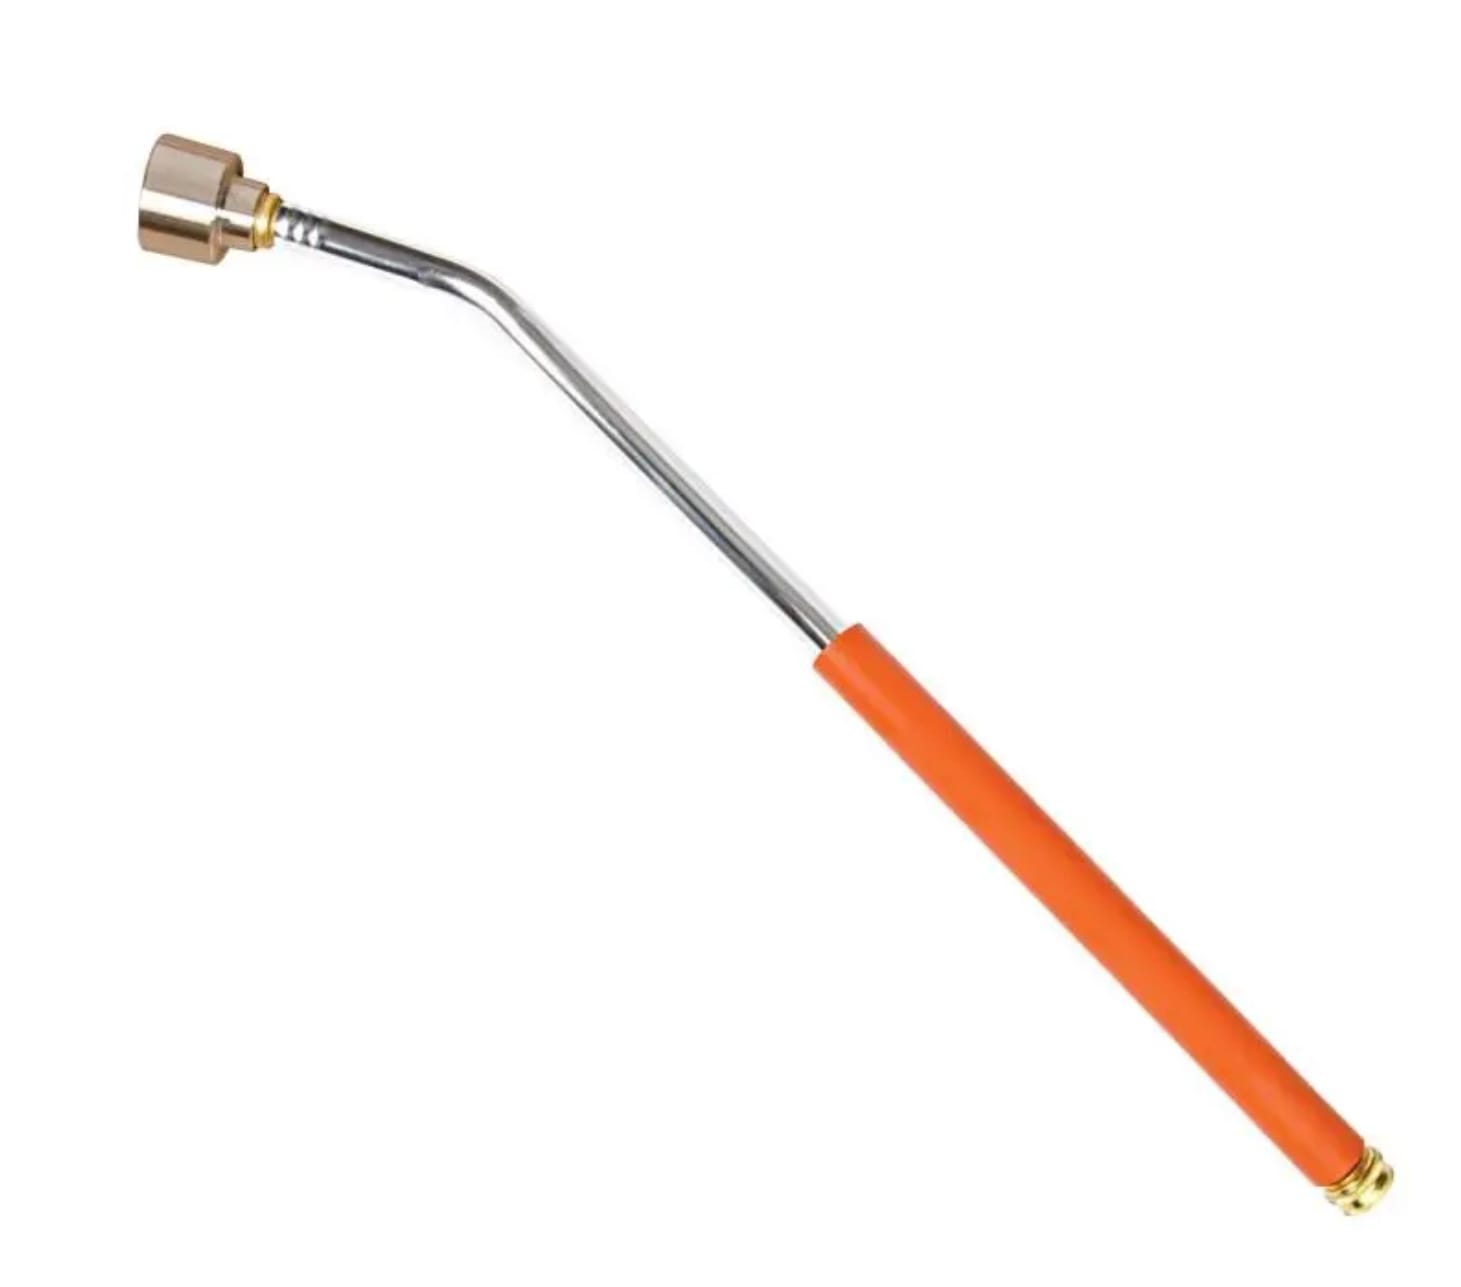
Watering Wand, Straight Grip, 24IN Length
Stainless steel nozzle with a foam grip
Garden Hike is supported by its audience. When you purchase through links on this site, we may earn a small commission at no additional charge to you.
I ended up choosing pine nuggets to add air spice. They were cheaper and worked great, but they will break down faster than perlite, so I will need to incorporate additional amounts occasionally.
I use mind mapping apps on various projects to help me plan out and organize my thoughts. Below is a PDF file you can download that was used in the video presentation. If you've never tried mind mapping, Mindnode is a great app I'm using here.
The above video covering the construction and materials used was posted on January 2, 2023. I mentioned in the video that I would update you on the progress. Here is that update (March 2024).
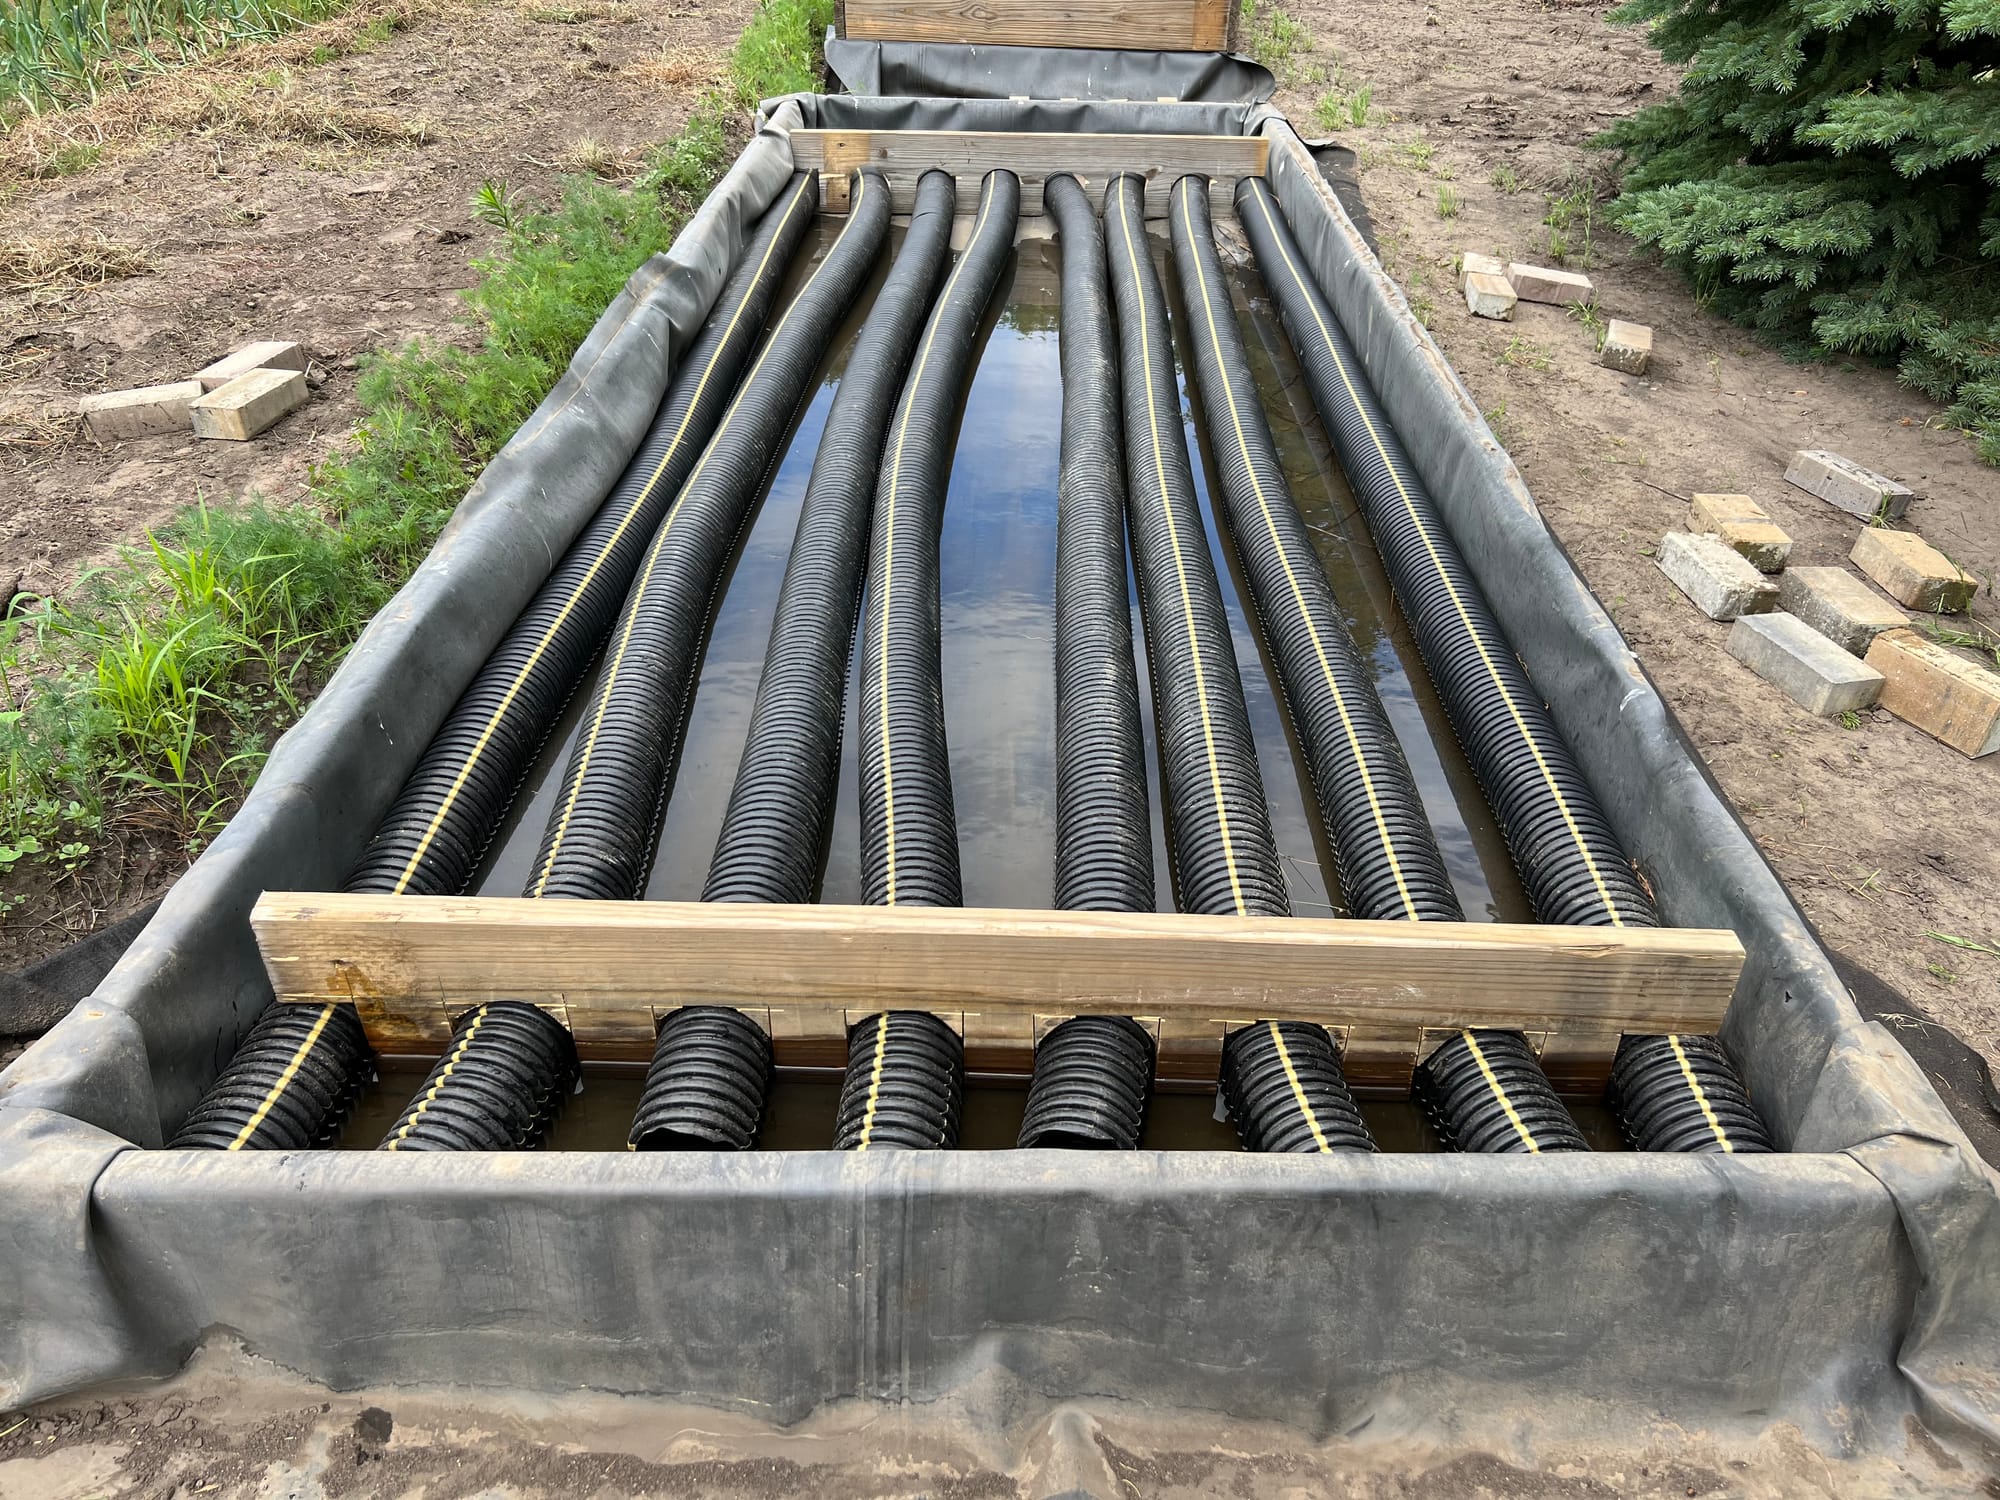
Did they work? Yes, kind of:
But they held less water than I expected. Even after 1.5-2" rainfalls, only about 1/2" of water was at the bottom of the box. It opened my eyes to how much water soil can absorb. I thought 4-6" would be pooled at the bottom of each box for several weeks of available wicking action.
That being said, I definitely had to water less after a nice rain, but I was surprised how quickly the soil dried due to evaporation and the plants' use of available water.
Would I do it again? No. But let me clarify.
I like the raised garden boxes. They worked excellently in growing many different vegetables (I can't believe I did not take any photos of the year's first harvest; I guess there will have to be one more update). But I would never spend the money on a rubber liner, fabric, and drain tile. Luckily, I had all the materials for this project on hand, other than the drain tile tubing.
If doing it again, I would simply fill the boxes with soil and amendments and add drip irrigation to the surface.
Initially, I had planned to fill the boxes with water between rains, but I already struggle with a higher salt content in my well water. I did not want to add to the potential problems that may occur in a design like this.
I knew from the start that the rubber liner and no drainage could cause salts to increase quickly. I did add drains so I could leach the soil, but I never really needed to since the soil absorbed so much.
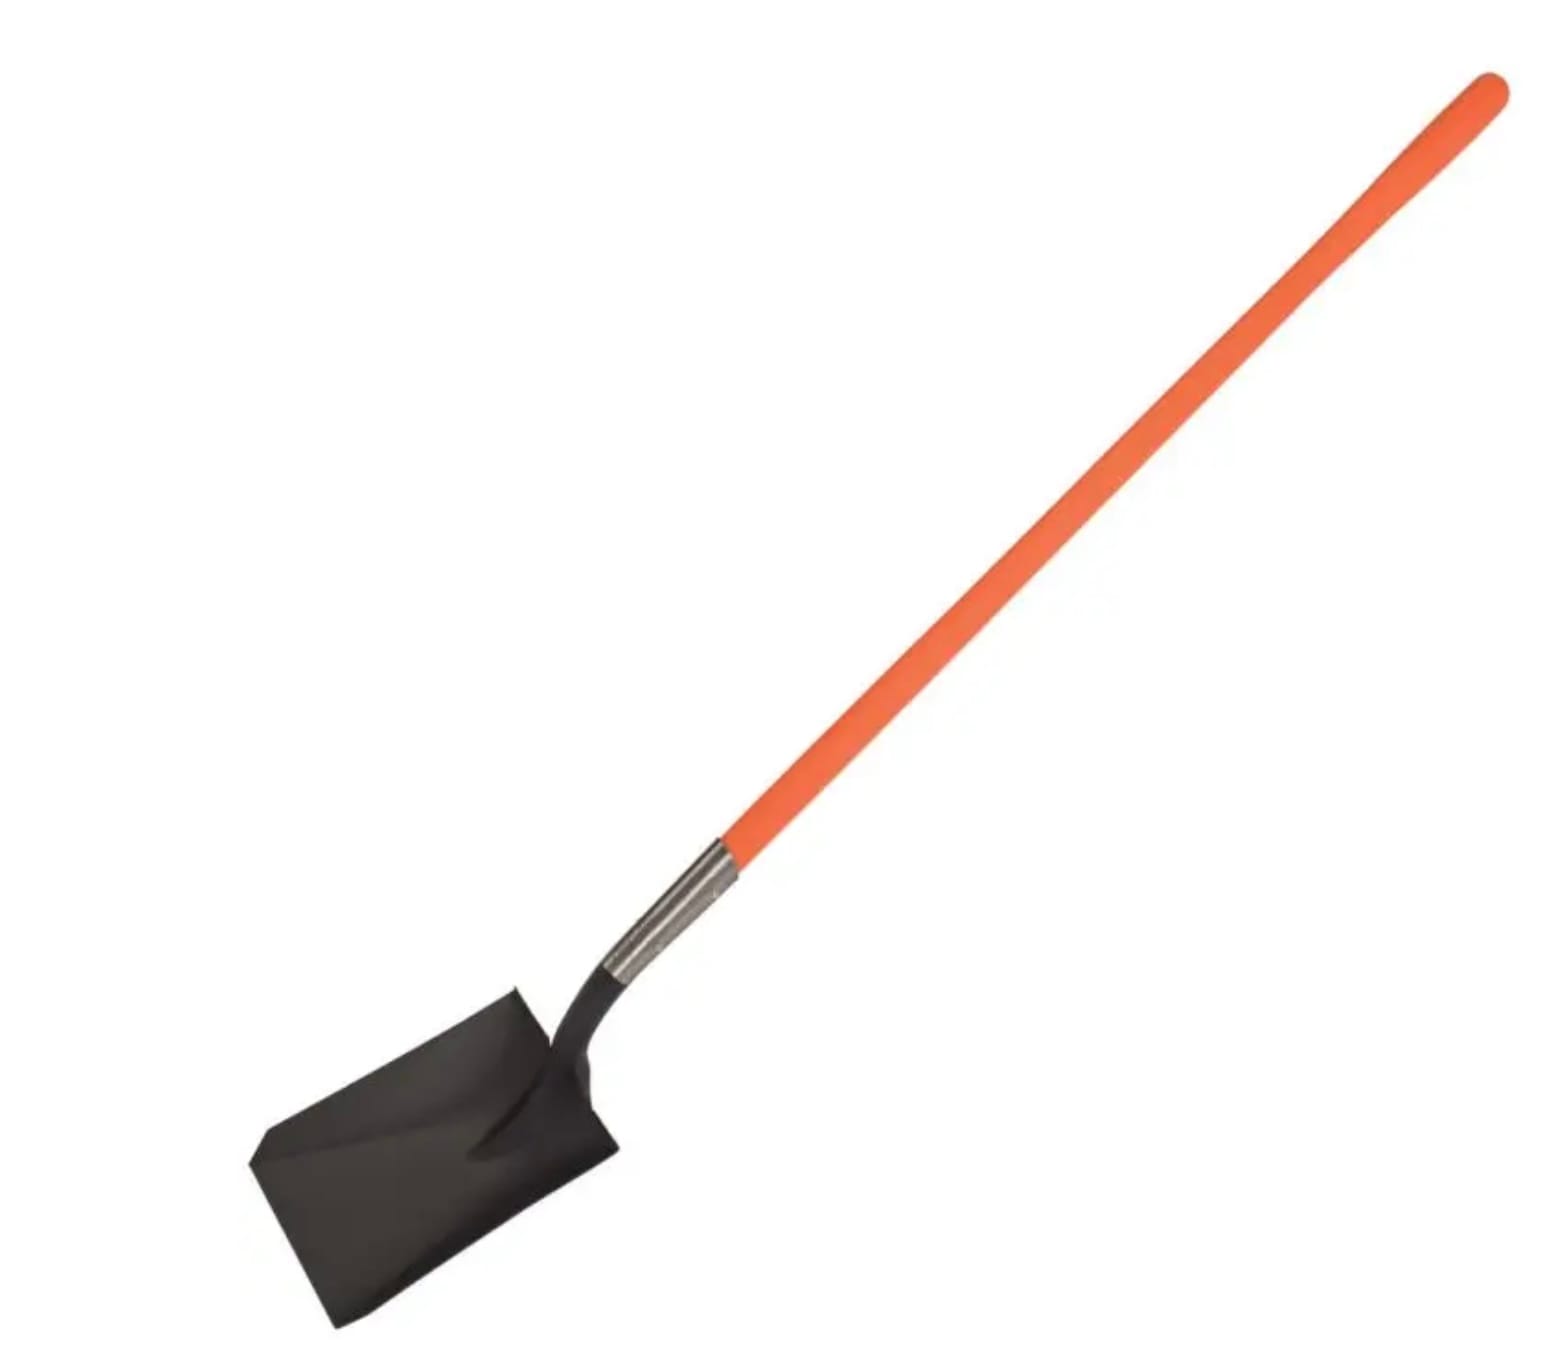
Shovel, Square-Point Closed Back With 48" Composite Handle
When you purchase through links on this site, we may earn a small commission at no additional charge to you.
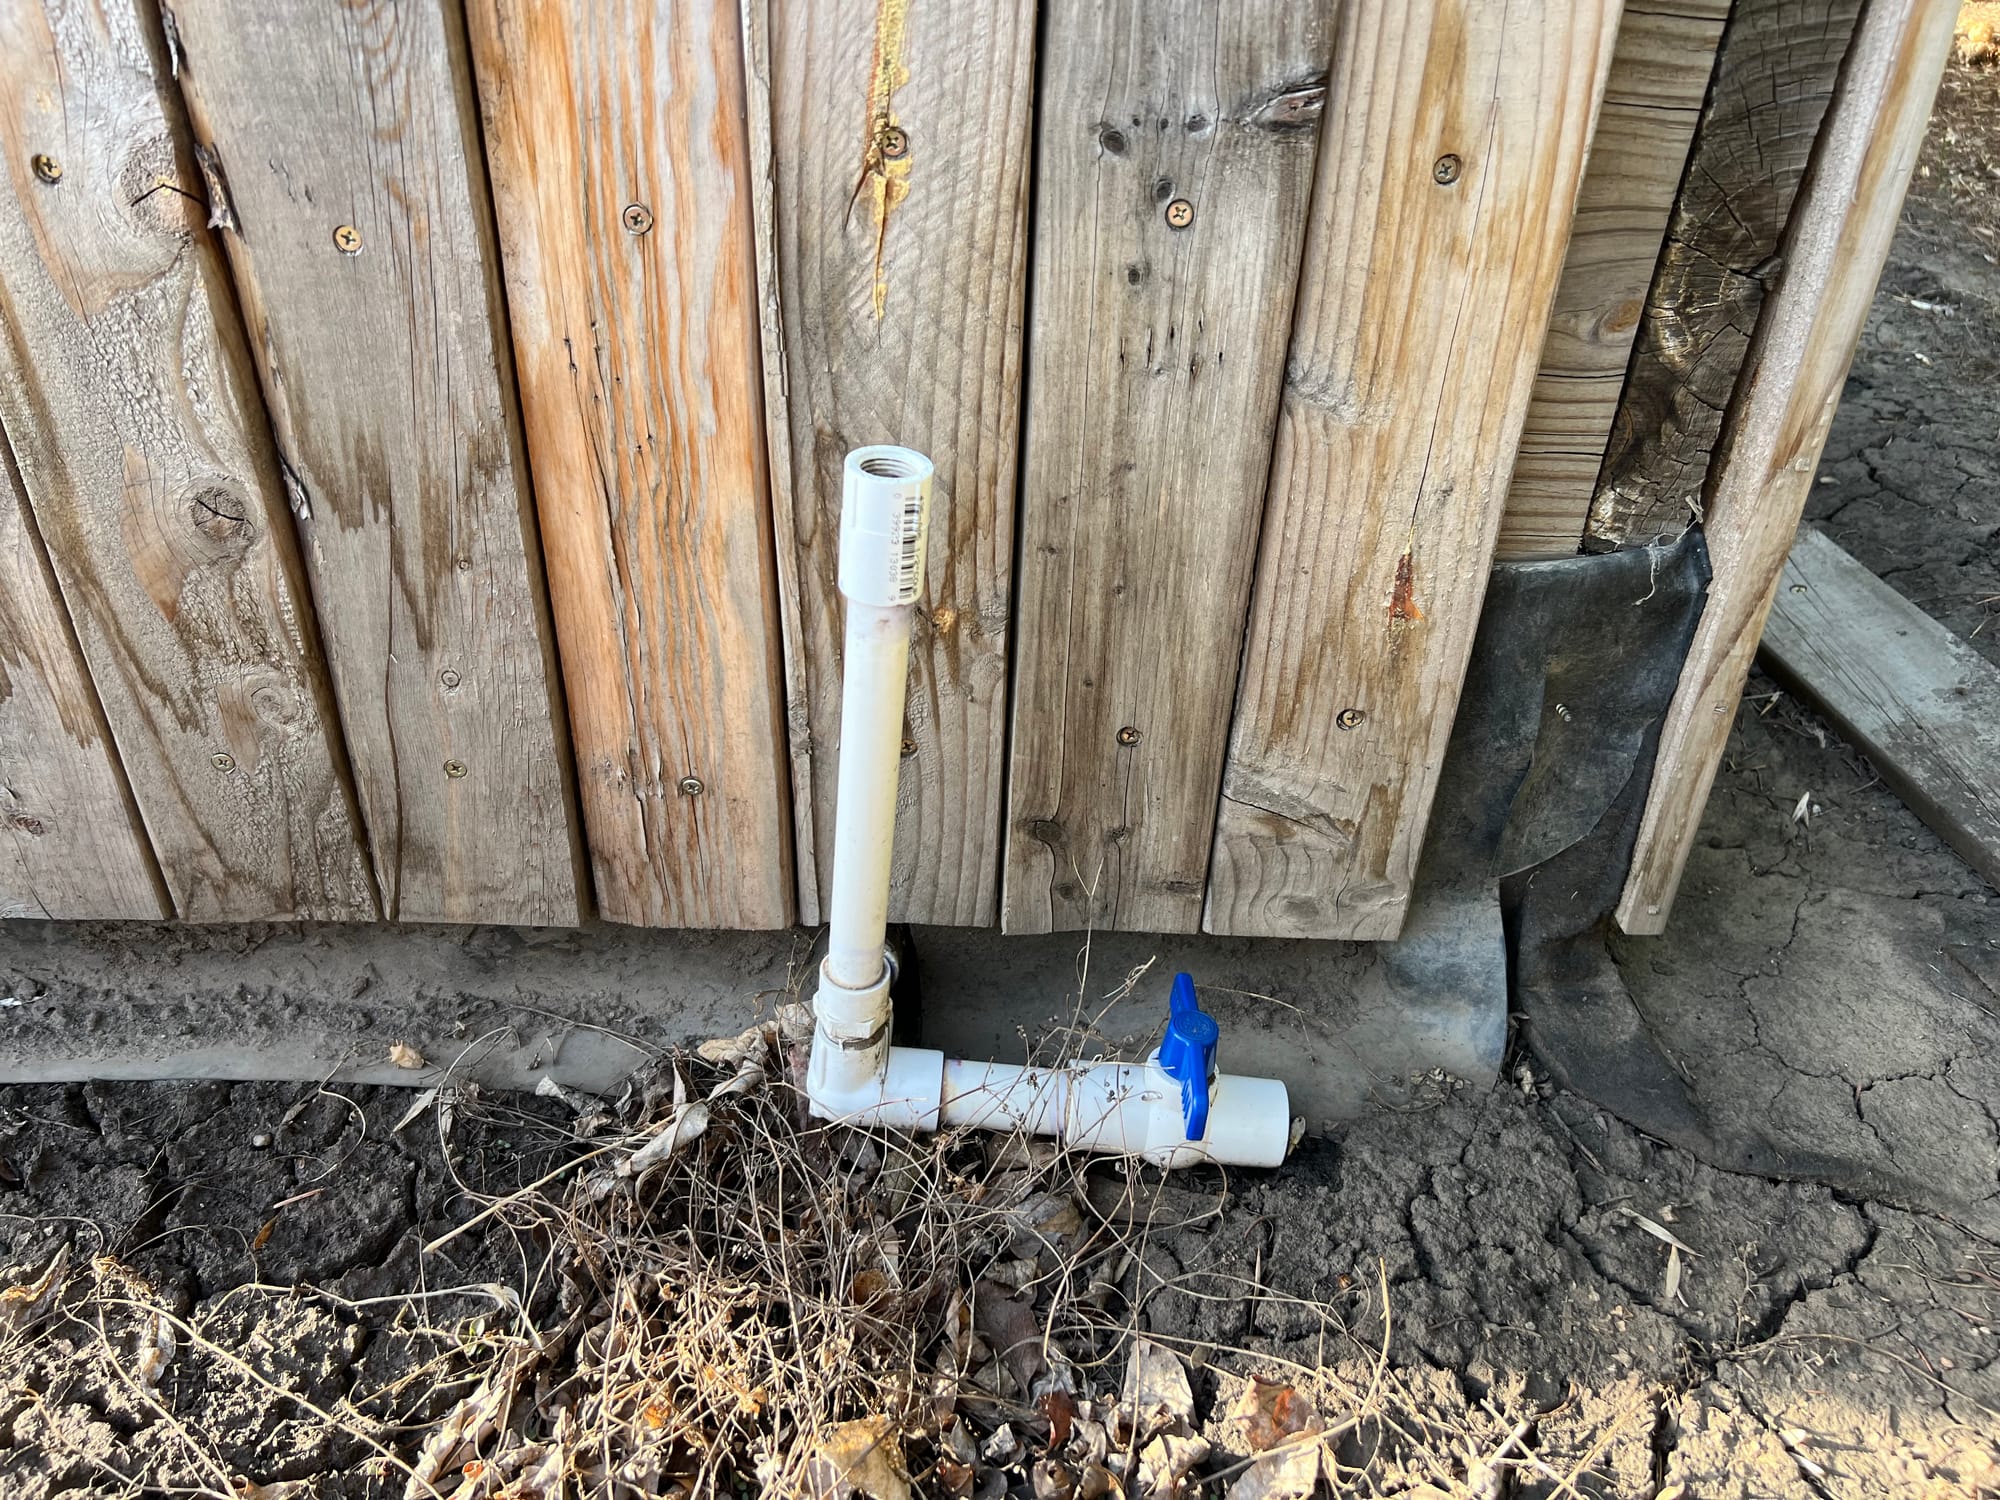
Below is a photo of the drain assembly. I used a bulkhead fitting to create the seal with the rubber liner (not shown, behind the trim boards). It became a little more challenging than I expected due to the thickness of the boards I used to frame the beds (1.5”).
I had to use a 4” hole saw to create the opening for the bulkhead so it could thread tight. Once the bulkhead was in place, I glued on the PVC pipe extension and shutoff valve that you see here. I had intended to replace the vertical pipe with a transparent one so you could see the water level quickly. For now, I look down the pipe from the top. You could also use the vertical pipe as the "fill port" with the proper hose fittings.
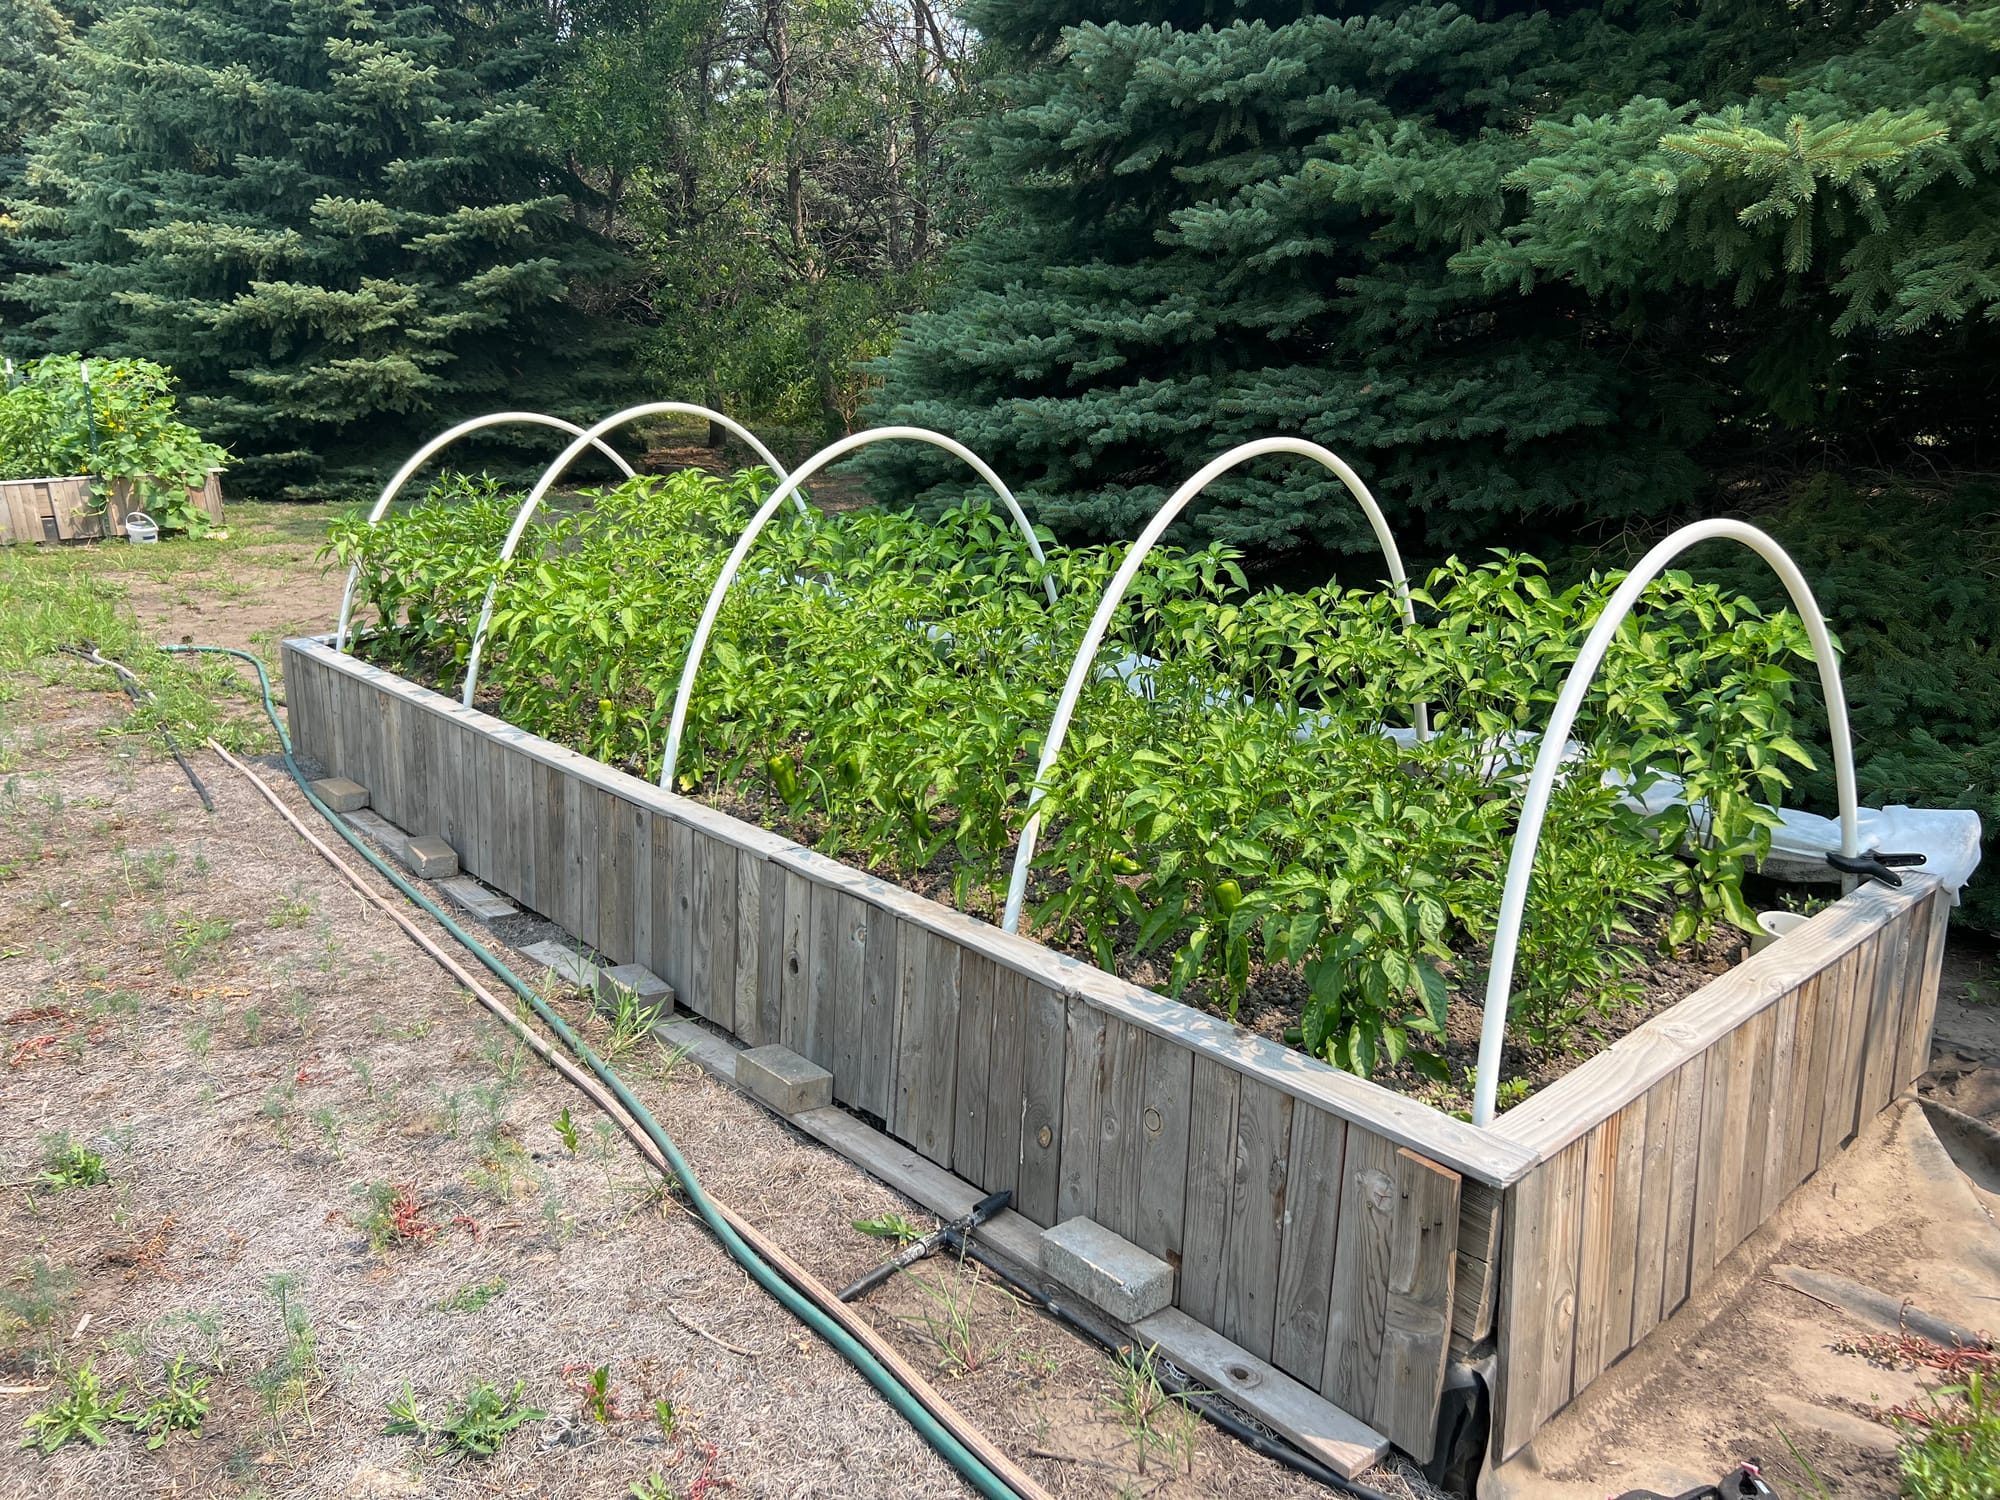
Here's a photo of a quick way to create protection over a bed. I used a 3/4" PVC pipe for the hoops. Last spring, when we planted our peppers, we put a frost cloth over the hoops to protect the young seedlings from late spring cool weather.
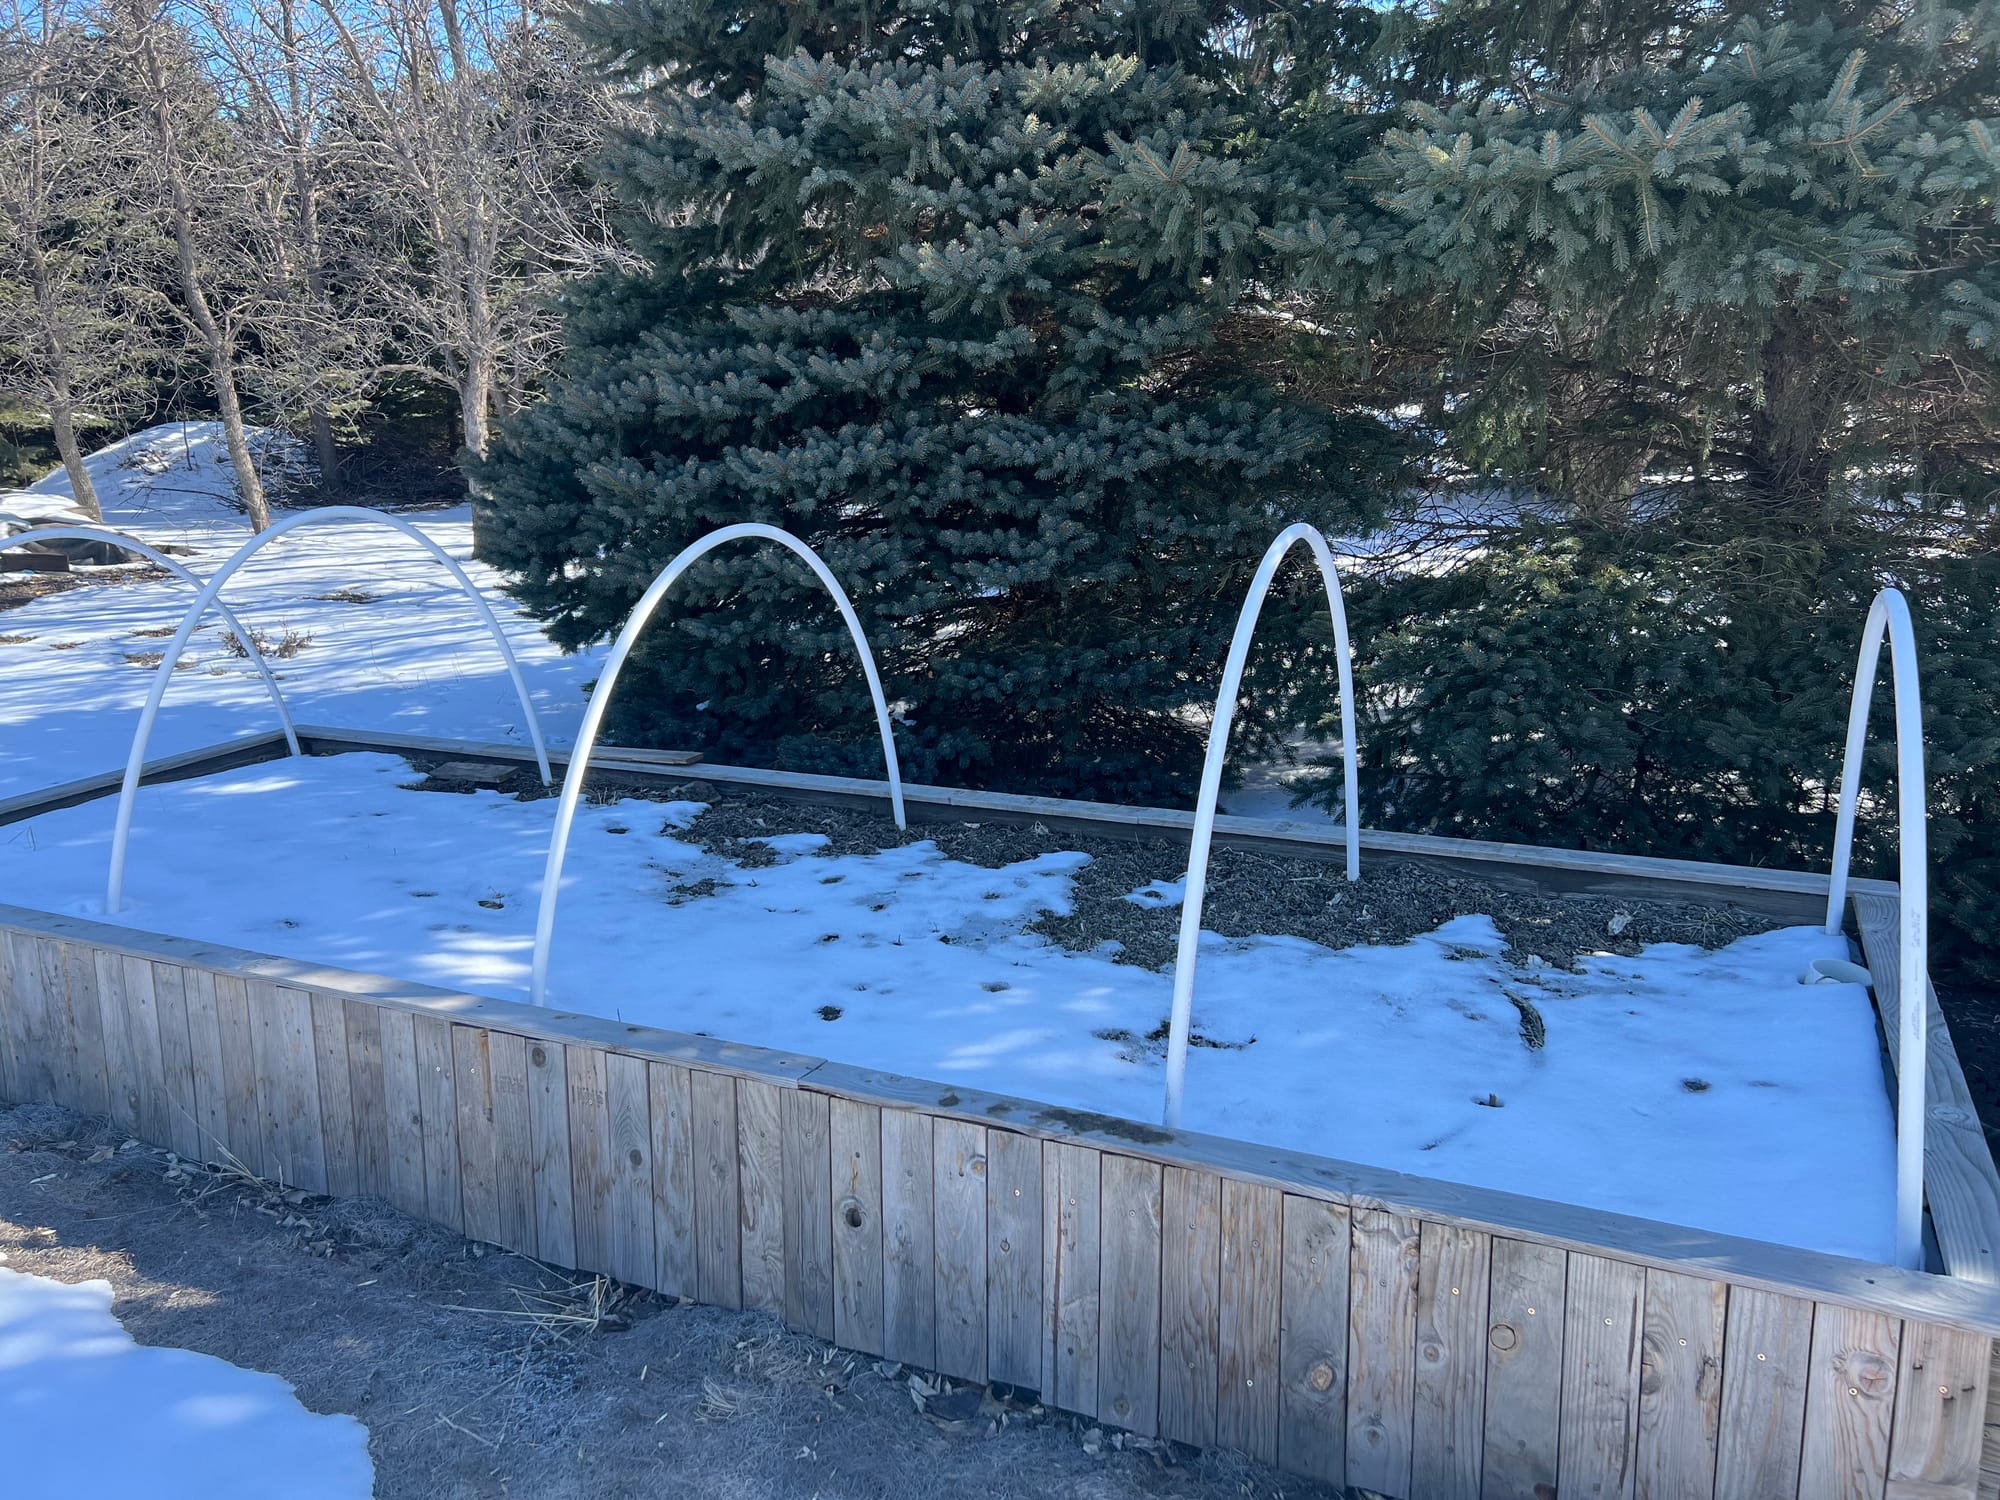
The frost cloth also protects seedlings from direct sun as they acclimate from the indoor growing lights into the outdoor environment.
If you made it this far in the article, I've now added a few photos of our veggies!
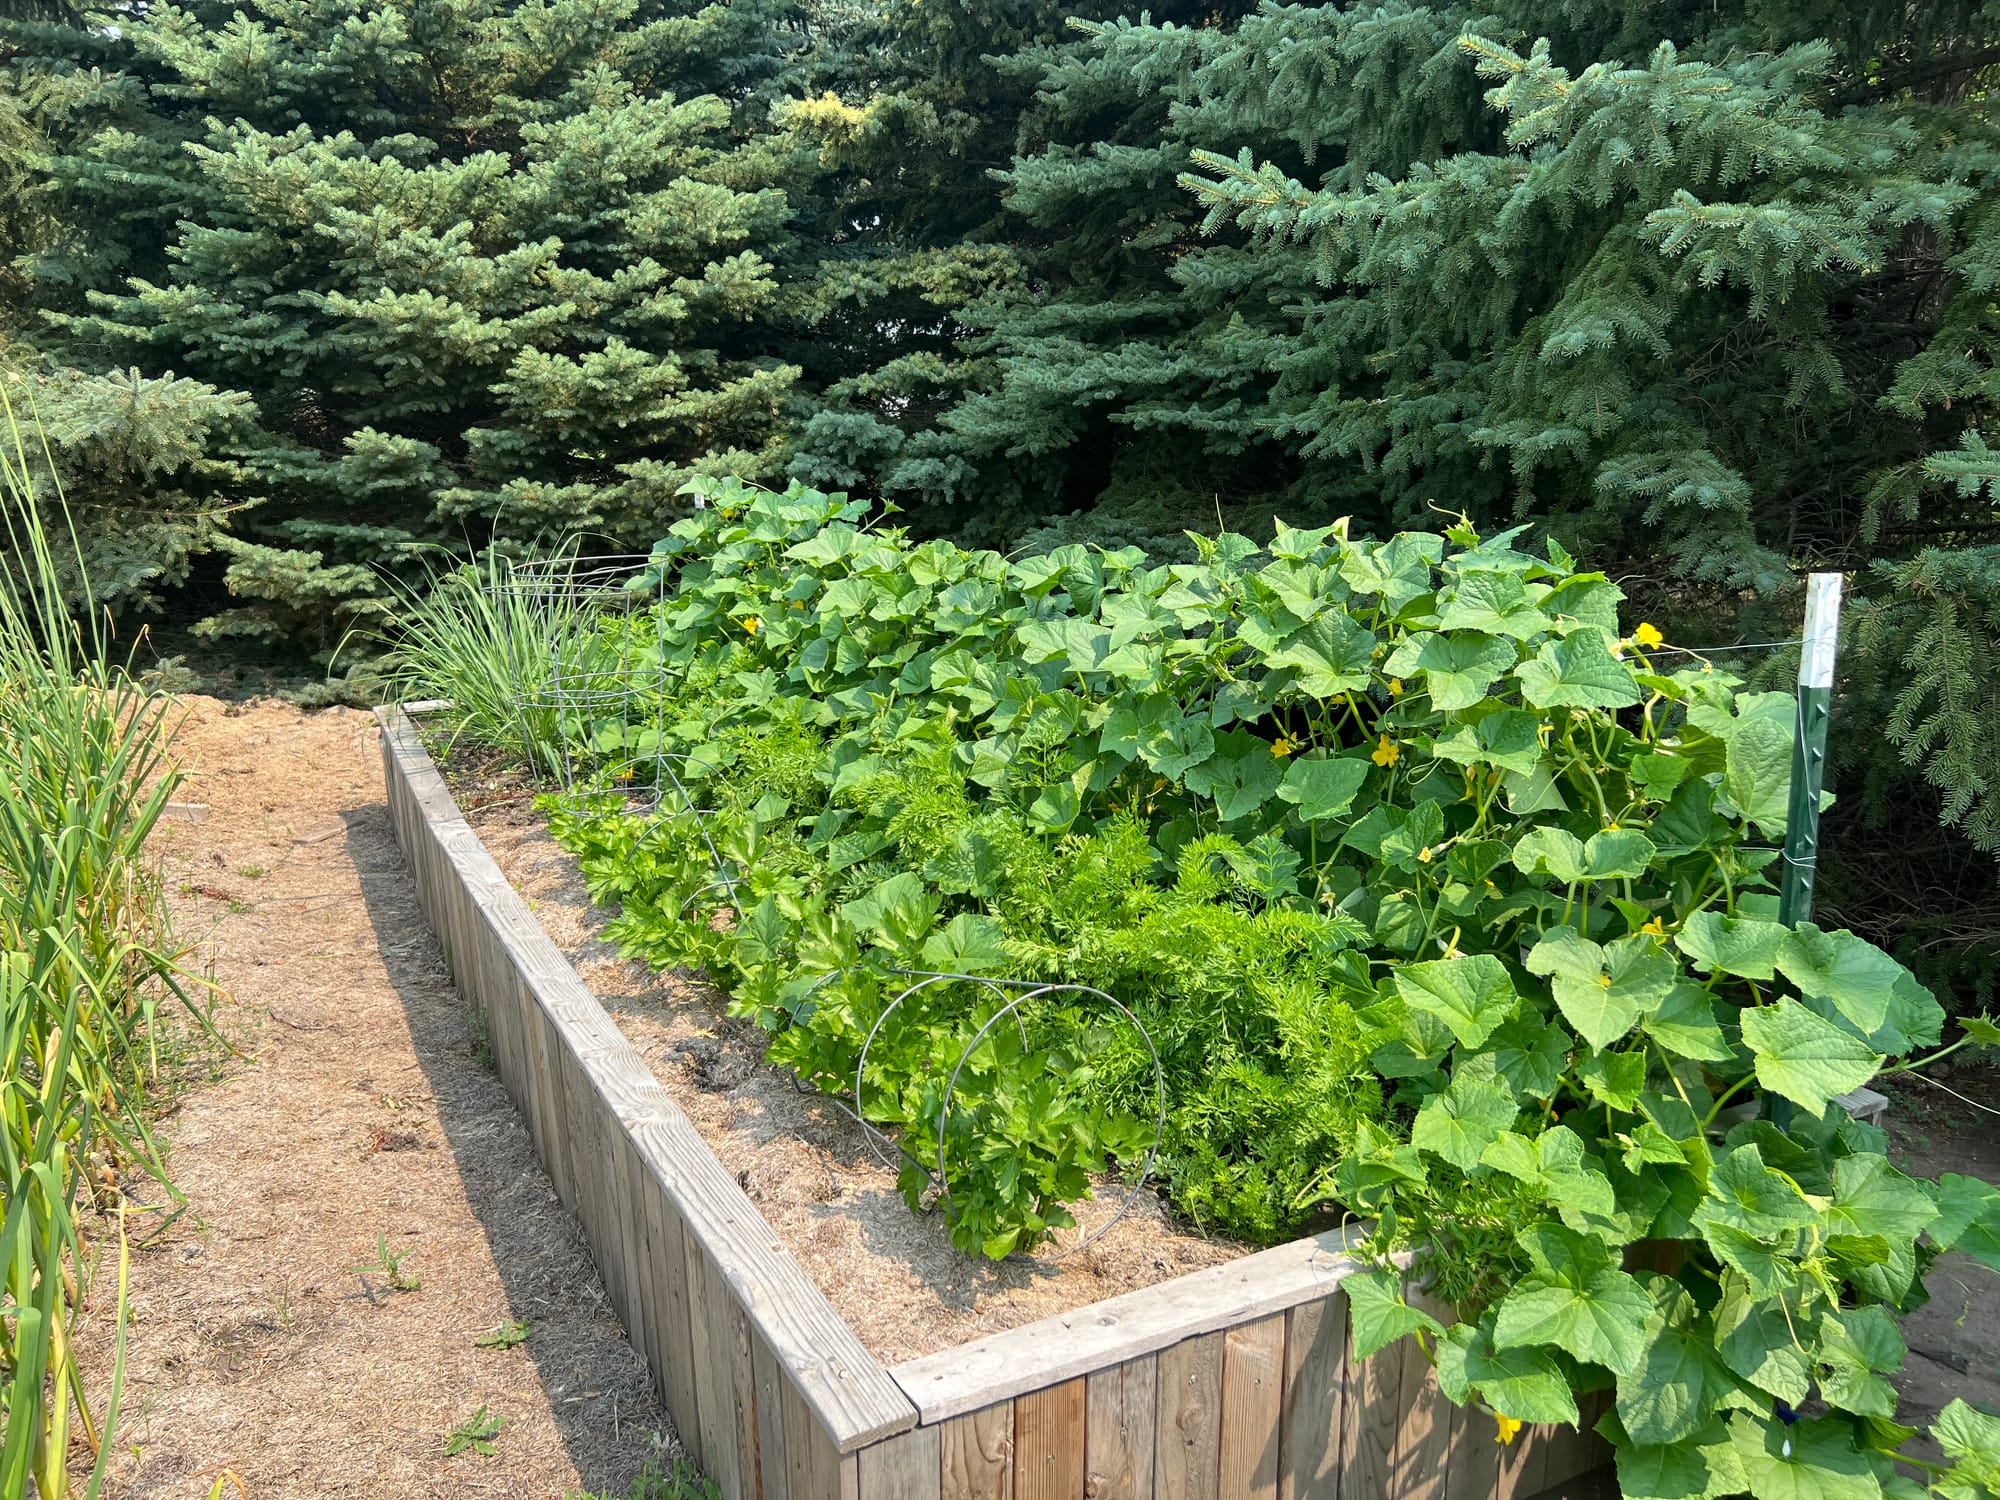
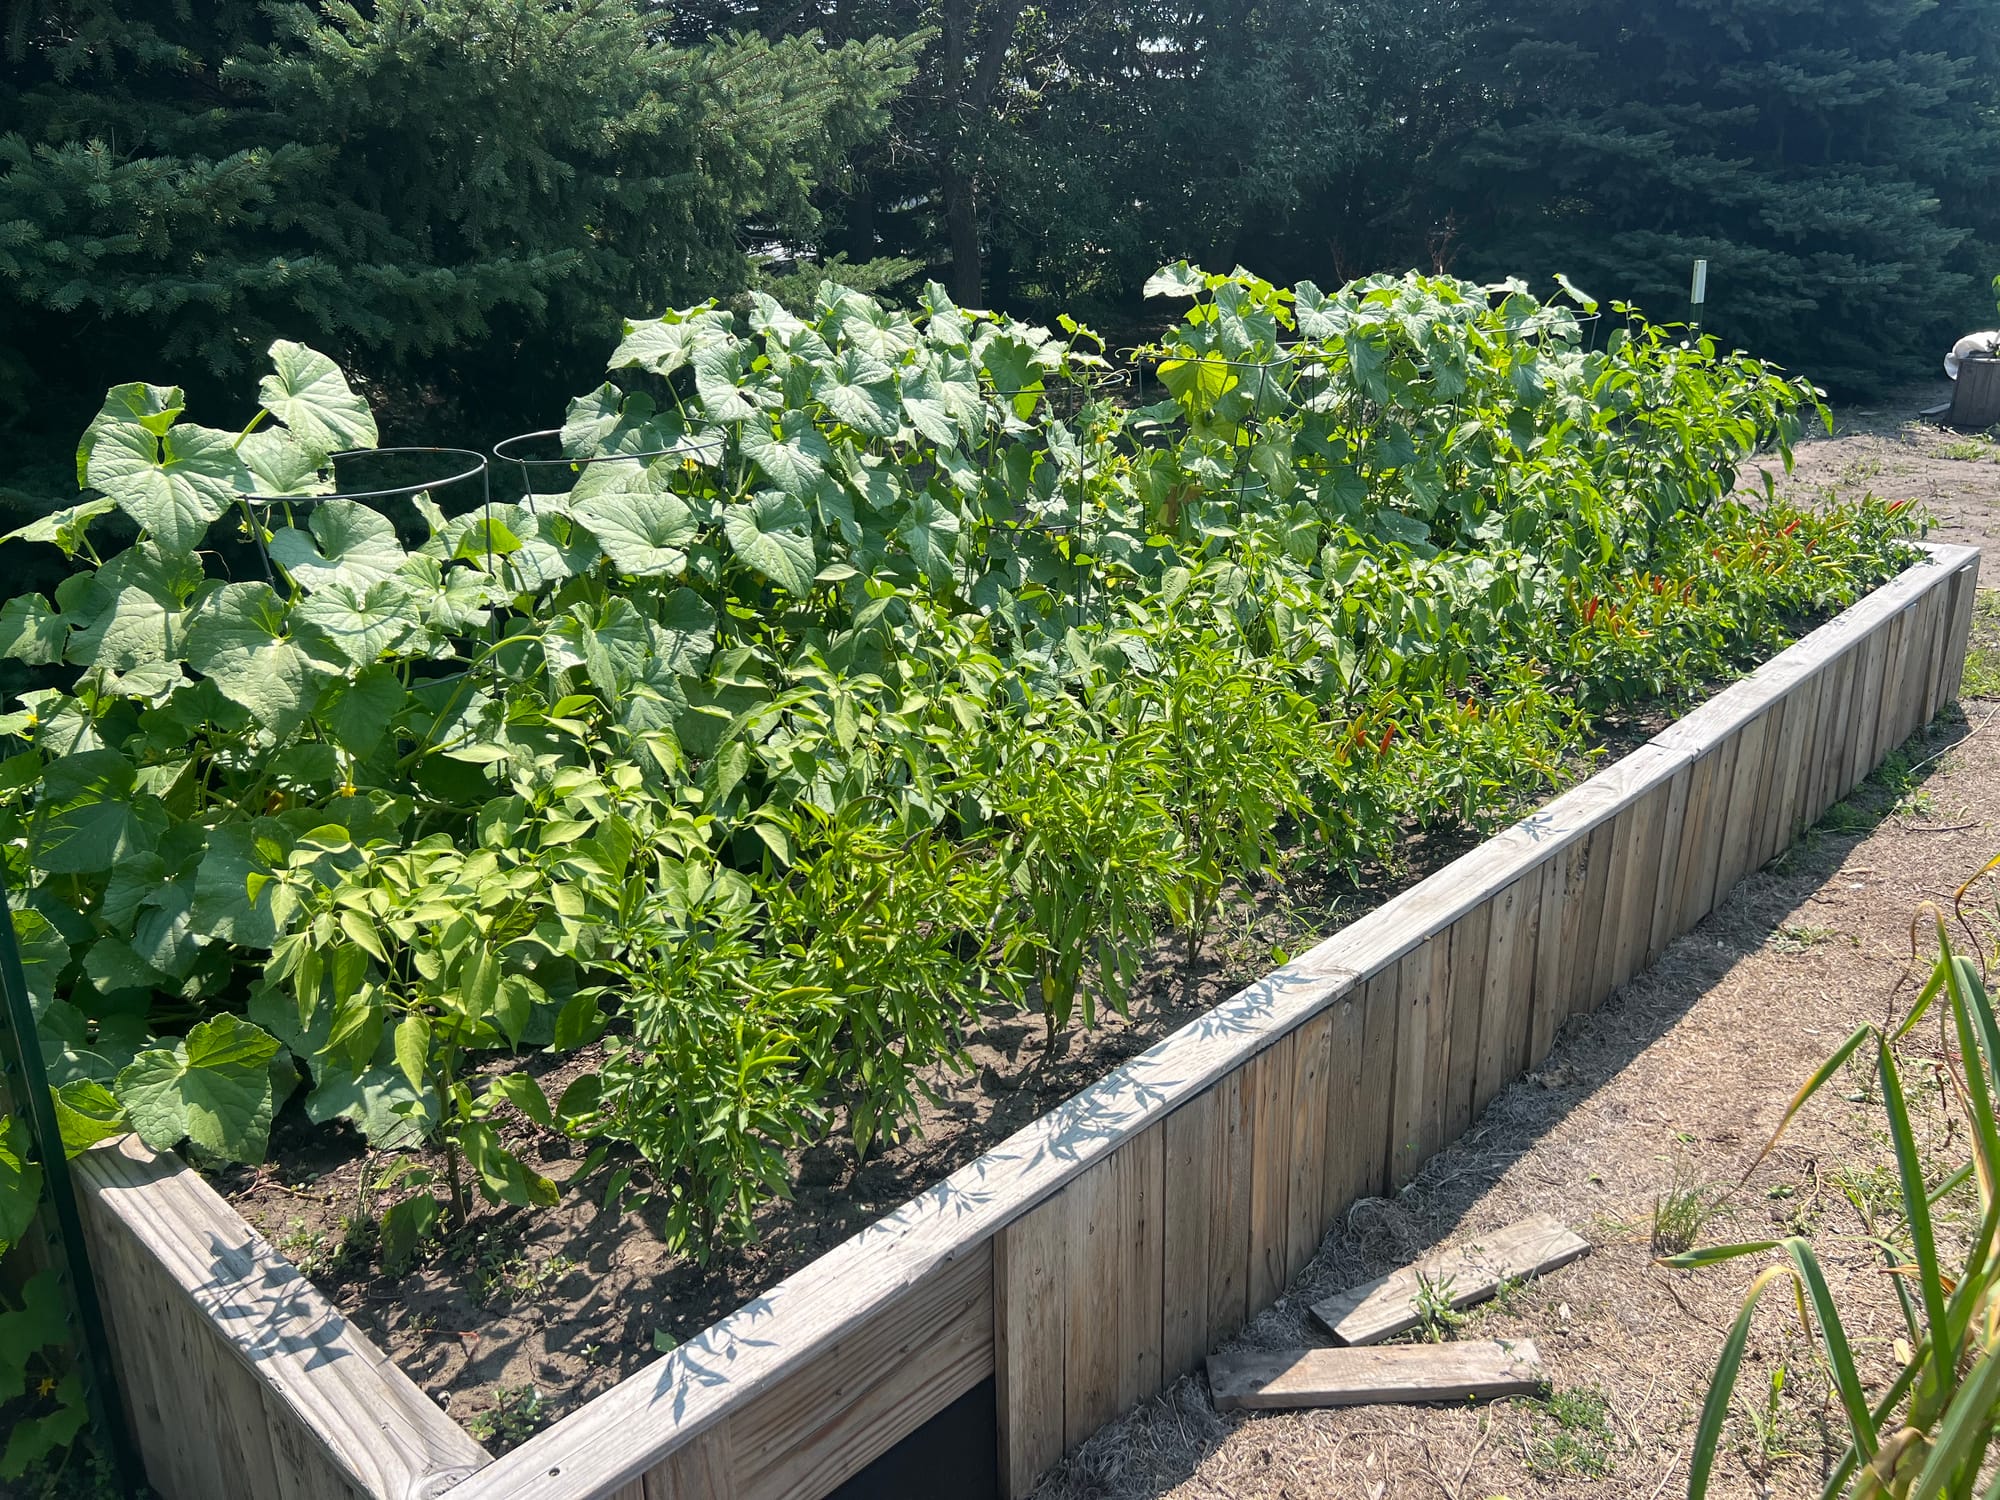
Thanks for stopping by Garden Hike!
Kevin
Make sure you check out A.M. Leonard for all your horticulture tools and supplies. They're my go-to supplier! They've been in business since 1885 and have excellent quality and selection.
Use promo code GARDENHIKE at checkout to receive 10% off any order.

When you purchase through links on this site, we may earn a small commission at no additional charge to you.