Refresh Your Landscape Beds with Rock, New Plants and Fresh Mulch

Refreshing a landscape bed requires three main ingredients: rock, mulch, and new plants. Well, let's make that four, labor.
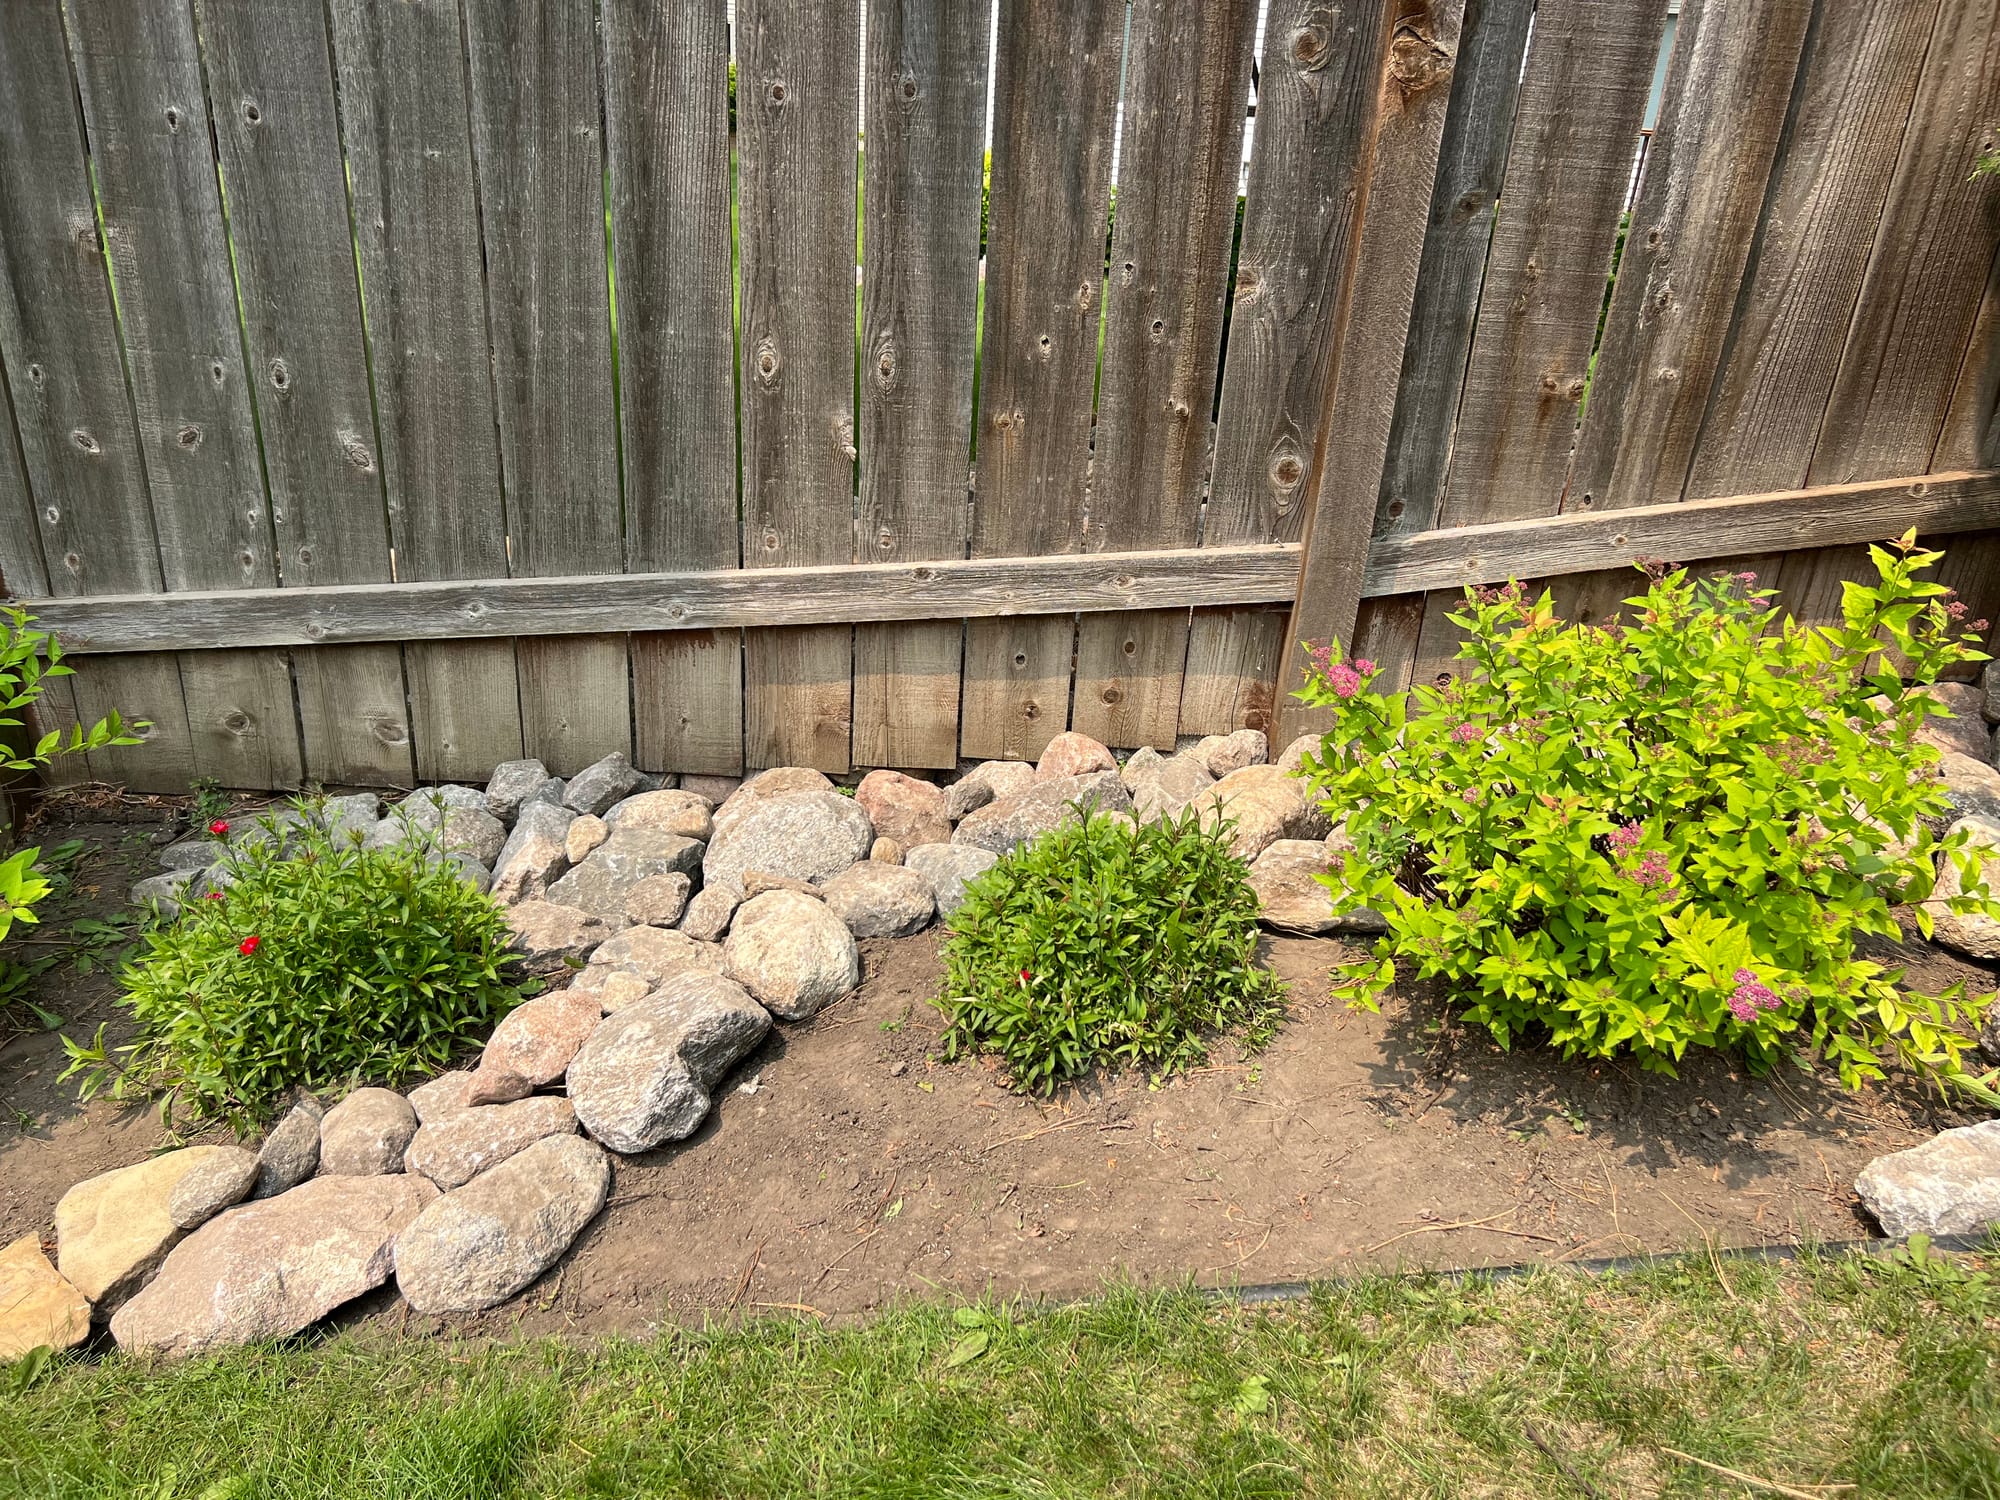
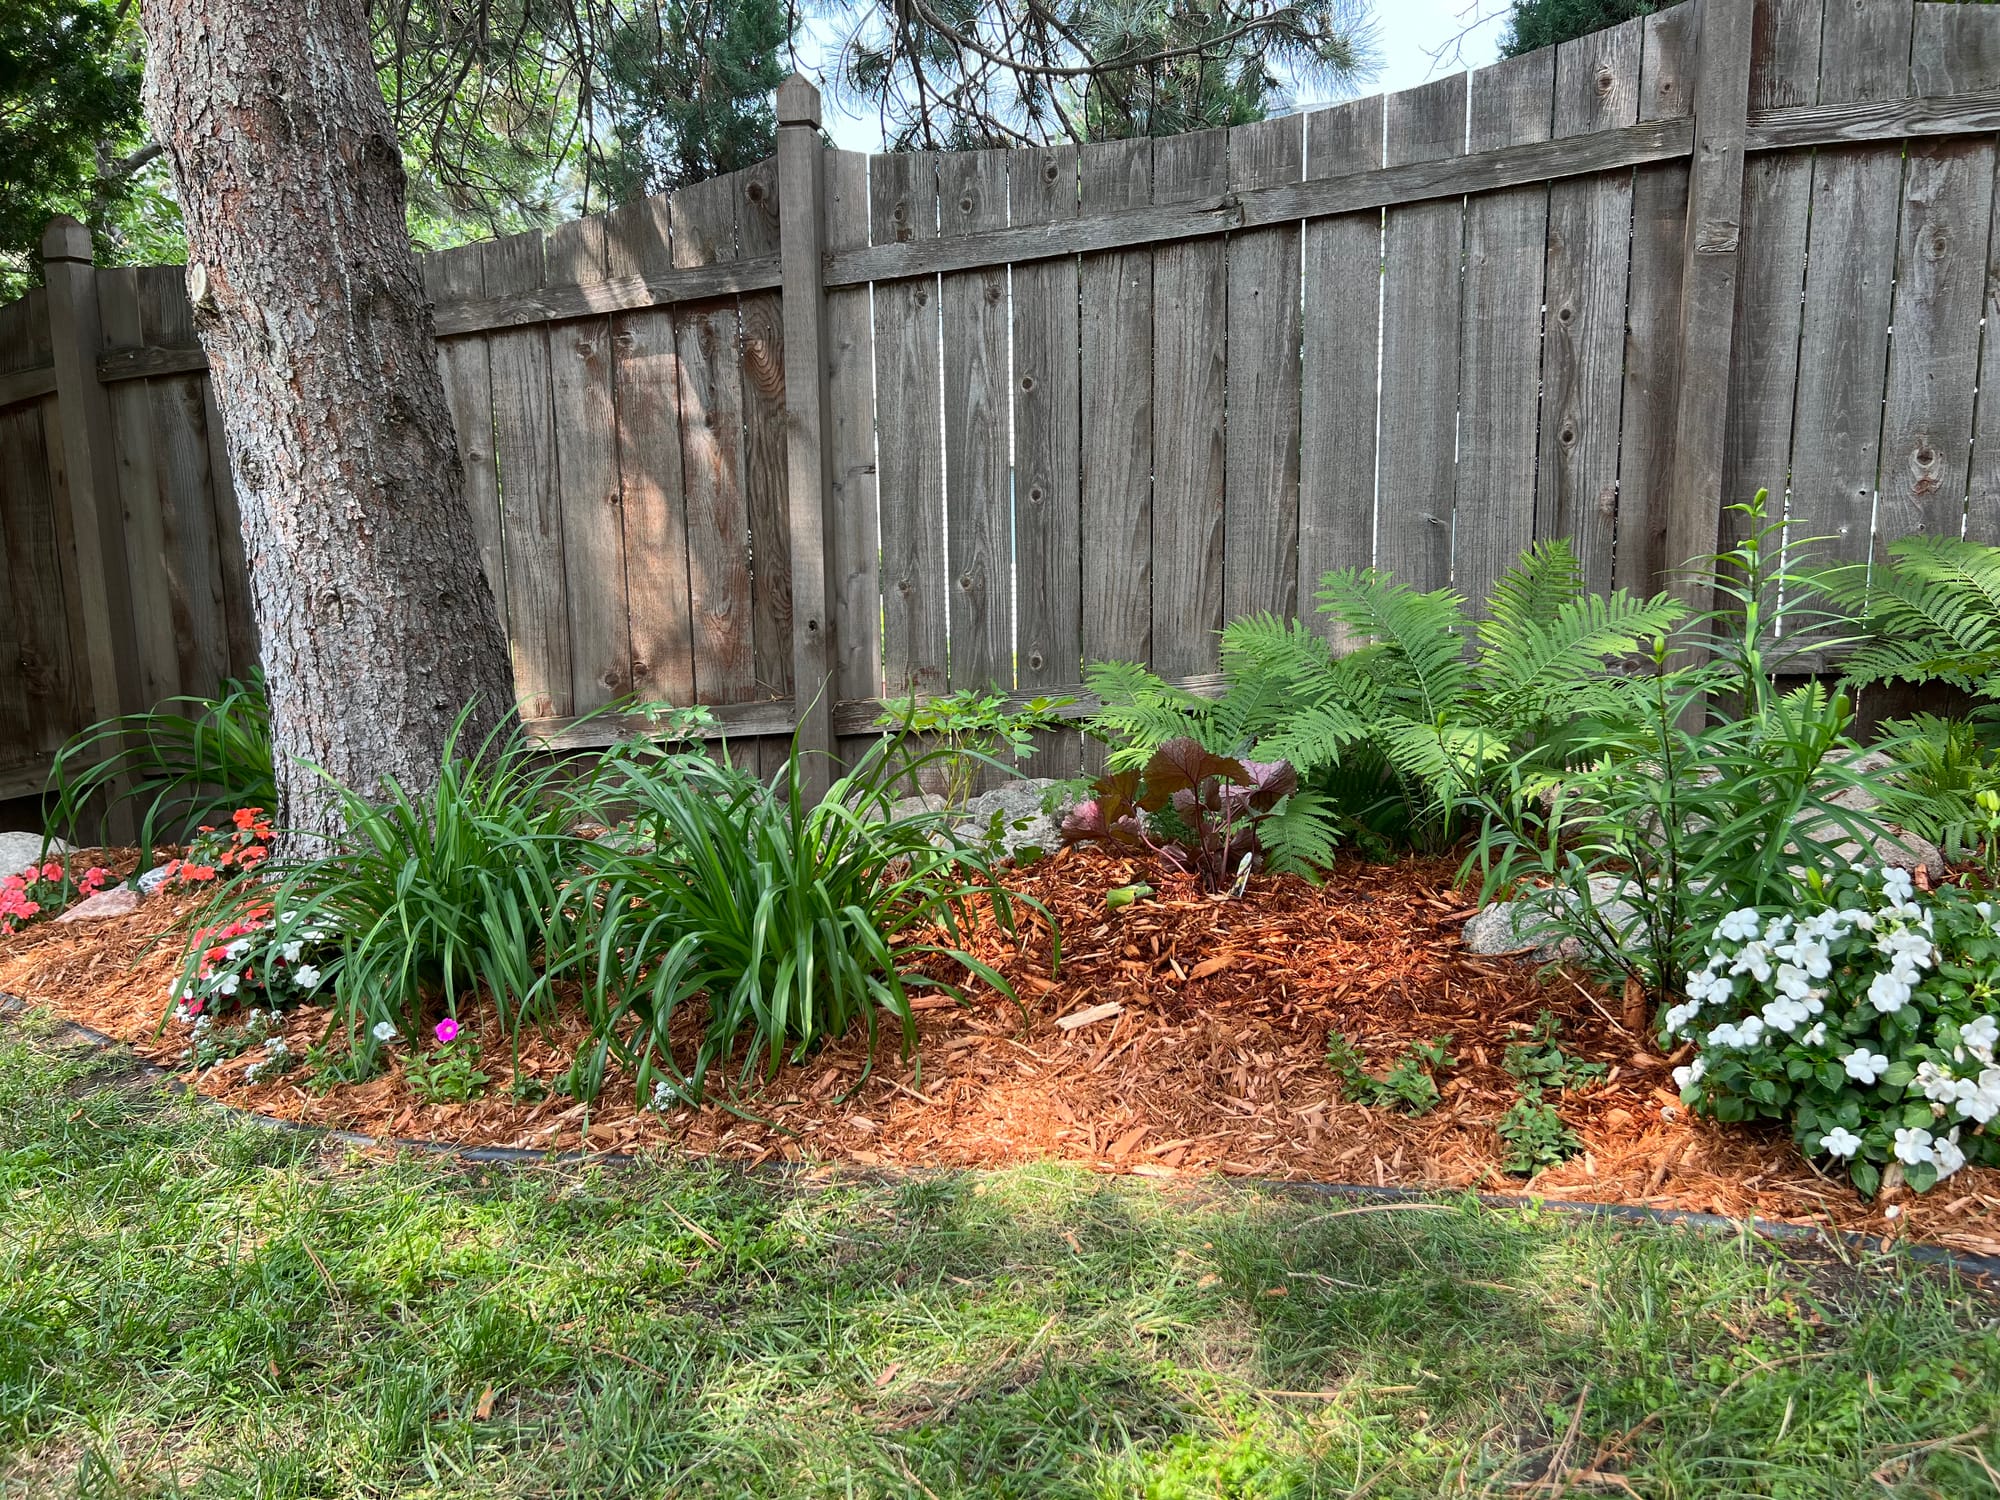
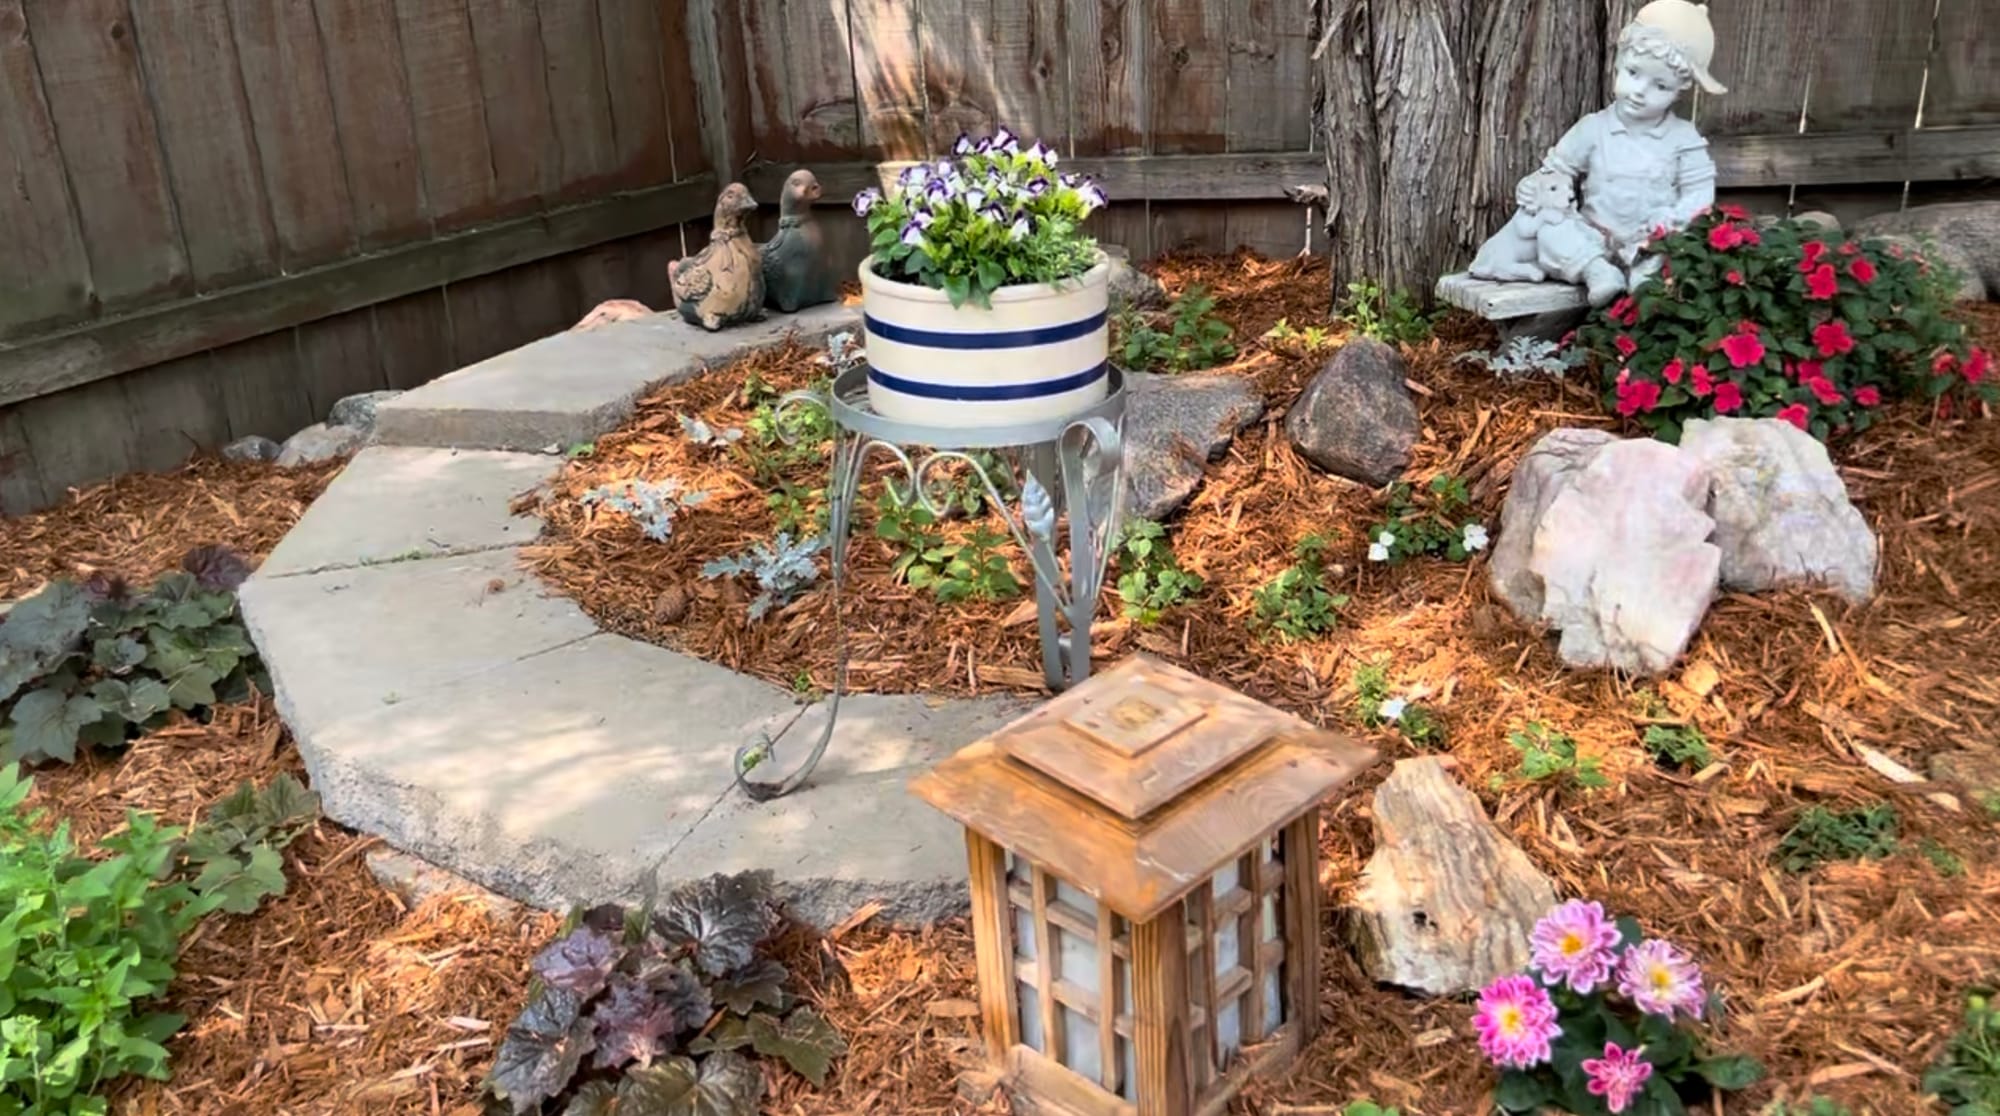
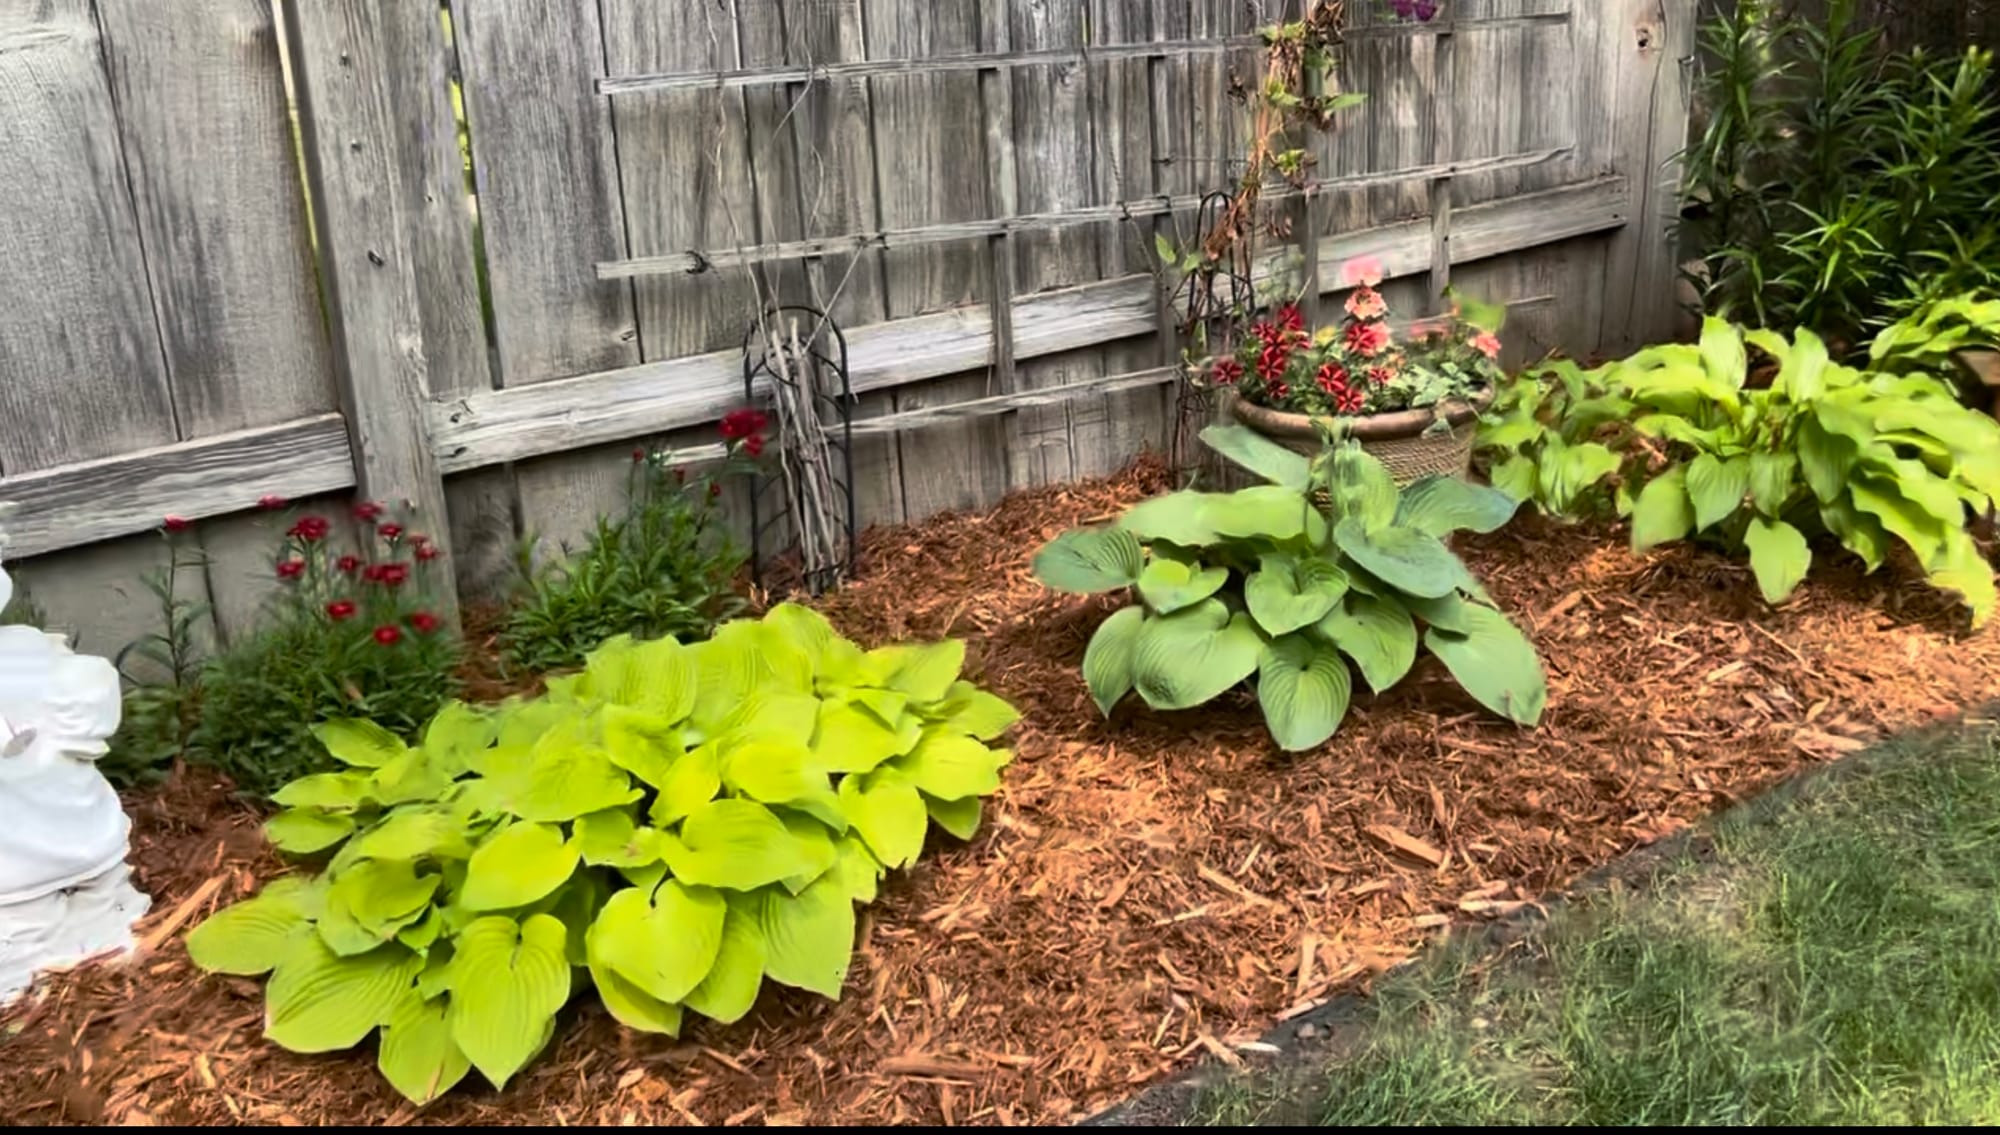
Below are some "before" photos of a project I was involved with recently. There was an erosion problem next to the fence and any mulch that used to be there had completely degraded or washed away. I love working on makeover projects like this! Let's have a look.
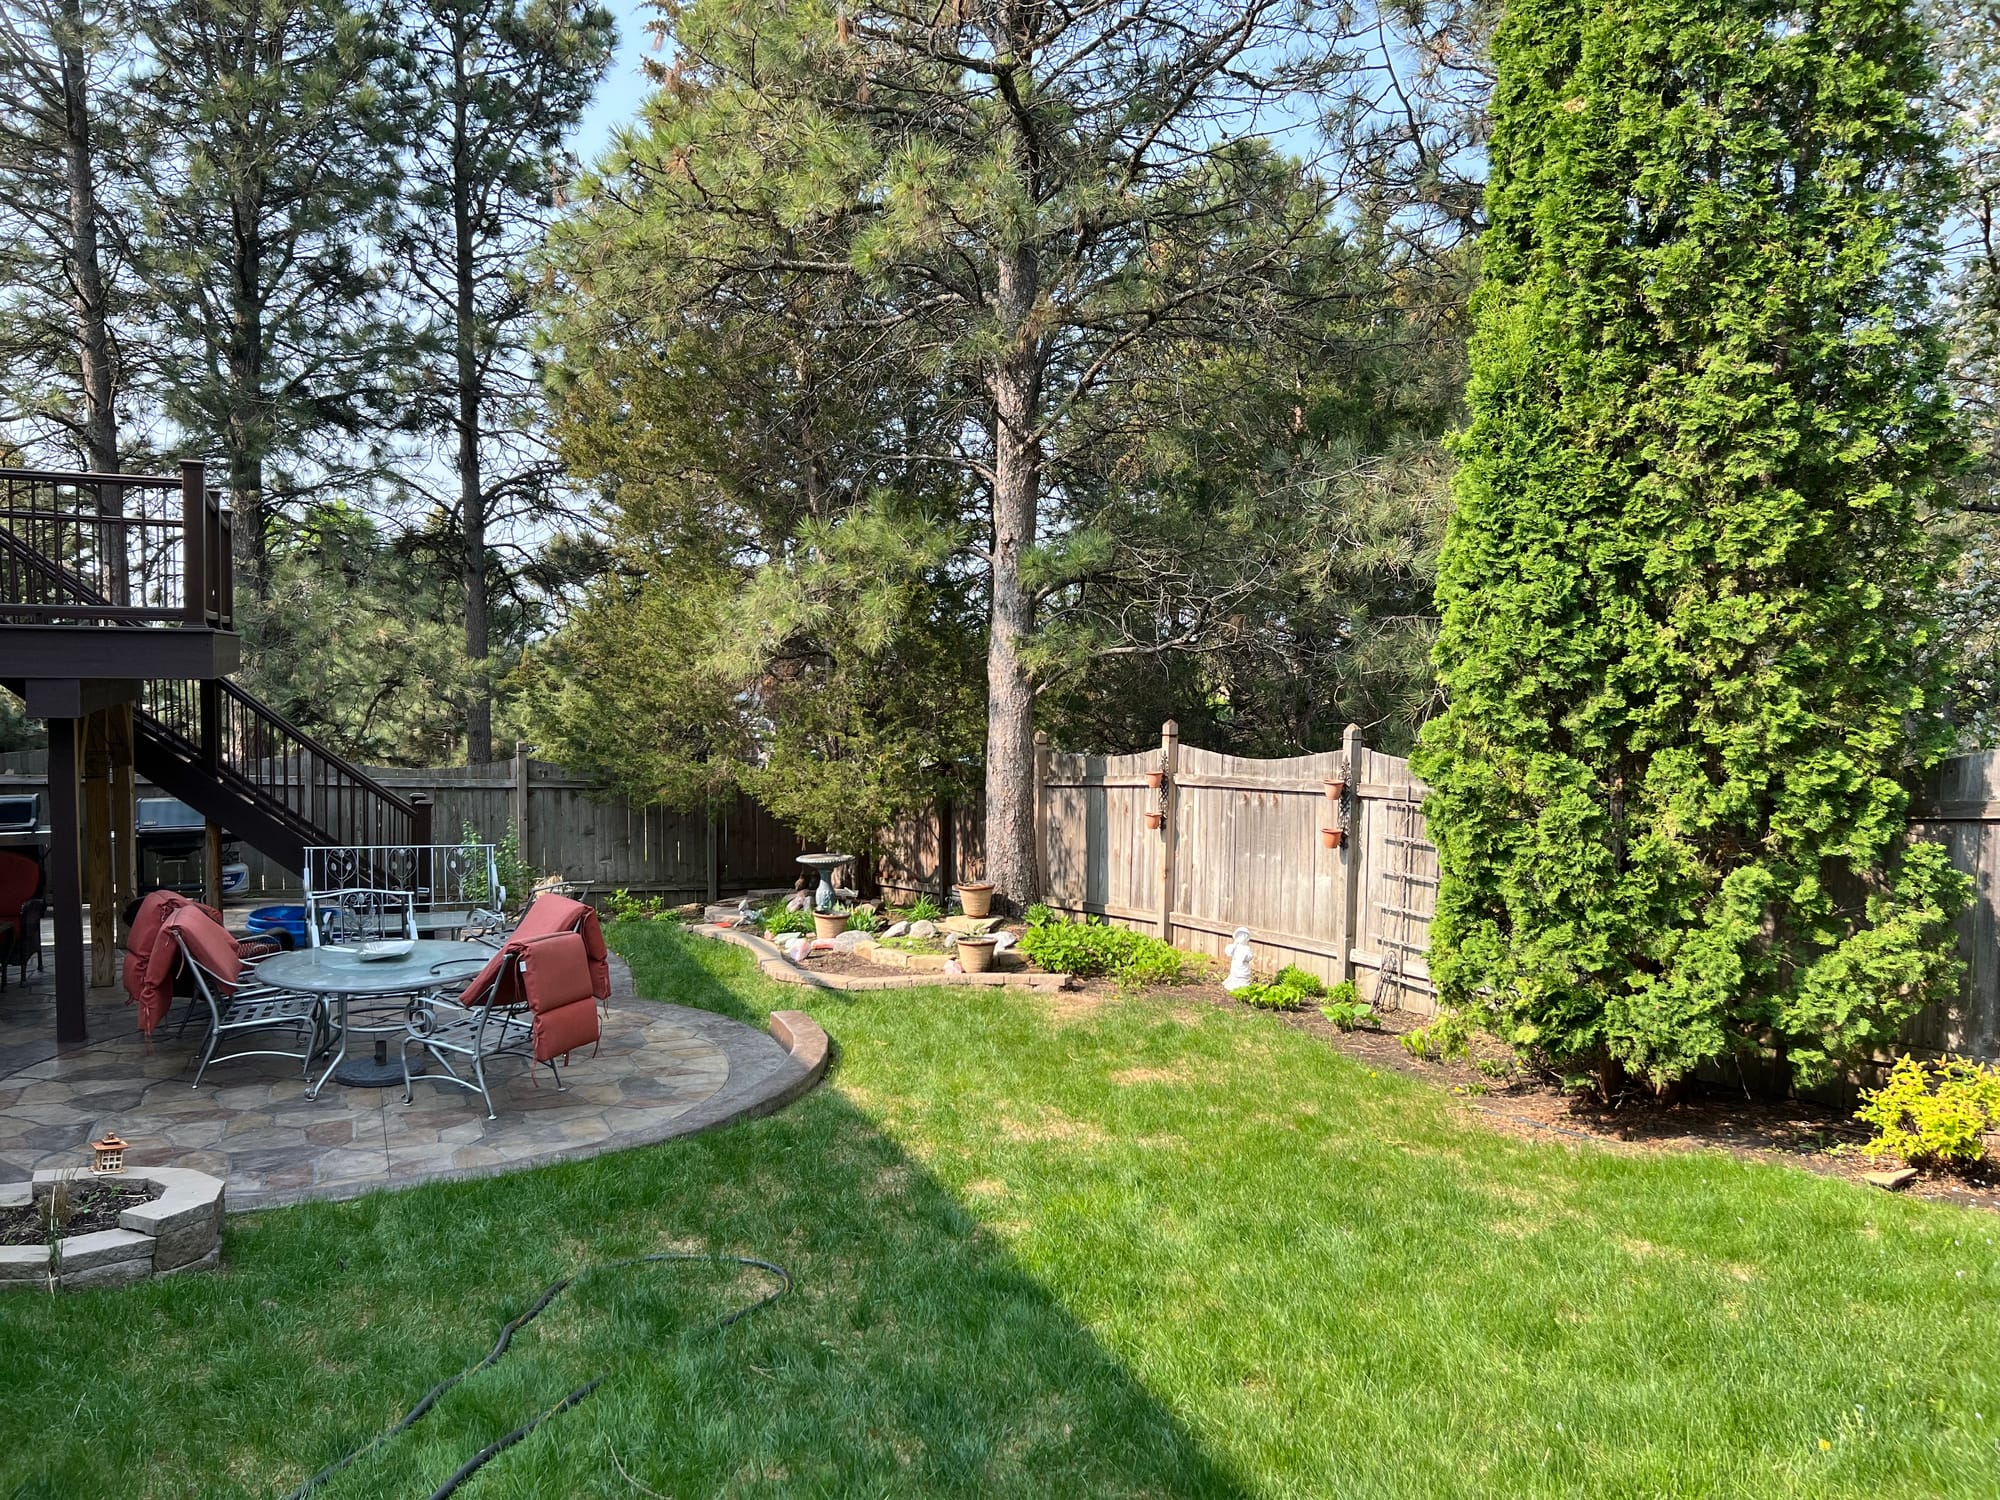
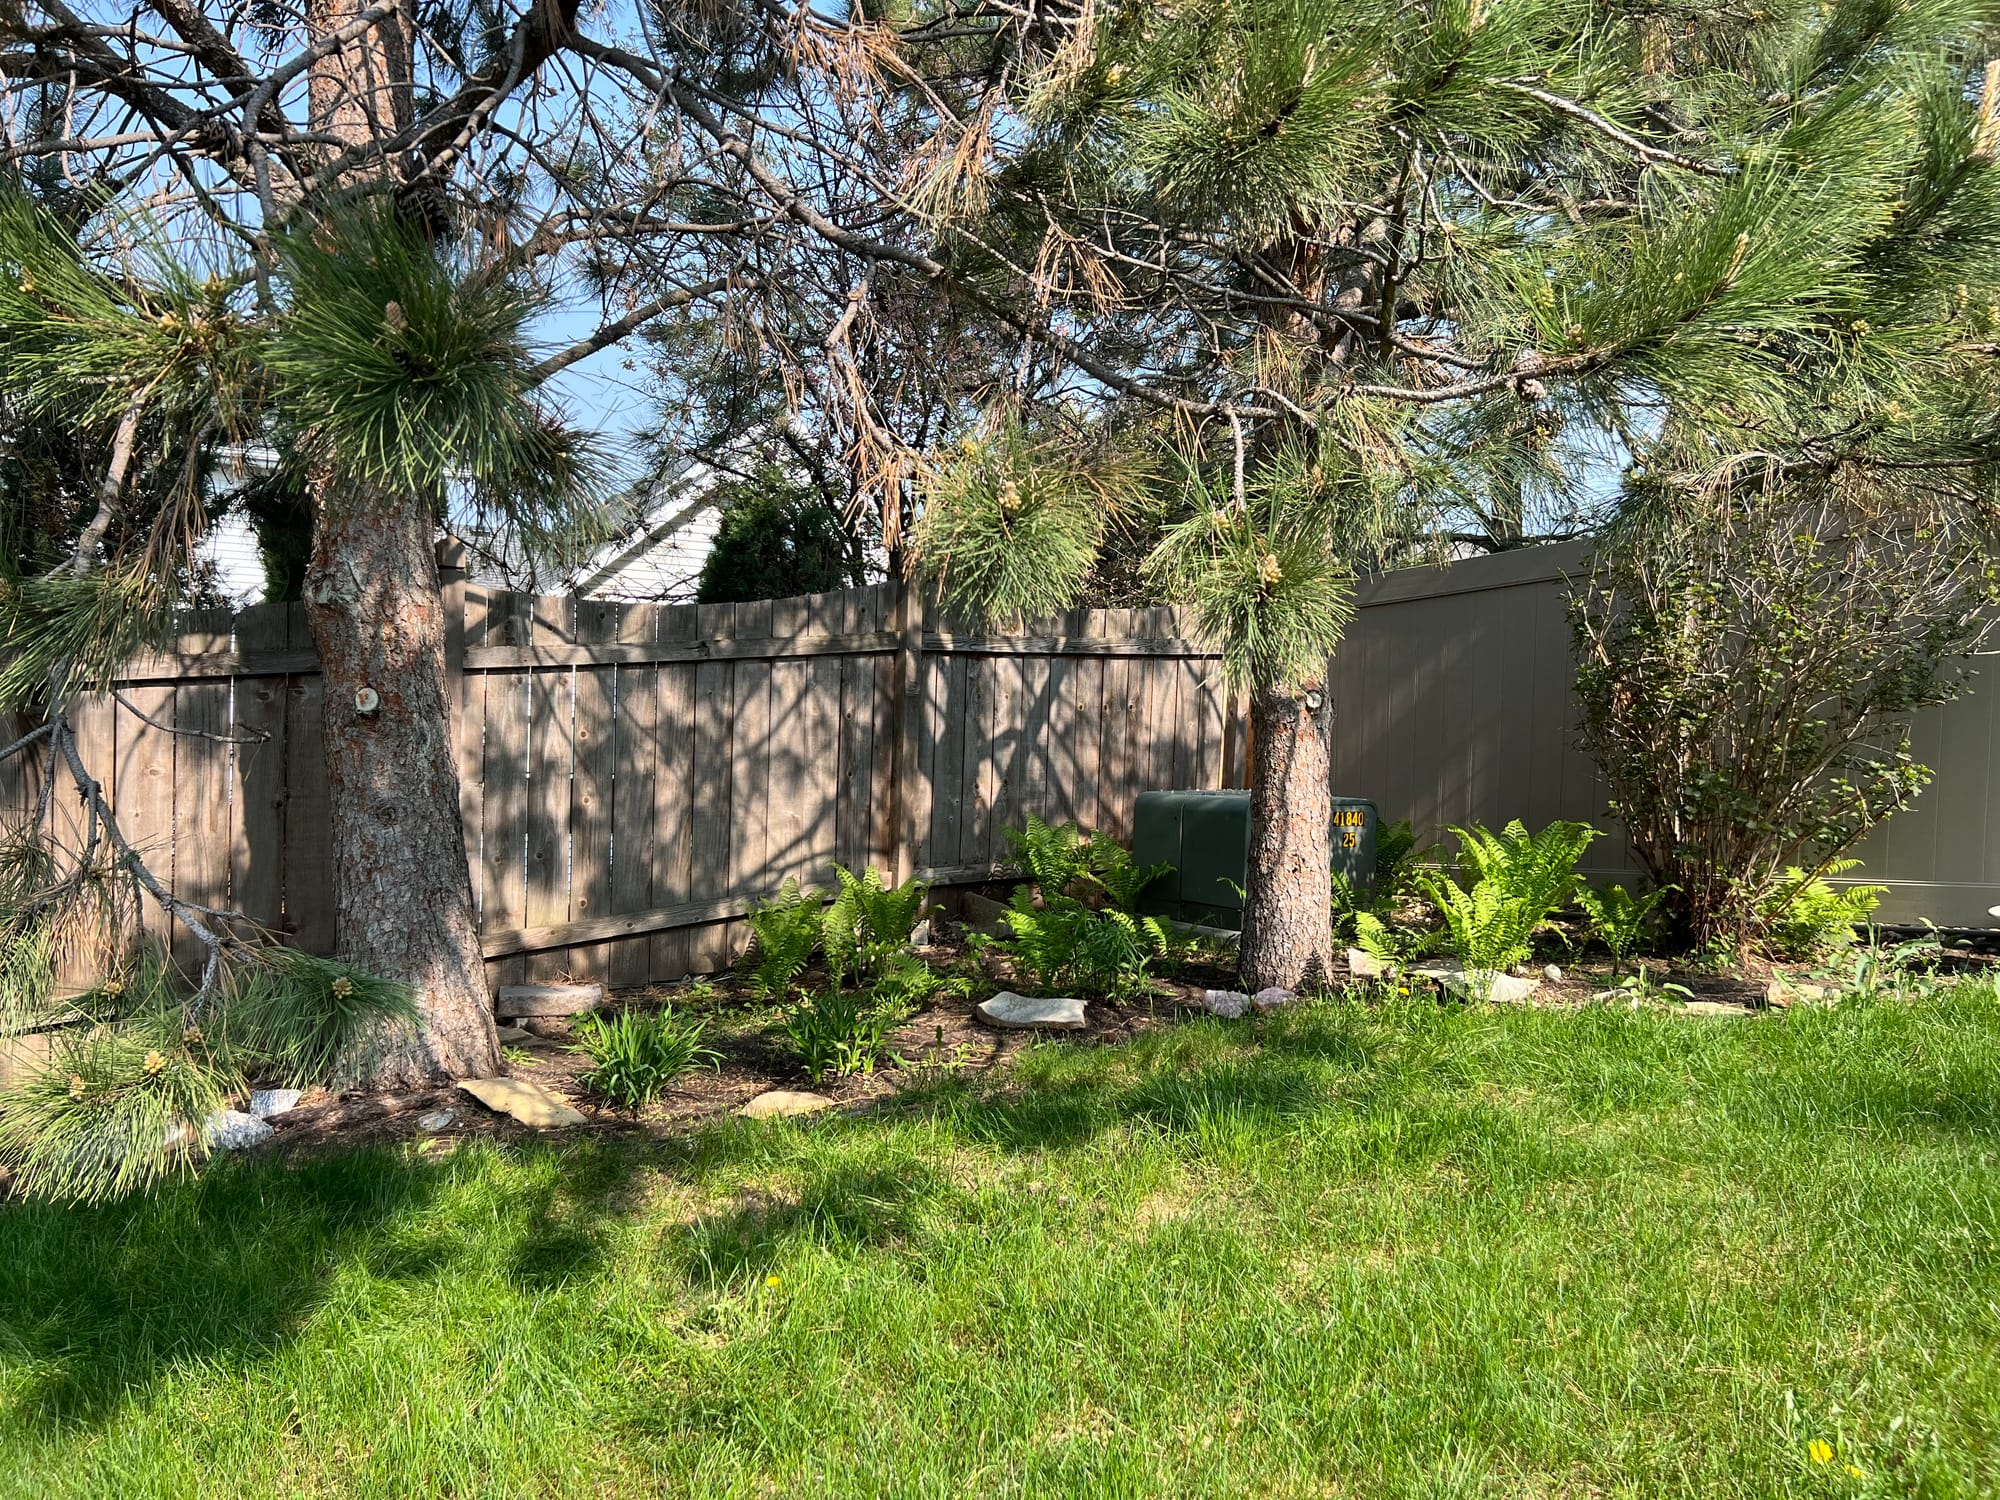
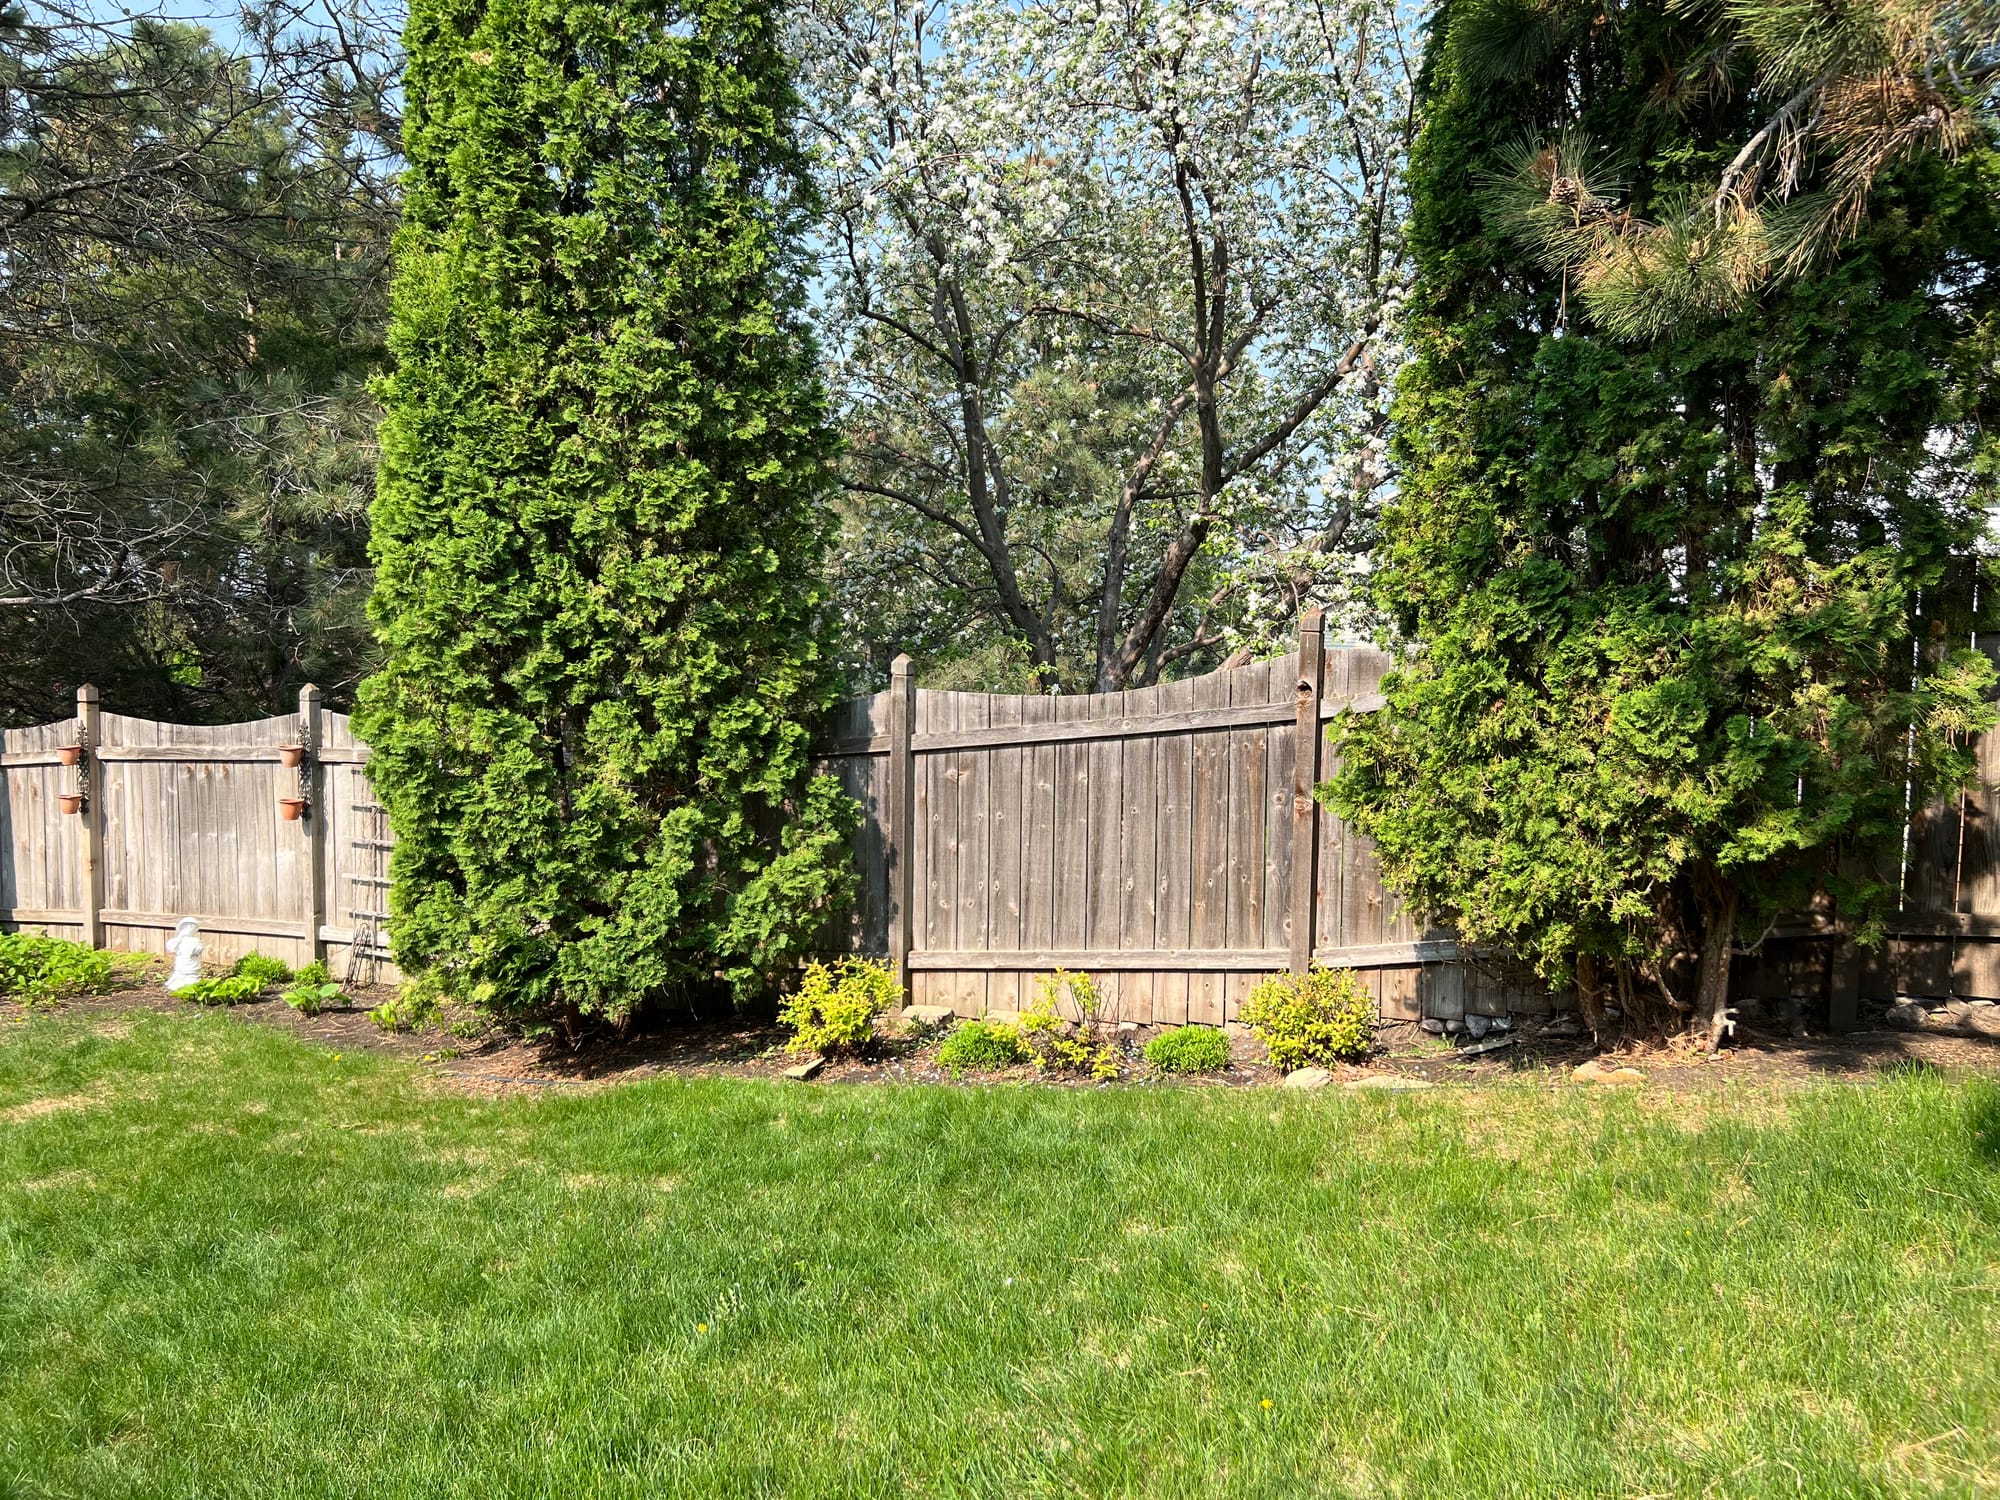
Before Photos of Landscape Project
The Hard-goods Material List:
- Two Tons 4-12" Rip Rap Rock
- Seventy Cubic Feet Western Red Cedar Mulch
- One-half Cubic Yard Topsoil
- Blooming Perennials
The Blooming Perennial Plant List:
- Ligularia
- Jacobs Ladder - Variegated
- Columbine
- Bugbane
- Lily of the Valley
- Joe Pye Weed
- Prairie Smoke
- Bleeding Heart
- Snake Root
Except for Joe Pye Weed and perhaps Prairie Smoke, all of the perennials planted in this project will tolerate some shade and were selected since many large trees and buildings were blocking the sun in the area for at least part of the day.
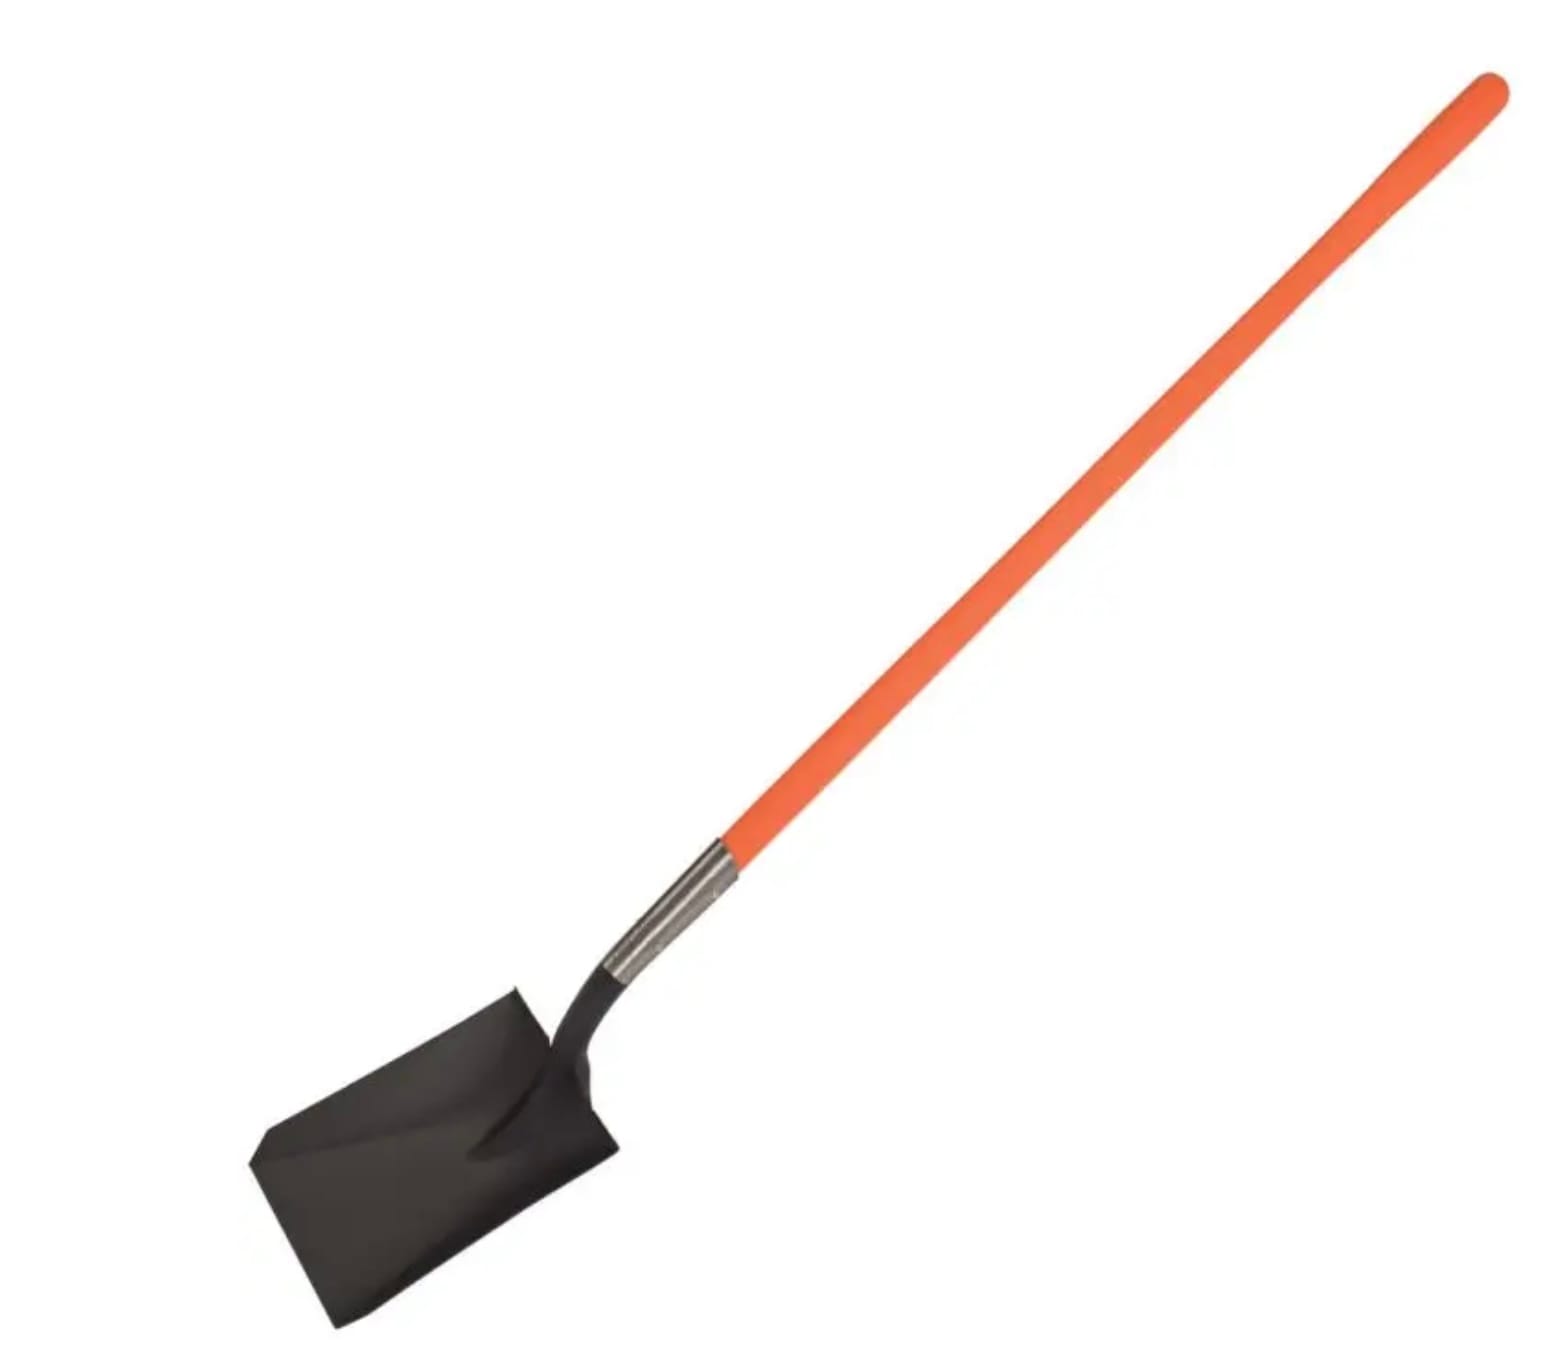
Shovel, Square-Point Closed Back With 48" Composite Handle
Garden Hike is supported by its audience. When you purchase through links on this site, we may earn a small commission at no additional charge to you.
Five Main Steps In Our Project
- Adding Topsoil For Berms
- Soil Prep Along Edging
- Rip Rap Installation For Erosion Control
- Perennial Planting
- Mulch Installation
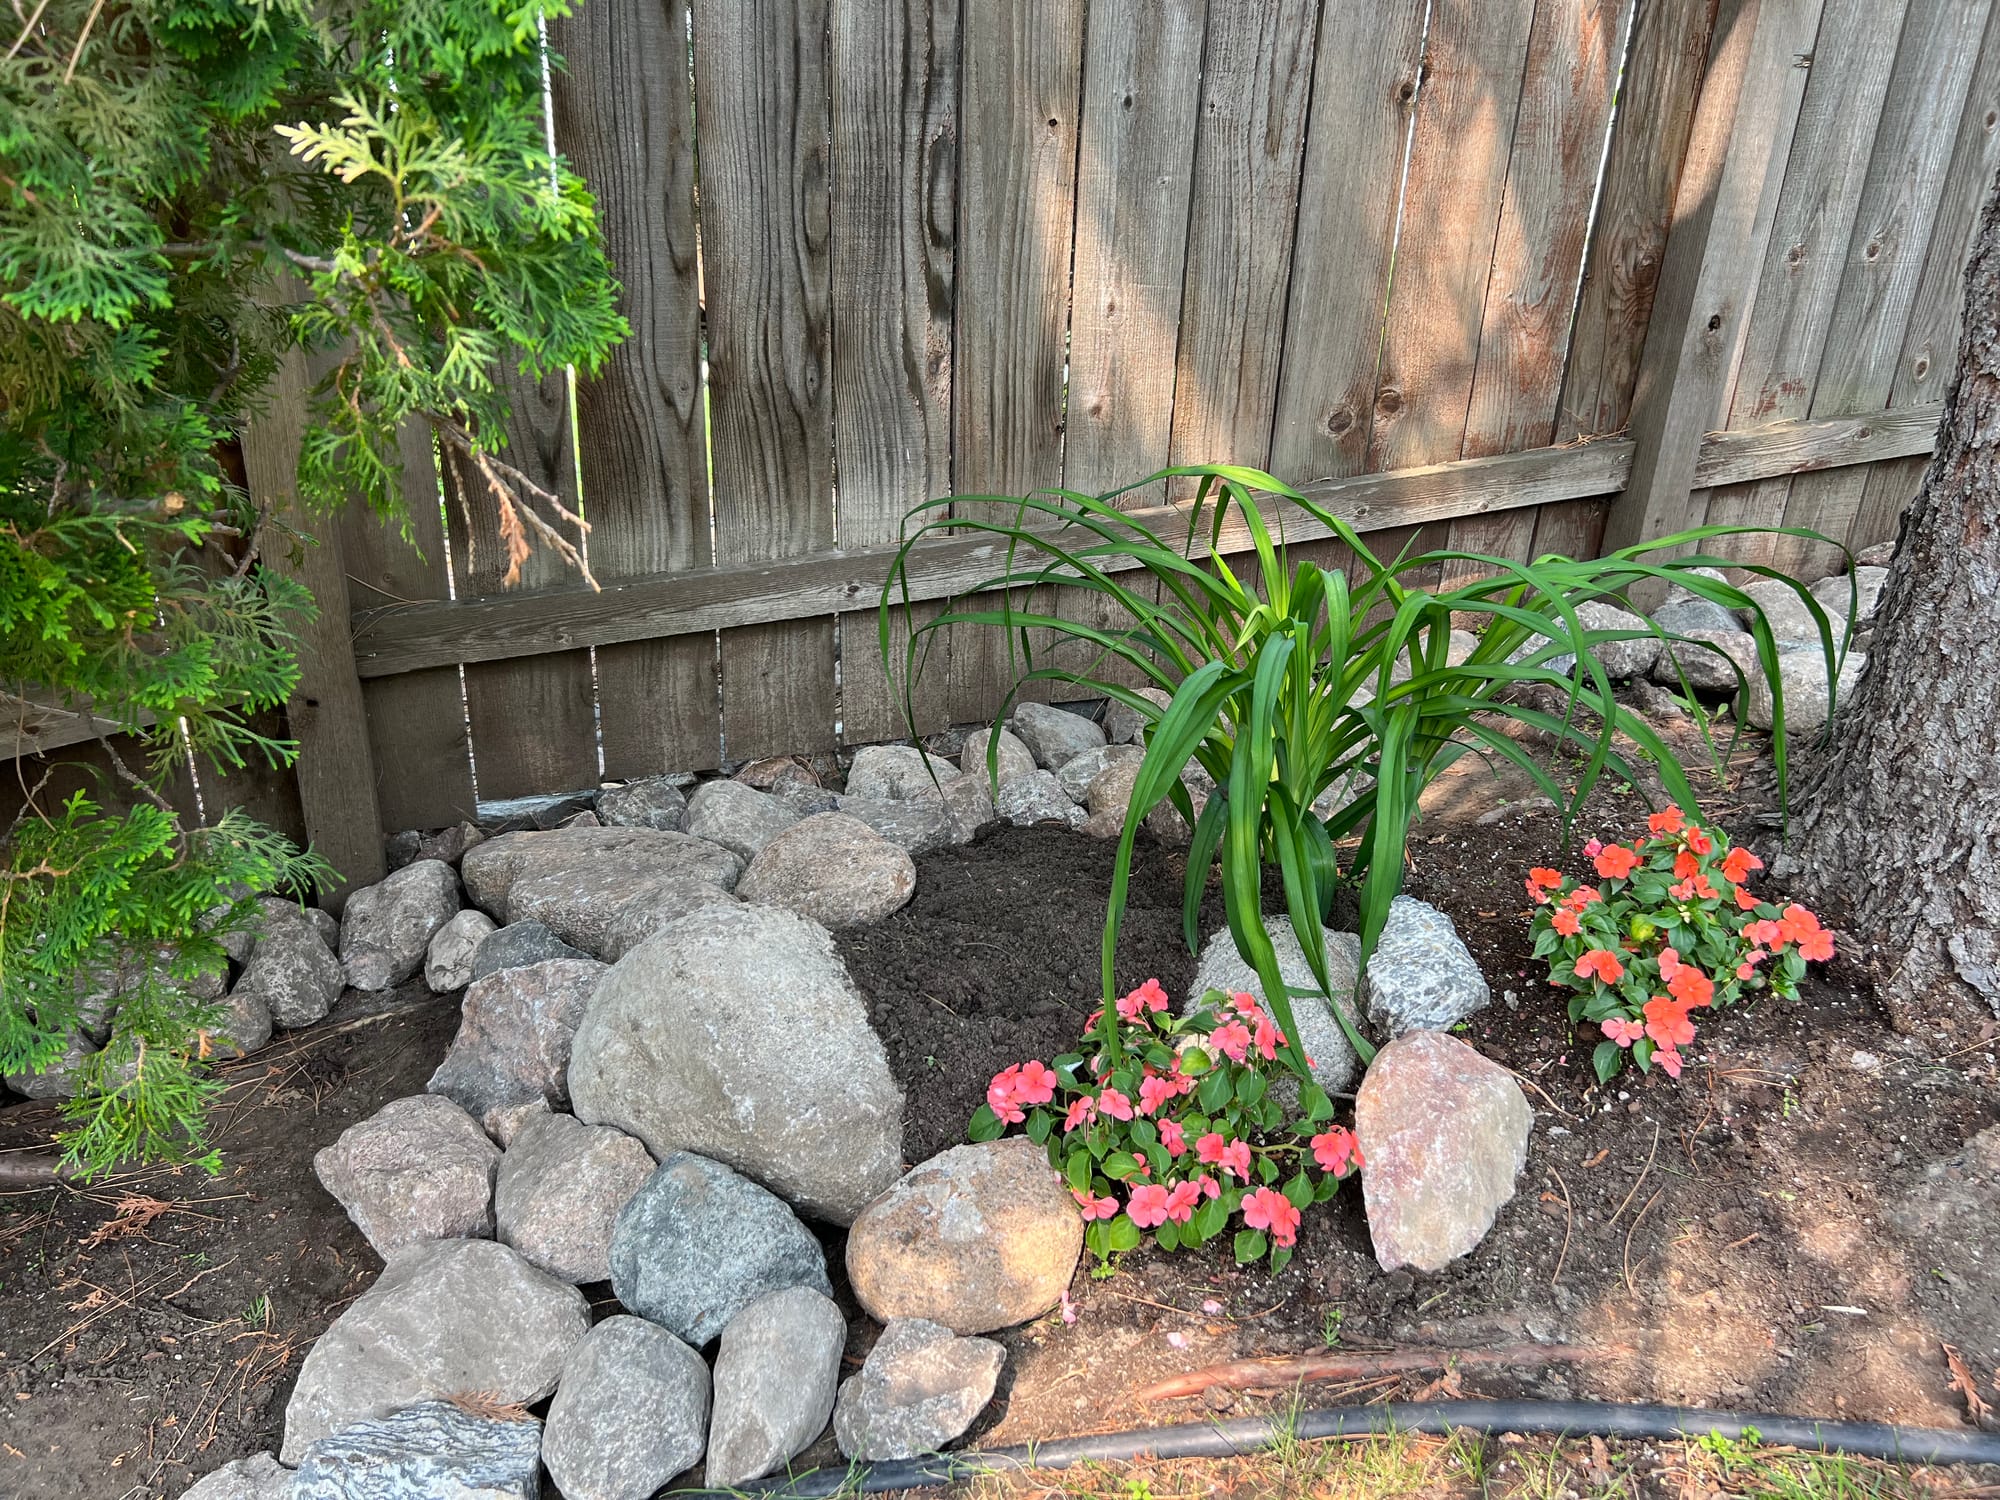
Rip Rap In Place - Soil Berms Created
Adding Topsoil For Berms
I like to create small contours and mounds in my landscape projects that will generate slight elevation changes on a flat area. Even though the entire bed slopes down, the small mounds add further interest, especially when adding plants.
Soil Prep Along Edging
Creating a lip next to edging borders on any project is essential. Then, you will have a ledge or barrier for rock and mulch topdressings to keep it in place. Having topsoil flush to the top of the edging forces you into a ridge situation. The mulch or rock will then quickly find its way over the top of the edging and ultimately into the lawn.
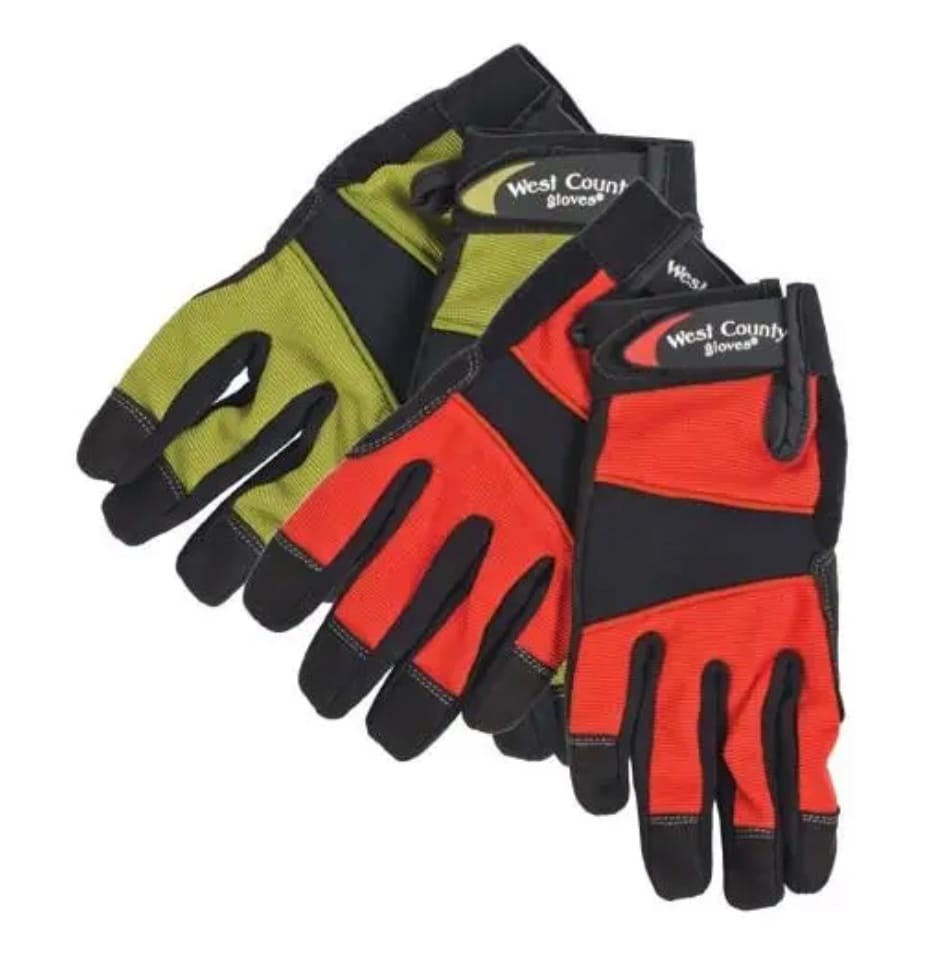
Women's Heavy-Duty Gardening Gloves By West County
Designed for durability and comfort with padded palms and reinforced suede material
When you purchase through links on this site, we may earn a small commission at no additional charge to you.
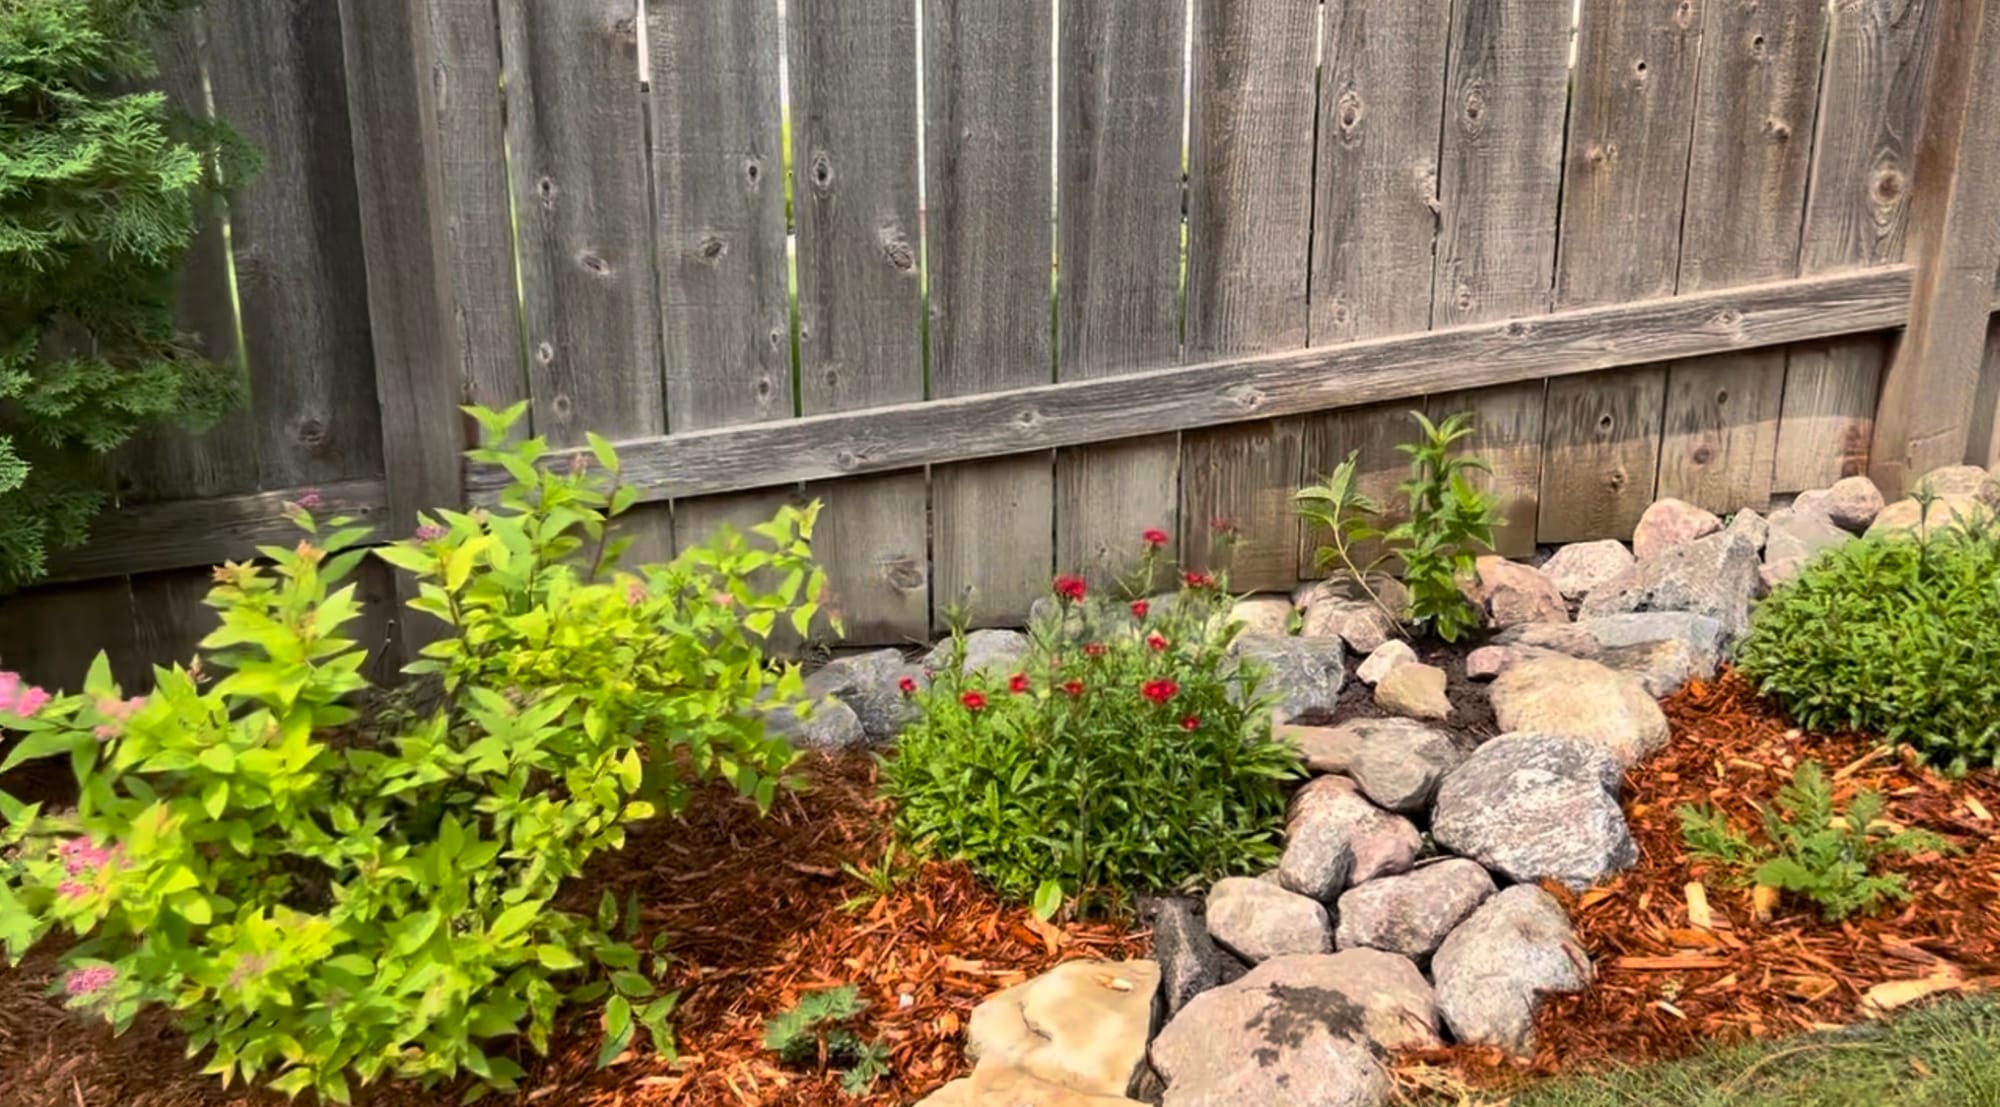
Rip Rap Installation
Adding Rip Rap. Over the many years of heavy rains, a gulley was formed along the back fence. Rip Rap will work well here and is an excellent choice to stop deeper gulleys from occurring. The rip rap solves the erosion problem and looks outstanding in landscaped areas. I'm a big fan of using various sizes of rocks in projects. I especially like using separate rock and wood mulch beds in combinations.
When working with larger rocks, placing the rock is easier if you have a surplus to pick from. I usually bring in extra materials for a landscape job for this reason. A more natural look is achieved when you crescendo up from the edging and your main viewpoints. I mimic nature as much as possible, bobbing and weaving in and out with the rock.
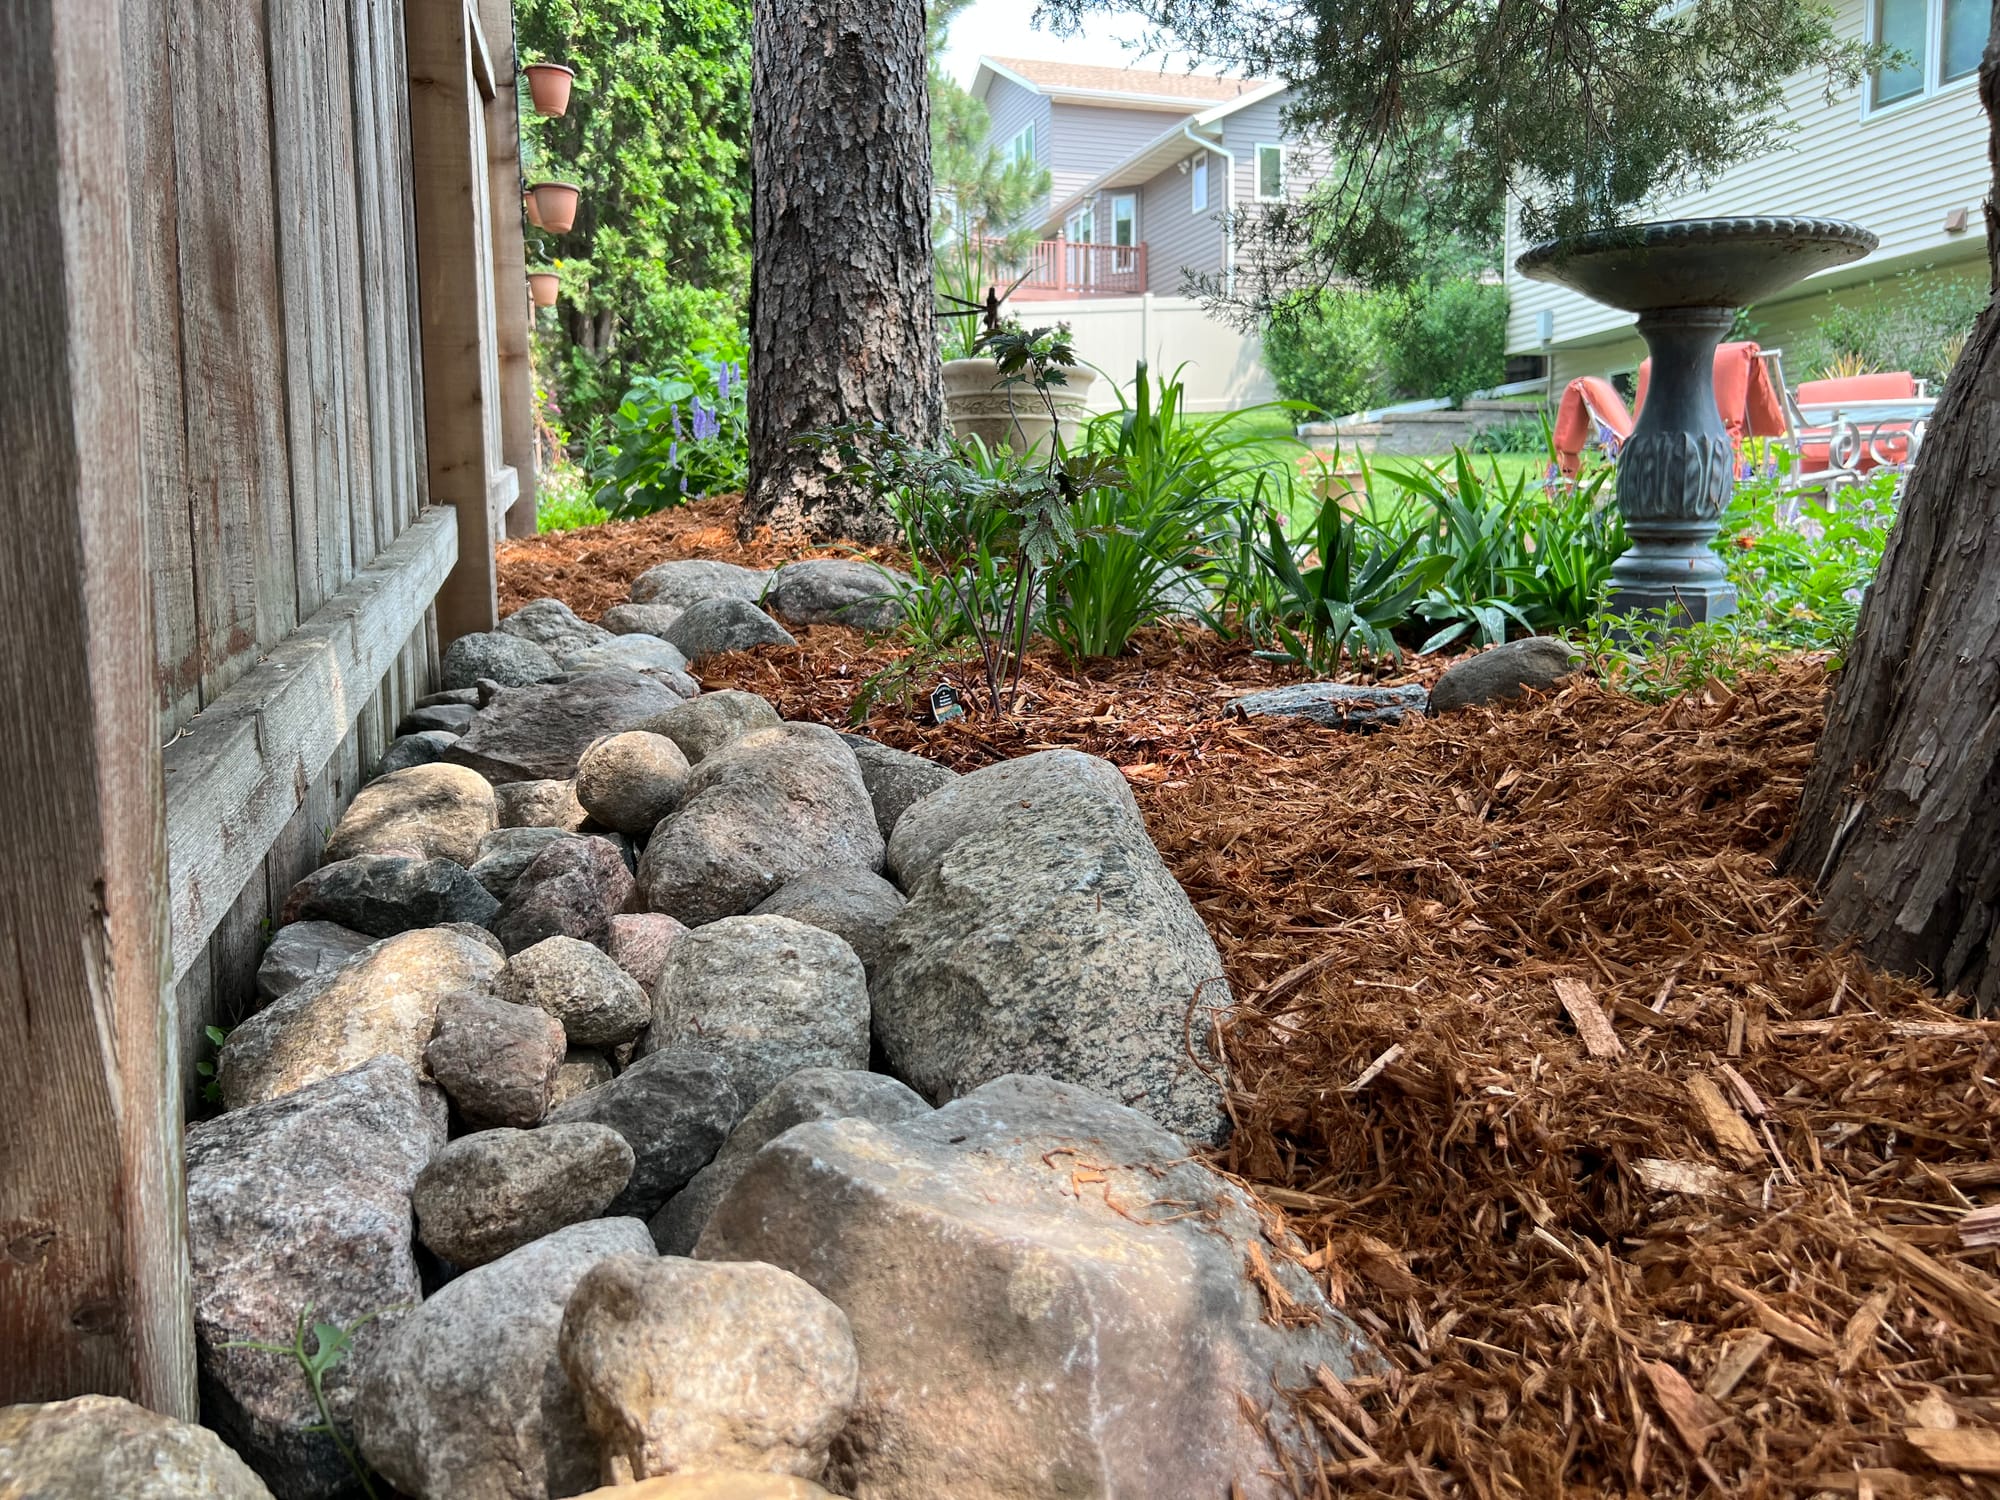
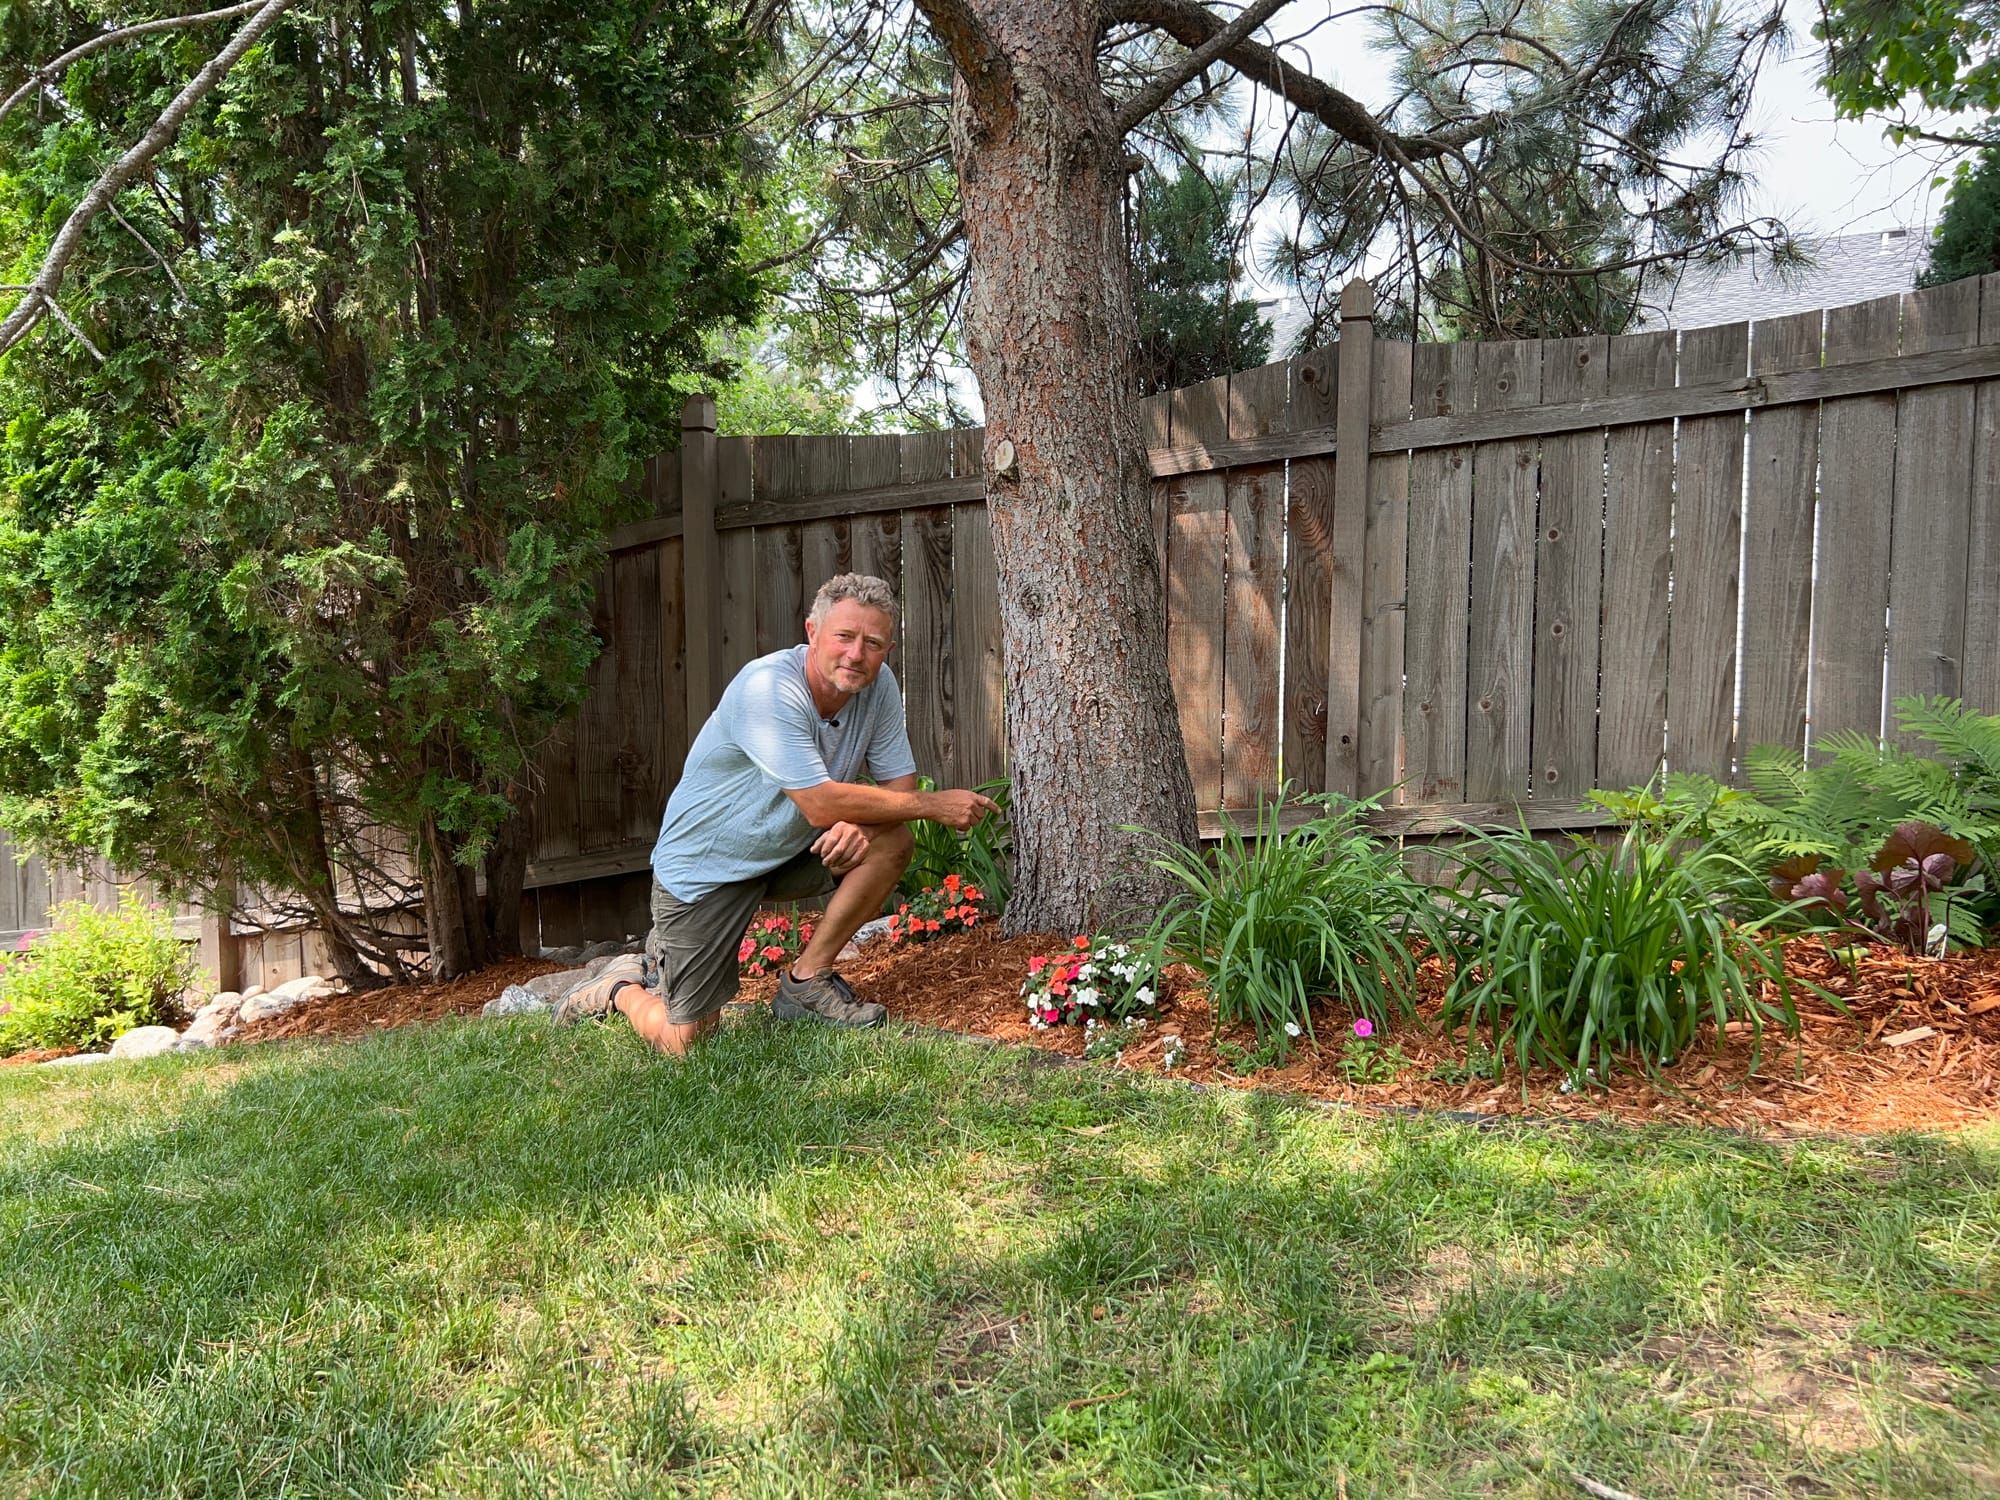
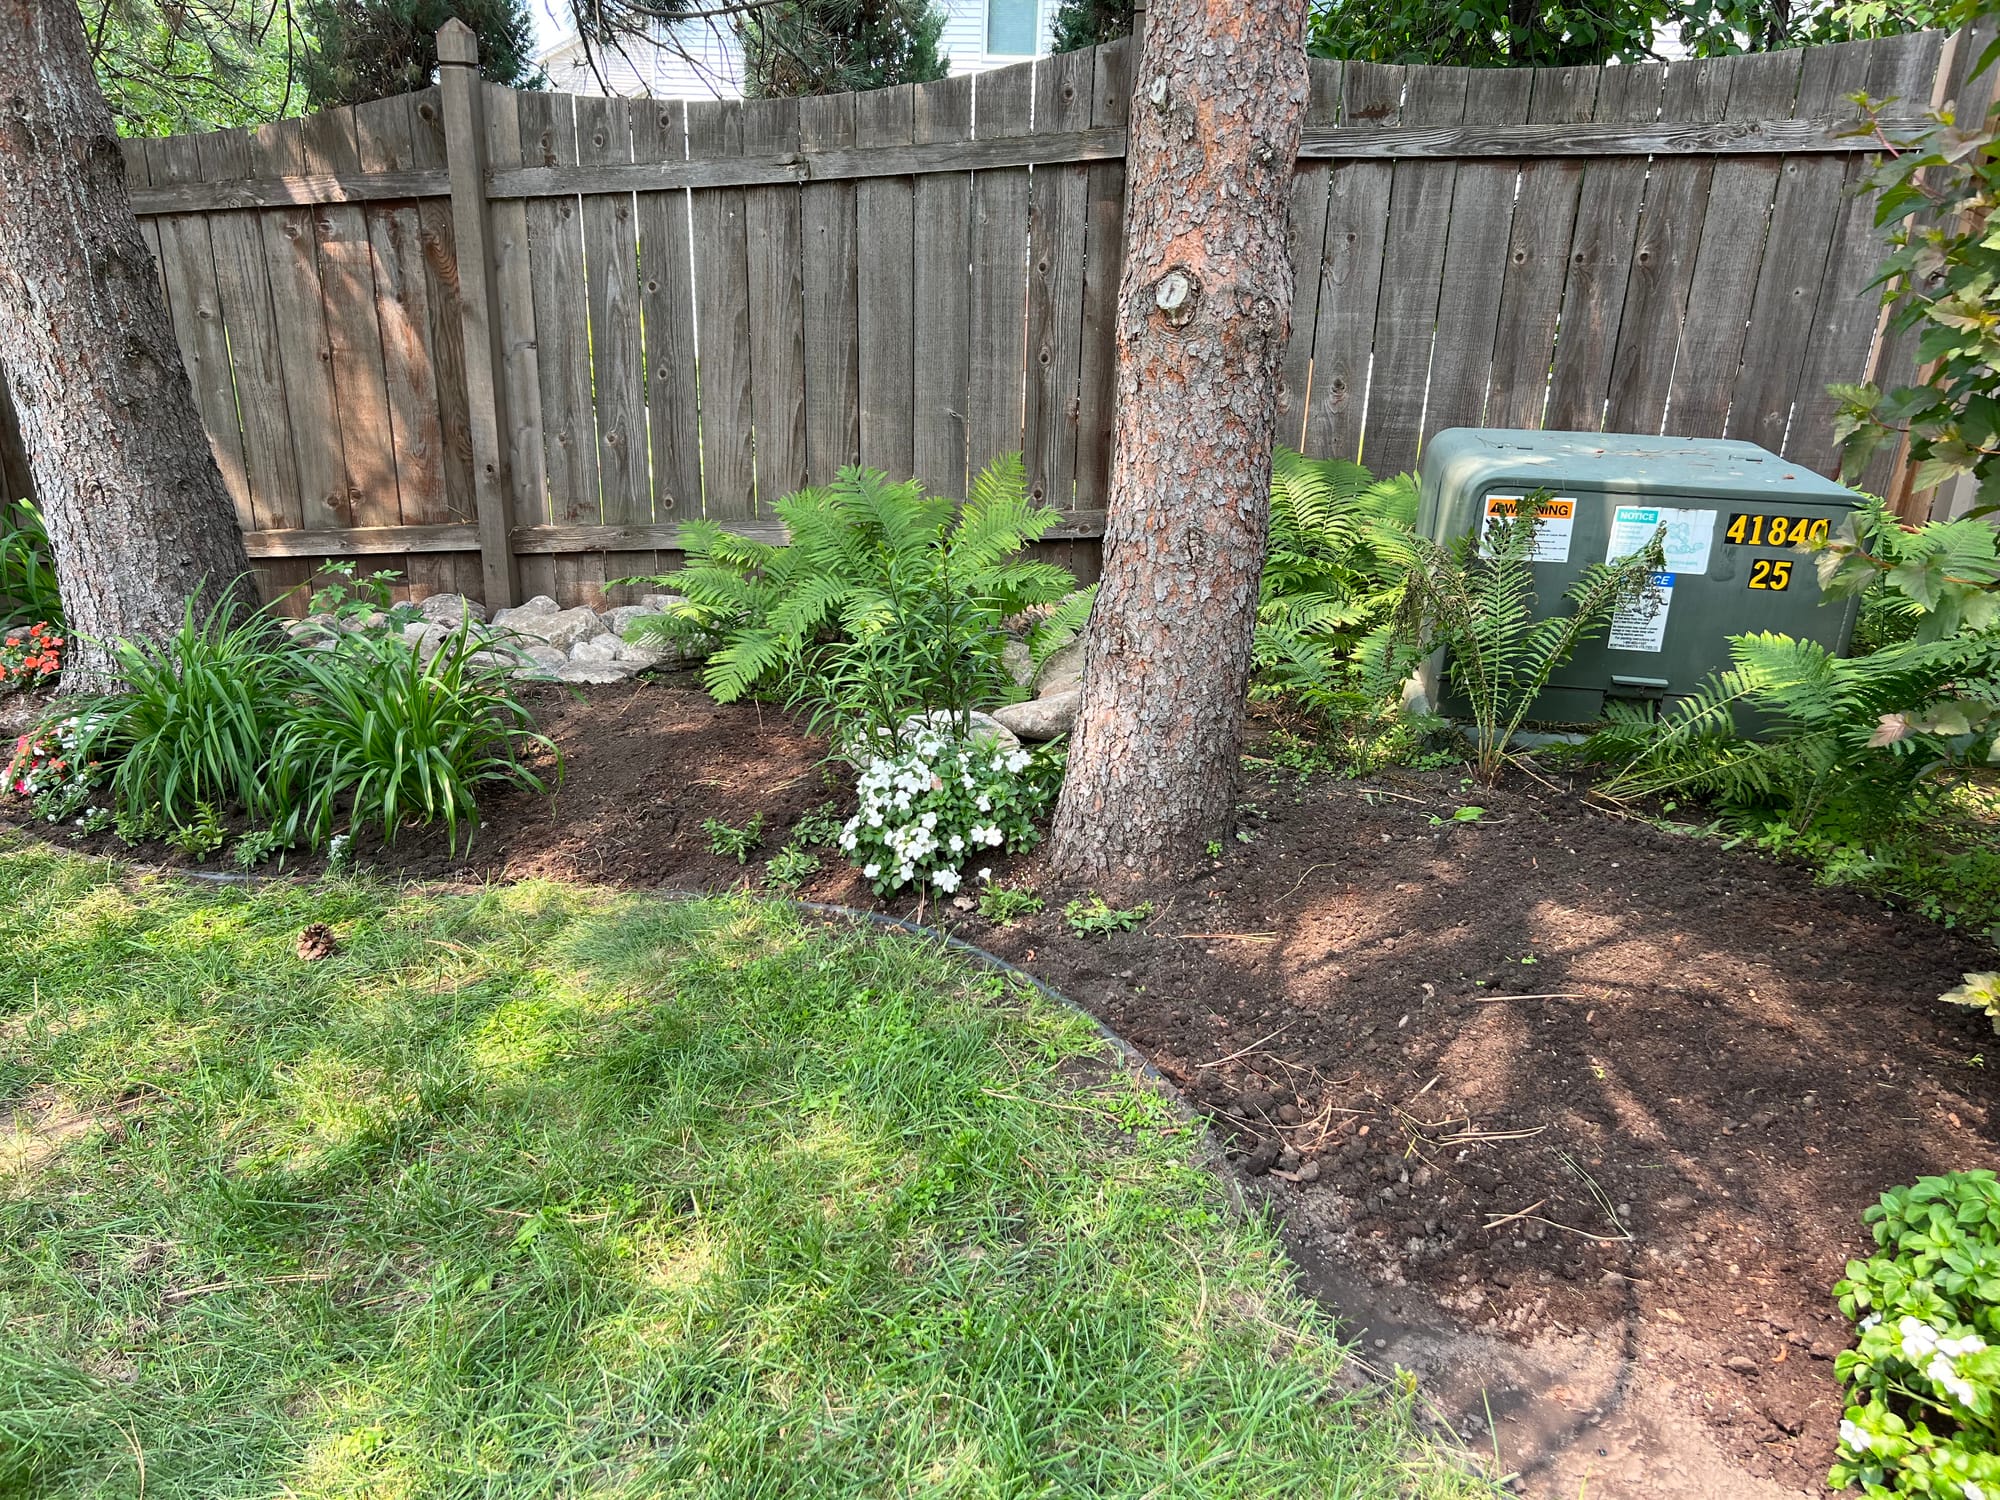
Fresh Mulch With Rip Rap
Perennial Planting
Once the Rip Rap is in place, it's time to plant. Our homeowner here is an avid gardener and likes to work in her yard. For this reason, no weed barriers like plastic or fabrics were used. It also allows for planting plants closer together since dividing or moving plants, if necessary, will not be a concern in the future. Close planting allows one to create a meadow or cottage feel to the gardens, and plants will naturalize and blend beautifully. This is another excellent advantage of using mulch, as many varieties will more easily self-seed and spread out by rhizomes or runners.
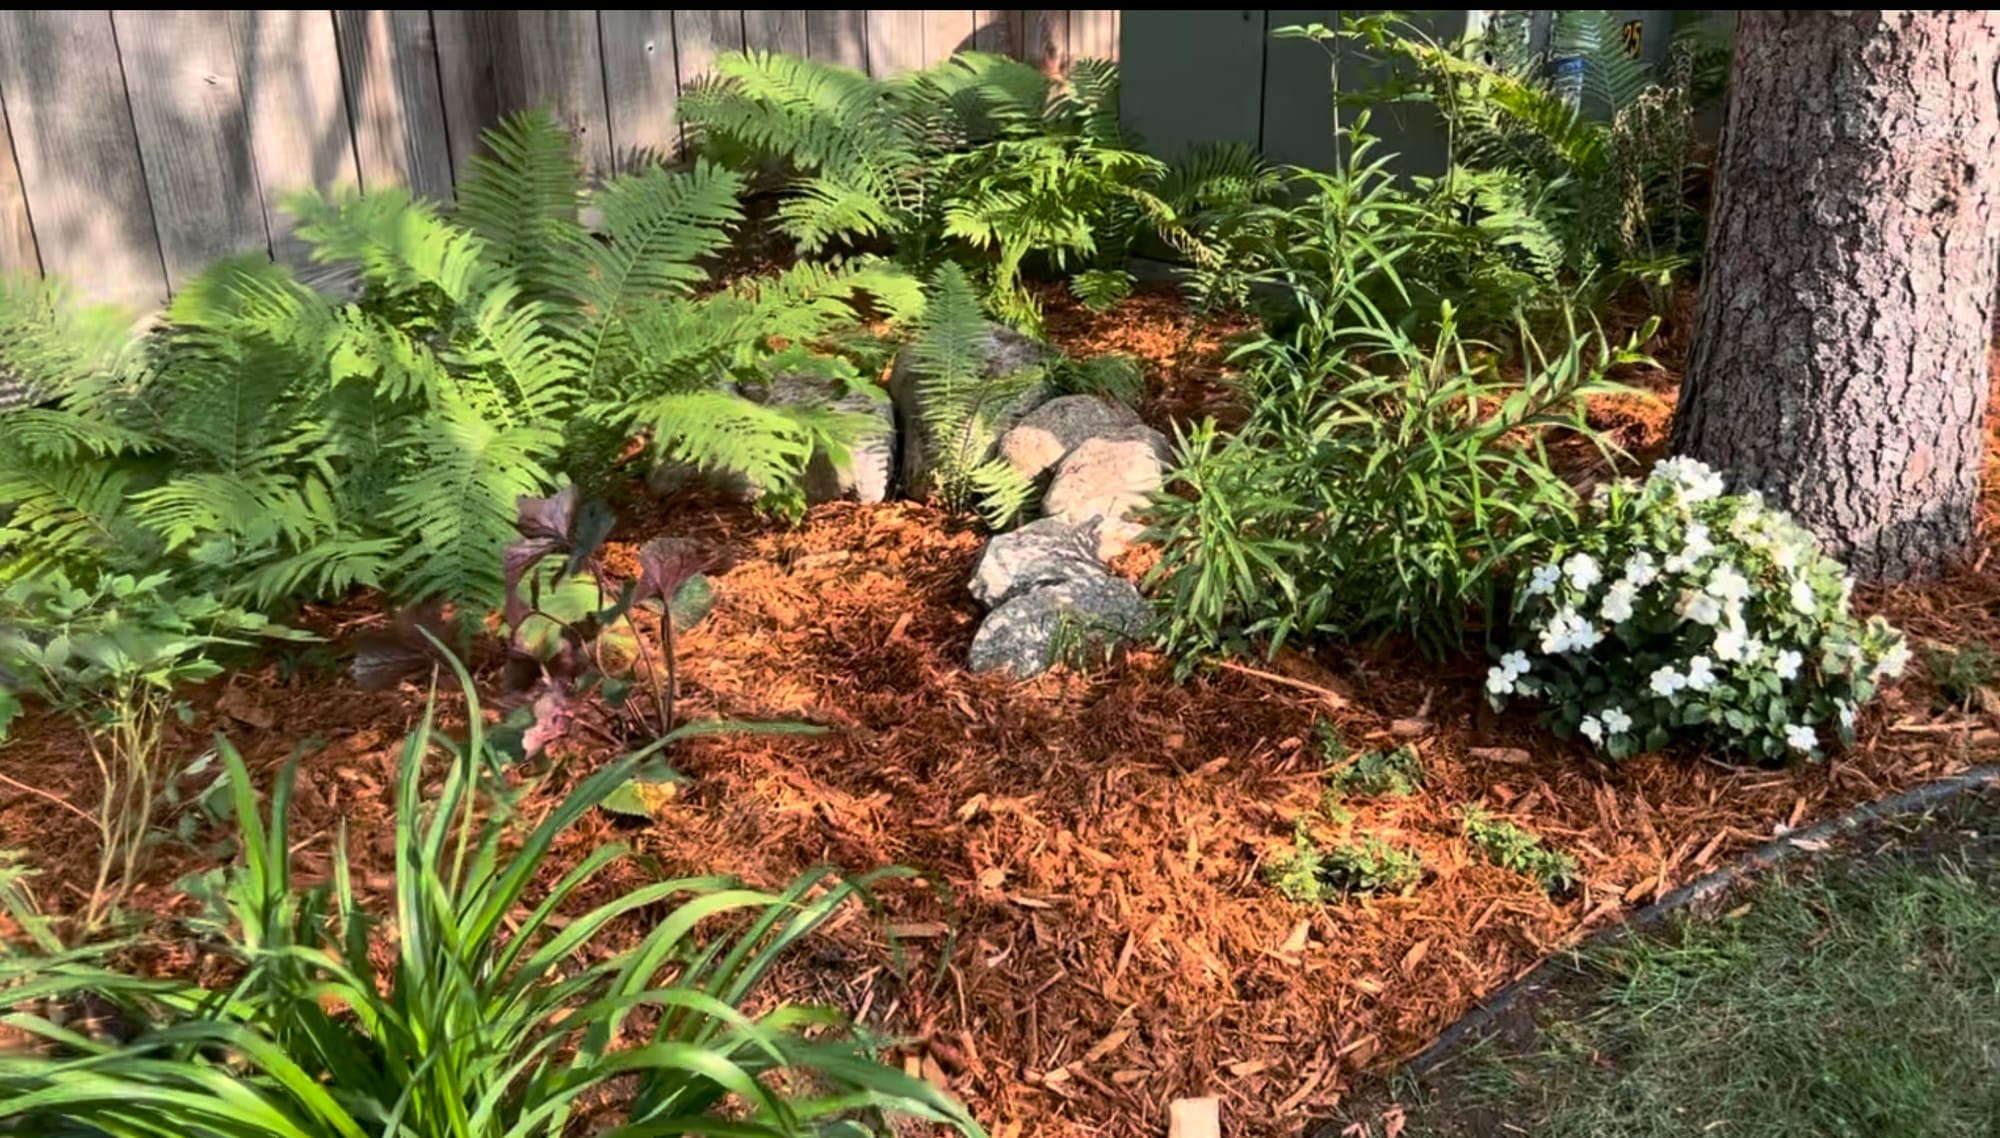
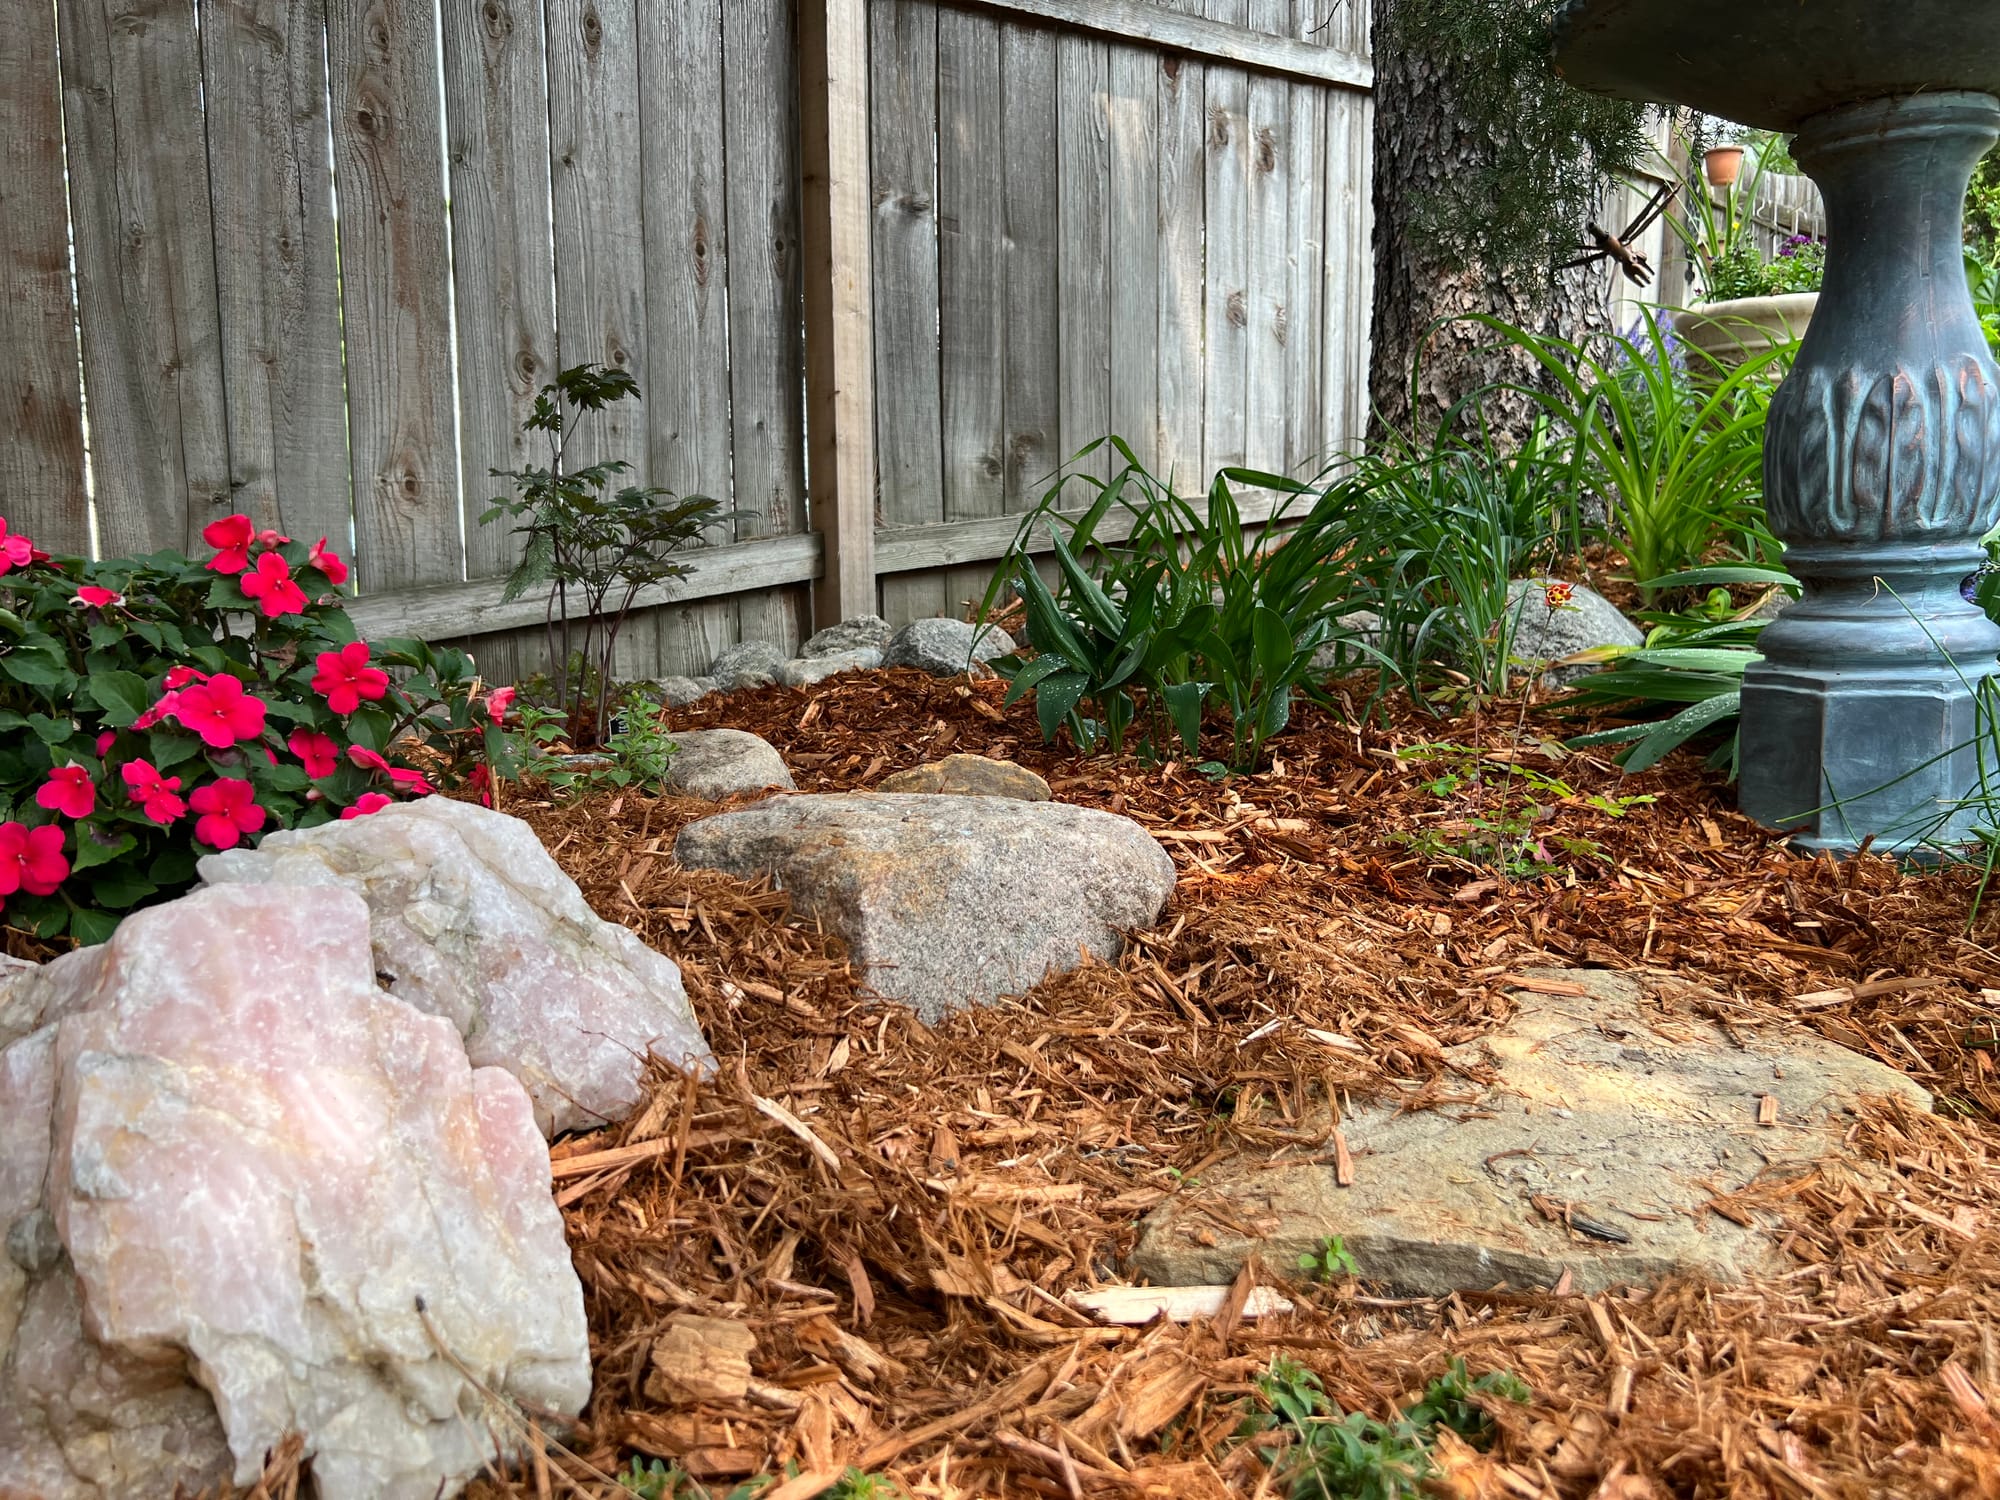
Mulch Installation
Mulch is like frosting on a cake. It completely changes the look and "finishes" a landscape. I only wish the golden color would last longer. Western Red Cedar or Cypress are two of my favorite golden types available in my area. Cypress mulch holds its color a little longer but is more expensive. These mulches can fade the same season to a lighter brown and, eventually, a grayish color. A light topdressing each spring is common practice that will freshen up the color.
The video below highlights the entire project. Enjoy!
Thanks for stopping by Garden Hike!
Kevin
Make sure you check out A.M. Leonard for all your horticulture tools and supplies. They're my go-to supplier! They've been in business since 1885 and have excellent quality and selection.
Use promo code GARDENHIKE at checkout to receive $10 off orders $75 or more.

When you purchase through links on this site, we may earn a small commission at no additional charge to you.