Tree Planting | My Process

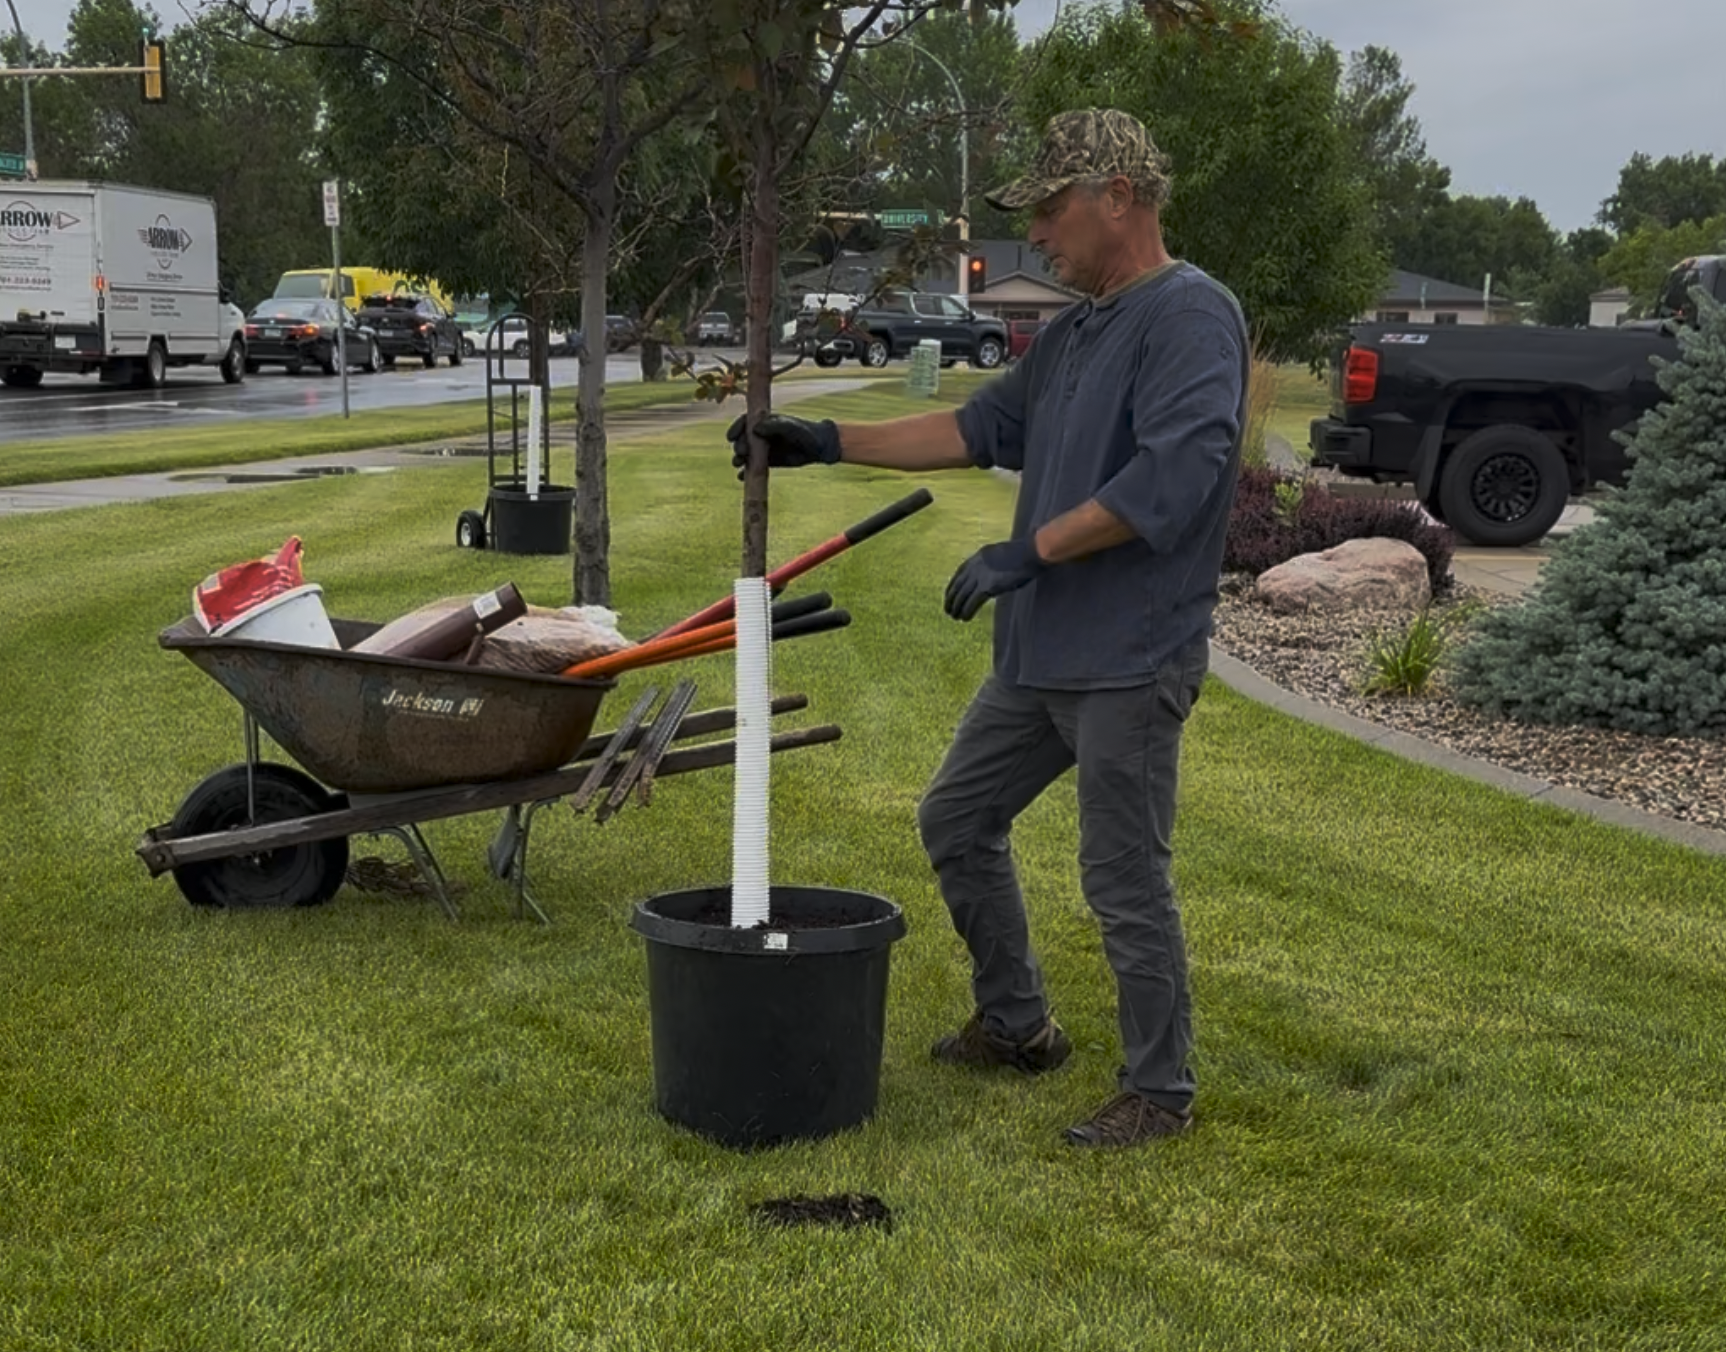
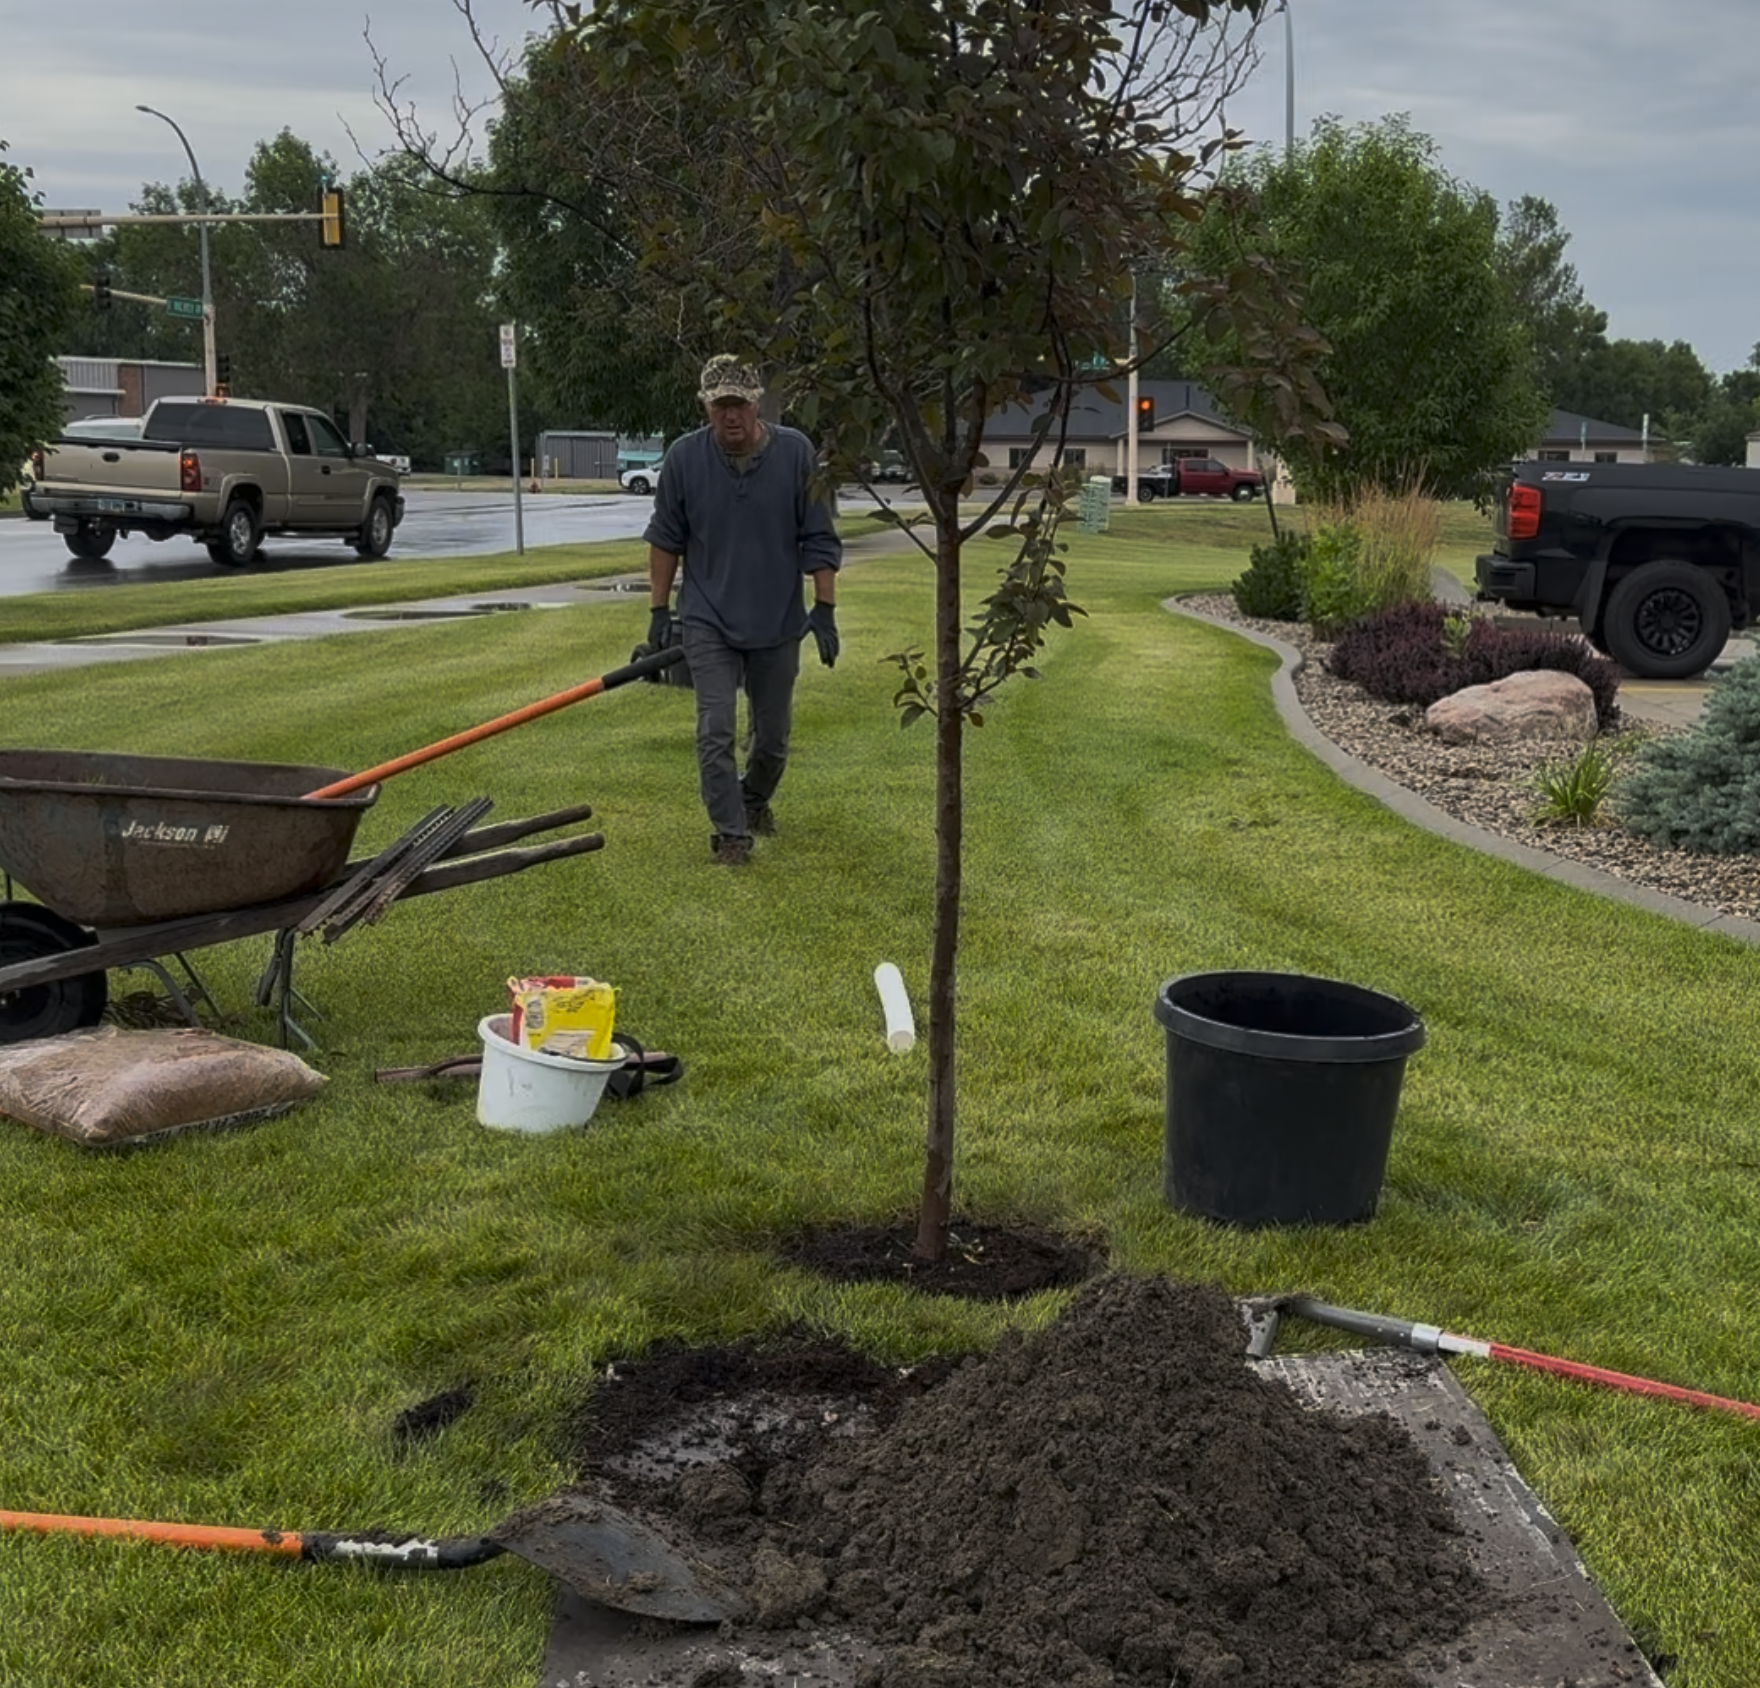
Recently, I took on a job planting a couple of Flowering Crabapple trees at a local business. You can watch the video to see the whole process.
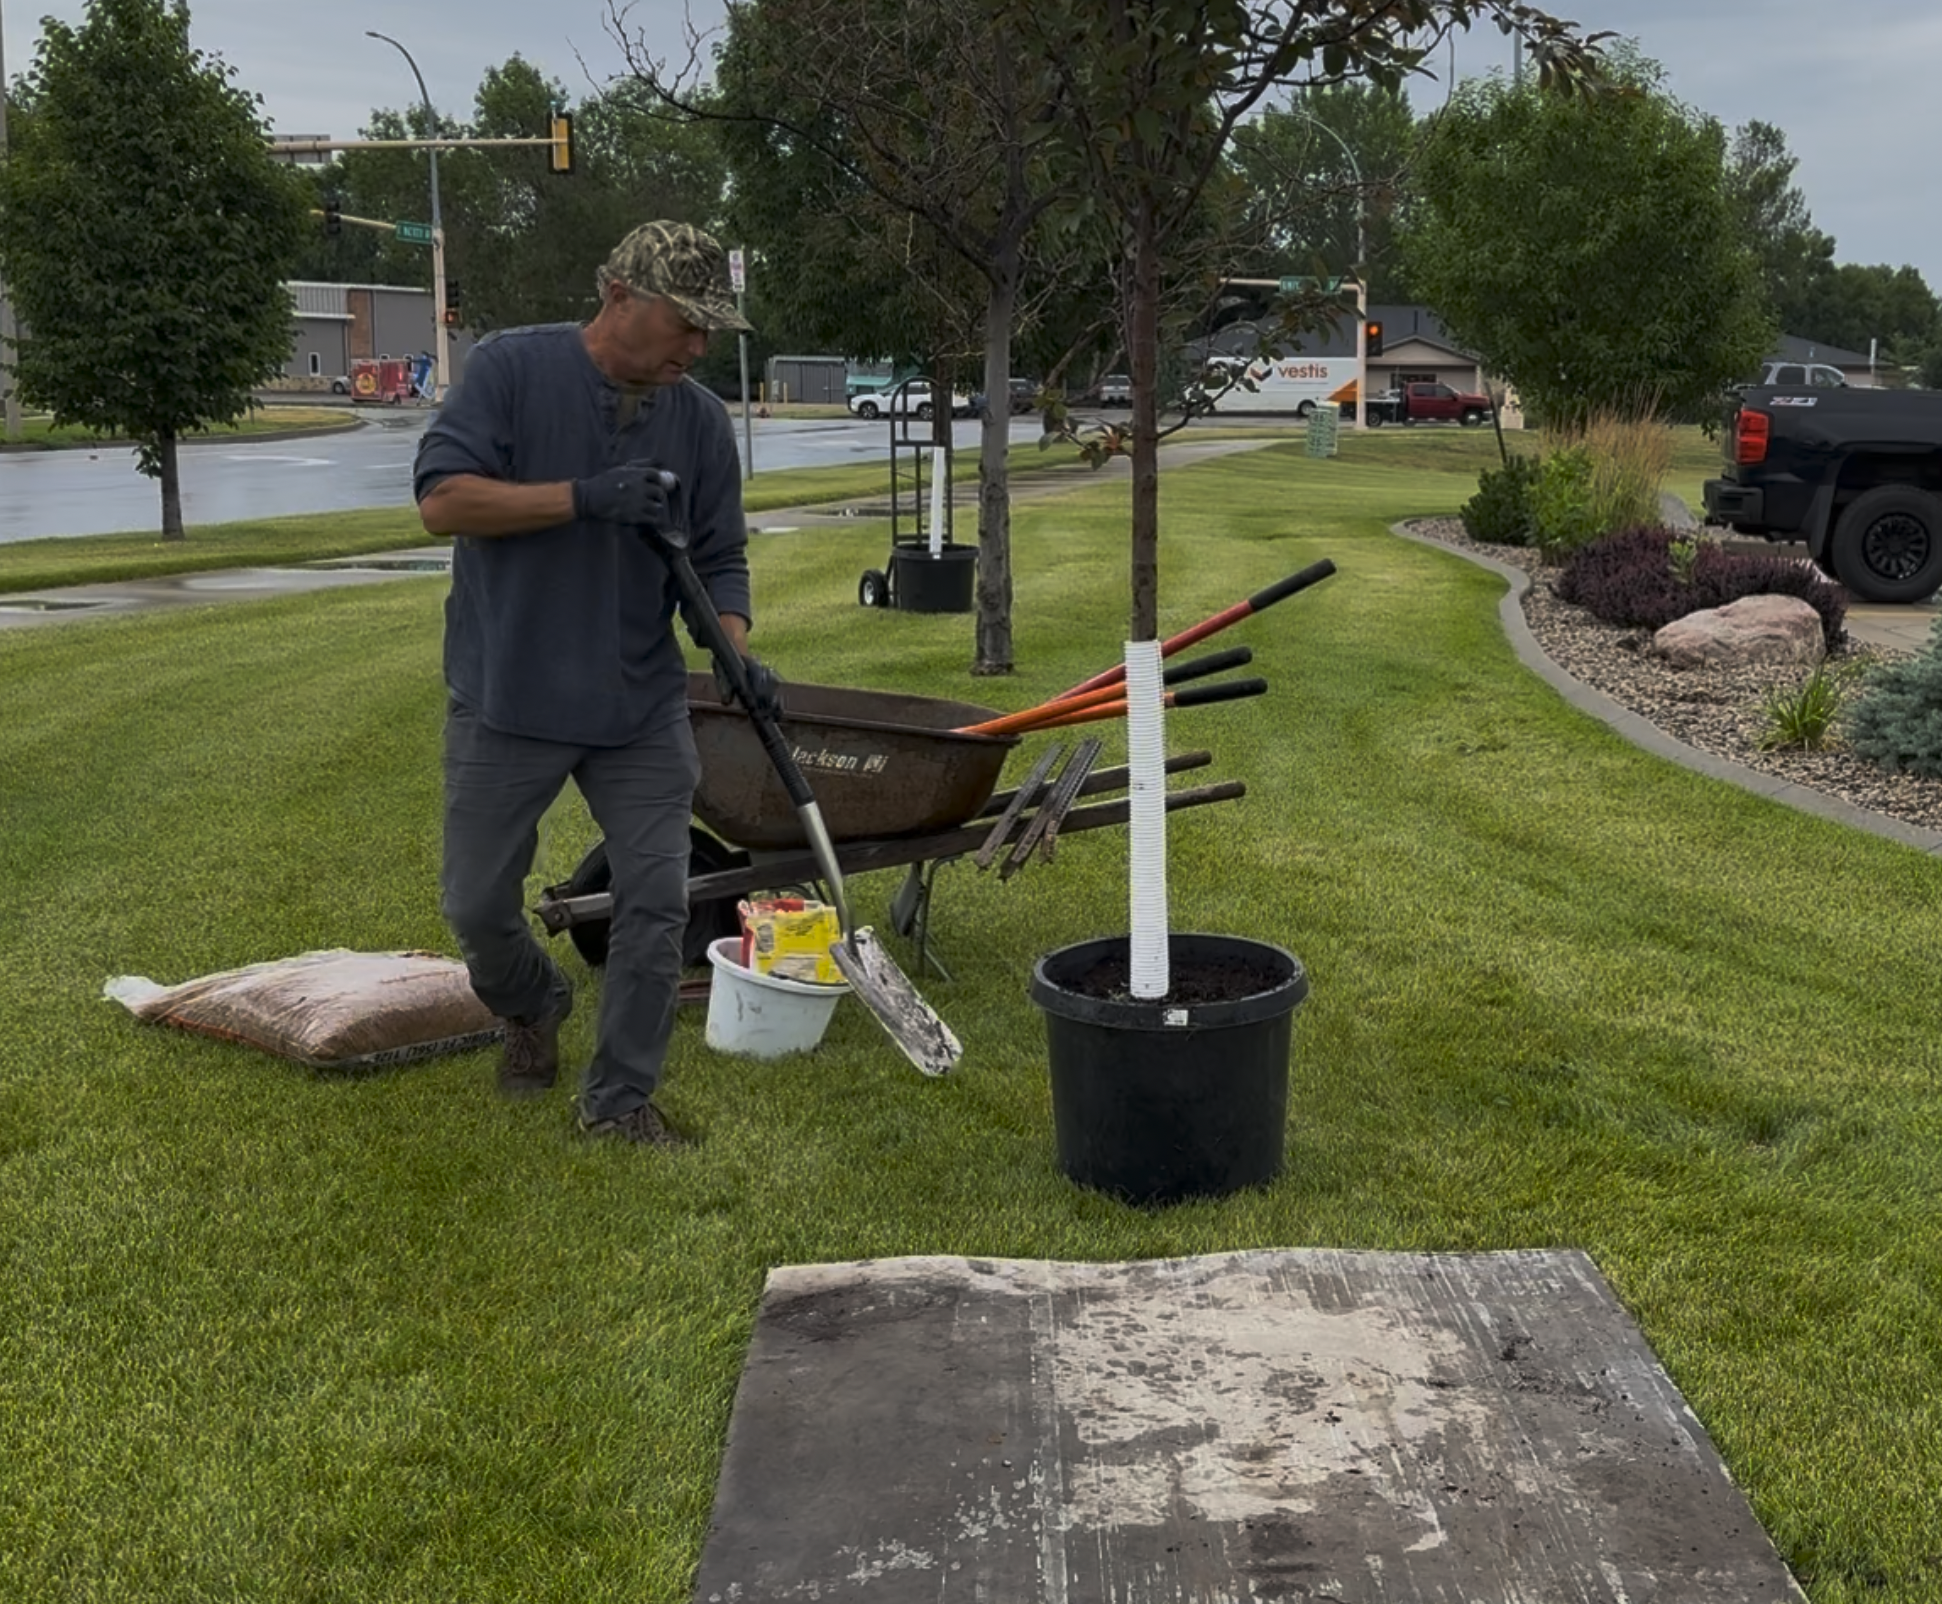
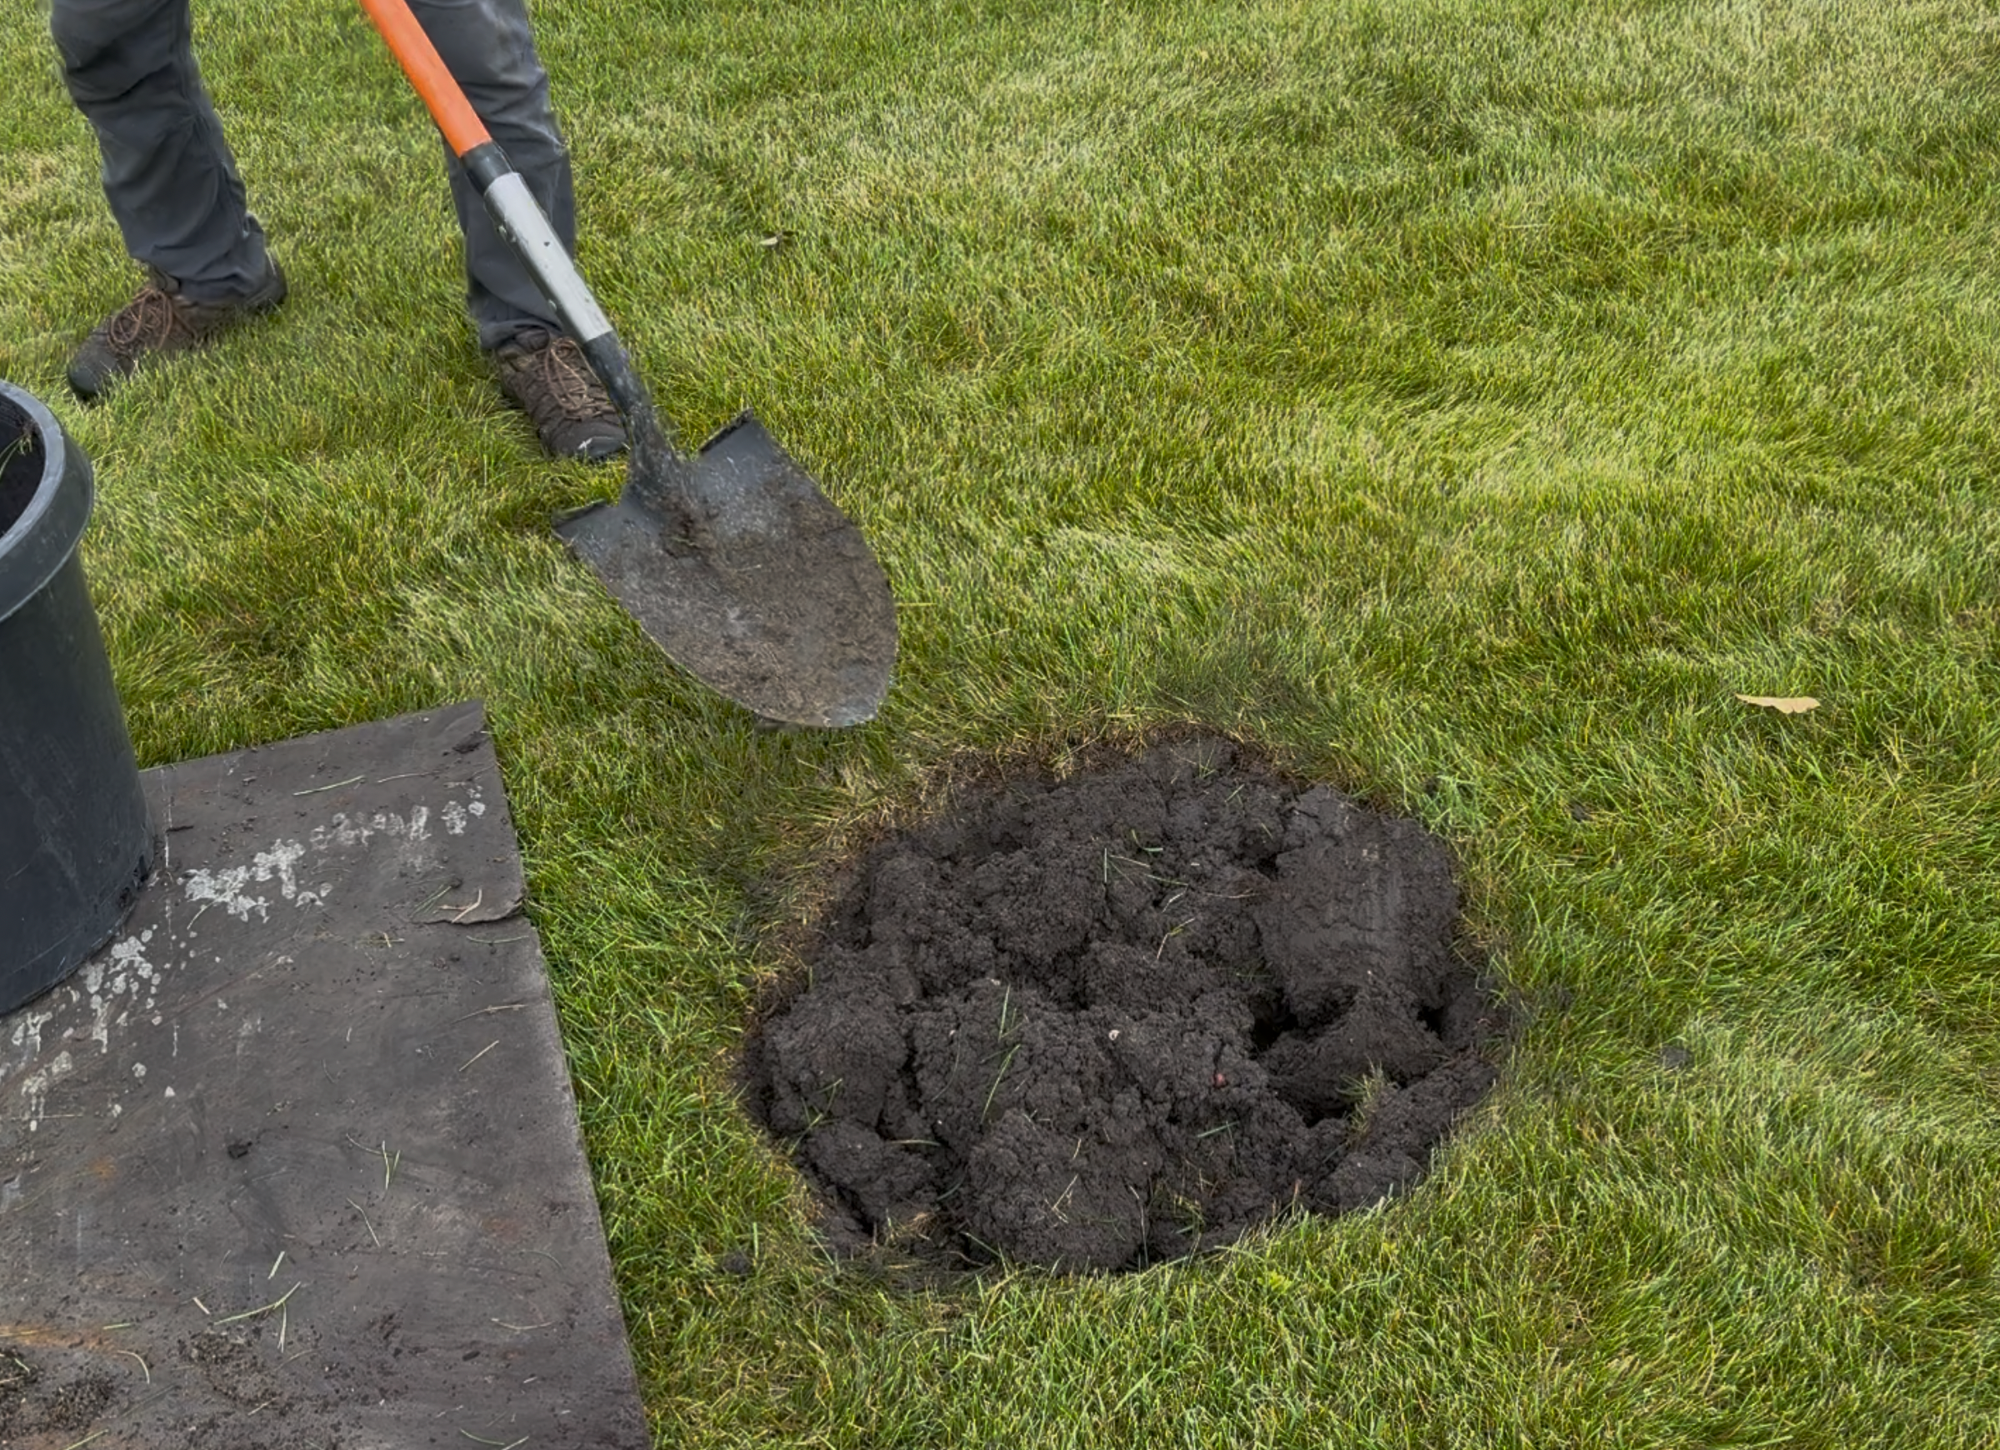
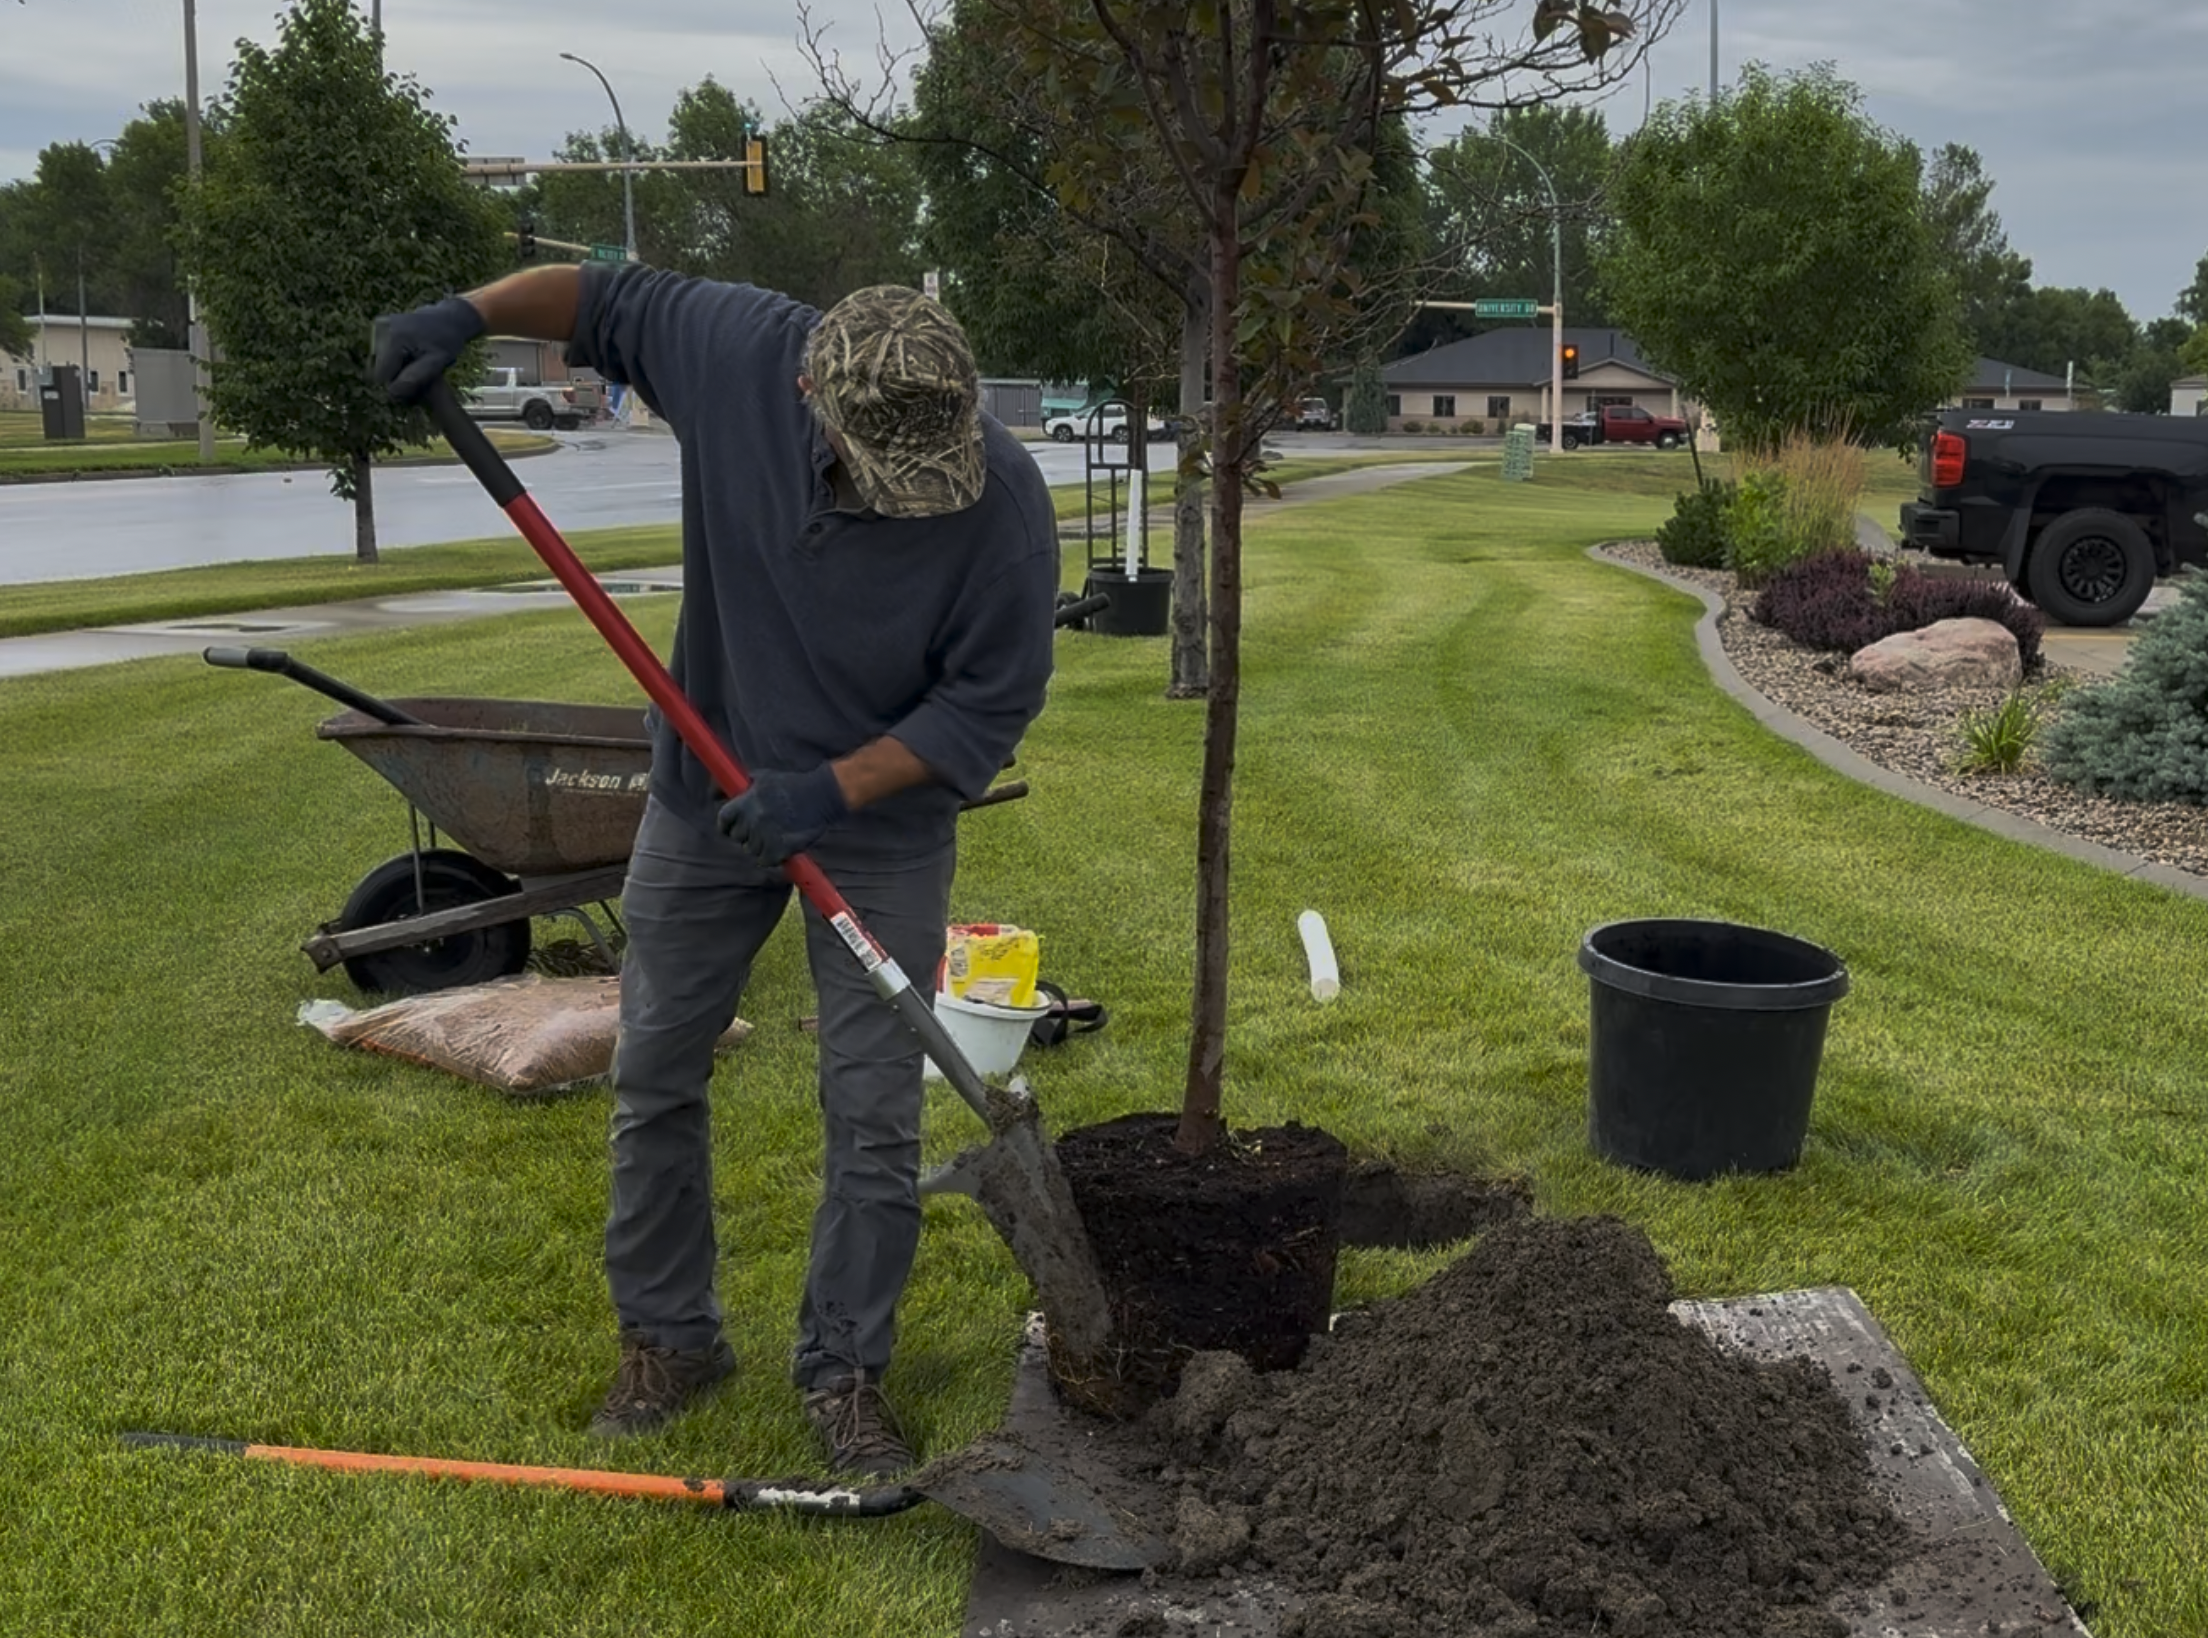
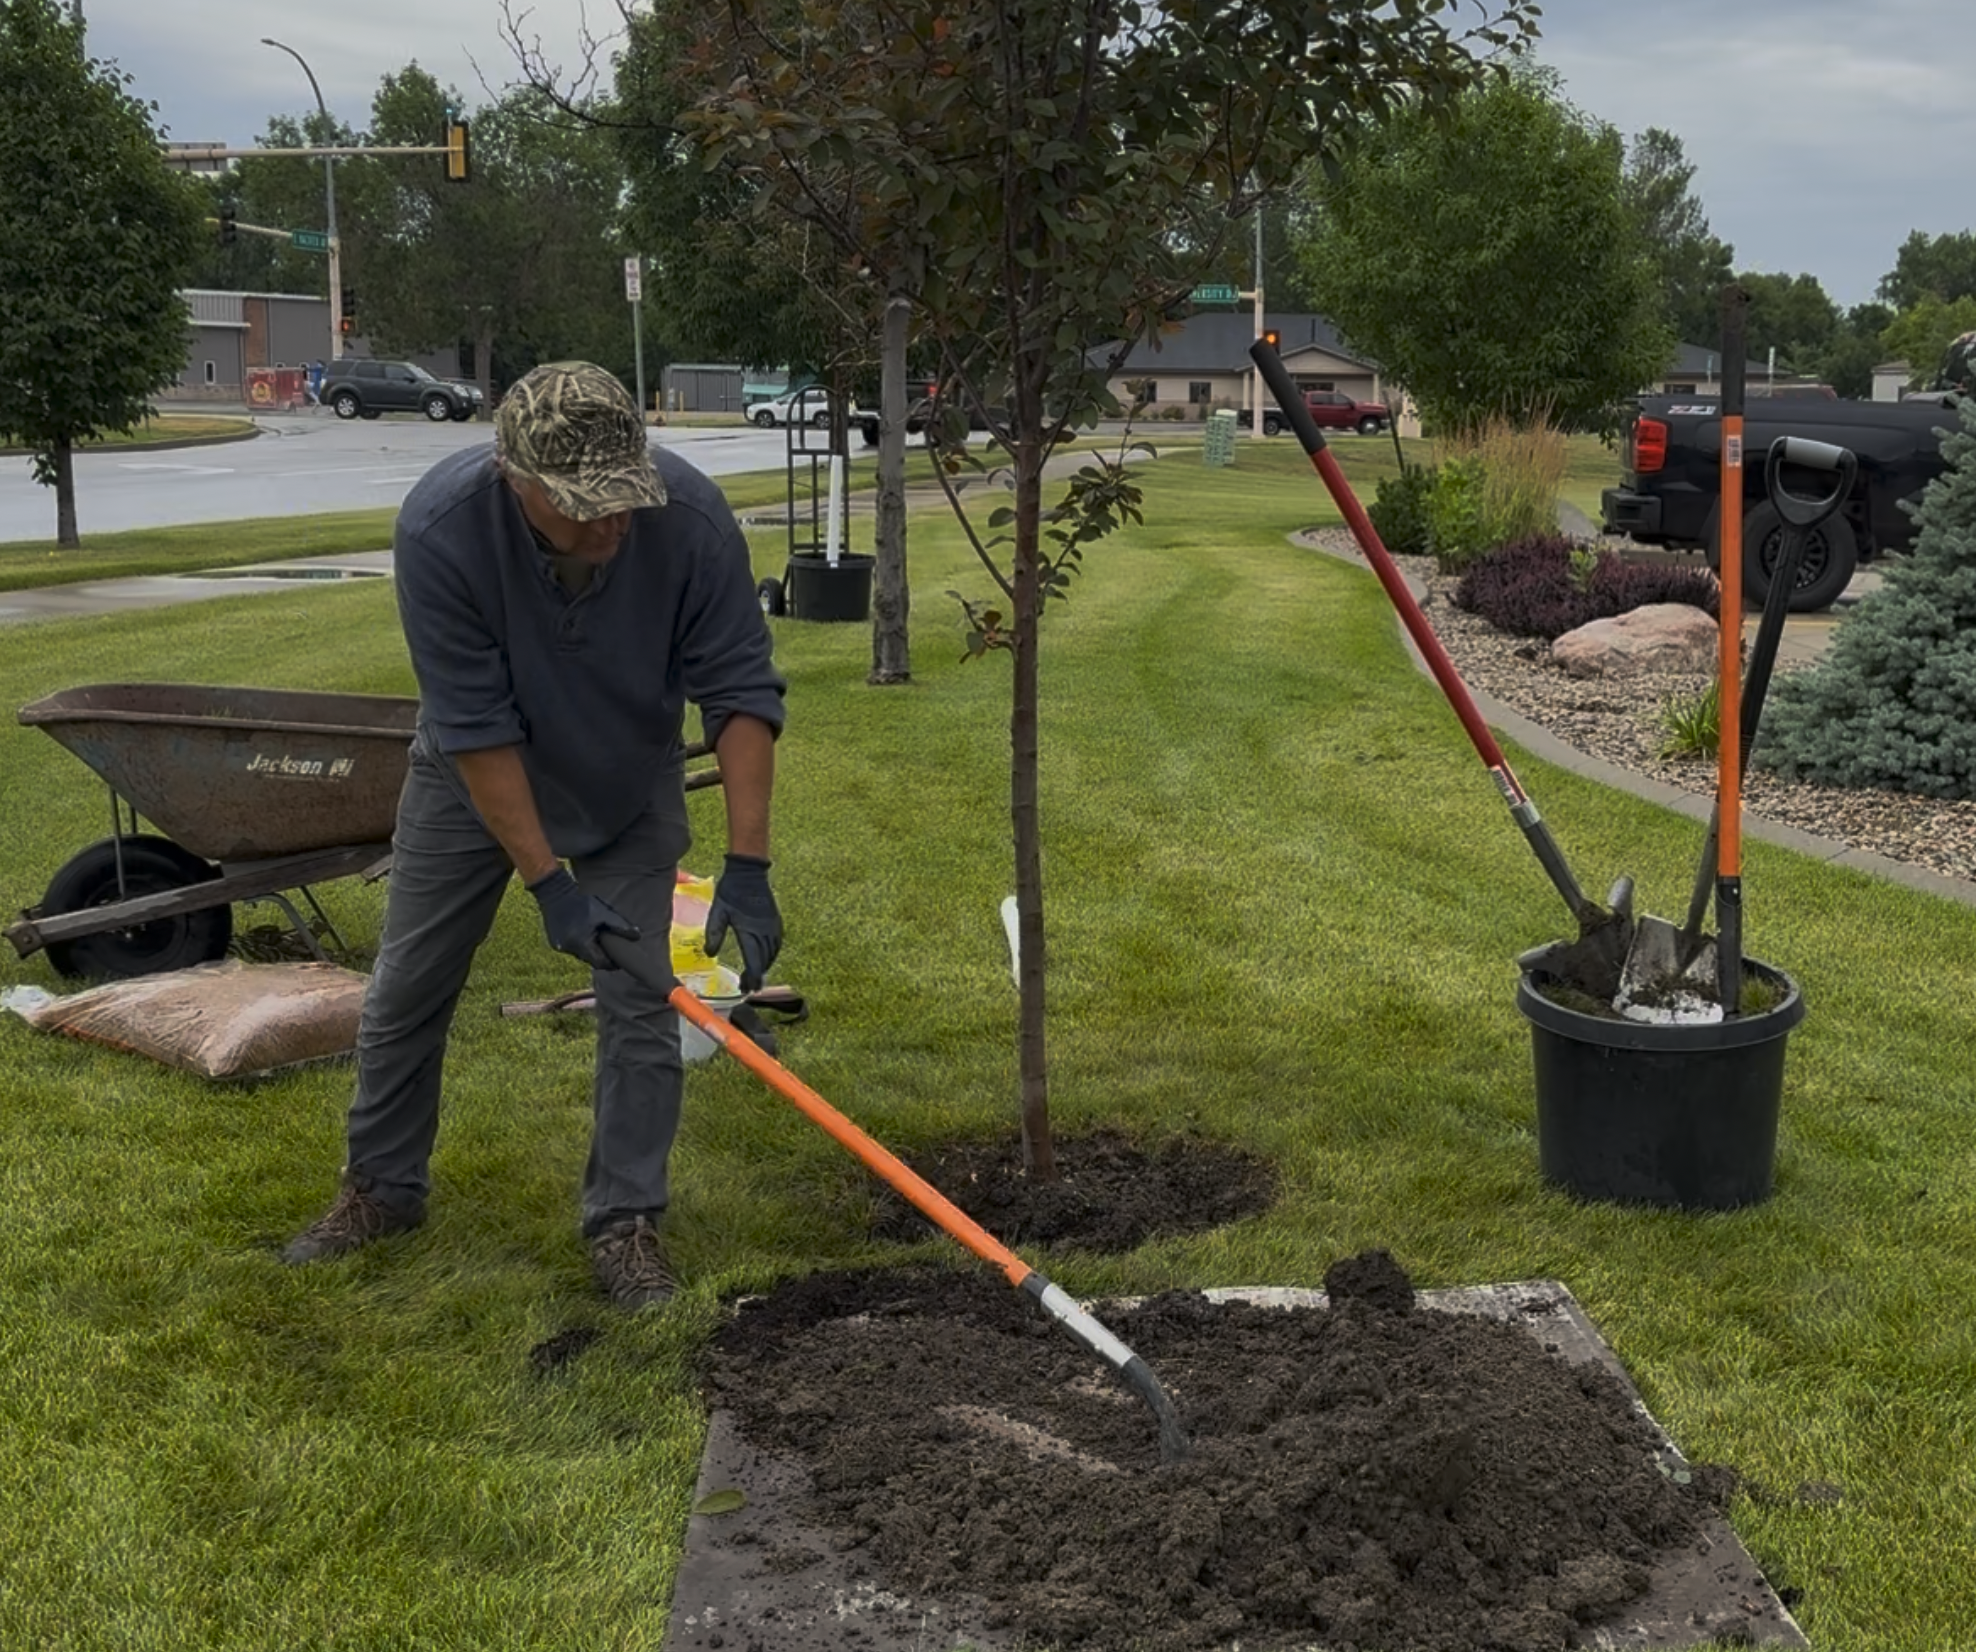
Now you can certainly use a wheelbarrow to hold the soil you’ll be digging out, but more often now I like to use an old sheet of plywood or paneling. This is a 4x4 sheet and is perfect for a tree this size. Using a board like this speeds up the process and uses less energy, since you can avoid lifting the soil into the wheelbarrow and then back out. I find it really speeds the process up having that soil at the same level and so close to the hole.
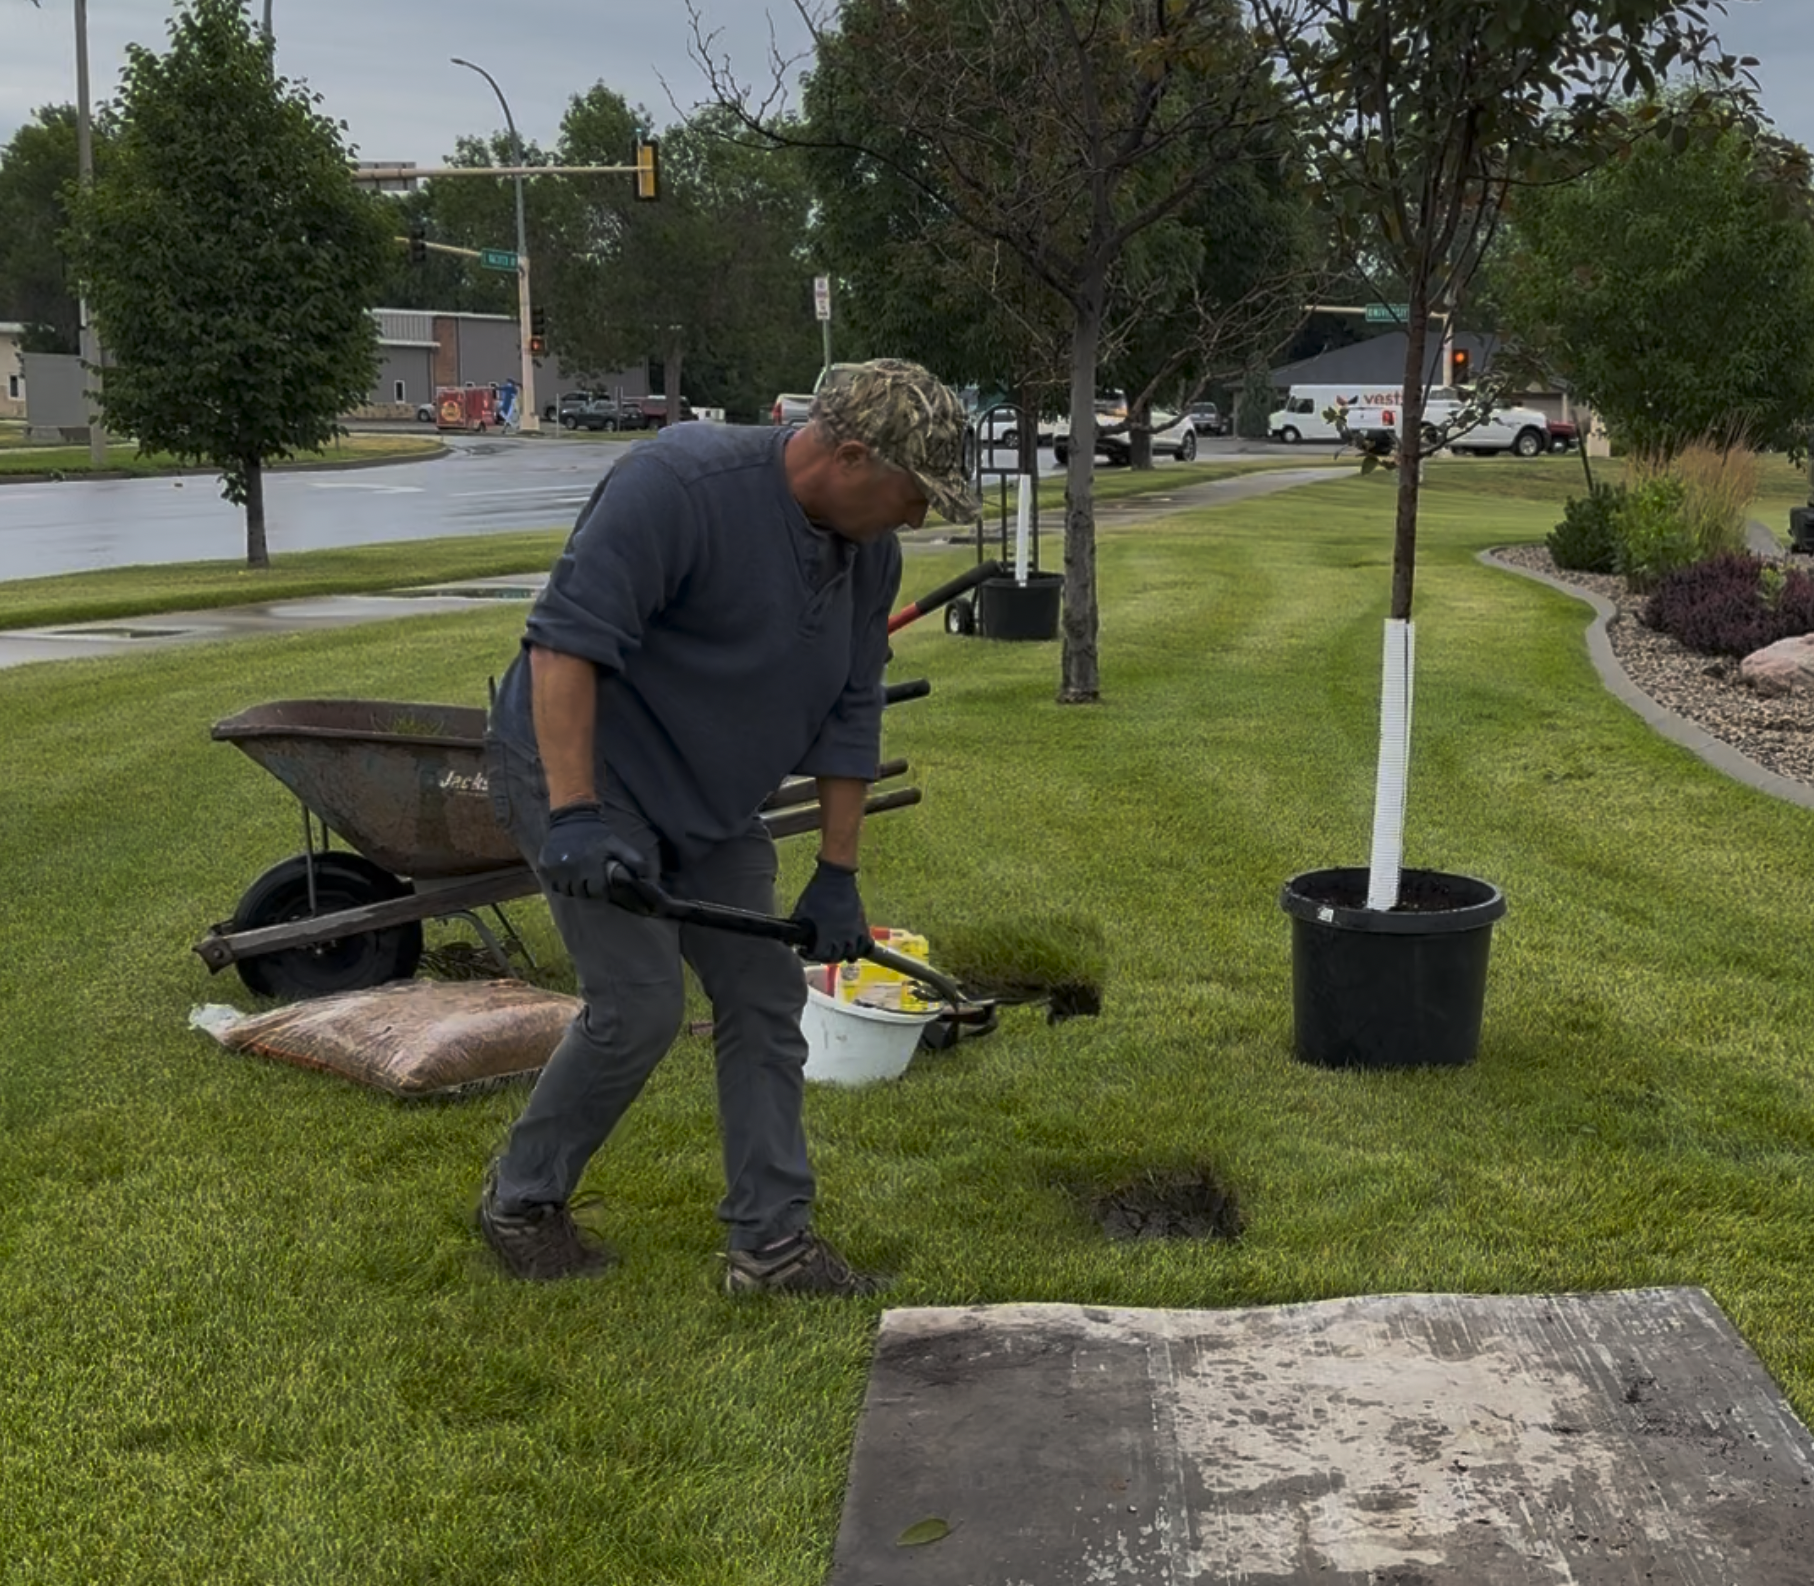
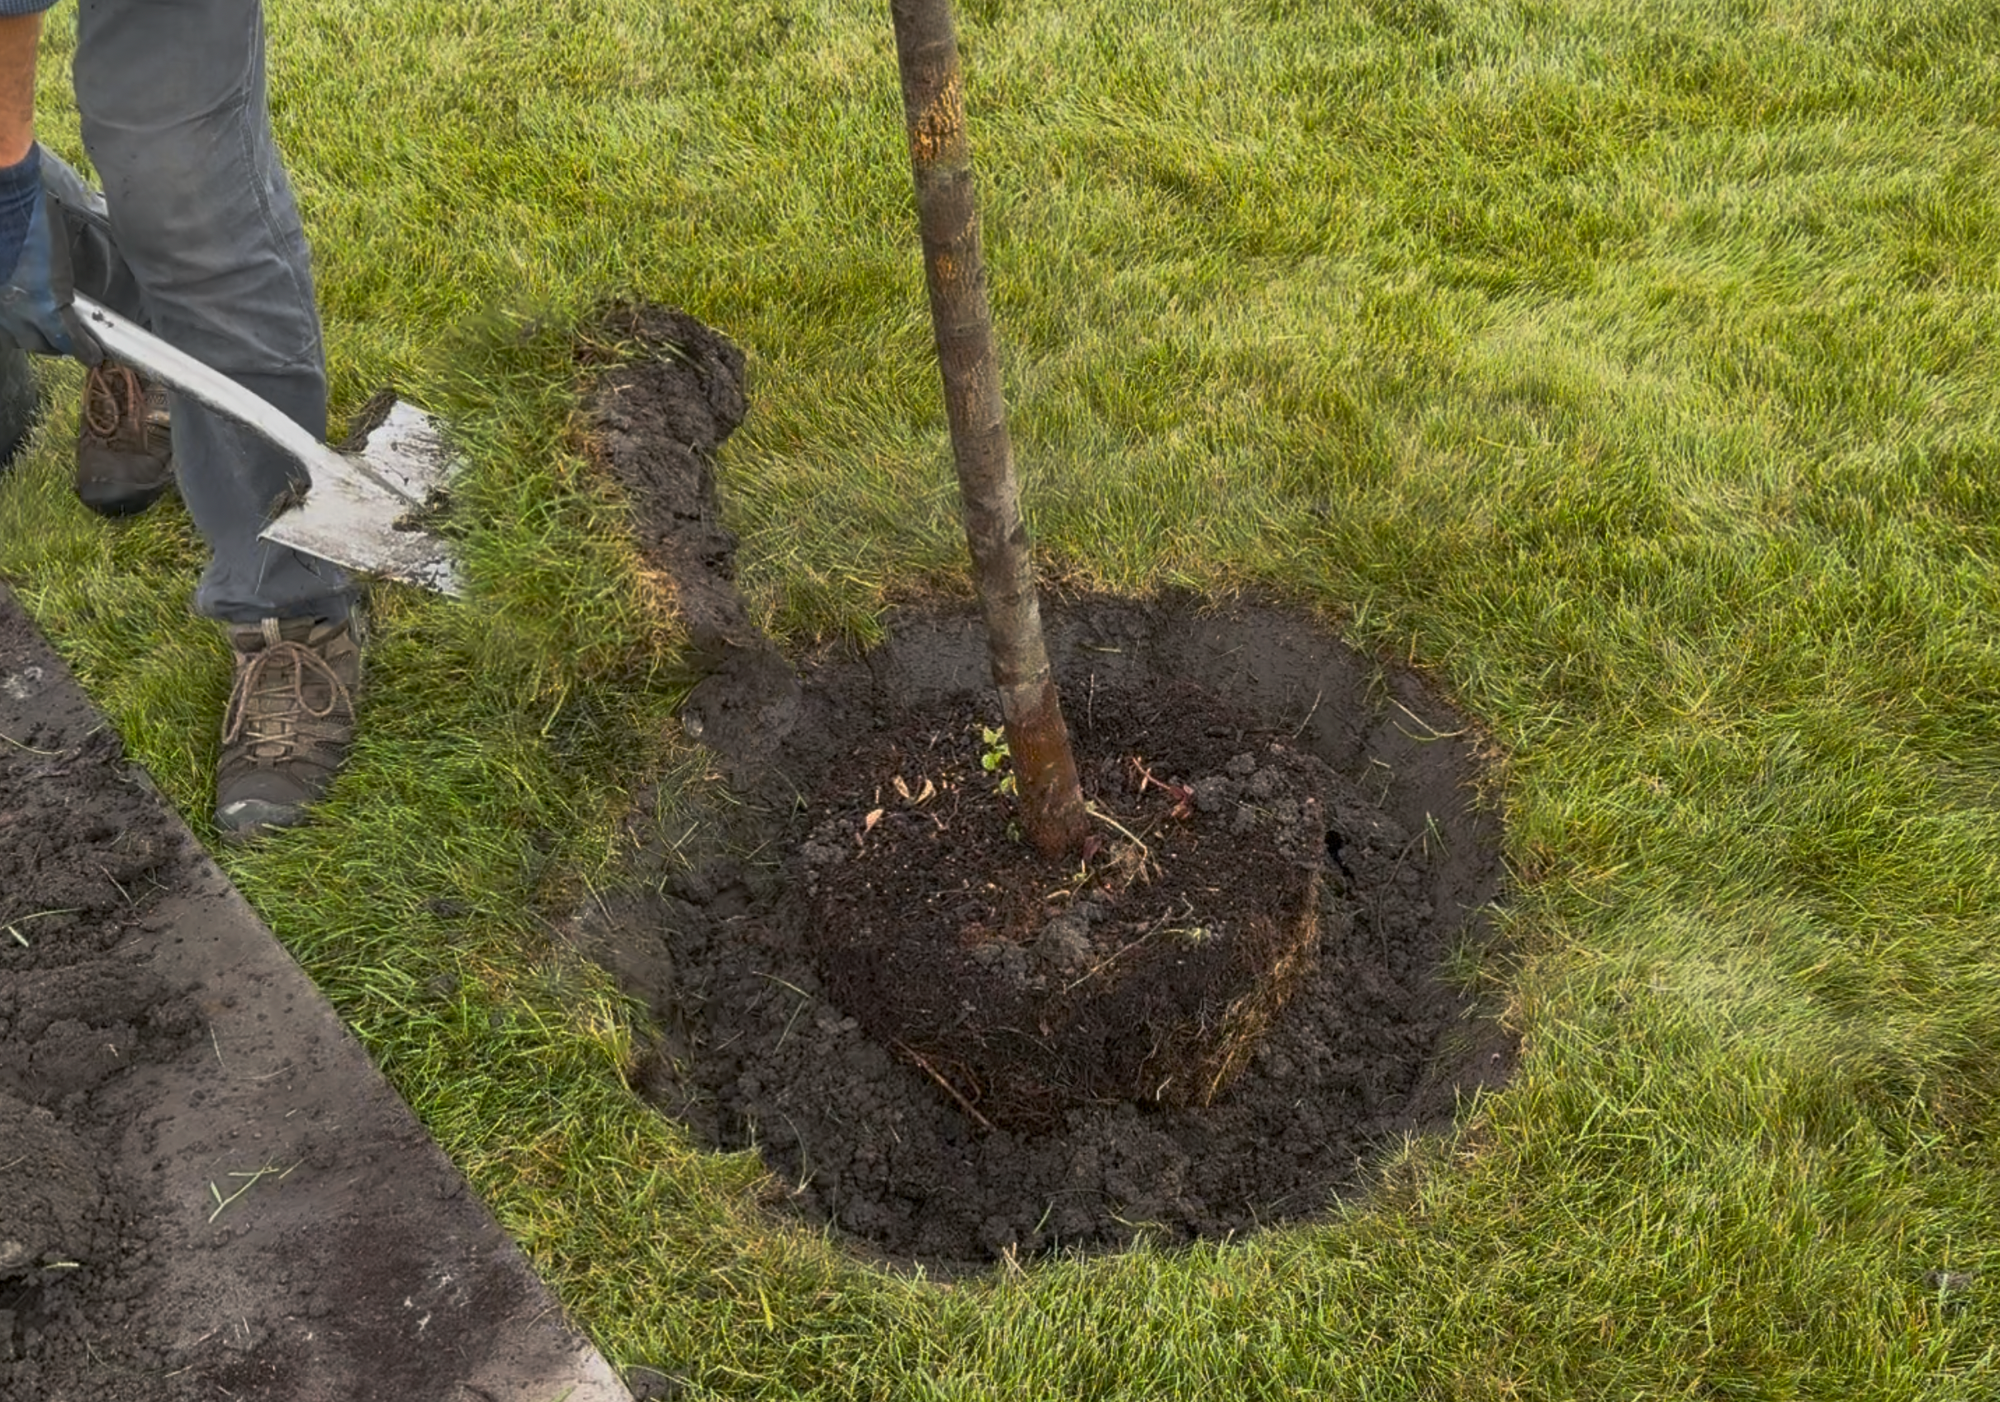
I like to have three different shovels on hand when I plant trees. First up is a flat spade, also known as a nursery spade. I use this to get a nice clean edge against the sod that I’ll be removing. This is a stainless steel shovel I’ve had for quite some time, and I’m not even sure what brand this is. But stainless steel is certainly not necessary, and they’re actually not all that common in the tool trade.
I use the tree container as a guide for this first step, and once I get all the way around, I’ll cut the sod into smaller pieces, making them lighter and easier to manage. I discard all the sod chunks and do not use any of them for backfill.
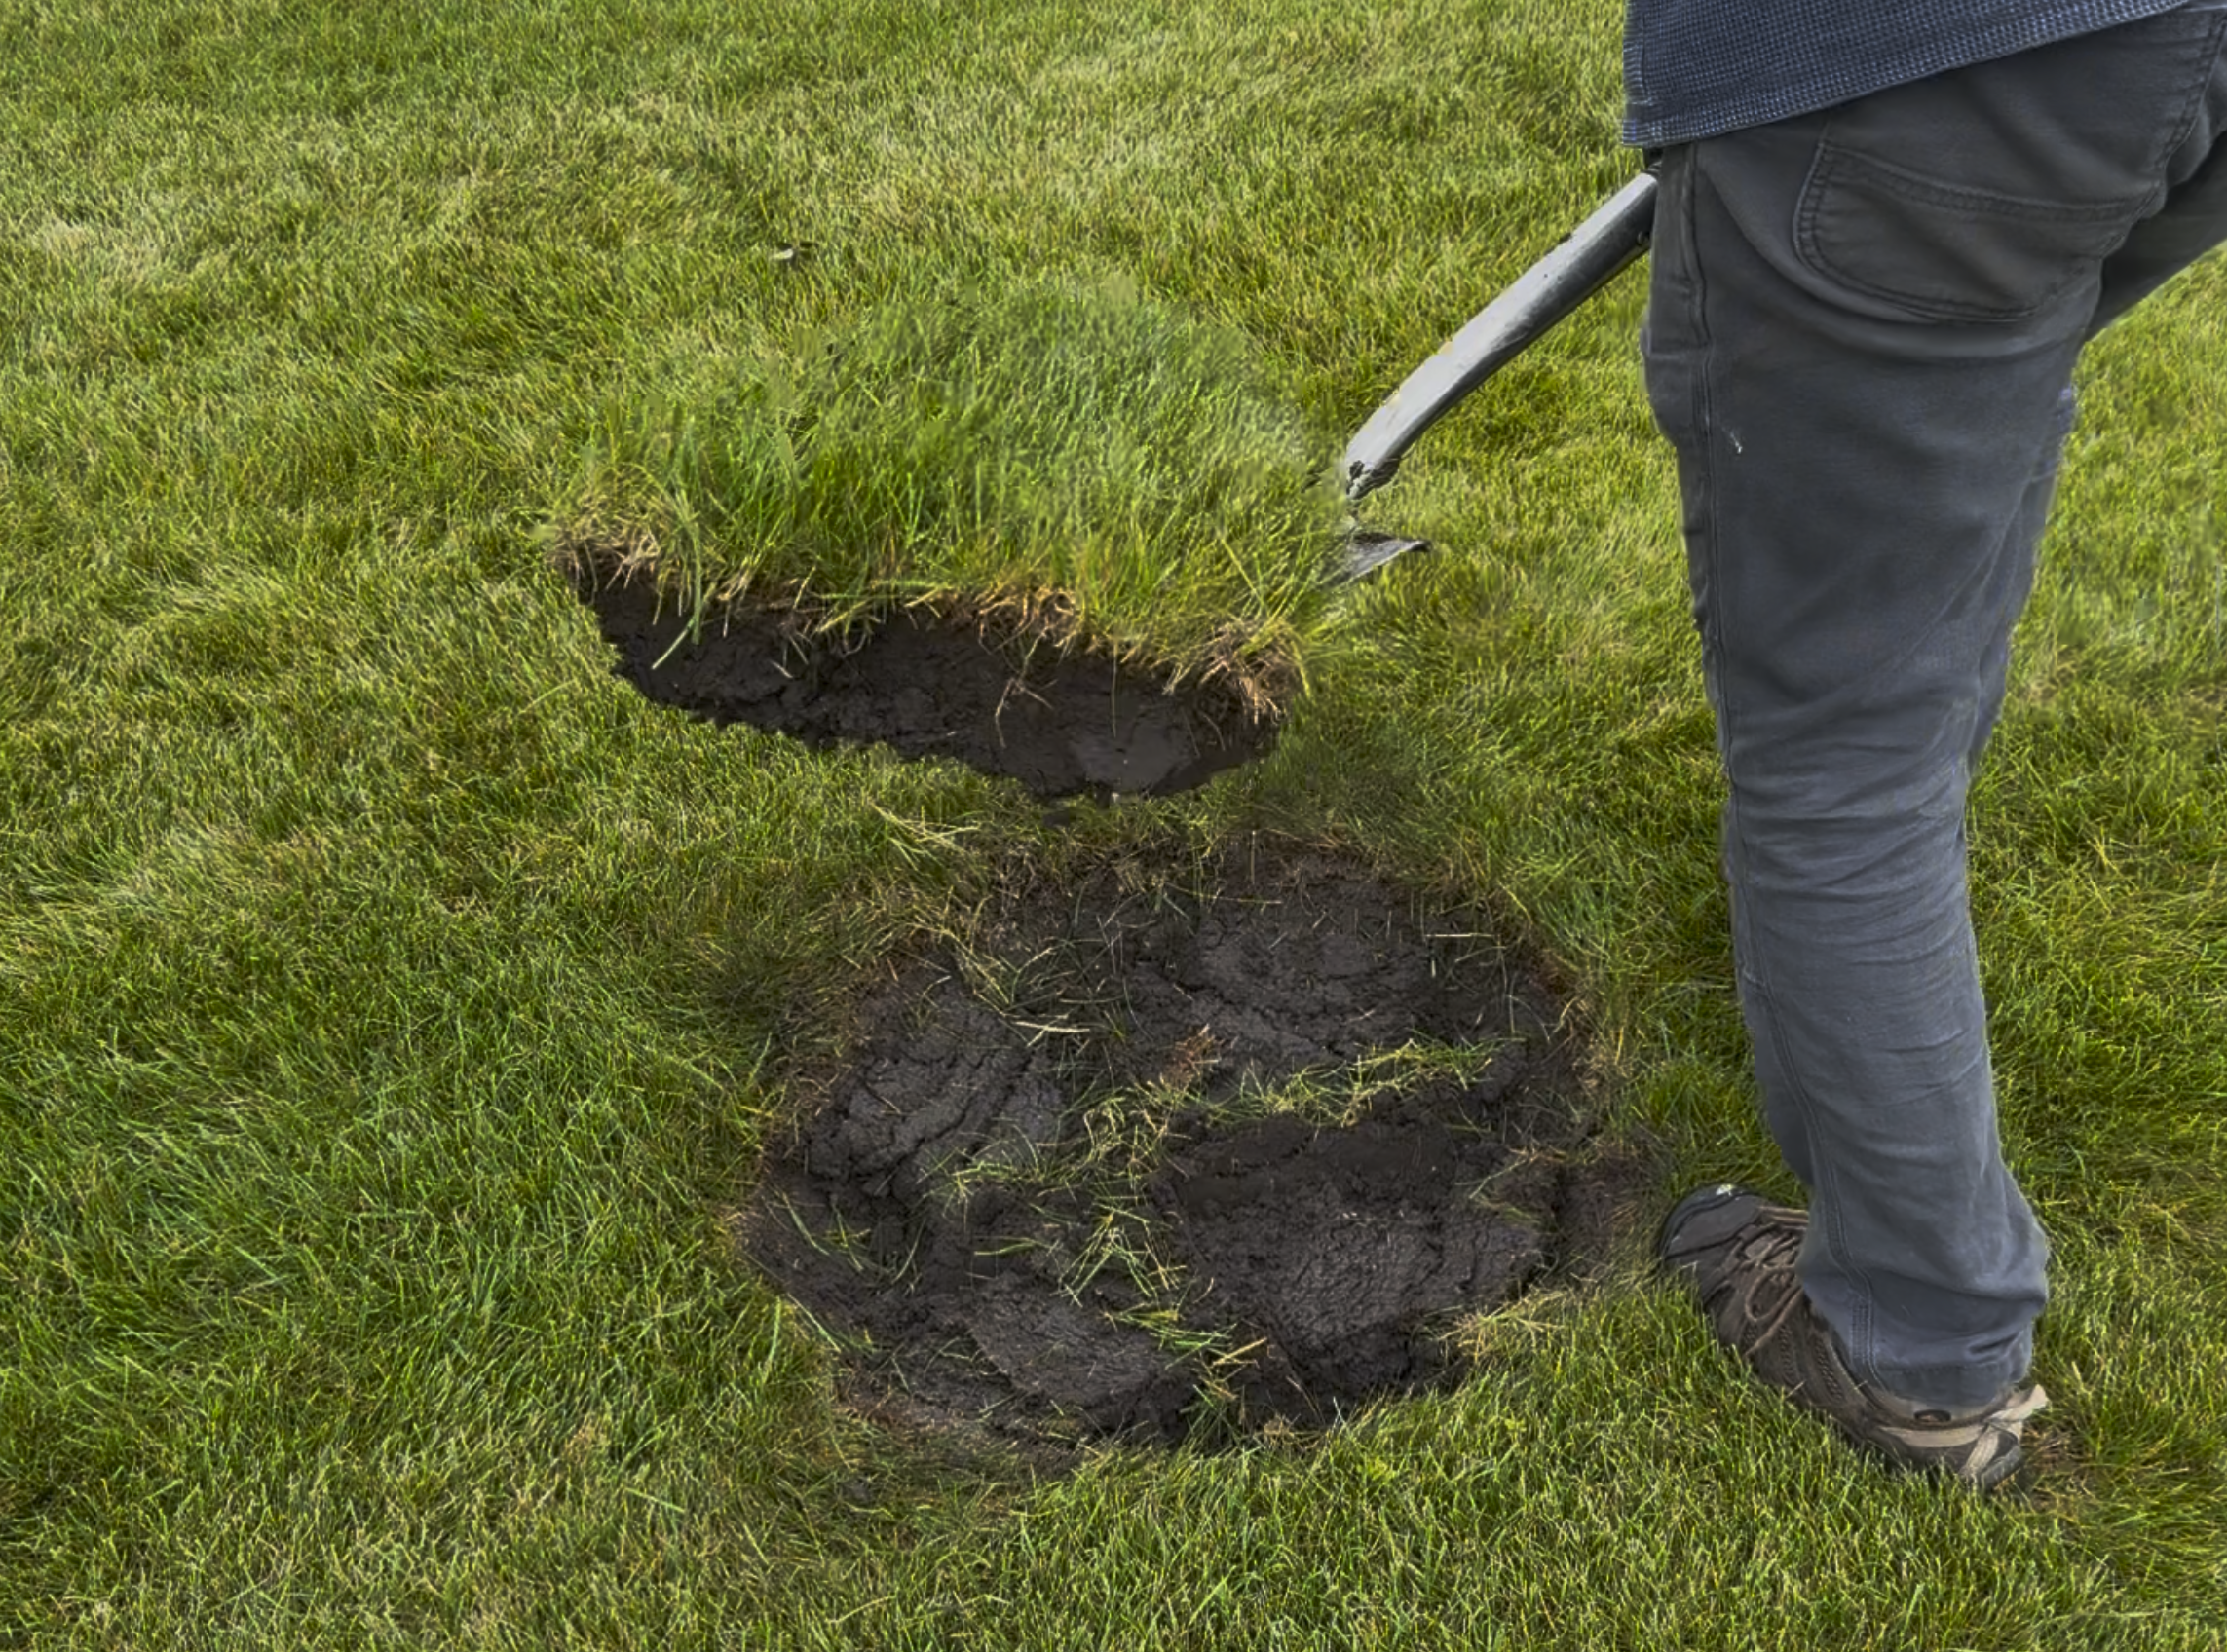
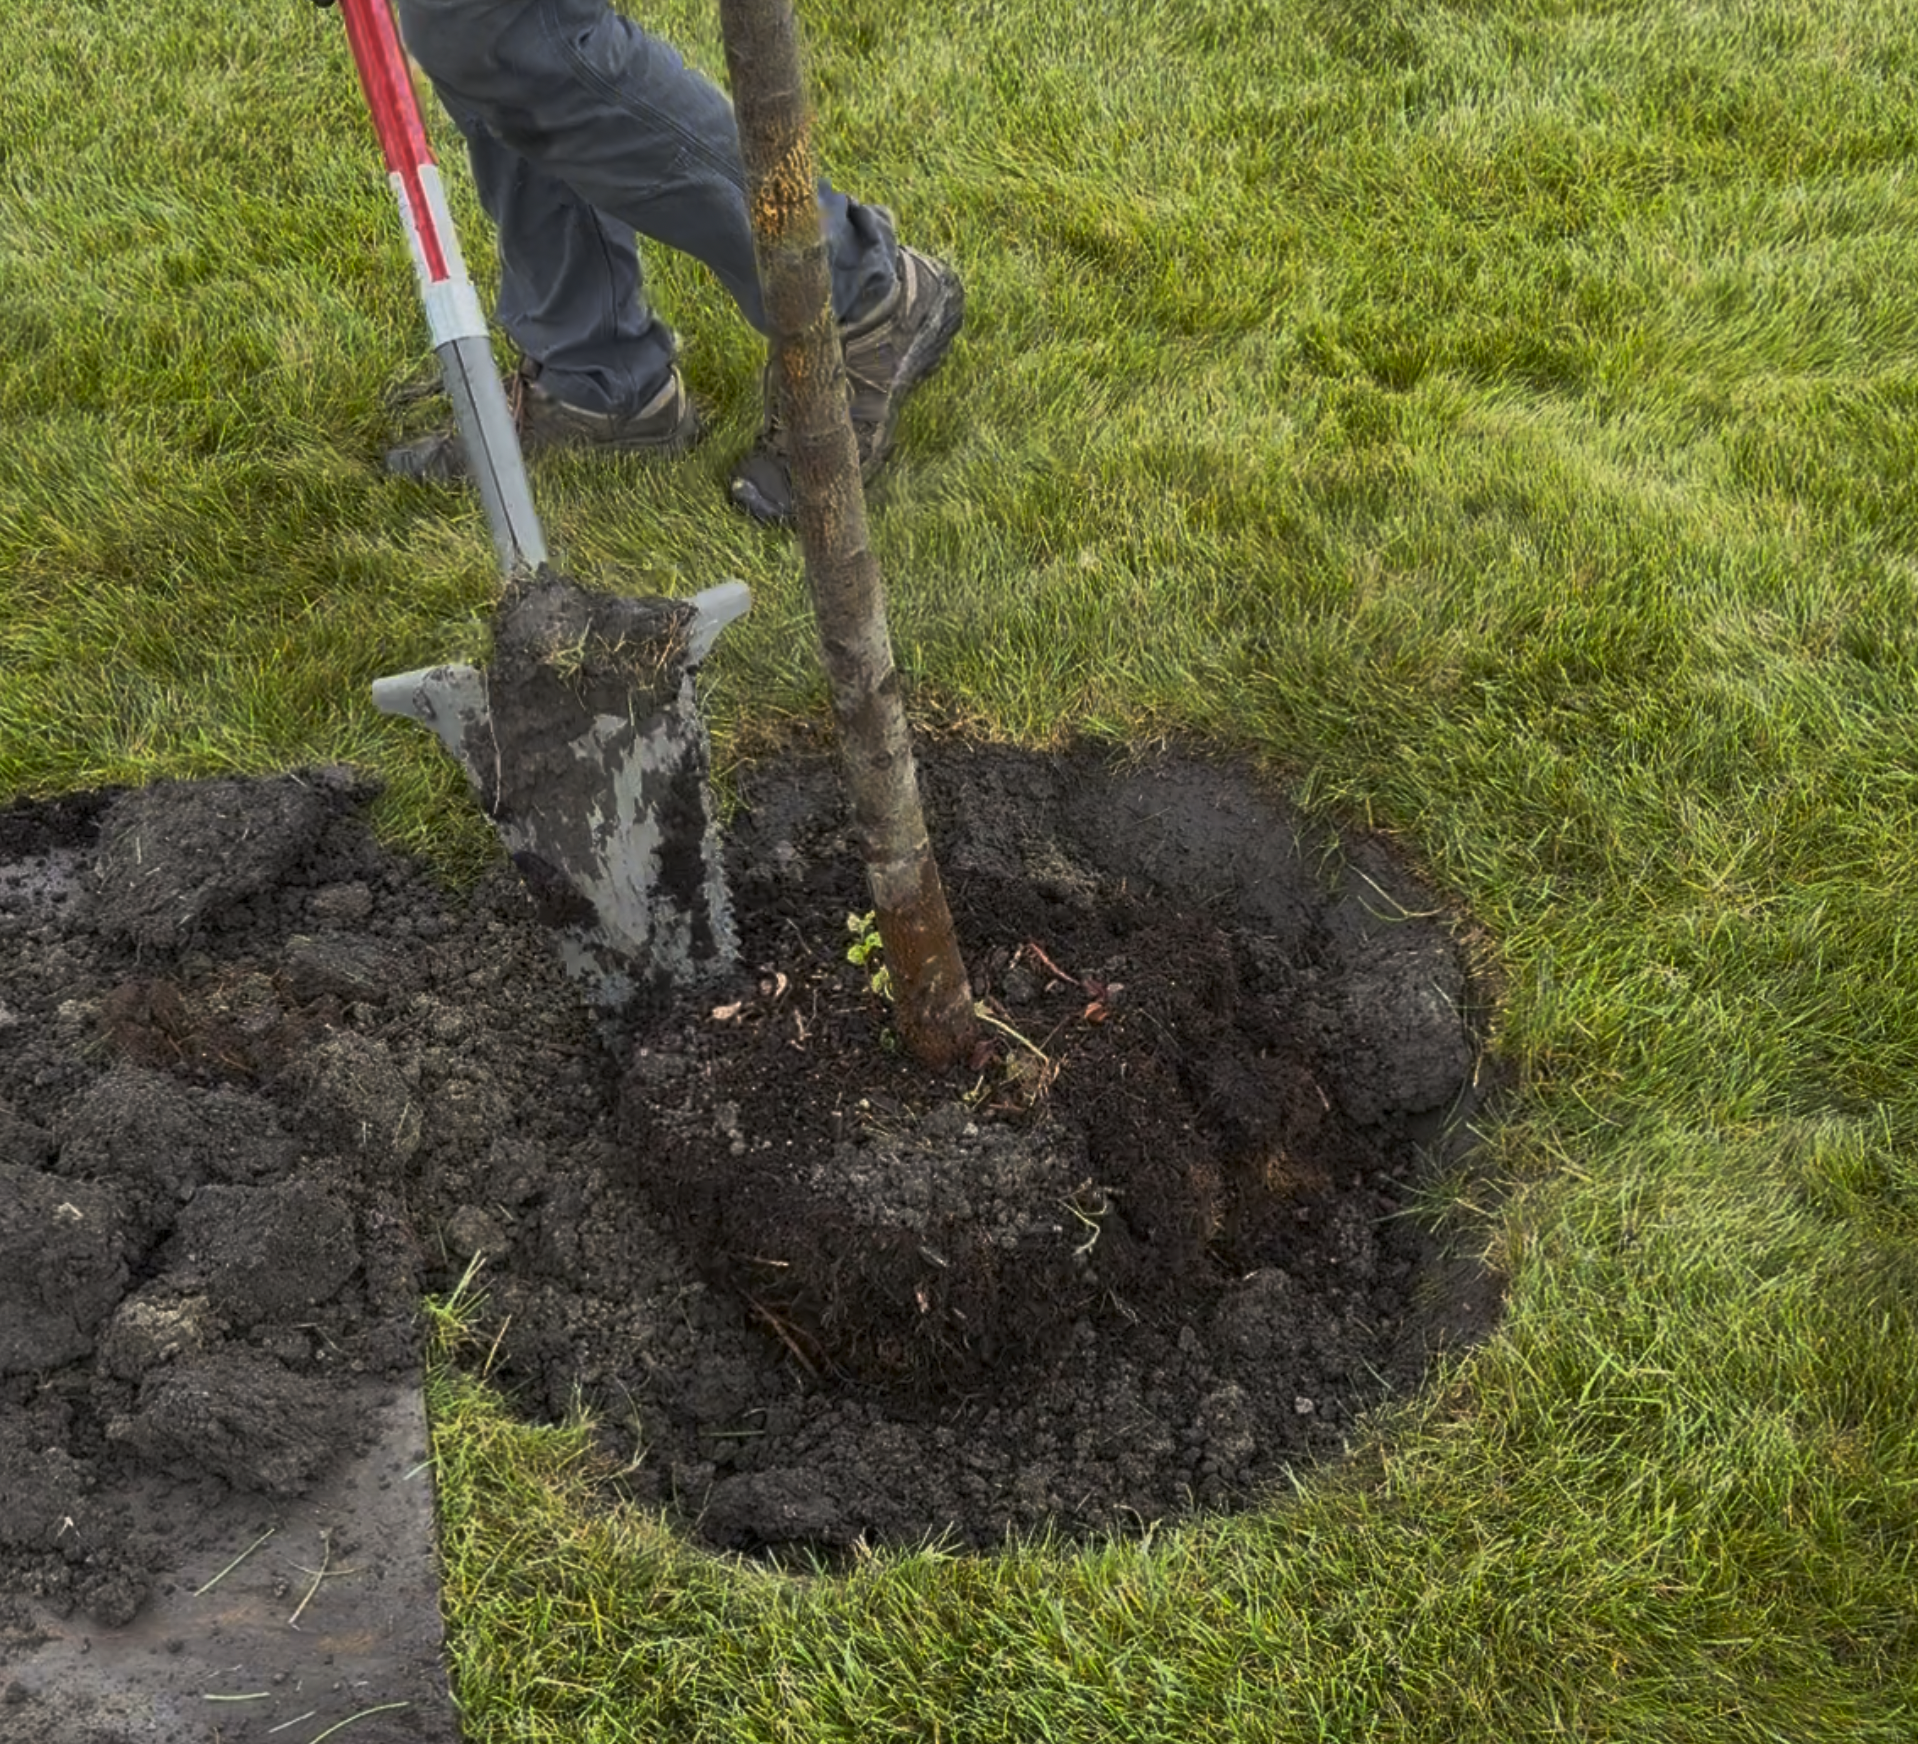
Next, I like to use a shovel with a saw-tooth edge to loosen the soil. This type of shovel is primarily used for projects where you have a lot of roots to cut through, and they work fantastically for that, but they’re also great for penetrating hard or compact soils. Luckily for me today, this soil is loose and has good soil moisture, making the digging easy, so I really wouldn’t need to use this shovel here, but it’s just become a habit in my process.
But I will mention that this sawtooth shovel shows no mercy toward underground utility lines, especially irrigation lines, which are common at this hole depth. Whether or not you use a shovel like this, it’s always important to have your utility lines marked by locating services to avoid costly repairs or dangerous situations if gas and electric lines are in the area.


Radius Root Slayer XL
Radius makes the blade of the Root Slayer XL out of 13-gauge mid-carbon steel. It measures 13 inches in length and has an extra-wide 10-1/2-inch top step. This inverted V-shaped blade features root-cutting ripsaw teeth.
When you purchase through links on this site, we may earn a small commission at no additional charge to you.
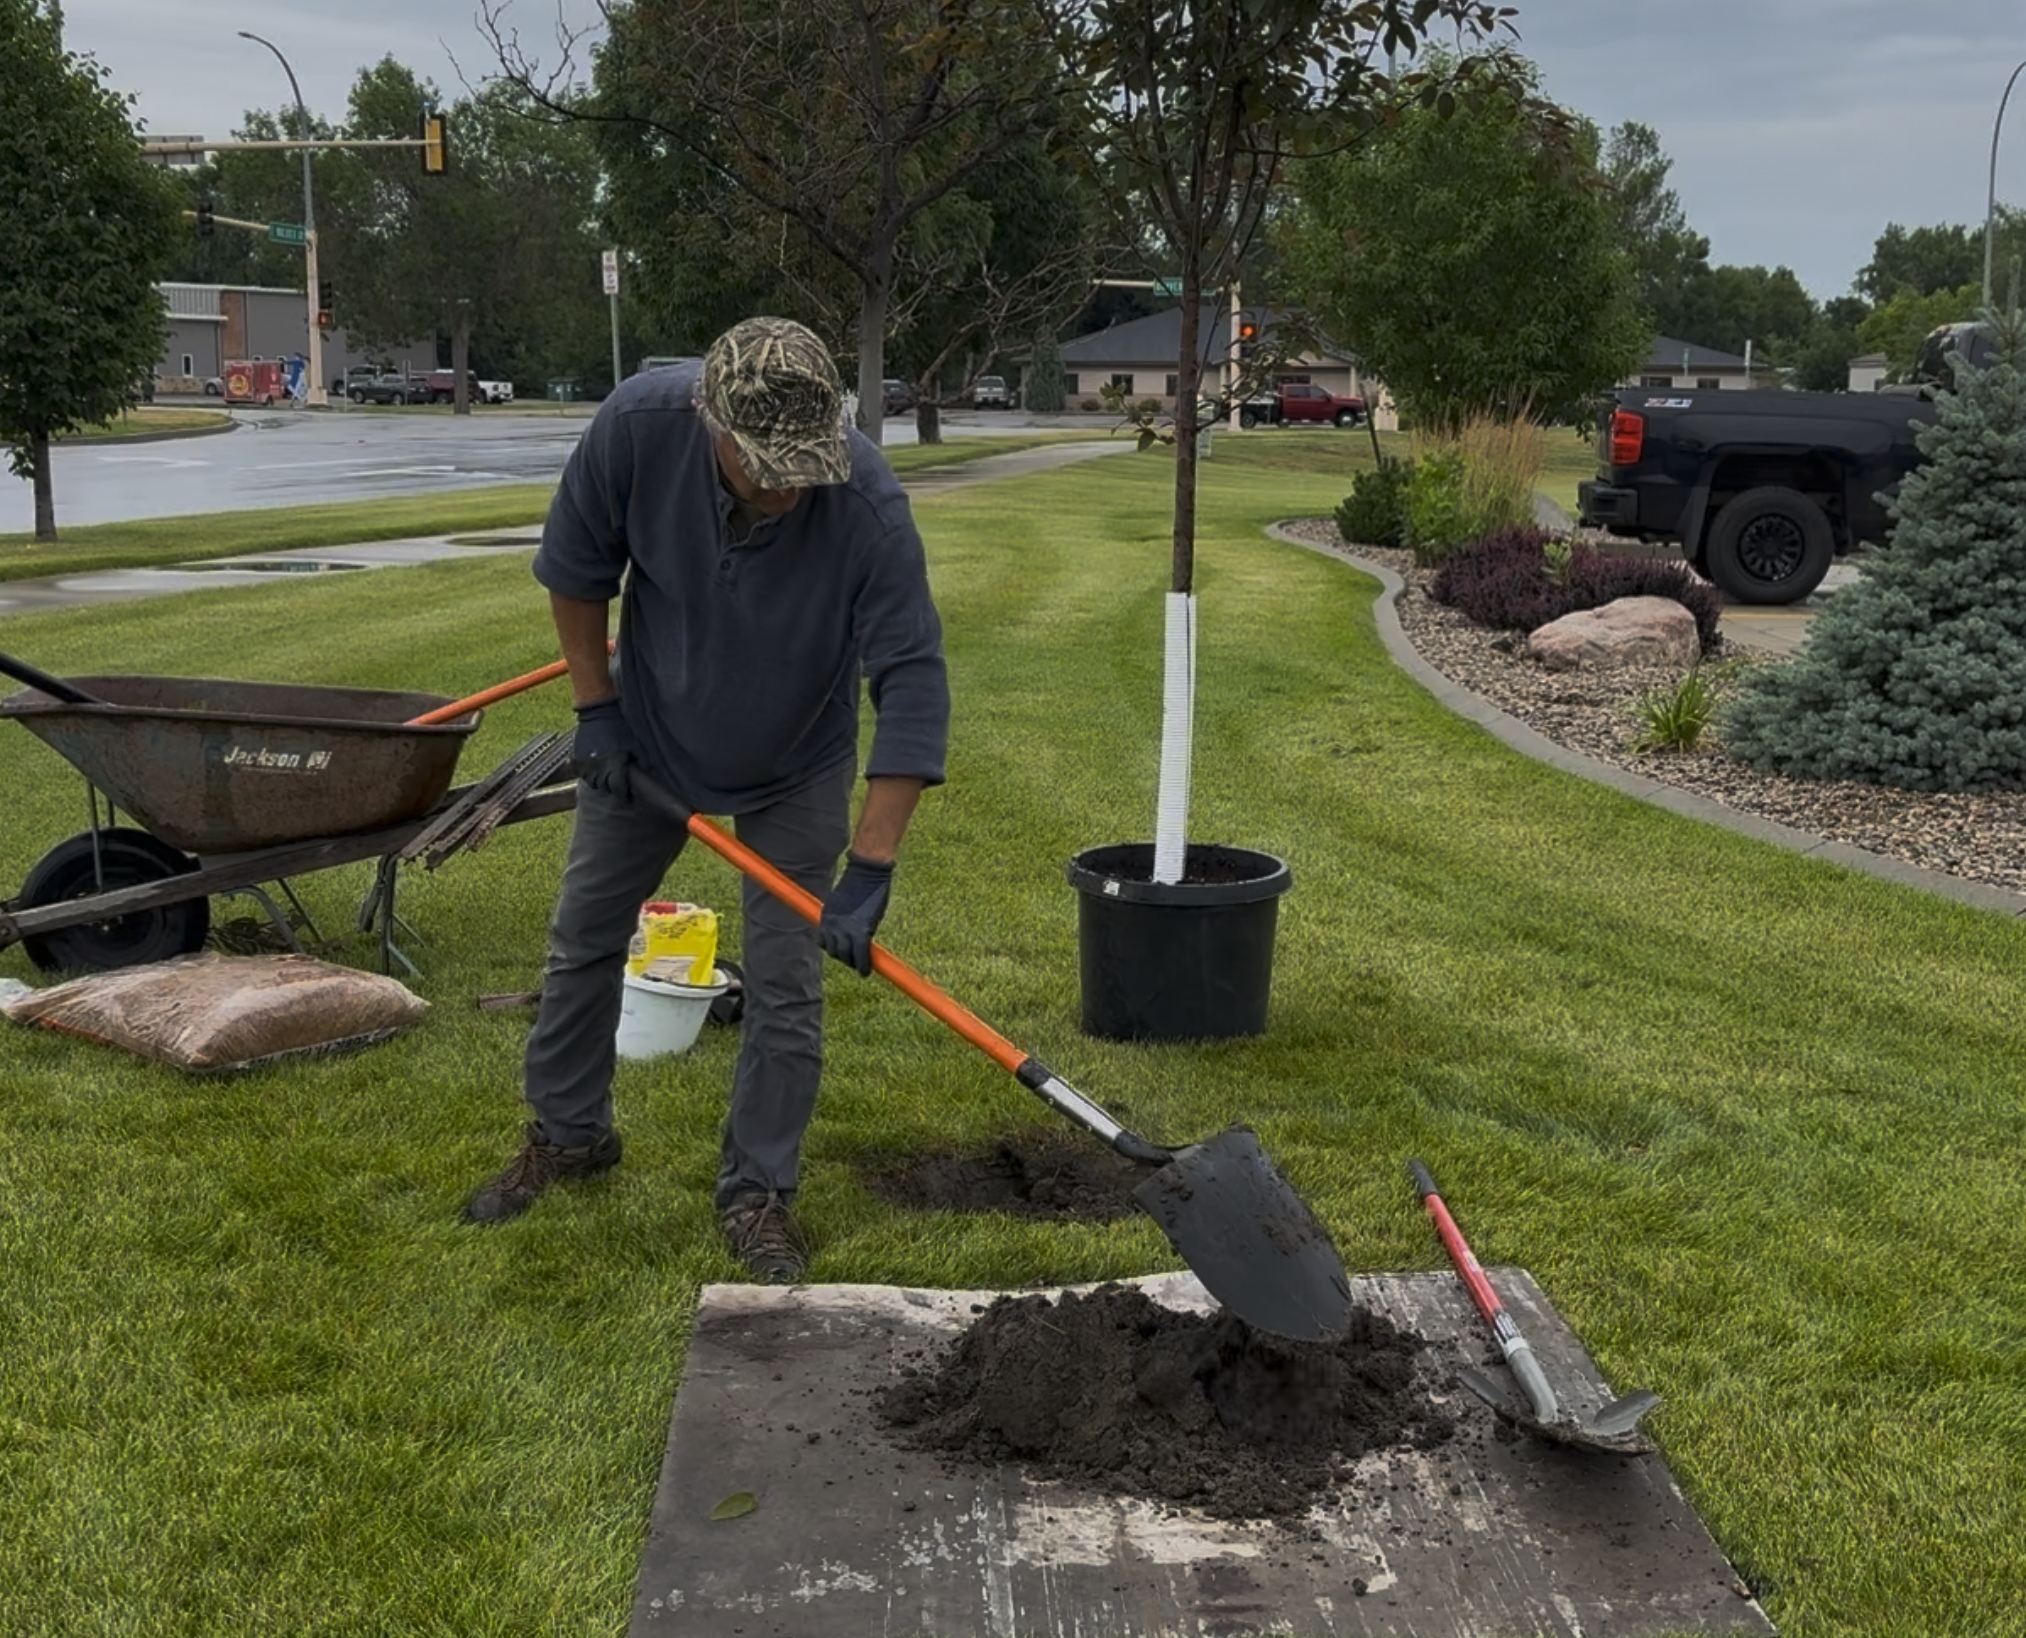
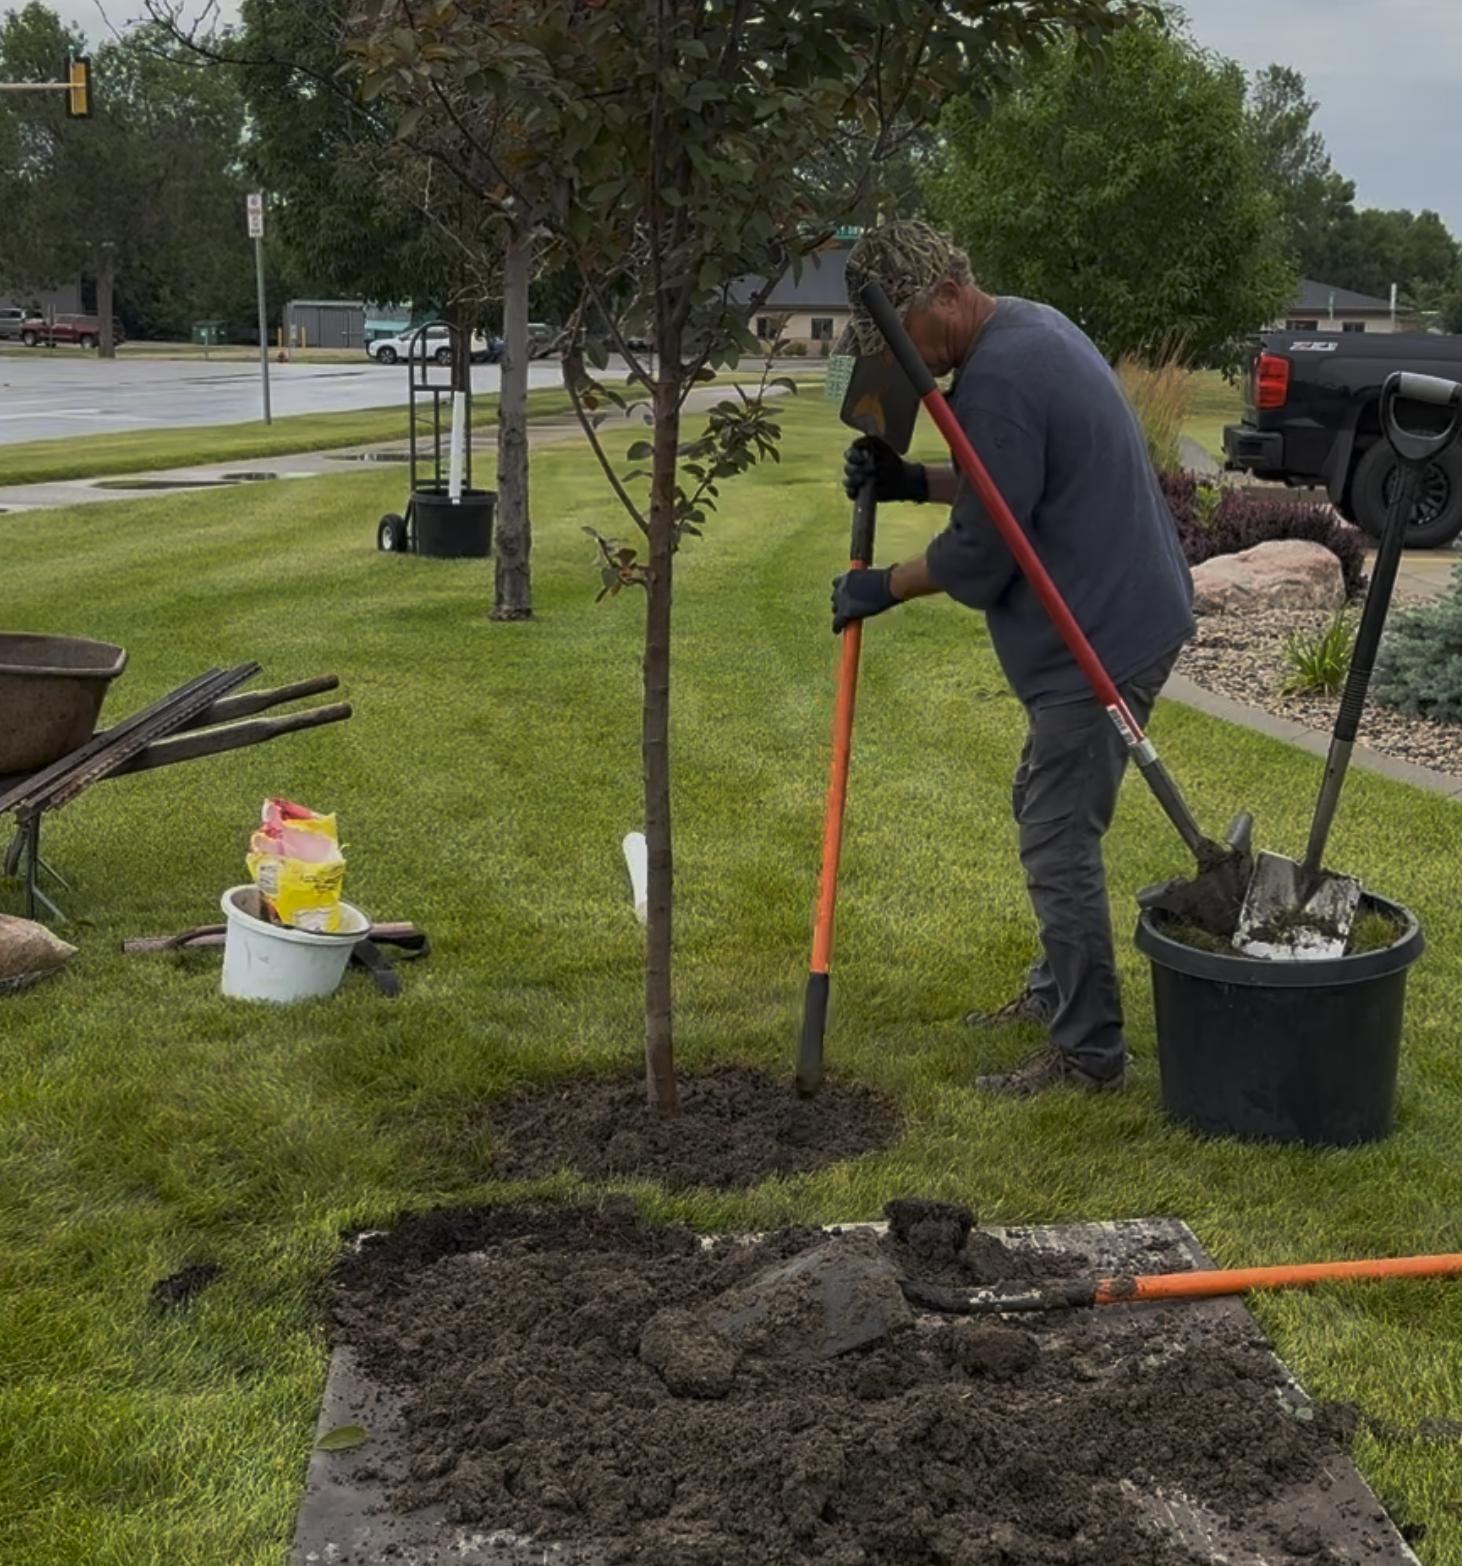
Once the sod is removed, I switch over to my round-point shovel and start excavating. Now you’ll often find information on planting trees recommending that the hole be twice as large as the rootball.
And that might be good advice if you are dealing with poor soils like hard clay or rocky soils where the soil may need to be amended, but this is a good loamy clay soil, and it will be easy for the roots to start establishing themselves in this new ground right next to the root ball.
So my hole here only needs to be large enough to easily turn and adjust the root ball so I can get the trunk straight and adjust for planting depth.
The greatest thing about container-grown trees is that you can plant throughout the growing season when they are leafed out and actively growing, with excellent results, I might add. Compared to dormant, bare-root trees, you have a shorter window in the spring and fall for planting.
But there are some disadvantages to container-grown trees, and the first is root-bound conditions that can occur within the container. Root-bound trees can eventually lead to root girdling, where the roots continue to grow in a circular pattern and eventually strangle themselves.
Here’s an example of a root-bound tree on a different project where I was planting some Linden trees. I had to spend quite a bit of time cutting and severing the roots on the sides of these root balls. On severe root-bound trees, you might be better off waiting until the tree is dormant so you can really cut apart those spiraling roots.
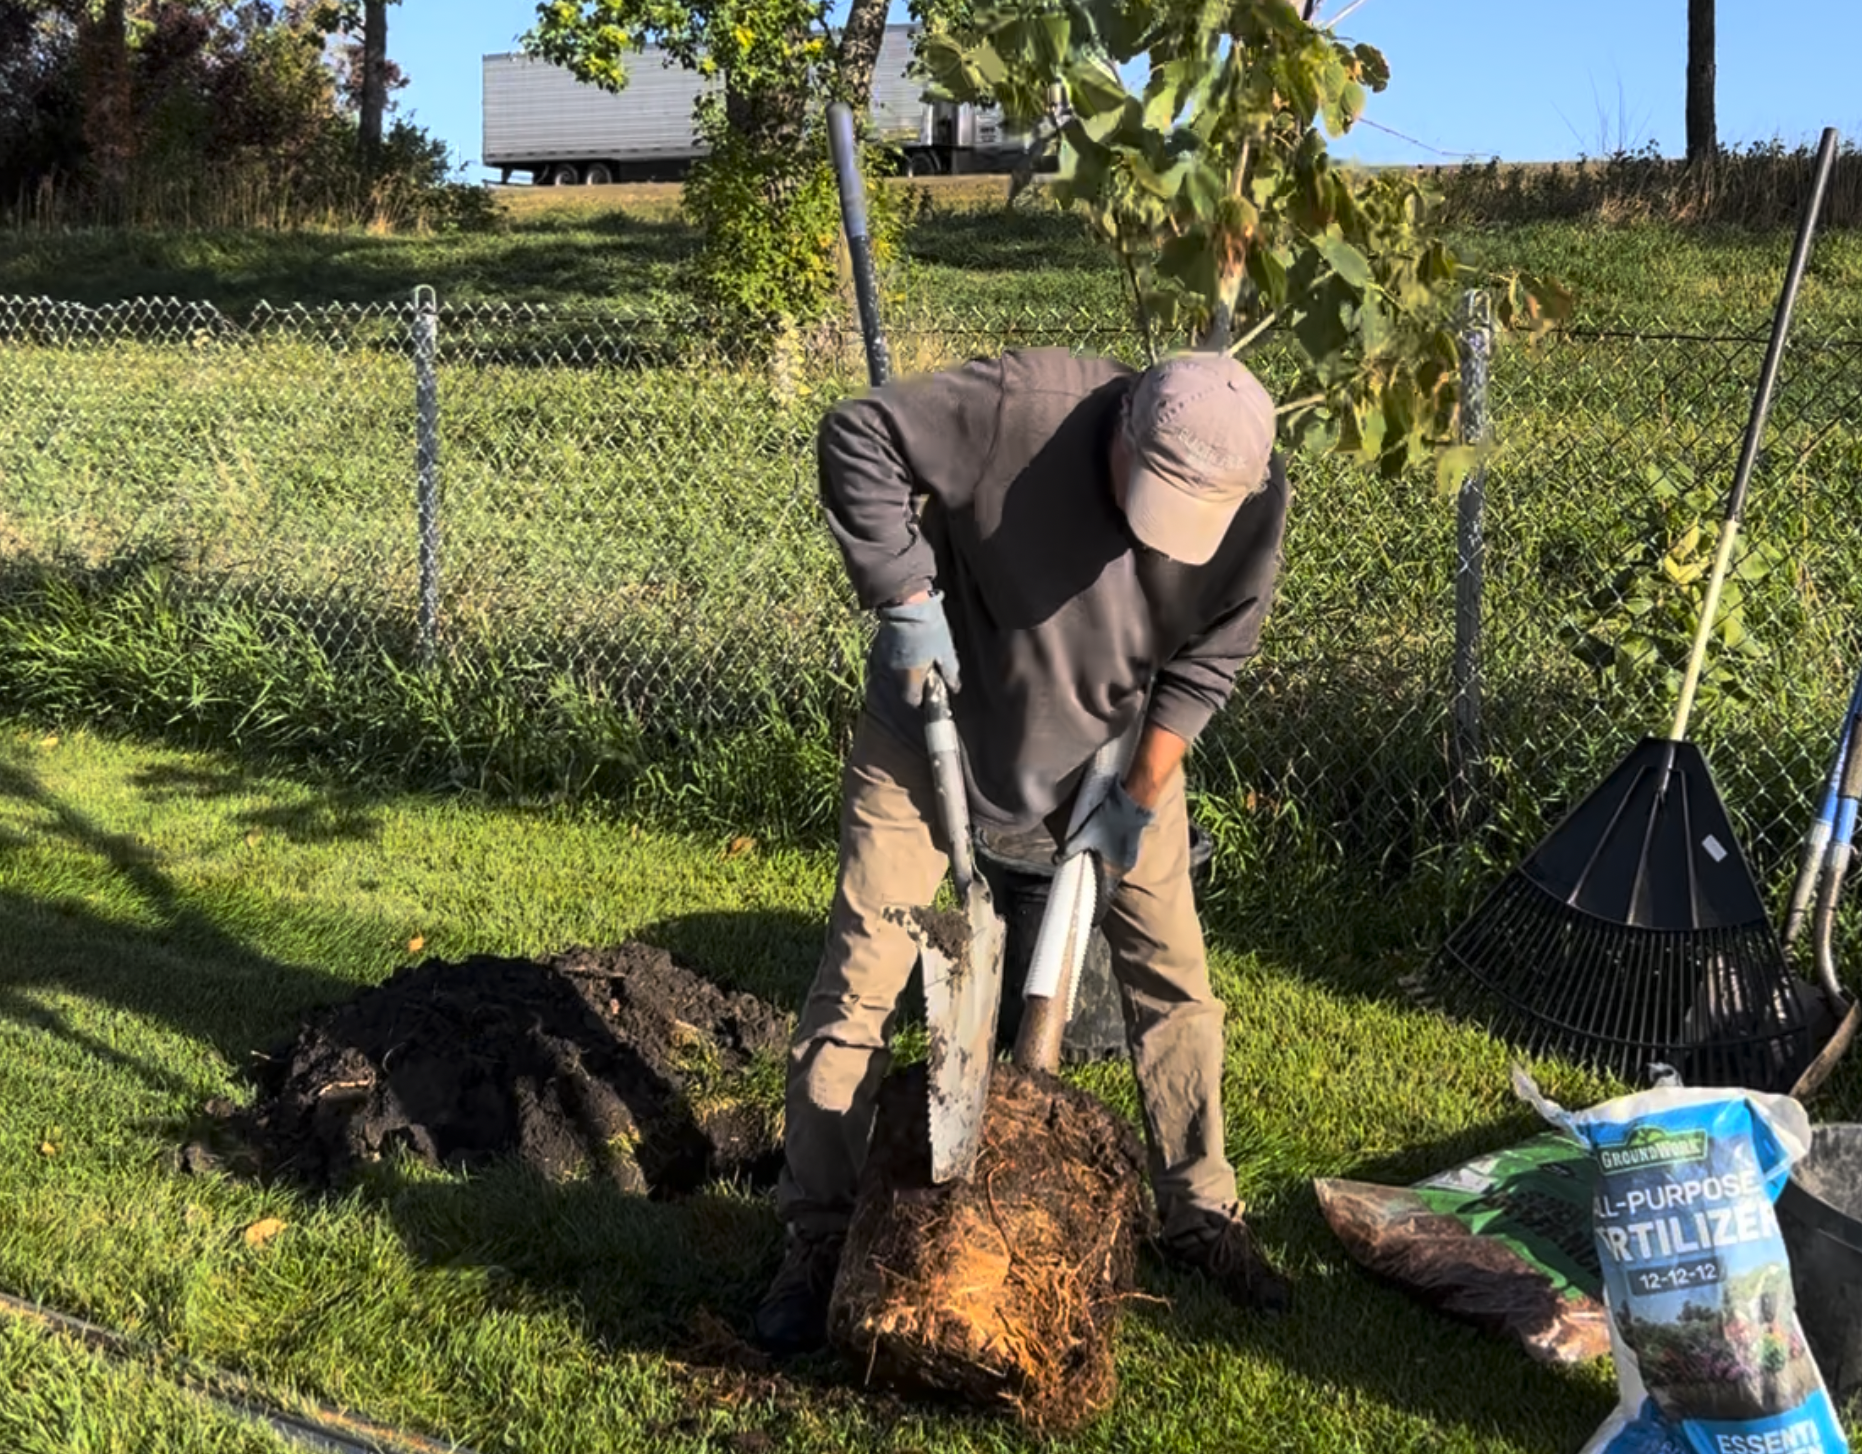
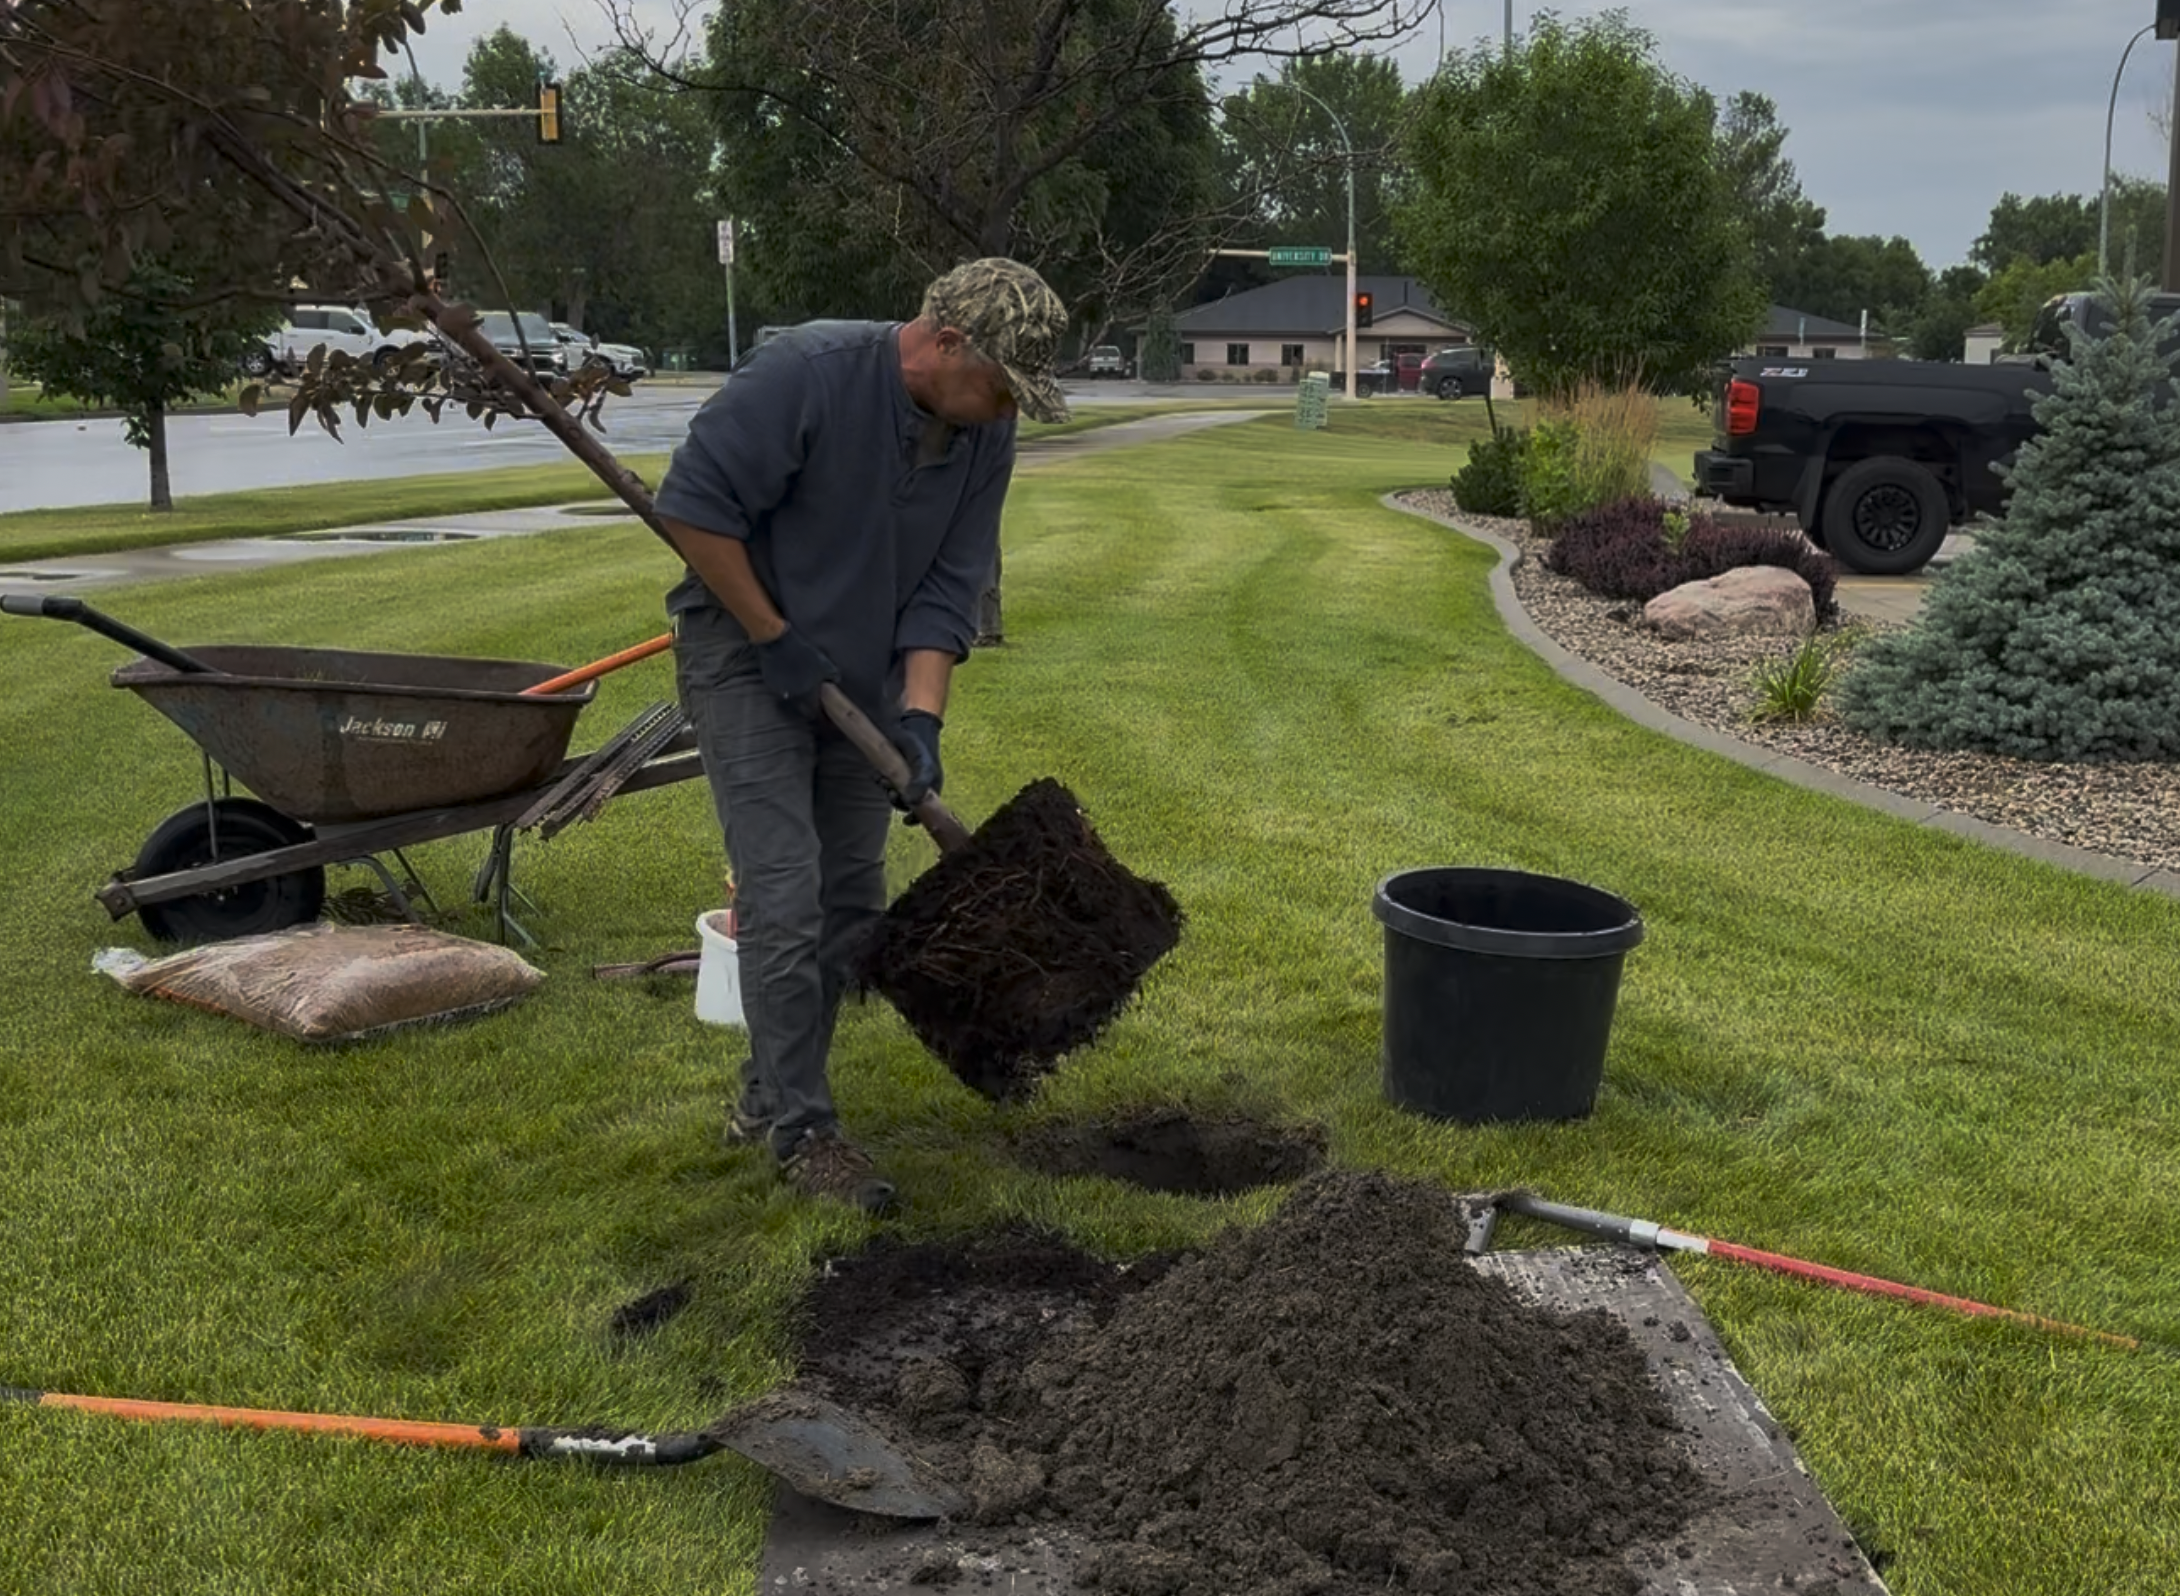
This root ball on our Crabapple is in good shape, but I’ll still do some light chopping to get those roots broken away from the sides.
So what I do when shopping for trees is pull them out of the container at the nursery. If you have a mass of roots where there is no longer any visible soil, you could potentially have a future problem. Sure, you can cut those roots apart, but if you’re planting while it is actively growing, it can lead to a higher probability of transplant shock, depending on how many roots you need to cut, as well as taking a lot of extra time. By and large, it’s best to avoid trees with a severe root-bound problem.
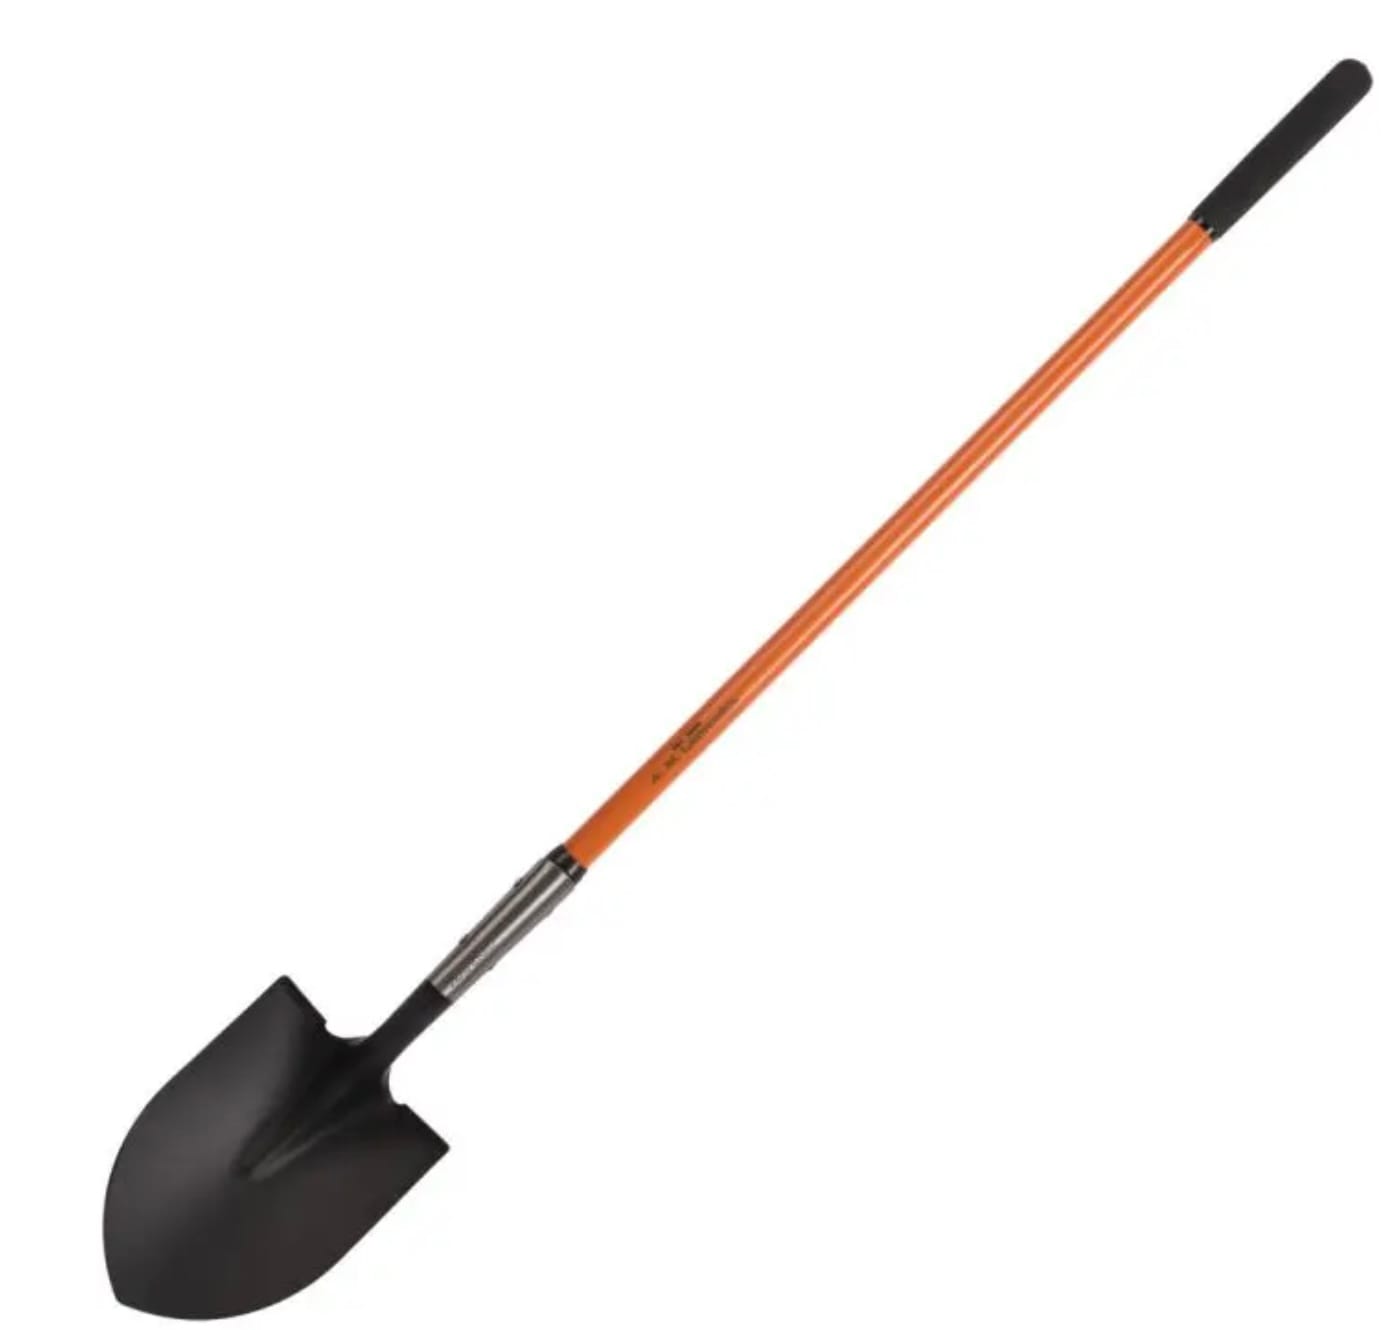
Closed-Back Round-Point Shovel
Tuff-Strong fiberglass handle with 14-gauge steel
When you purchase through links on this site, we may earn a small commission at no additional charge to you.
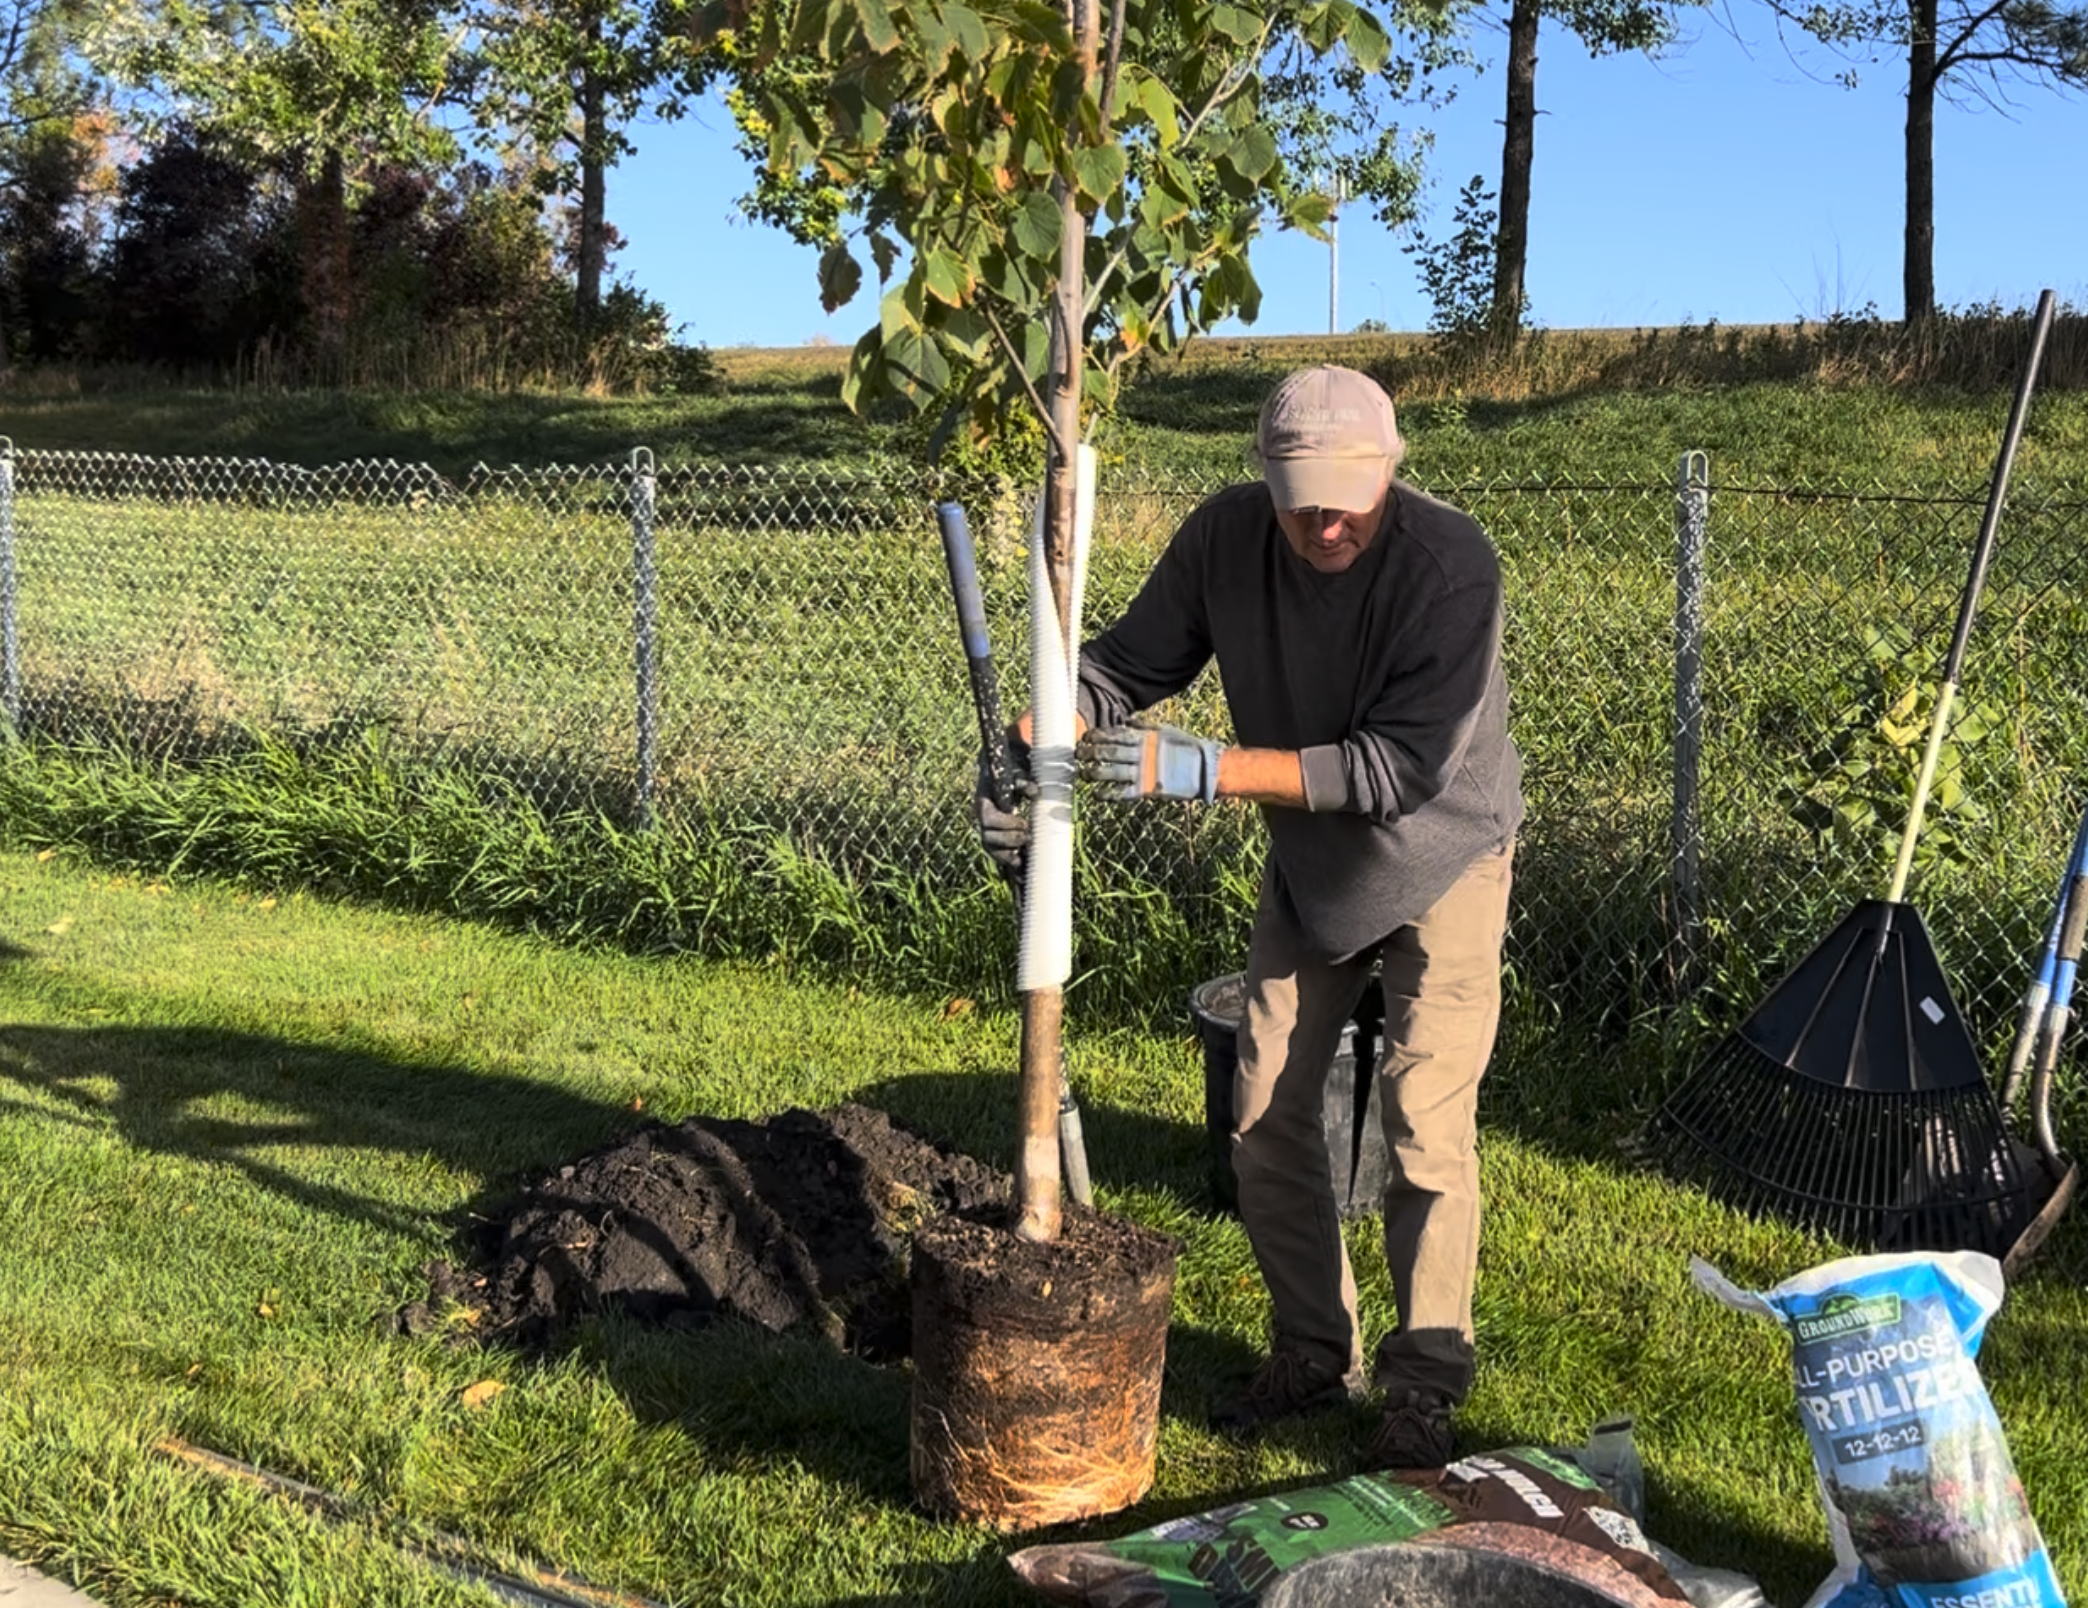
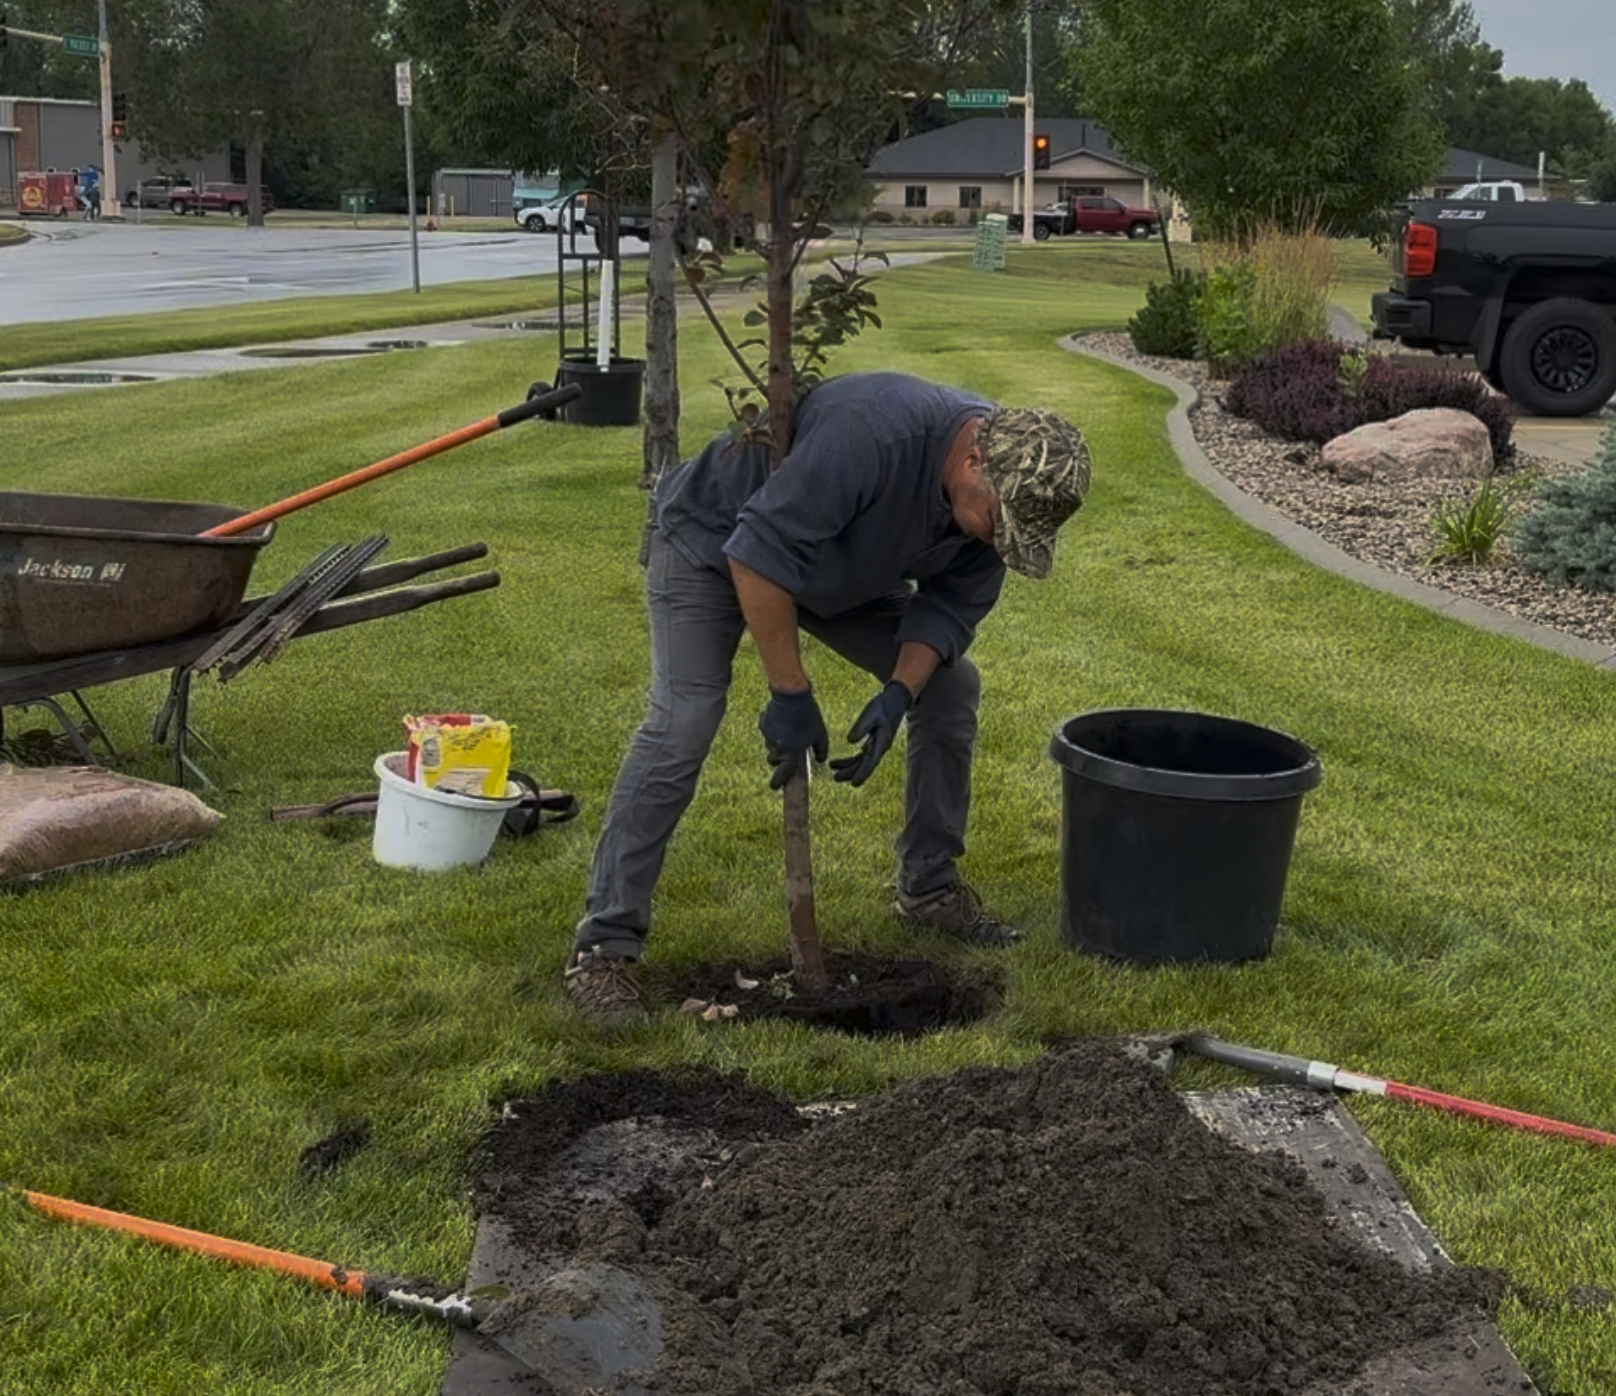
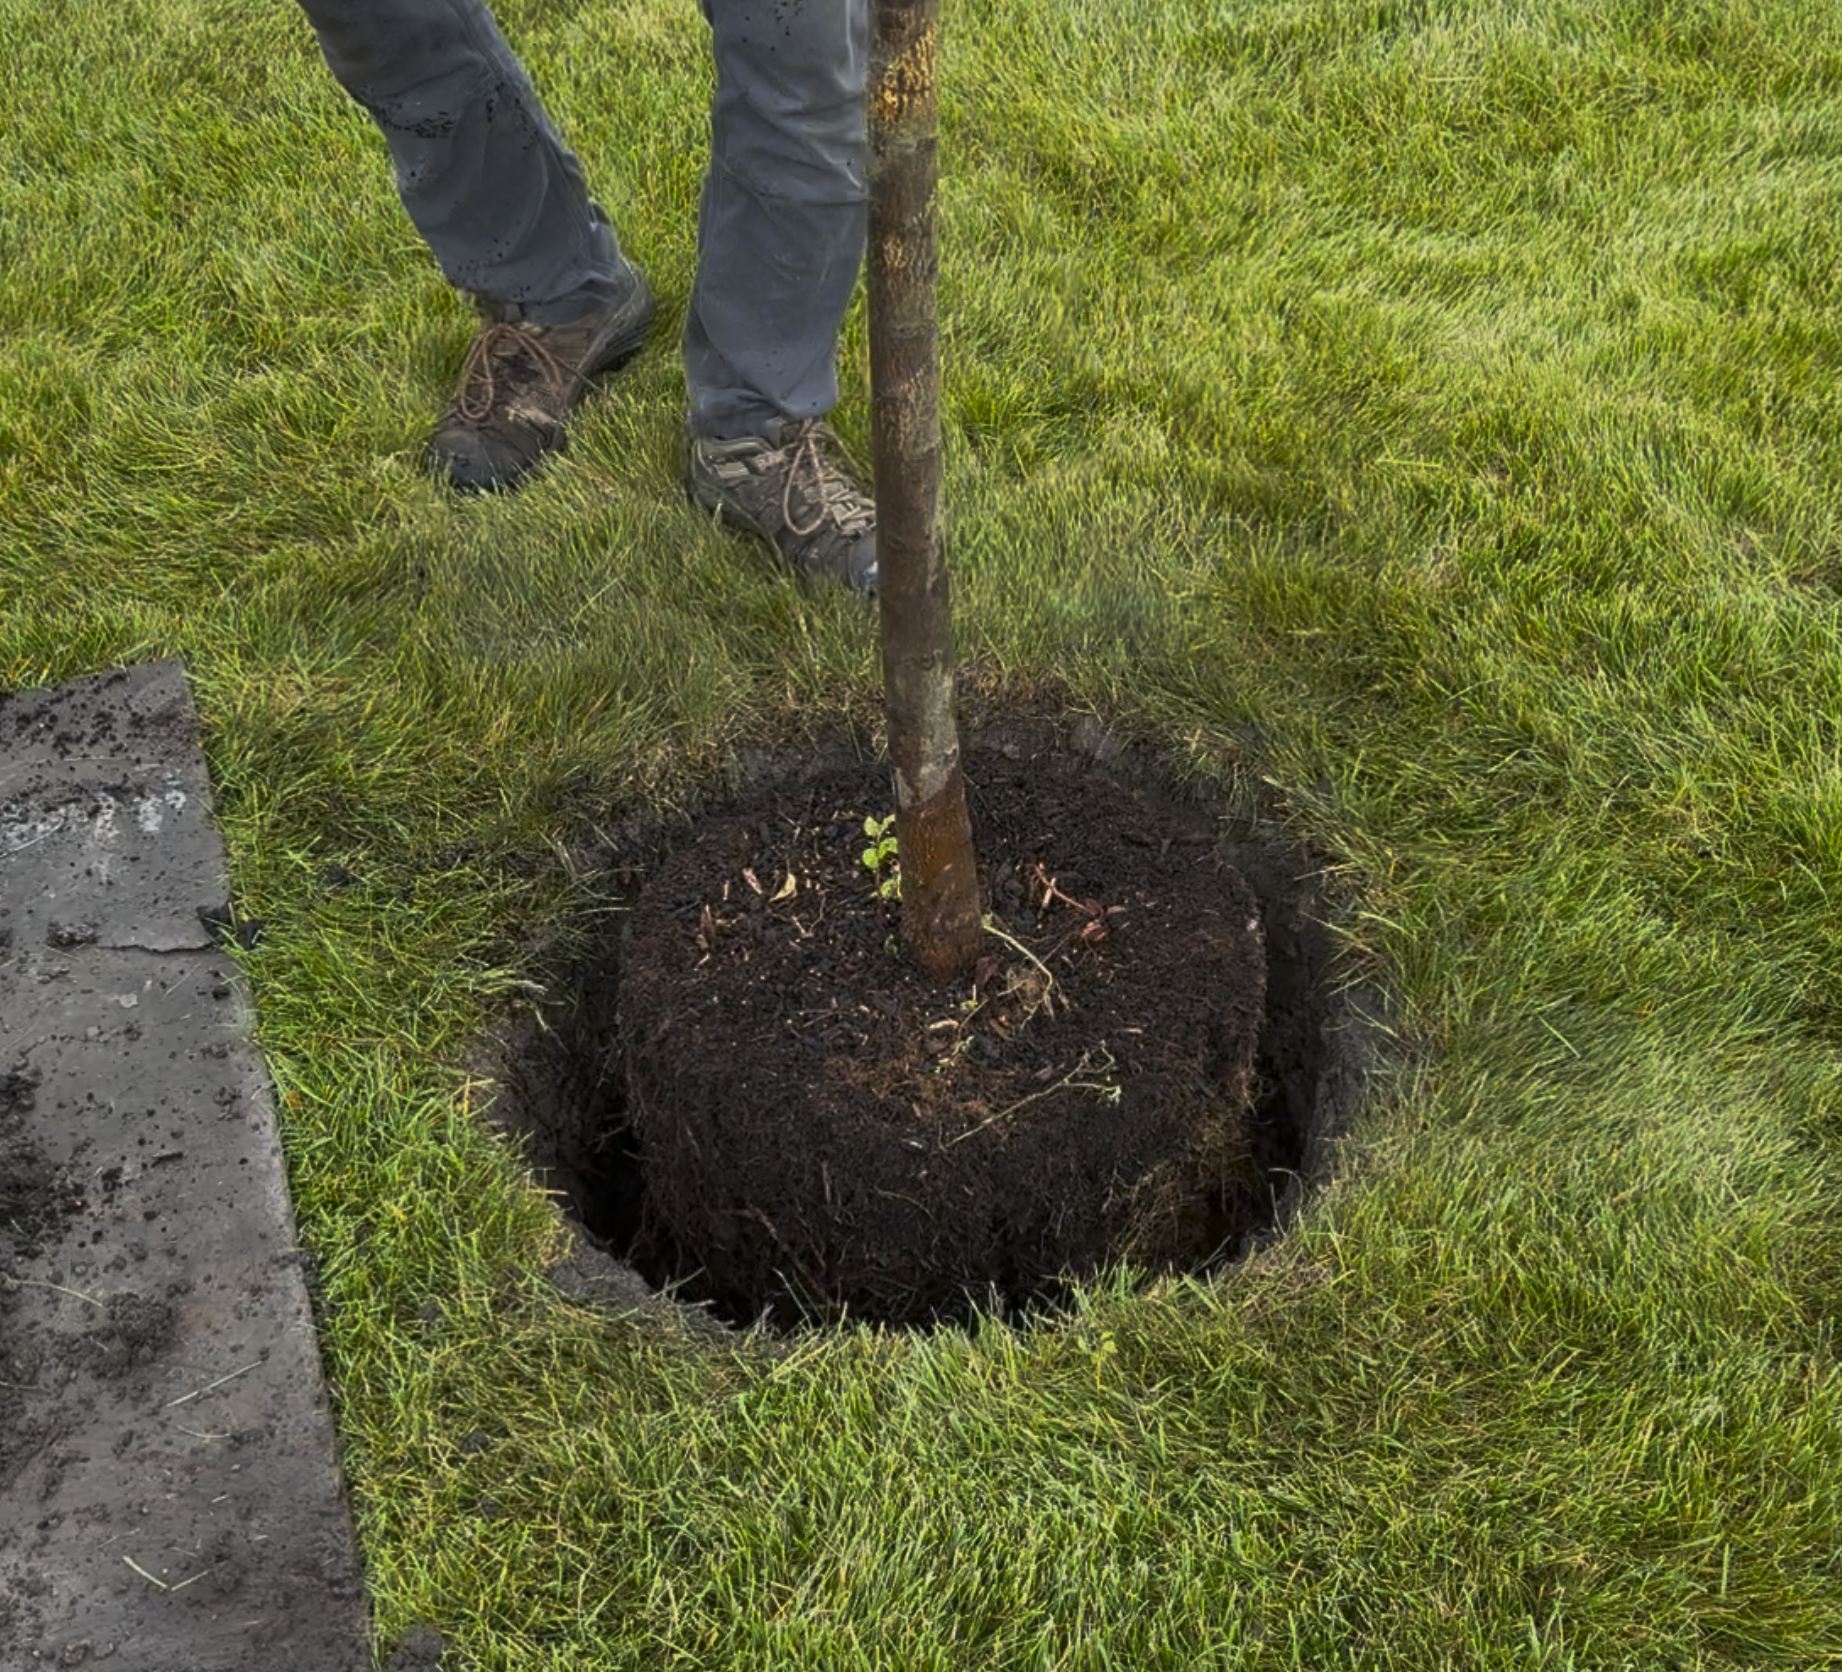
After getting the tree into the hole, I usually step back to see if the trunk is mostly straight and to check if I’m close to the proper planting depth.
And that’s the second disadvantage of container-grown trees. They can often be planted too deeply in the container, and when trees are planted too deeply in the ground, it can often shorten their lifespan due to crown rot, or, here again, the self-girdling problem.
So not only do I look for root-bound problems when picking out trees, but I’m also looking for trees with increased diameter or flare at the soil level. The top lateral root should be just below this flare area, and that’s what you are shooting for. You want to plant your tree with the root flare and the top lateral root at or just above soil level.
And to avoid planting too deep, I always try to avoid over excavating or going deeper than the height of the rootball. If you overexcavate and have to add a lot of loose soil back into the hole, there’s a good chance your soil will settle or sink, and subsequently, your tree will settle in deeper than it should be as well.
If you look closely, not only is this tree starting to flare where the trunk meets the soil, but the top of the rootball is about 2-3 inches above ground level. And then when I’m finalizing the backfilling process, I’ll also usually chop down some of the surface roots of the rootball.
At this point, I usually add just a little soil to keep the tree upright and straight, then take out one more strip of sod. The reason I wait to take out another strip of turf is so when I’m digging the hole, I don’t overexcavate. Had I removed the sod back to this diameter from the beginning, I would have ended up digging the hole far wider than necessary. More excavating, more backfilling, more work. Removing just a little extra turfgrass also reduces moisture competition for our new tree as it establishes.

I also mix in fertilizer as I go while backfilling. My favorite fertilizer for planting is Osmocote Plus. It’s a good, slow-release brand with the necessary major macro nutrients and many of the micronutrients that benefit plants.
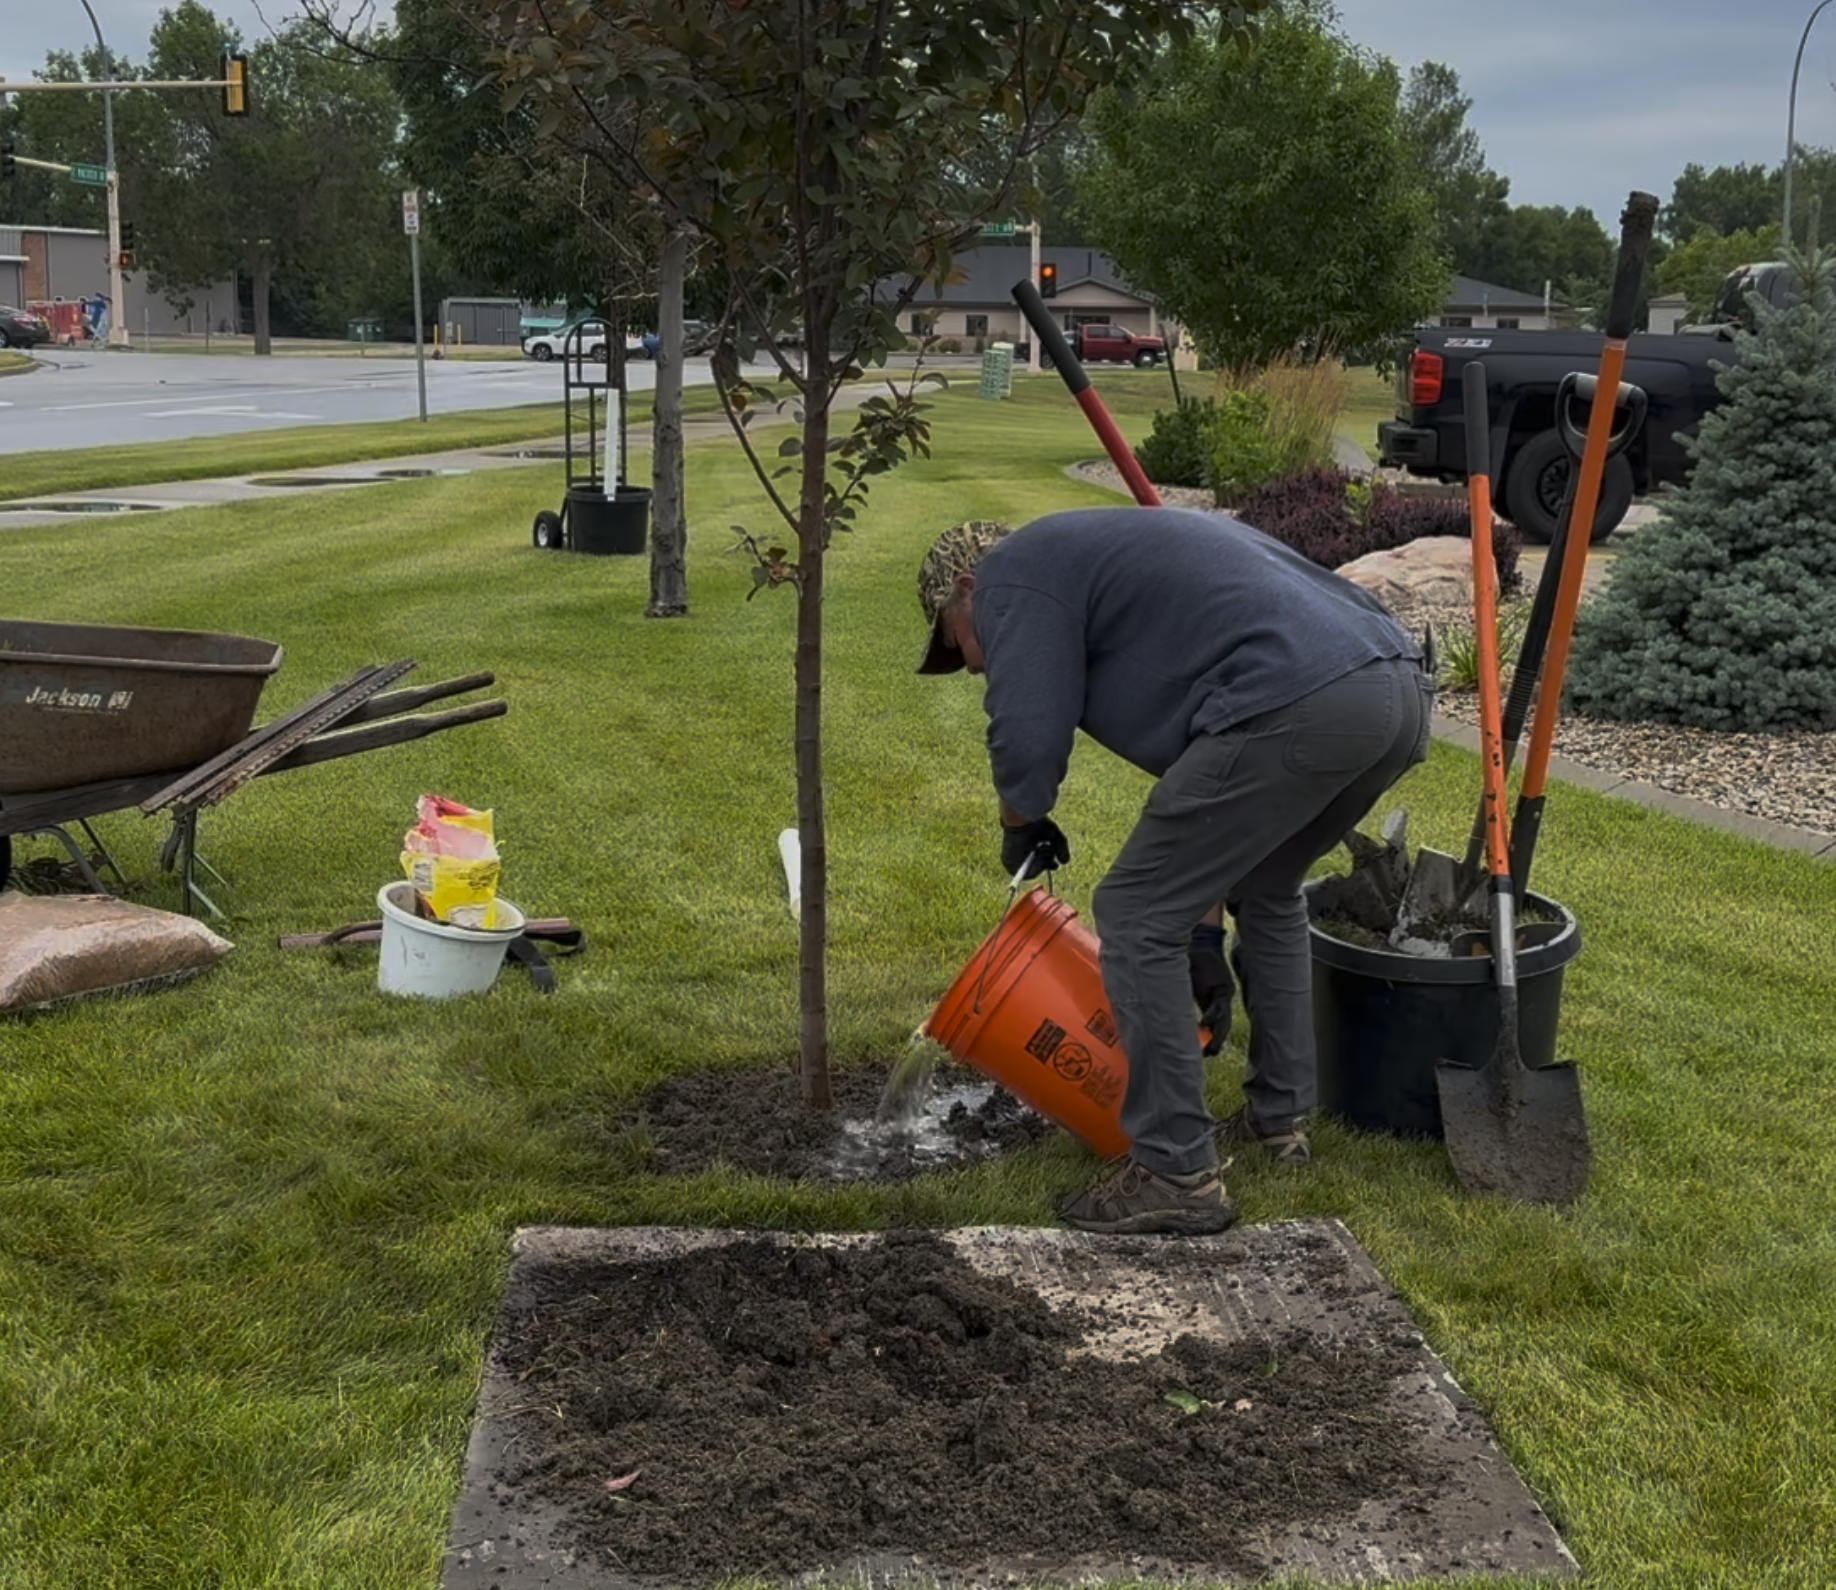
Before I start the staking process, I like to add the first round of water; that way, as I’m working, the water will begin to soak in and start to settle the soil. I’ll likely add about 3 five-gallon pails over the next 15 minutes as I’m staking the tree.
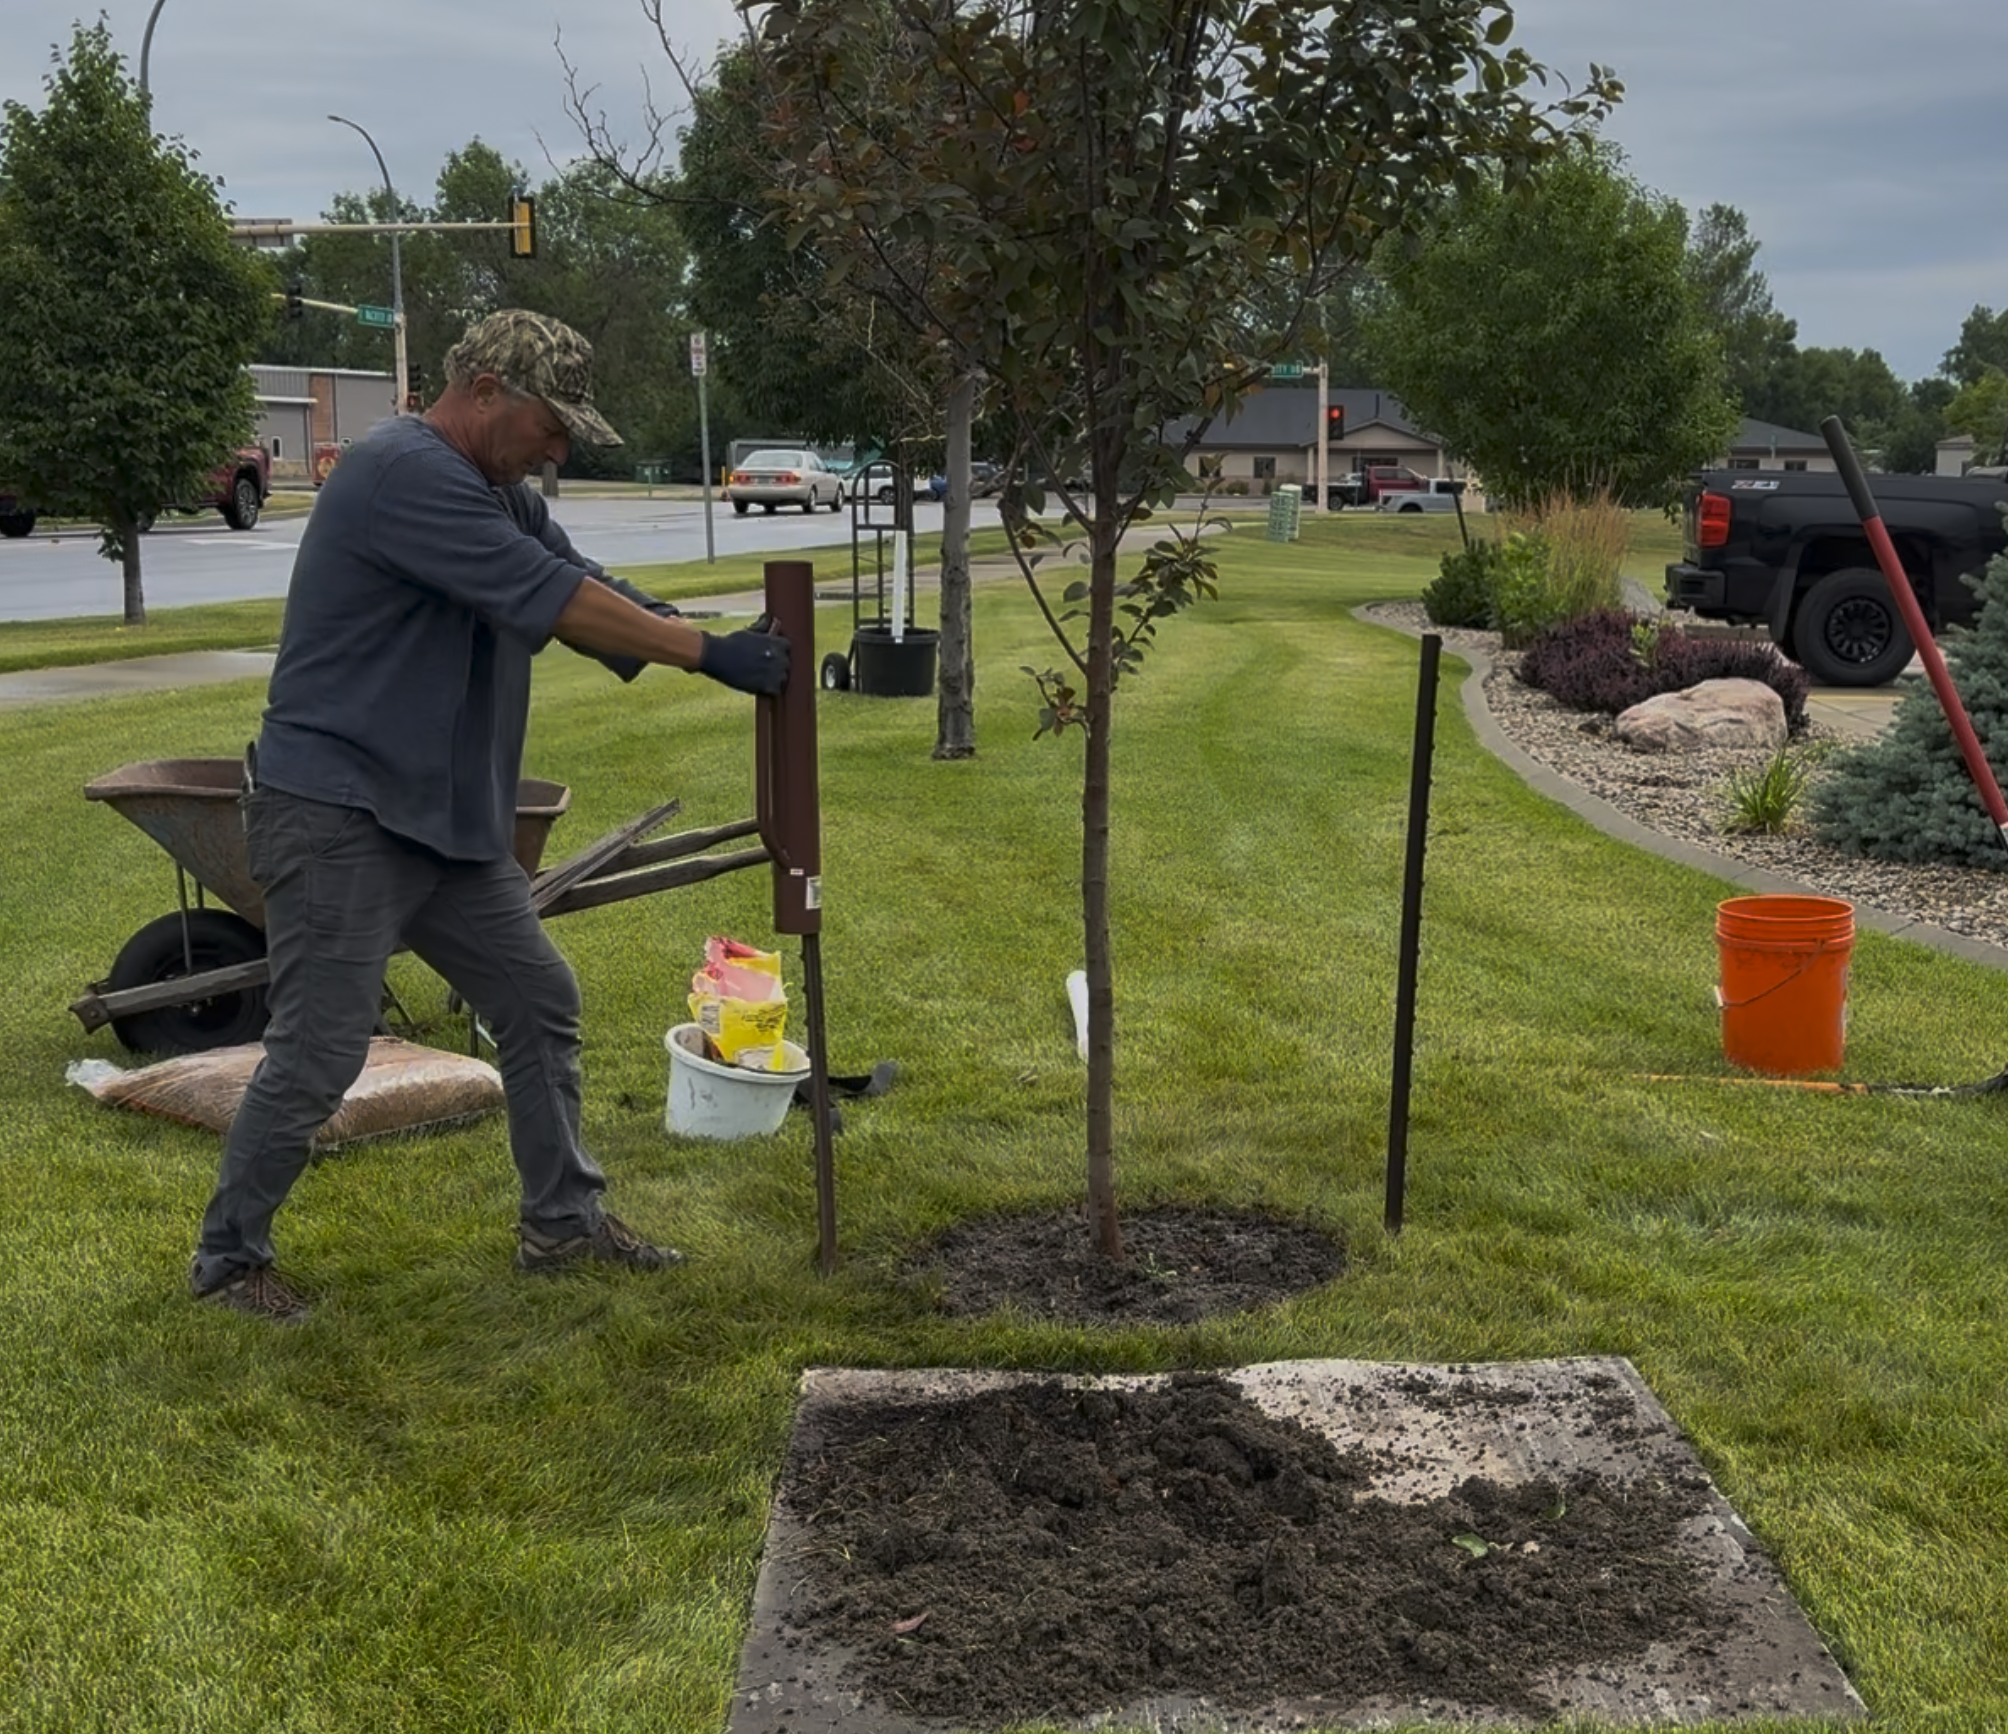
Since I live in a windy area, staking trees this height is pretty standard and recommended. Staking trees will keep them straight as the roots begin to take hold in the soil. Since it’s fairly protected here by buildings and other trees, I’m only using two stakes, but you could certainly use three depending on your situation.
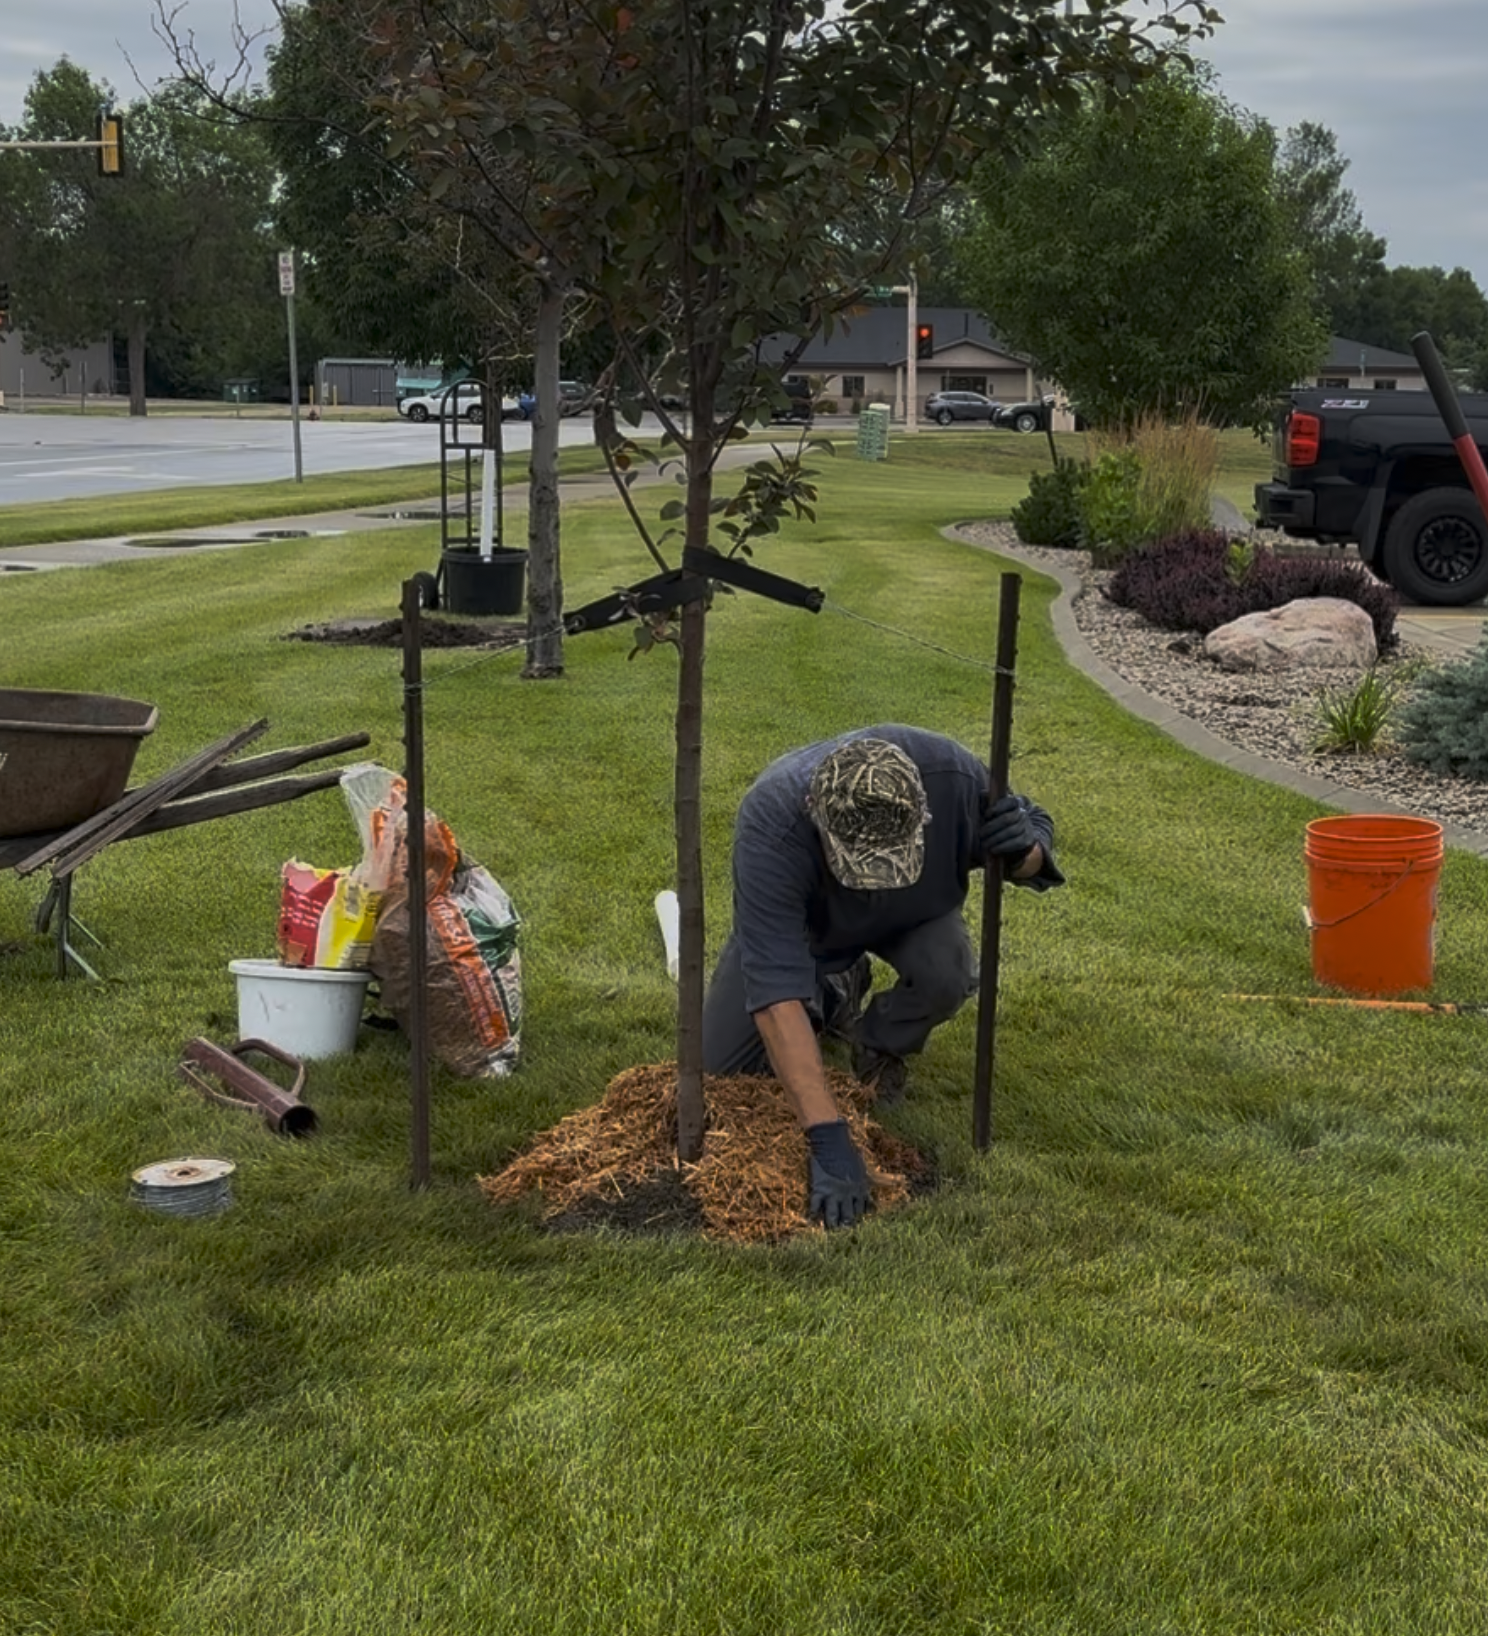
And for the finishing touches, I like to add some fresh mulch to help retain moisture in the soil and keep the weeds down. Even though this lawn is irrigated and soil moisture is good, it’ll still be necessary to water this tree 2 to 3 times a week, adding about 5 gallons each time. The amount of water needed after planting can vary widely, and some trees may need watering twice a day for several weeks, depending on the species and soil type.
When watering container-grown nursery stock, the goal is to keep that rootball fully hydrated for the next three to four weeks as those roots begin to bite into the new soil, without creating a saturated or mucky situation, as tree roots also need oxygen and air space.
That's it for now. Thanks for stopping by Garden Hike!
Kevin
Make sure you check out A.M. Leonard for all your horticulture tools and supplies. They're my go-to supplier! They've been in business since 1885 and have excellent quality and selection.
Check Price - Enter Discount Code GARDENHIKE10 To Receive $10 Off Orders $75 Or More

When you purchase through links on this site, we may earn a small commission at no additional charge to you.